New year, New York!

We did lists with pros and cons, we did spreadsheets to check all our numbers and our budget, we compared everything, what we’d win, what we’d lose and we even went on a road trip to explore if other places like Portland, OR; Seattle, WA or Vancouver, Canada were possible options. But nothing beat it. We had NYC in our hearts and our minds.

We missed the city lifestyle, we craved the cultural debauchery that NY offered. The possibility of living in a city that feels like you’re living in every country of the world at the same time and place. We even missed the public transportation and not needing a car to go everywhere! 

So we decided to embark on this adventure. To prepare our kids for it, we talked a lot about it, we watched many NY movies, we saw pics from our previous life in NYC and played games (ticket to ride NY!). 

Luckily, it helped that everyone in our family was not completely satisfied with our life in the Bay Area so that also helped made this decision easier in some way. 

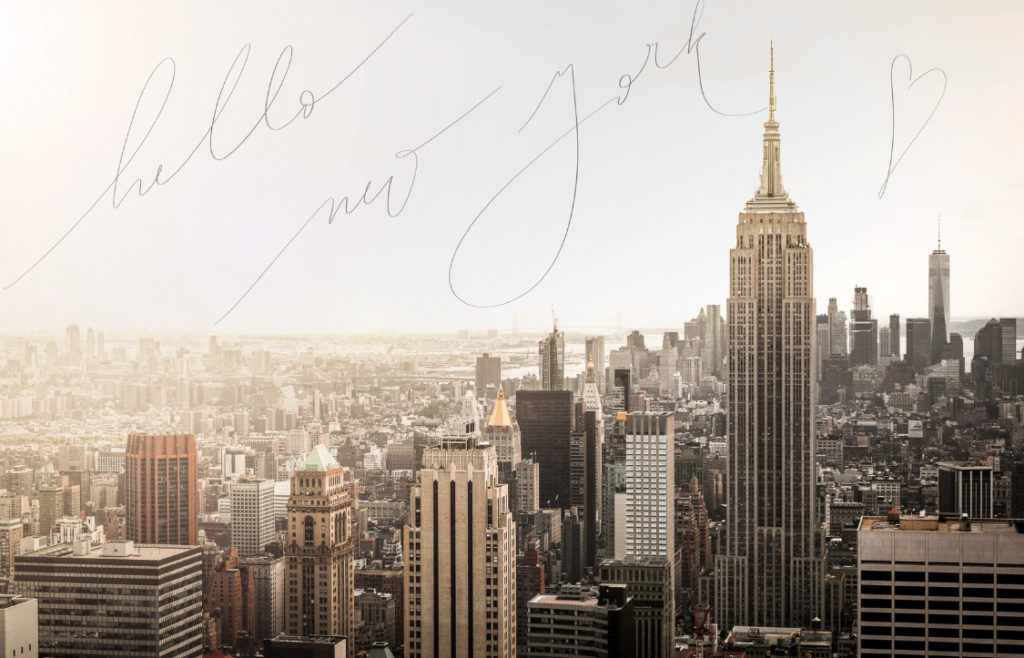
After a lot of preparation and paperwork (changing schools, doctors, car, house, apartment) in little time (less than 2 months!) we were taking our flight and arriving in our beloved NYC although this time we were not living in Brooklyn but the Upper West Side. 

Now. We’re very happy that we’re here and we’re working hard to make things happen for us in the city! 

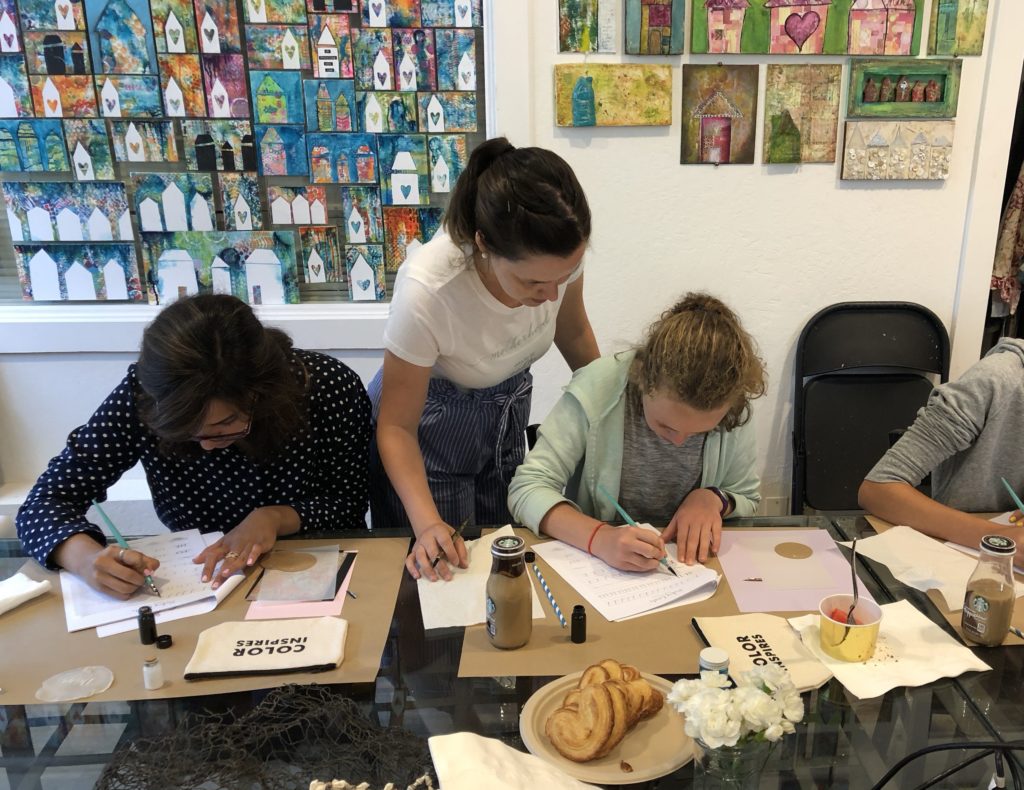
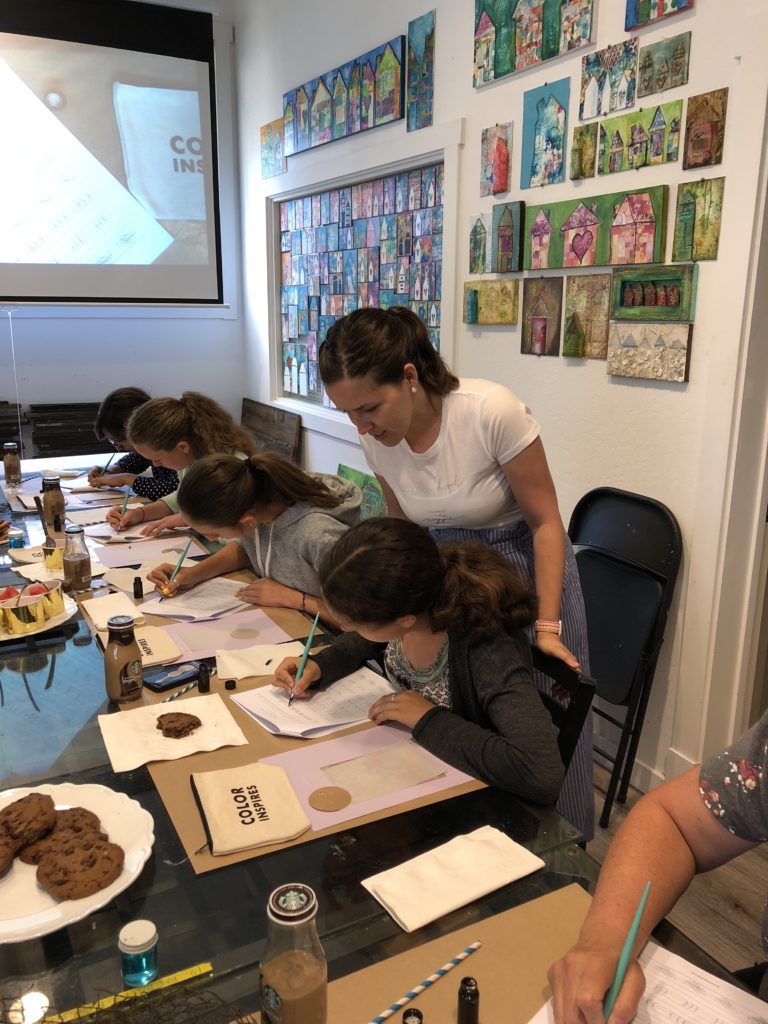
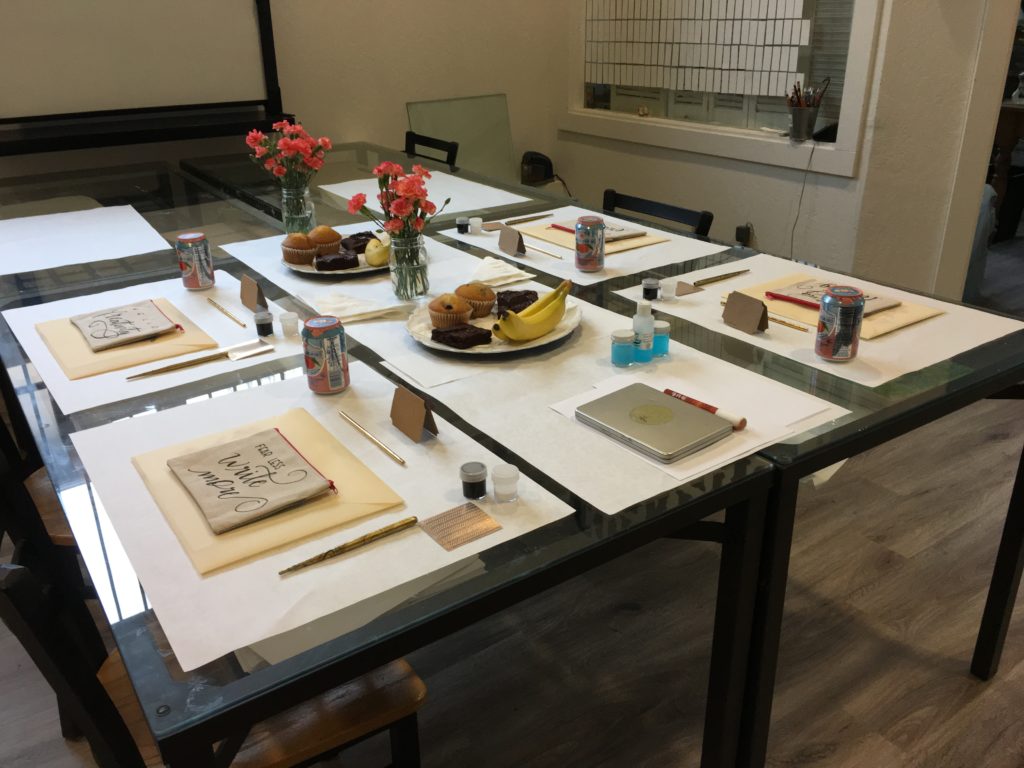
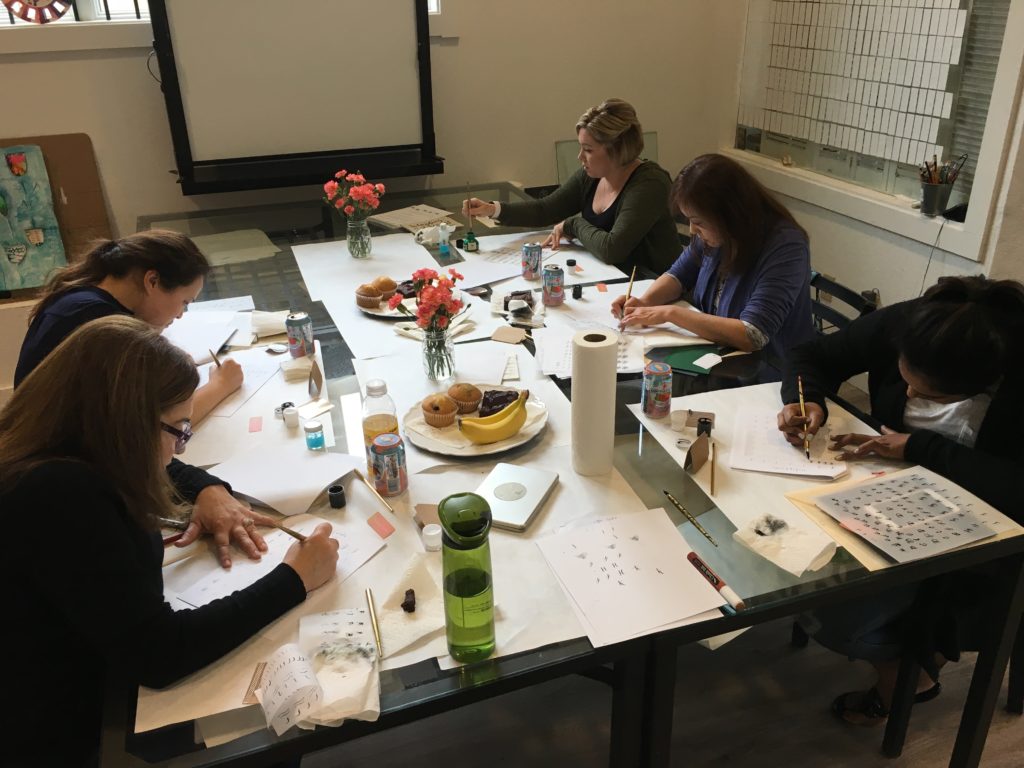
For me that meant taking the leap of faith and being totally in charge of my workshops! That’s right. Now I am teaching my classes at a venue that I rent, I organize the ticket sales and registration. It’s more work of course but it’s a big step for my brand as well. It’s not going to be easy but after these years of practice with more than 200 students I feel confident that I have learned all that’s necessary for this step. Anyway, send some good energy my way you know I appreciate the good vibes friends! 

That’s the news for now! ‘Til next post!

Love,

Andrea

———

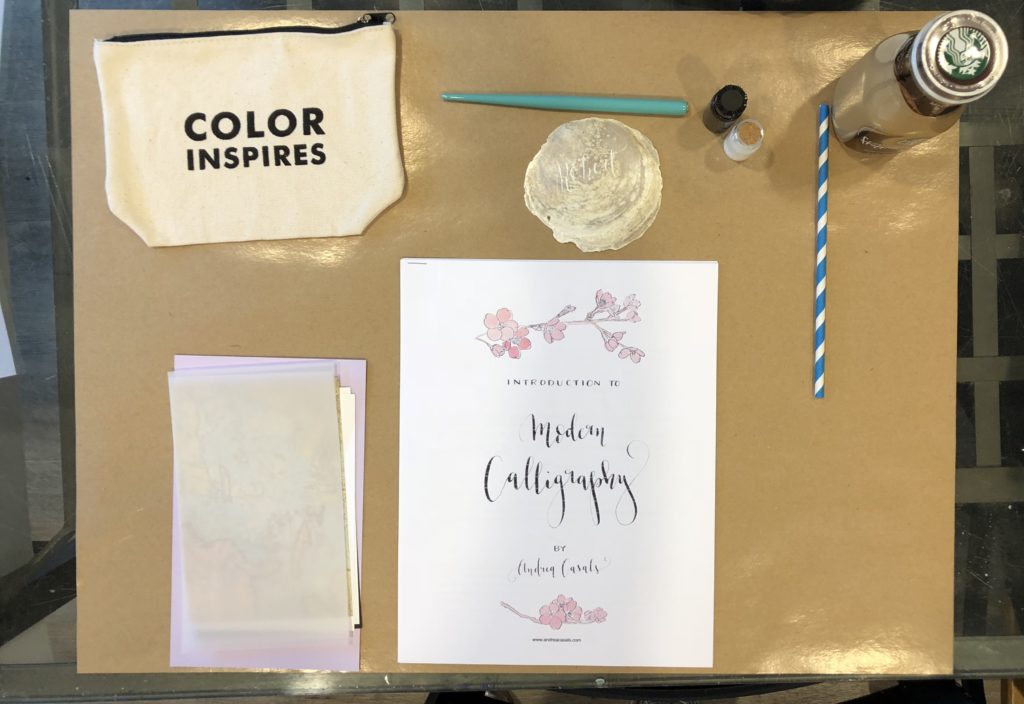
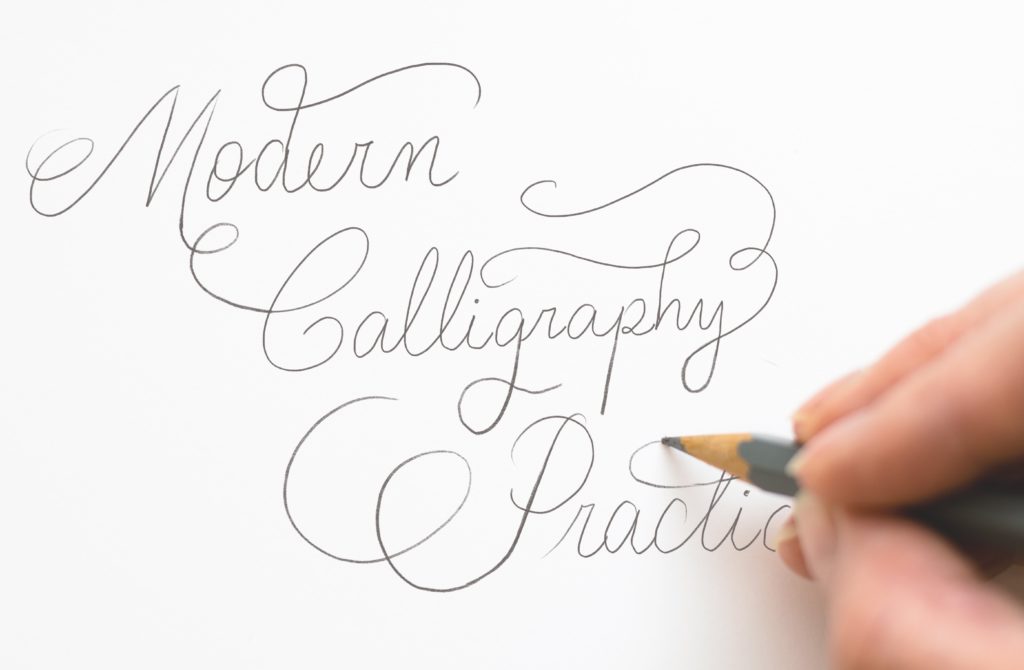
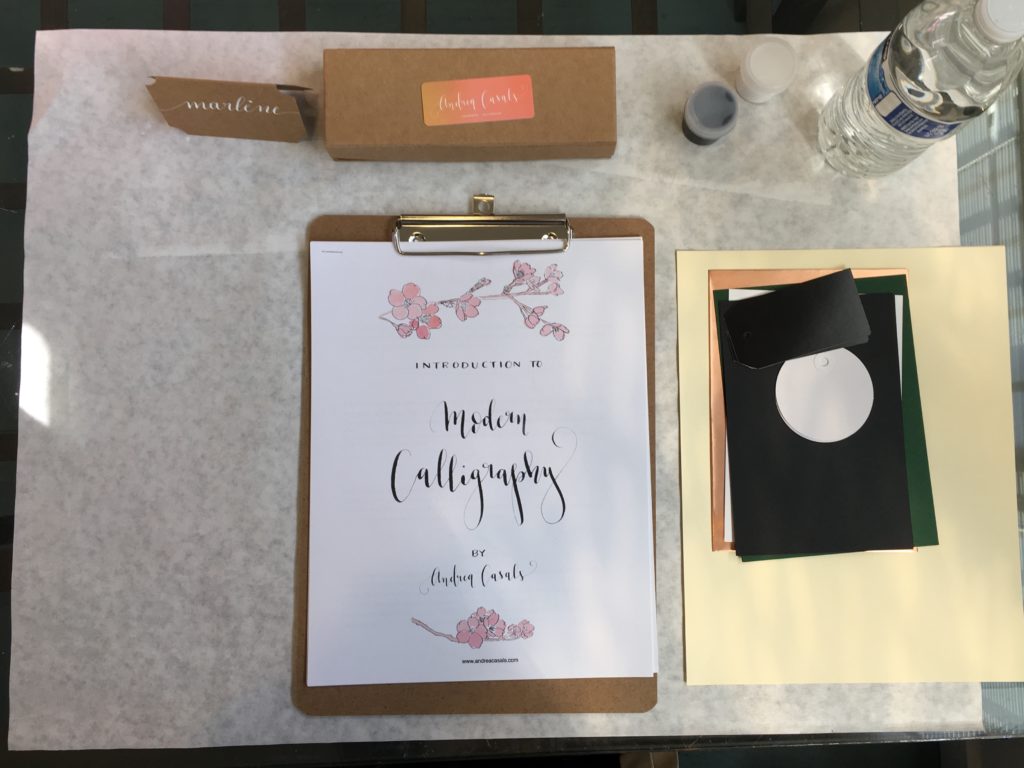
New Modern Calligraphy Classes in Upper West Side, NYC 

Introduction to Modern Calligraphy Workshop 

Saturday, March 2nd at 10am 

Registration required. 

Get your ticket here: https://www.eventbrite.com/e/introduction-to-modern-calligraphy-tickets-56216380708?aff=efbeventtix

Back to my Calligraphy Workshops in San Jose!

Aaaand, I’m back!

Last Sunday I hosted my Introduction to Modern Calligraphy Workshop at A Work Of Heart in San Jose again after a short break for my maternity leave.

We had a few last minute additions plus I messed up with the alarm at the shop when I got there so my whole morning before the workshop got a little chaotic! Yes, as crazy as it sounds I made the alarm went on and even some neighbors came to see what was happening but everything was ok! Thank Goodness Andrea -owner of the studio- arrived just then and solved the crazy situation! I was imagining myself trying to explain everything to the cops, that would have been some even crazier anecdote to share!

Anyway, I had to set up and organized everything faster than expected so I run out of time and I couldn’t do live videos or take more pictures of the behind the scenes.

But I tell you a little bit about it now and you’ll just have to believe me and imagine some things because… not many pictures!

Since it’s almost July, I thought about doing a “summery” theme and what says more summer than the sea, right? So I got some turquoise pen holders, I wrote the name of the students on shells and I brought a decor fishing net and even more shells to decorate the table. F or snacks, this time I brought some pastries as usual plus watermelon… THE fruit for the summer, right? And even though I never recommend to drink caffeinated beverages before doing calligraphy, I went against my own advice and brought some cold frapuccinos for my students. Guys, it was like a great addition for this “summer Sunday morning” theme.

I also gave them some map paper, which is also in the summer/travel theme and I found these little glass bottles with cork stoppers for the ink that was like a “message in a bottle” kind of thing. Super cute!

Next workshop date? July 22nd at 10am

Where? A Work Of Heart Studio in San Jose, CA.

How can I register? Click here!

Hope to see you on the next one!

Artists Moms Meet Up in San Jose – Update!

Hi friends!

This week we had the first Artists Moms Meet Up in San Jose, CA and I wanted to share with you a little bit about it.

We were three moms with babies less than a year old and each one of us, somehow, got to create a little something! I had a great time, enjoying a conversation with fellow moms plus being able to do some lettering for this post.

I’ve received a few messages of moms in WA state and another mom in Canada asking me if I knew of a group like this in their cities. So you can see, there’s an interest out there! I’d love to know if there’s an artist/creative mom’s group in your city and how are their meetings!

As I mentioned in the beginning of this post, there’s another meeting coming soon and you can register for it here.

‘Til next week folks!

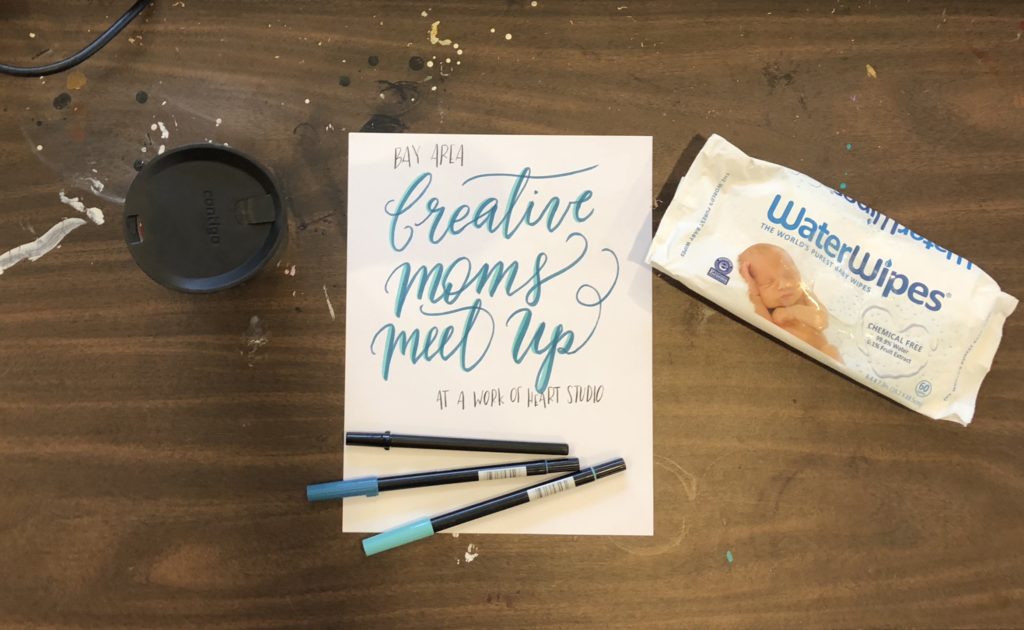
Baby wipes and a matcha latte, bare necessities for this mom 😛


About life lately and another favorite project for beginners

Folks, I can’t believe Summer is here already!

This school year went by so fast for me that everything kind of took me for surprise, like, last day of school!

I waited too long to get a present for the teachers and then I had to magically arrange something kind of last minute gift… the day before!

So I thought, what would I want to do if I were a teacher and classes are ending? RELAX I guess! So I decided to get them some bath salts and a body cream all with chamomile (relaxing effect) and luckily I found some chamomile flowers at my local Whole Foods so I added this as a little detail.

I did a little lettering on vellum paper and used it to wrap the flowers. Since I was in a rush, I used one of my markers and not an actual pointed pen and nib, but after doing this I thought how cool of a project to make this when you’re just starting doing calligraphy! You could also re-use practice paper but it makes it more special writing the name of the person that will receive this gift and maybe even a message, in this case I wrote “Thank you Mrs Laura” all over.

For all the wrapping I added a little beauty to plain IKEA rolling paper with some lettering using also a Tombow marker.

I thought of sharing these since they can be fun projects where you can use your calligraphy skills. I hope you like these ideas and let me know if you try it!

Calligraphy classes in the Bay Area are back!

Hi folks!

So it’s set. I’m coming back to teach my Introduction to Modern Calligraphy at A Work Of Heart in San Jose in June 24th.

I’m super happy about this. I’ve been thinking, I’d even say “day-dreaming”, for the theme and colors for the next one and now I’m starting to buy all the supplies. It’s going to be so beautiful!

You know, I want to make every class a special moment for you, not only to learn to create thin and thick lines with a pointed pen, but also to have an enjoyable moment to remember.

That’s why I put so much energy and love to prepare each workshop. Folks, I love doing this. What can I say?!

So, are you ready to give Modern Calligraphy a try? This is the real-thing, it’s learning to write with a straight pen-holder, using professional calligraphy ink. But nothing to worry, because I’ll guide you through this adventure and you know what else? Your Beginner’s Calligraphy Kit is included and it’s yours to keep. Cool, right? Now, don’t miss it and grab your spot here.

If you cannot make it in June, there’s another opportunity in July. Read more about it and register for here.

Picture by By Lorena Photography

Have a happy long weekend!

Luca is here!

Hello folks! Luca Francisco is here! He was born on a rainy spring night, on April 7th at 1:32am. Weight: 8.15 lbs Height: 20.5 inches || 4.055kg / 52 cm.

It was a the night of the “Pineapple Express” -a storm coming from Hawaii- and after 3hs of labor at home, we arrived at Labor and Delivery at 1:10am.
Our own little Pineapple Express arrived just 22 minutes and about 6 pushes later! (I even had to be admitted at the hospital after given birth since everything went so fast we couldn’t do it before!).
We were surrounded by so much love and care and we’re so thankful that such special, kind, lovely people like my mother in law and Katie Heredia my doula were there with us during this extraordinary moment of our lives.

My baby and I are doing great and this now family of 4 is happy, healthy.

As you may all know, I’m still on my maternity leave but I wanted to pop here and say hi and share a little pic of my newest addition.
Here’s Luca 1 day old on a blanket that I created specially for him.

This project started with a pointed pen, paper an ink and after digitizing it on Photoshop, I printed it on a soft blanket made in the USA.

Isn’t it amazing how many things we can create from words on a paper? I’m still fascinated by this beautiful art folks, I cannot lie!

See you soon!

Sheets available on Roostery

You might remember the sheets that I created for Luca some weeks ago.

Well, after receiving some requests, I created a fabric pattern with just the “Buenos dĂ­as/Buenas Noches” (that’s good morning/good night -without the Luca name part). That fabric is available on my shop at Spoonflower. I have to be honest, I don’t love Spoonflower. Yes, the quality of the fabric is great; the shipping and customer service is very good too and those are the reasons why I keep my fabric design shop there. But it only pays 10% to us artists… But if it is the way that I can offer my designs to the world, I’ll take it for now.

There were two people that asked me for sheets already sewn. That’s how I got to create a shop on Roostery.

So this week I wanted to share with you that you can get sheets with the hand-lettered “Buenos DĂ­as Buenas Noches” at Roostery. Just follow this link.

I think Roostery is still kind of expensive (especially if you compare what they charge to the customer and what they pay the artist; again sorry for the rant!) but for now is the only option I have to offer this product.

Anyway. I love the pattern

Luca’s nursery

Hi folks!

This week I want to share something very special, my little one’s nursery decor.

Luca will share our bedroom and in the first months he’ll also sleep next to me so his crib is more ornamental at the moment but that didn’t stop my nesting syndrome to create a little space for him.

There’re three important things that I created for his space. One is the hand-lettered crib sheets and the other two are the art prints on the wall. Here’s a quick pic of his space with a predominancy of black and white (besides the brown walls that are part of our master bedroom).

For the sheets, I used my monoline style and a digital brush lettering style and created this pattern that says in Spanish “Buenos DĂ­as Luca Buenas Noches Luca” which means “Good morning Luca Good night Luca”.

After printing my fabric I did a little bit of sewing and created the sheets for the crib.

Since some people asked me for this pattern, I went ahead and put a similar one on my Fabric Shop but without the Luca part, just the “Buenos DĂ­as Buenas noches“. You can also buy sheets set already done here (crib size not available though).

Now, for the walls, I created a peaceful sleepy moon and a moody cloud and framed them using some black frames.

I love this sleepy moon and the moody cloud so much, I think it added the perfect detail for his little space.

I’m very happy with all the little projects that I’ve been creating for my baby, I’m thankful for being able to use my creativity and skills to prepare these things for him. It filled my heart with happiness, specially since this pregnancy was so rough until the week 22. So, connecting with my baby through art projects and enjoying this last part of pregnancy -even with the difficulties of a third trimester- has been a blessing, a spark of joy!

For those interested, sleepy moon is now also be available as a 8×10 art print on my etsy shop.

Now friends, I’m about to turn 39weeks pregnant so if you get to see that I don’t write next week is because baby arrived!

Anyway, have a wonderful week!


PS: You might want to check also Marco’s nursery or these crib sheets.

Big news!

Hello friends!

I’m beyond happy to share the big news: my Introduction to Modern Calligraphy Course is available online here!This online course is perfect for beginners. You don’t need to have any artistic experience nor a good hand-writing; I’ll guide you step by step with all the details of Modern Calligraphy so that you’ll be able to create at home the thin and thick lines so characteristic of this art using a straight pen holder and a professional nib.

During the course besides all the technical details of this art, a detailed video instruction with warm-up exercises and an alphabet sample, I’ll also give you all the tips on the best tools and materials which is just so important. When I first started, I had to pretty much discovered them by myself, buying, trying and deciding. It was a big waste of time (and money!) so I added these details on my online course since it was something that I really would have wanted to have from the beginning (plus, it would have saved me also so much frustration!).

Now let me tell you a little bit of the “behind the scenes“.

First of all, Victor -my husband- has always been the one that encouraged and supported my artistic journey and to whom I owe so much of the joy that I’ve discovered by being able to now work doing something I love! And he was the one telling me for about forever to create courses and offer them online.

On my side, I also started thinking about this possibility after having some people interested in attending my workshops but they didn’t live in the area. Like many of my friends in New York and Argentina.

So, in January this year, we started filming in my studio in San Jose and now, after all the editing and the online platform is ready, we are sharing  my course with the world!

I’ll still continue to teach my in-person workshops in San Jose but that will re-start after my maternity leave, in the summer. I’ll keep you posted about that as soon as I have the dates set.

That’s it for this week, and what an amazing week it is!

As always, thanks for reading folks and thanks for sharing and recommend my work to your friends and family! I’m always thankful for all of my clients, my students, all the people that have worked with me and recommend me to their friends and family.

Thank you, thank you, thank you! So much love to all of you!! <3

Have a great week, friends!

From Modern Calligraphy to Embroidery

Hi friends!
I’m 36 weeks pregnant and the nesting syndrome has kicked in with all his power. I’ve been trying to finish a lot of projects that this baby inspired me but my energy is so low that is a bad combo having so many things to do with so little time and energy.

Anyway, as one of my favorite Lisa Congdon’s poster says, I had to begin anyhow.

If you follow me on Instagram, you might already seen a few weeks ago that I posted this picture of the name of my baby that I wrote using my own Modern Calligraphy.

I wrote it using a Tachikawa T40 pen-holder and a Nikko G nib. After that and using a light pad, I traced over a piece of fabric the names using [amazon_textlink asin=’B002B55YD0′ text=’this pen’ template=’ProductLink’ store=’andreacasalsa-20′ marketplace=’US’ link_id=’0dee361f-21c1-11e8-8e83-734d209fddb2′].

This pen is MAGICAL, I love it because it’s a gel pen with a fine point but its ink is erasable! Yes, you’re reading this! You can trace over fabric and then just use a warm iron over your illustration or lettering like in this case and it will disappear!

Now, let’s go to the second part. I used a 7 inches wooden embroidery hoop and some Singer black cotton thread.

Then, of course, the hard work started. I chose the very basic, simplest stitch since I didn’t want the stitch to take much attention from the composition of my lettering; it was also going to be faster (remember the first part of this blog post… I’m running out of time and my nesting syndrome is at full steam!) and finally… it has been a thousand years since the last time I did some embroidery! So, the simpler, the better.

I used tighter stitches that were closer together to fill in the thicker lines.

After I finished, I used a warm iron over my design to erase the lines of my pilot pen tracing.

Then, I put it back in the wooden embroidery hoop and cut a little bit of the extra fabric on the sides and hanged it on one of the walls of Luca’s nursery (which at the time is a little space in our bedroom).

Of course I can see some imperfections here and there but still I’m very happy with the result, specially considering that I hadn’t done any embroidery since my Catholic elementary school years!

It was a nice project and it looks super cute on the wall next to the crib.

I hope the info about the erasable pen is useful for you too and let me know if you decide to try to transfer your hand-lettering or modern calligraphy designs to other surfaces and mediums, like fabric and embroidery. I’d love to know about it!

See you next week, friends!

Brush-lettering: Valentine’s photo-shoot backdrop

Hi there!

Besides being an artist, you also know that I’m a mom, and one of the things I enjoy a lot is when I get to use my artistic skills to help at my kid’s classroom or in general with his school.

I’m also one of the room parents for his class so I get to be involved in the organization of the events that we plan. It’s a nice experience for me also because since I didn’t go to school in America, I get to learn a lot about how this whole thing works here.

Now. This week I want to share a simple brush lettering idea that I used for the Kinder’s Valentines Party.

Materials:

  • Pink paper (Dollar Tree)
  • Dr. Ph. Martin’s Bleed-proof White Ink (already thinned with water)
  • Water-color brush, round (I use these from Winsor and Newton)

This backdrop is super easy. It doesn’t require you to have a nice hand-lettering since you’re just going to write XOXO using print uppercase letters and doodle some heart shapes.

But even something so easy, can turn out super cute!

We used some photo props like mustaches and silly glasses and I also created a white frame using a foam-board to re-create the frame of the Polaroids/Mini films.

For that frame, project you’ll need:

  • White foam board (I got this one)
  • X-acto knife
  • Pencil
  • Ruler
  • Markers (I used pink molotow and sharpie gold oil based)

Using your ruler measure then trace with the pencil a rectangle shape on the back of the foam board. Remember to leave a bigger space at the bottom, resembling the frame of a polaroid/mini film. Cut it with the X-acto knife being very careful.

Then use your markers to write the phrase of your choice at the front-bottom part of the frame-board. I wrote “I love you” but the pink didn’t show as much in the final pictures, just the word LOVE really popped.

I think this idea is a super easy DIY backdrop for photoshoots and you could even try it for other holidays! From St. Patrick’s to birthday parties!

Now, to finish this post…Here’s a time-lapse video of the brush lettering process in my garage.

See you next week friends! Happy Valentine’s Day!

***More brush-lettering ideas here.


Introducing new printable for all the mamas-to-be like me

Since about June last year, I decided that I wanted to slowly start creating more art that were meaningful to me and take less custom-orders.

Then, I got pregnant and I was super sick until week 20 and I barely created anything. But still I kept working in that direction. That’s how the “This Too Shall Pass” foil print came to life for instance.

Well, now that I was pregnant I wanted to have a registry of the moment but truth is I’ve never loved being pregnant. I don’t have a romantic view of pregnancy. Yes, of course nature is amazing and experiencing making and nurturing a little human being is out of this world. But that’s it. It’s not my favorite part of my life and that doesn’t change at all the fact that I adore my children.

Truth is pregnancies are hard for me, almost since the beginning I start feeling all the symptoms. And this pregnancy specially has been really hard with severe morning sickness, losing a lot of weight, barely eating… It was super difficult until week 20. Then it got better, I can now eat and keep my food down but of course… a lot of other symptoms came along!

Anyway. The thing that I want to share is that besides all of this I wanted to take some pictures of me and my little bump growing (slowly slowly) but never felt like to, never had the energy or a decent face to take a picture. There was no way I could do a weekly bump picture because I didn’t feel good.

That’s how I had the idea of this printable. I decided I wanted to do 3 cards for milestones of the pregnancy, I knew I wasn’t going to take the weekly bump but I could take 3 good ones in 40 weeks! That would be enough.

So, I started working in this “First, Second and Third Trimester Printable Cards

It took me longer than expected so when I had it finished, I was already in the third trimester! But I know that there must be other mamas like me in this world who would appreciate this cards too!

These printable cards are available on my etsy shop. It includes 3 (three) JPEG files (one for each trimester) and 1 (one) PDF file with the three cards. You can print them in smaller sizes (like the one I’m holding in the picture below which is 4.5inx6.5in) or even go bigger like a letter size. Maybe even framing it can be a great idea to give it a fancier look to all the beautiful flourishing!

As always, the words in the printable cards where created using my own Modern Calligraphy skills with a straight pen holder, a nikko G nib and sumie ink. Later digitized in Photoshop.

I hope you like my new product! See you next week folks!

A tip for your Modern Calligraphy practice

Hi folks,

This week I want to share a tip that has helped me to be more consistent with my Modern Calligraphy practice.

If you attended one of my workshops, you already know that I always say that calligraphy takes time and it requires a lot of practice. As any other art, building the habit of practice helps to improve it.

But with calligraphy is not only that, but also the fact that we use a special pen holder and a nib, tools that are new for us, that we need to learn to handle, to “apply pressure and release that pressure”.

It’s a lot, and a lot of new.

Now, life happens. We are too busy, we all have schedules, work, family… How to find time to “unwrap” and practice this art that not only requires time but also space for our inks, nibs and cleaning supplies and a steady table? Well, not always we’ll have those two. But if you have time, or better saying, if you can make time for your practice, don’t feel discourage if you are not in the proper place or don’t have the calligraphy tools with you.

Think of the easiest choice. A pencil and a paper.

I can see your face reading this, like what? How can I practice calligraphy with just a pencil? Well, in fact you can practice the shape of your letters, the consistency, the spacing and even play with the flourishing that you’ll like to add to it.

Later on, when you get to meet those two “time” and “calligraphy tools” at the same place, you could ink that sketch or recreate it using your actual pen-holder and favorite nib. But in the meantime, a pencil could be super useful!

So, next time you have 15 minutes while waiting at the coffee shop for your friend to arrive or even while binge-watching your favorite TV show, grab a pencil and start sketching. Start writing, soon you’ll notice you’ll be… drawing letters!

Stay healthy, friends, and have a lovely week!


Special National Handwriting Day: Practice Sheets

Today is National Handwriting Day in America!
A fantastic day for us, pen and ink enthusiasts, to remember and celebrate this old but -yet- not forgotten art.

Fun fact about this day, did you know that it’s celebrated on this day since it’s closer to John Hancock’s birthday and he was the first one to sign the US Declaration of Independence?

Take a look at his signature! So beautifully hand-written in the middle… “I guess King George will be able to read that!” right?

United States Declaration of Independence – Image by Wikipedia

So, I thought that National Handwriting Day was be the best one to tell you about the last adition to my Etsy Shop: Printable Modern Calligraphy Practice Sheets!

Yes! That means that now you can get buy and print these practice sheets at home! It’s a PDF file that includes some calligraphy warm-up exercises, an uppercase and a lowercase alphabet plus numbers for your calligraphy practice.

I want to give you a suggestion on which paper to use to print and direct-use this guide right away. Definitely choose HP Premium Choice laser jet paper. This paper it’s not expensive and it’s good for practice since the sumie ink will not bleed on it like it will on a regular printing paper.

Now, If you’ve taken a workshop with me before, take a look at your mailbox this week, I’ll be sharing a special offer, stay tuned!

And those of you that want to learn this magical art of pointed-pen, join me on February 4th for my last workshop before my Maternity leave. Register here.

Enjoy the week, folks! And Happy National Handwriting Day!

Last workshop coming in February!

Hi friends!

January is going so fast! Maybe I feel that because I have so many things I want to do before Luca arrives to our lives and I’ve been so extremely busy with that or maybe because time feels that it goes faster when you’re doing something you enjoy…

Either way, there’s only one more Introduction to Modern Calligraphy Workshop coming early in February and then I’m taking some time off until I’m back from Maternity leave.

My idea for now is to be back teaching around May/June but we’ll see how life goes by that time 🙂

In the meantime, I want to share some pics of yesterday’s class at A Work Of Heart Studio in San Jose, CA. I had a smaller group this time, with 5 (students) but we had a great time learning all about this beautiful art.

I have to tell you, I always try to keep my groups on the smaller side, no more than 12 students, so I can have some time with each one of them to answer to all of the doubts and questions, go over all the details on how to properly grab their pen holders and be able to get these thin and thick lines characteristic of this art. That special 1:1 time is so valuable when you’re learning this art!

For this session, I chose some Manuscript marbled/gold pen holders for their Calligraphy kits. These pen holders are just so pretty!

As you may know, each one of my students gets 2 (two) different nibs and two small jars with professional calligraphy ink in black and white, a lesson handout and some papers/envelopes/tags in assorted color and sizes.

Plus, there’s always a “special something”. For this occasion, it was a hand-lettered pouch with different phrases for each one of them.

Last, don’t forget that besides all of that, snacks and beverages are included when you register to my workshop!

This Sunday we enjoyed some blueberry muffins, raspberry chocolate brownies (so yummy!), organic bananas and Italian sodas.

Want to join the next one? Don’t miss the opportunity!

Register now here, remember the class is for 12 students max.

I hope to see you then!

Your weakness is your strength, Sharpie water based marker

Hi friends!

You might remember last week, I told you about my favorite marker to letter on wood.

This week I want to tell you something that will sound a little bit funny actually, because that same weakness that I mentioned last week about the Sharpie Water Based became a strength for this project and it made me choose the Sharpie marker over the Molotow one.

First, let me tell you more about this project.

So, I had to write 20 signs on black paper 8*11 in. These signs were going to be used as props in a photo-shoot at a school in San Jose, CA.

They wanted this idea of black backdrop/white ink kind of a chalkboard thing but didn’t want to use actual chalkboards (better buying paper vs. buying 20 chalkboards) so I thought that the best tool for this project could actually be the Sharpie Water Based!

Why? You already know it! The Sharpie acrylic water based marker isn’t very uniform, it’s also not as opaque as the Molotow and it is even a little bit transparent/watery sometimes. All of those reasons helped to actually give a similar appearance as the regular chalk. 

You see? There’s no ONE marker for all of the projects, no ONE marker that magically works with all of them (although, there is the a ring to rule them all 😛 remember I’m a little bit of a LOTR fan).

There are projects and tools. And we’ll need to find what’s the best union for each one.

Have a nice week folks!

More about wood signs

A few weeks ago, I’ve shared with you a lot about my process when I create a wood sign.

Today I want to share my favorite marker to letter on wood.

Sometimes, after the wooden piece is sanded, stained and ready to be lettered, I start by lettering first using regular chalk and after the sketch is done, I start the inking process with my markers.

At the end, I just use a wet cotton swab to erase the chalk.

Other times, I just go free-handed and start lettering directly using my marker. Depends on the day and the design mostly.

Now, to the most important part of this post! Yes, as you can see in the next picture, my favorite marker for this kind of work is the MOLOTOW One4All Acrylic Pen Marker.

The main reason why they are my favorites is that they are quite opaque.

The kind of transparent white ink on the upper part of the filling inside the letter “d” was made using a Sharpie Water Based. The bottom part, was filled using the Molotow marker.

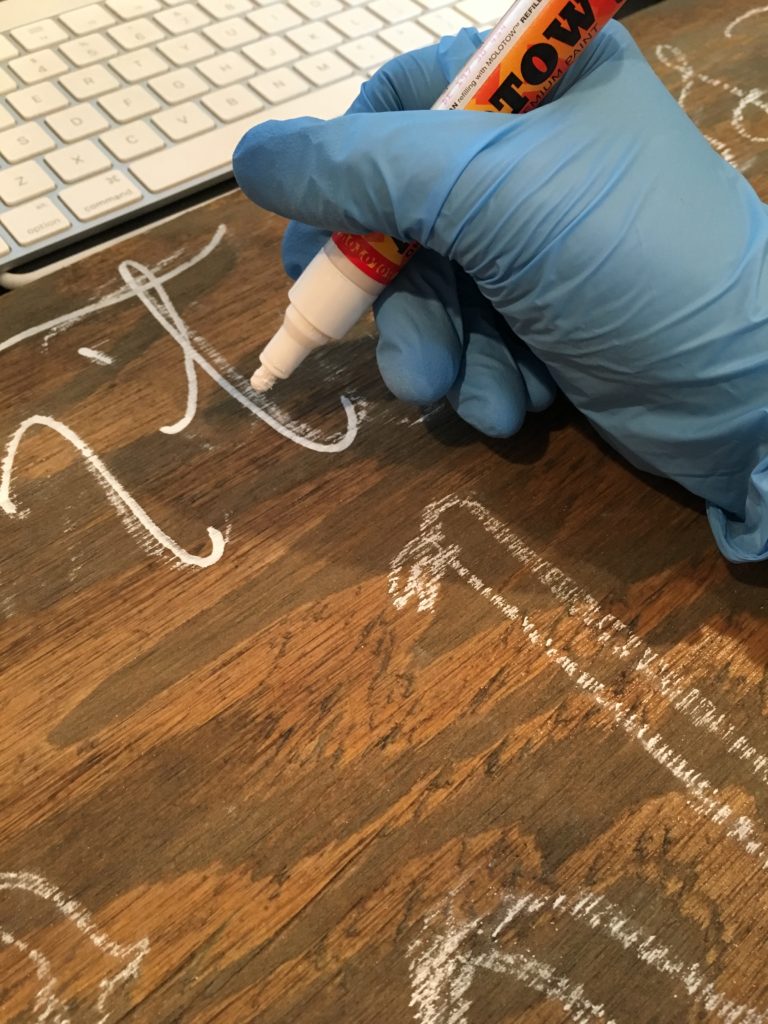
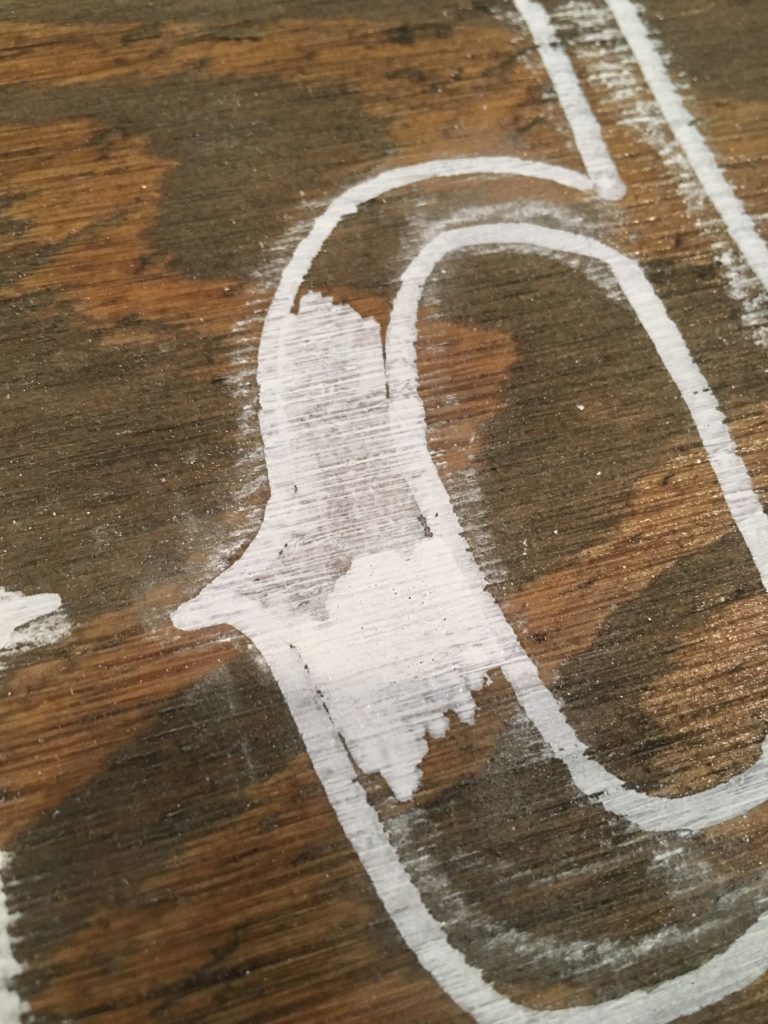
Can you see the difference?

The lettering really stands out when the ink is opaque and not translucent.

Which one is your favorite marker? Let me know in the comments!

Have a lovely week and stay warm <3

A gift wrapping paper story

Last week I was preparing handmade presentsand I wanted to wrap them in a special way.

Of course, hand-lettering is the answer to anything that comes to my mind when I think about creating something “pretty” or “special”. So I decided to write on Kraft paper using a watercolor brush and Dr. Ph. Martins Bleed-proof White Ink.

Now, since the kids that were going to receive these presents have Venezuelan parents (either their moms or dads), I thought that it could be a cool idea to use the lyrics of an “aguinaldo” which is a Christmas carol from Venezuela.

I particularly like the one I chose for this project, I think it’s called (if Google doesn’t fail me) “El Niño Criollo” because it tells the story of what would have happened if the Virgin Mary were from the Andes and St. Joseph from the plains lands of Venezuela. Then baby Jesus would have been Venezuelan, would have slept in a “chinchorro“(a hand-knit hammock), he would have dark brown eyes, etc. The songs continues given all these examples and I find it very sweet and I like it a lot.

Maybe also because I always like to think alternatives to the reality we’re in now, kind of a “What if?”. It gives me the reminder that reality is something that we build each day, is not something naturally given, it’s a human construction. Ok, enough of the old psychologist in me! 😛

Now, here are some pictures of the final piece…

And the afterwards, once the paper was cut and I wrapped the presents with it…

What do you think of this idea? I’d love to know!

PS: Want to see other DIY gift wrapping paper ideas? Check this one… or this one that is even older!

This too shall pass. It may pass like a kidney stone, but it will pass.

A few weeks ago, I introduced you to my This Too Shall Pass gold foil print.

Now, I want to tell you a little bit of the story about how I created this piece and my creative process.

Ever since I heard the popular story about a king asking the wise men for some advice to have in mind for bad times and the “This too shall pass” phrase as that piece of wisdom to remember in bad but also in good times, it kind of always stayed with me.

This popular saying has helped navigate some difficult moments in my life, to put things in perspective; but it has also helped me to be more aware of my present and really try to enjoy it what I’m living at the moment I’m living it.

That’s pretty much why I decided that I wanted to have this saying hanging on one of the walls of my studio, a beautiful reminder for my life.

So I started this project with my sakura pencil on my sketchbook. And from then on, I started doodling different ideas. After I got one concept that I liked, I decided it was time to start the inking process.

But I wasn’t sure on the medium, so I tried pretty much all I had! I tried with microns, with a water-brush, watercolor brush, brush markers, Pentel brush marker… But I still didn’t like the results.

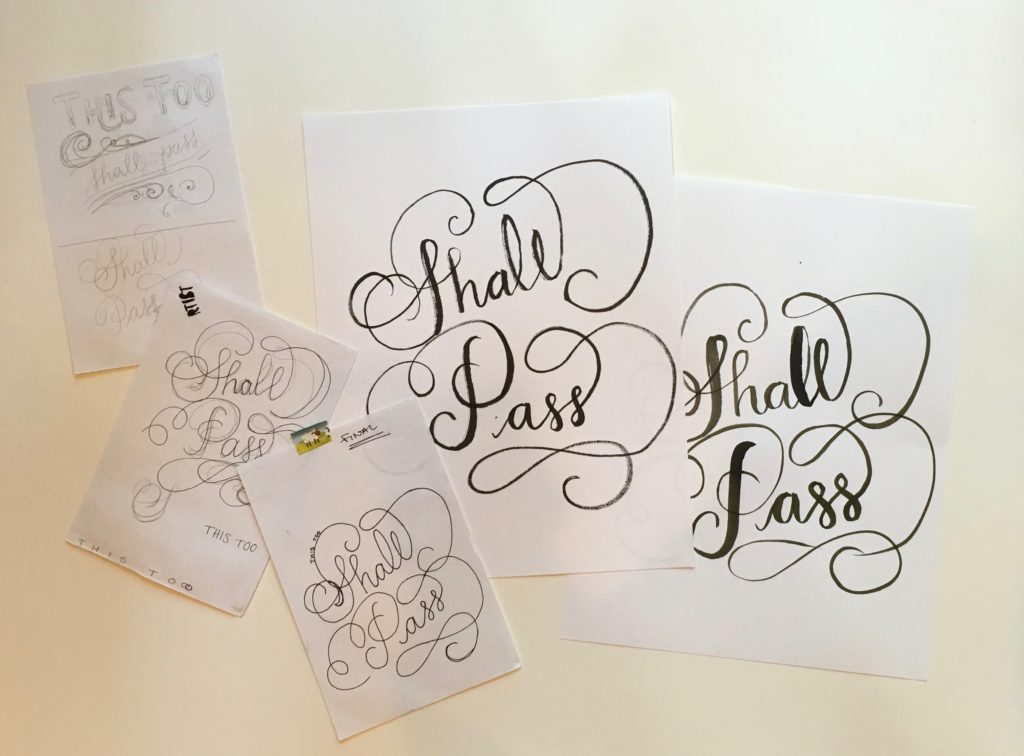
From left to right: First sketches to the final one. The bigger pieces are water brush and pentel brush

Then it was like they say in Lost in Translation: “sometimes you have to go halfway around the world to come full circle…”

So I went back to my first love in Modern Calligraphy: my favorite “beginner” nib, a Nikko G, and my Tachikawa n40 straight pen holder.

And finally, I was happy with a result! I still had to clean it a little but I had something I liked a lot, with a beautiful dance of thin and thick lines!

But I thought that I still could make this piece even prettier… That’s when the idea of making it a foil print appeared on my mind and this is the result!

Gold Foil on Black paper
Gold Foil on white paper

I’ve made this print available for sale on my etsy shop, so you can now order your favorite version (black or white paper) clicking here.

It will take 3-4 days to process your order and then it will be ready for shipping and more news… now also I can ship this print internationally!

Ok folks, as always, thanks for reading and let me know in the comments what you think about this foil print! I’d love to know!

Have a lovely week!

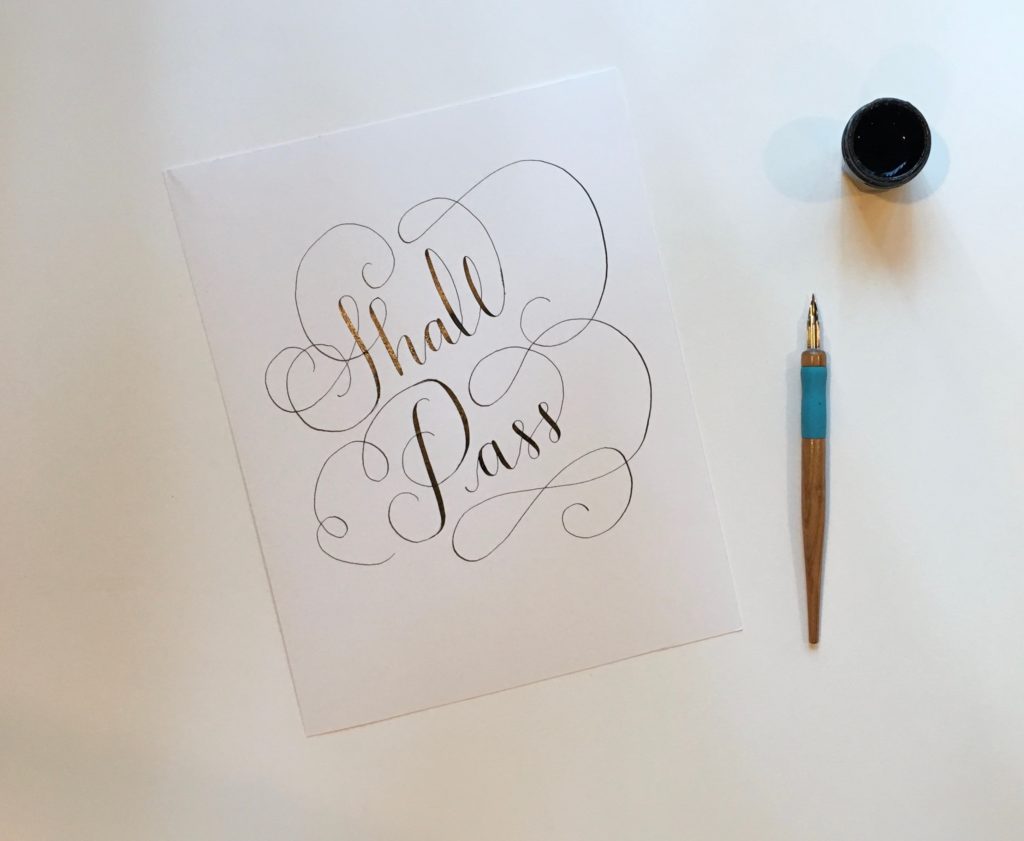
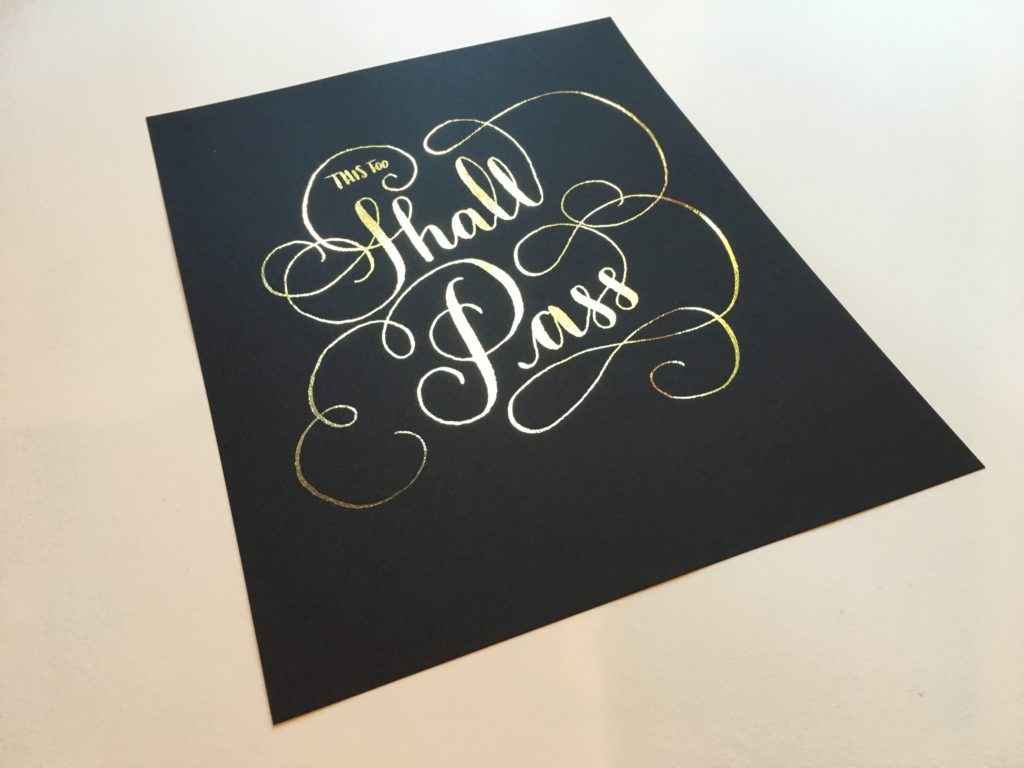
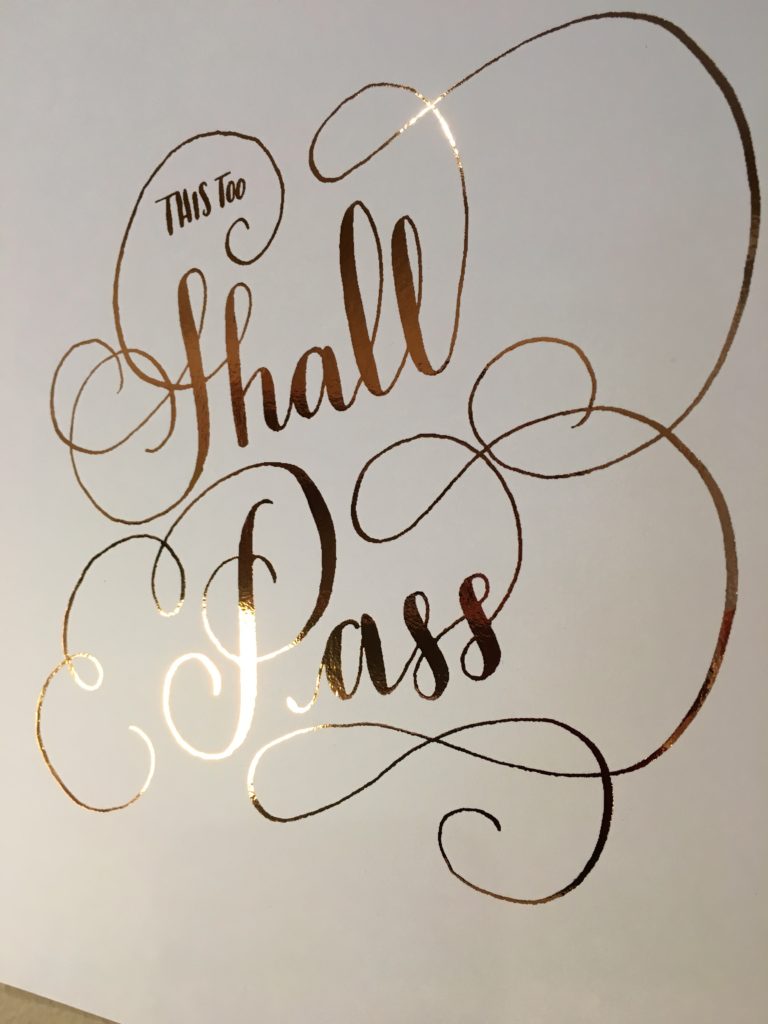
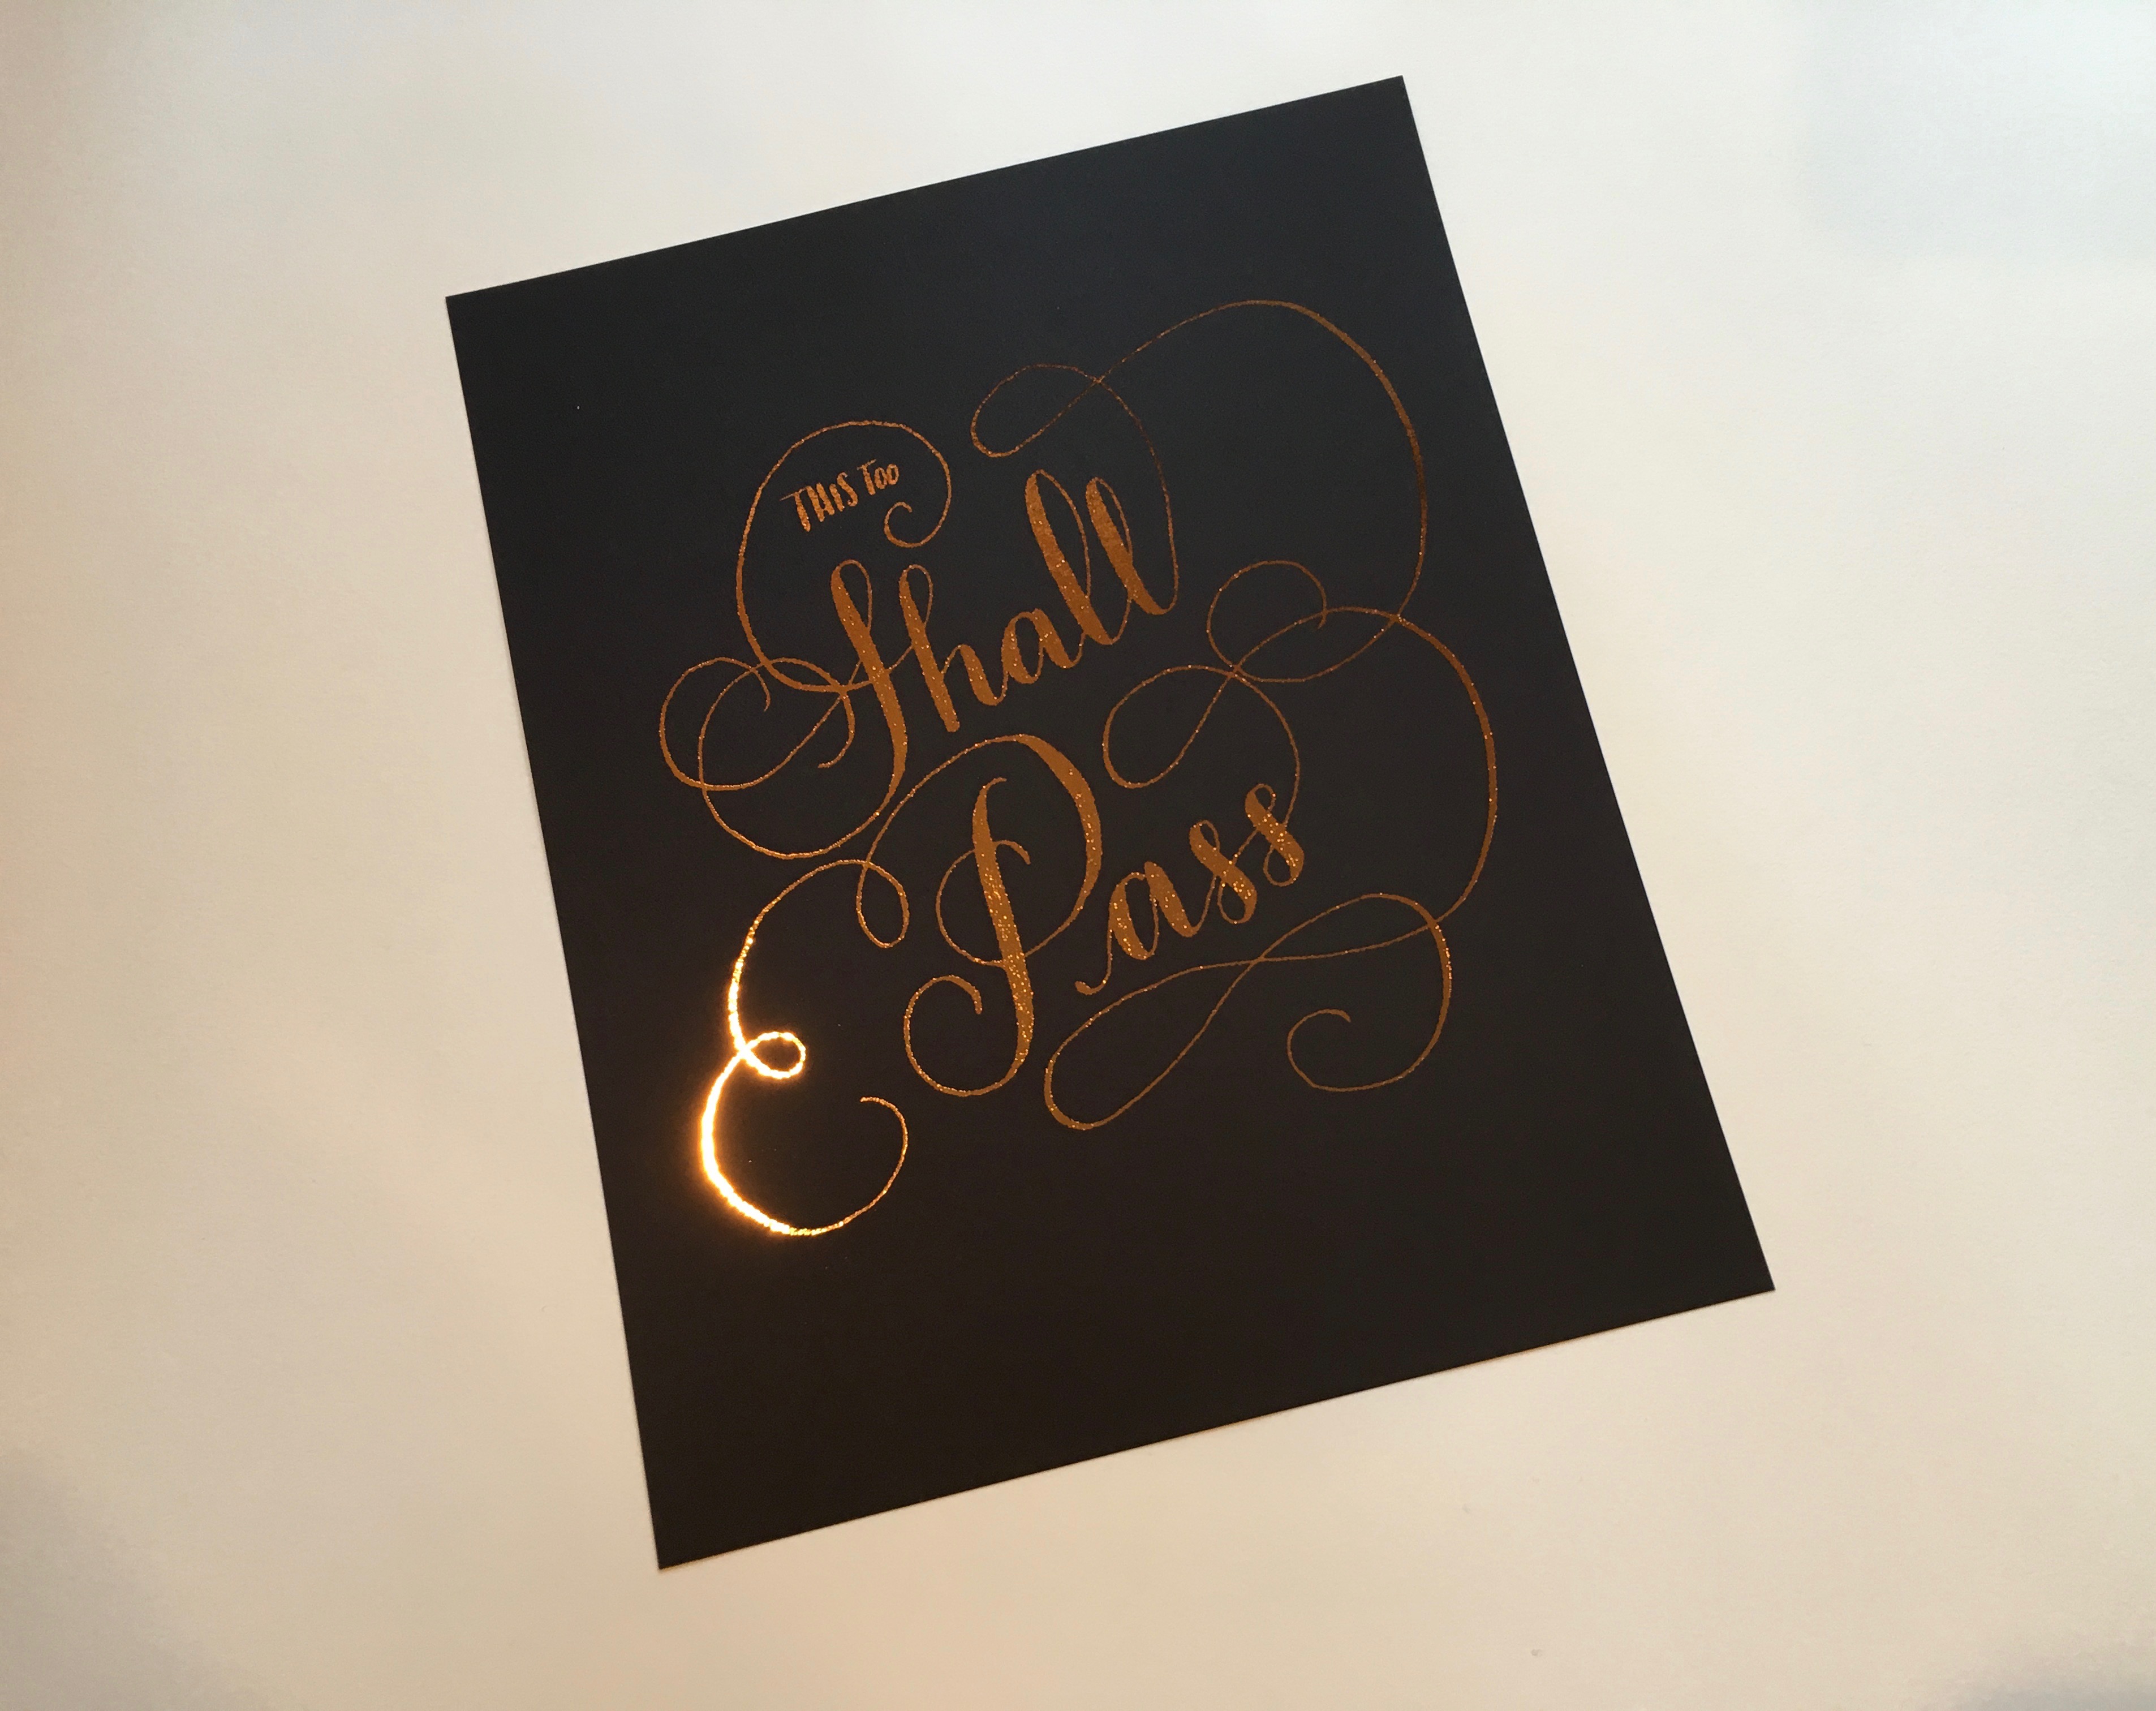
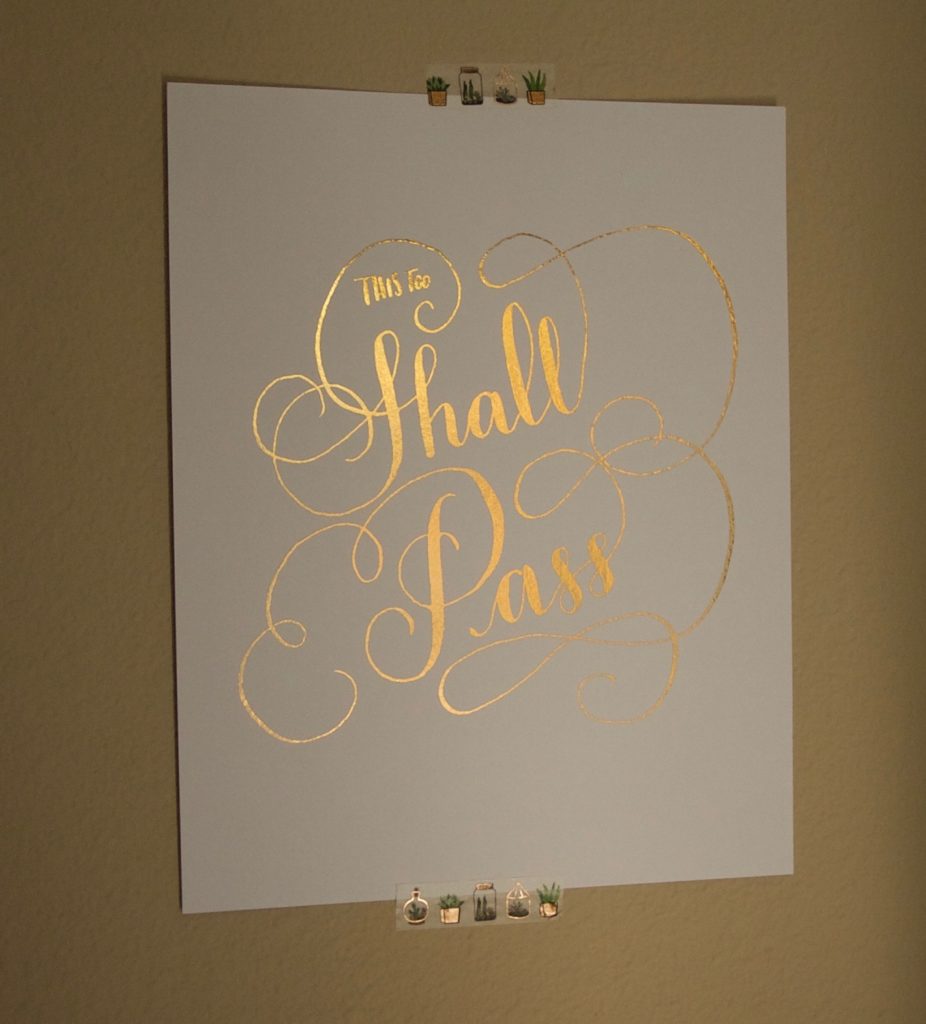
my “this too shall pass” on one of my studio walls
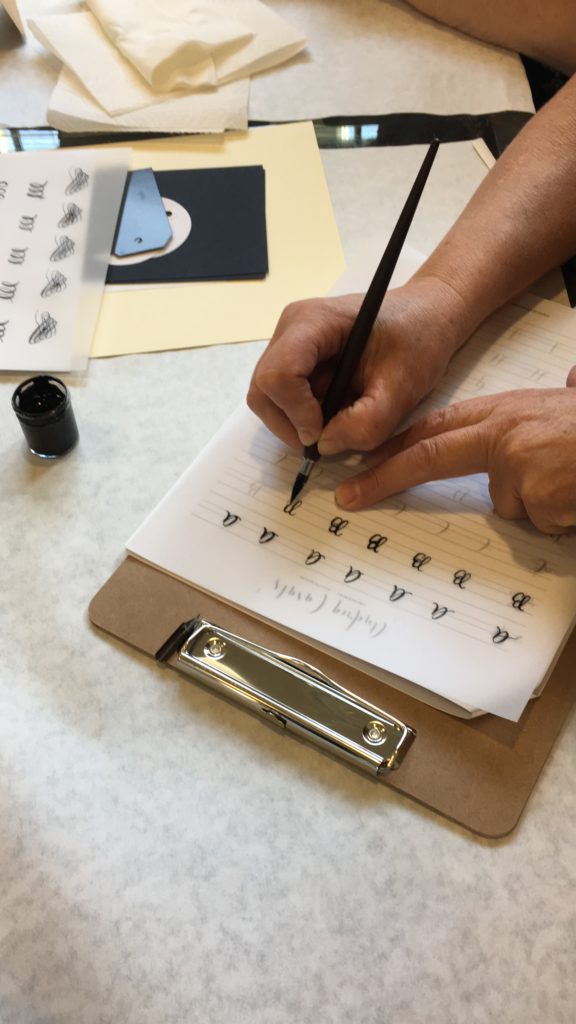
 

Free Christmas Printable

Hi friends!

This year, I found these marbled vellum envelopes and fell totally in love with them. I decided I had to get them and use them for a very special occasion. A hand-written note for the holidays to my special clients sounded like the perfect one!

That’s how I created that “Merry everything” card and then I thought that I also wanted to share it with you, my friends and followers who read me and always encourage me with your comments!

I made a slightly different version by adding the watercolors on the upper right corner and now, you can download this digital “Merry Everything” here.I hope you like it! Enjoy the season friends!

Gift idea for the holiday season

Hi friends! This week I’m writing to share with you that I’m introducing a Gift Certificate option for my upcoming workshops!

This year, you can surprise a special person in your life by giving the gift of learning the beautiful art of Modern Calligraphy by attending one of my workshops at A Work Of Heart, right here in the South Bay Area.

click here to get a Gift certificate! 

Be sure to follow the instructions and choose the “Option 6 $95” and if you have any trouble deciding, feel free call 669.292.5001 and someone at A Work Of Heart sure will help you out.

Choose something different this Holiday Season and give a thoughtful and beautiful gift… the gift of learning!

A little bit about wood signs

Hi folks!

Recently, I’ve been working lettering on wood signs for a special event organized by a local Catholic school.

As I shared the process on social media (Instagram stories), I received a lot of questions and comments from followers and friends that were surprised at how much work needs to be done in order to create one of these precious signs.

Wood requires a lot of work, a lot of preparation in order to create a good quality and beautiful piece.

Well, that’s mostly the reason why also custom-made wood signs are more expensive than acrylic or mirror signs. Besides the obvious part than it’s the material itself, a wood piece is of course more expensive than an acrylic one and sometimes even mirrors or chalkboards.

Also, this work can be dangerous and most specially if you’re allergic or pregnant since you’re working with hazardous materials.

Today I want to share what I use every time that I prepare a wood piece. Disclaimer alert: The materials and safety supplies listed in this blog post are the ones I use. I’m not a Safety and Health professional. Always check regulations and look for professional recommendations before working with hazardous materials.

I usually do this kind of work in my patio, since it’s an open space. Now if it’s raining, then I work in my garage BUT I keep the door of the garage completely open so it keeps the area well-ventilated. I also use garbage bags on the floor when I’m painting so I don’t leave any stains on the floor.

The first part of the process is sanding, it’s the one that requires most of the physical work of course. I always wear a good quality safety mask because breathing the particles of the sanding process can be very harmful.

After the sanding is done (time may vary according to how many pieces or how big is the piece I’m working on) I move to sealing/staining part.

I specially love the Olympia brand since it provides both purposes in one single pot. It is also a good paint/sealer for exteriors so it helps that in case it rains during the event and the wood sign is outdoors, it won’t start staining all over.

I usually give it 2-3 coats on each side (waiting in between coats until it is dried) until I get the color I was looking for. How many coats takes will also depend on the wood, each wood piece is different. Some absorb more some less. You see? It’s a lot of work and time!

After my piece is stained, sealed and totally dried (12-24 hours after the last coat of paint/sealer) I can start my lettering.

Now from this part, it could also vary. Sometimes I sketch on them first using a chalk pencil or regular chalk. Since I’m also allergic to chalk, I always use nitrile gloves for this part.

Then comes the inking process with my markers, again depending on the color chosen by the client, this will vary but my favorite pen of mass creation is the One4All from Molotow.

After that, 2-4 hours to dry and last, a coat of spray sealant with a matte finish. It will help the artwork and it will give a natural non-glossy
finish to the whole piece.

The wood sign is now ready to be delivered!You’ll have a beautiful piece that will stay the same color for many years and the ink won’t disappear if it gets to rain on the day of your event!

*All the wood signs created by yours truly ;)

**First & last pictures by Quianna Marie Photography


This is what happened yesterday

Hi friends!

I’m so happy that November is here! I have always loved fall but this year specially, since being pregnant made me also hate the sun and the hot weather. And San Jose is a very sunny/dry city! We only have an average of about 60 days of rain around here!That might be the part that makes me miss other cities where I’ve lived because, you know, I’m not a normal person and I’m proud of that 🙂 I crave rainy days, I love grey skies, I even get to find great enjoyment in a thunderstorm (like the ones we used to have in New York or Buenos Aires). 

Anyway. Here I am and I like being part of this community. Every time that I get to teach a new workshop and meet new local art enthusiasts, my heart fills with joy! Yesterday, I taught another of my Introduction to Modern Calligraphy Workshops and we had -yet again!- a fabulous time. As always, two hours went by so fast while we talked and practice something I have found to love so much and enjoy, as I call Modern Calligraphy: drawing letters.

Class in session!

We also treat ourselves to some pastries, fruit, orange juice and Italian sodas. Because it’s all included, you know! All of this surrounded by a lovely bouquet of flowers and some delighting music at A Work Of Heart Studio. What a lovely Sunday morning!

Like Monet, I must have flowers always, always, always


The next weekend, I’ll be teaching the Modern Calligraphy: Holiday Envelope Art only session and then just one more of the Introduction to Modern Calligraphy will be left for our 2017 edition!

HAND-LETTERED PENCIL POUCHES – Freebies for my students

What’s for 2018? Well, I’ll be offering two more of the Introduction Workshop, one in January and one in February because after that… I’ll be going on Maternity leave! I cannot even believe that as I’m writing it down in this blog post!

But let’s take little steps at a time. Baby steps ^^

Let’s appreciate that it’s still Mid-November, that we still have plenty of football and baking season ahead of us and enjoy this time.

See you soon friends!

Baby announcement idea using brush-lettering

Today I’m sharing a cute idea that you can use either for your baby announcement or as a baby gender reveal idea… Whichever your announcement, I think it’s a pretty cool idea and not a difficult one.

You’ll just need 3 simple materials:

Ready to see what’s this all about? Here’s the tutorial!

What do you think? Isn’t it simple yet fun and unique? And you don’t even need to have fancy hand-lettering skills!

Just some simple CAPITAL letters will work too! The magic is in the pigments moving through the water of the lettering and revealing the word.

That’s why I thought that you can either film the whole process (a time-lapse video would be amazing!) or just let it dry for 24 hours and use it as a prop for your special photo-shoot announcement.

That’s all for this week! See you soon!


Download your Halloween treat printable tags

Friends,

I hand-lettered this simple “Boo” and made it into a Halloween treat tag for each one of the treats that my kid is taking to his buddies at school.

So I thought about sharing it also with you! Just print it at home (or office), cut it through the lines and you’ll have these “scary” but cute tags ready for your treats!

Download the your FREE pdf file here:
2017-10 Halloween Tags by Andrea Casals

Here’s a quick video with the step by step process:

I hope you like it and… Happy Halloween!!

Holiday Envelope Art Session is coming soon!

Hi friends!

I’m so excited to let you know that I prepared a special class for this Holiday Season: Modern Calligraphy: Holiday Envelope Art Session! It will be a one day session only that will last 2 (two) hours.

If you’ve taken a Modern Calligraphy Workshop and want to try addressing your envelopes using your own Modern Calligraphy skills plus adding some art details, join me on November 19th at 10am at A Work Of Heart in San Jose, CA.

We’ll go over tips and tricks to letter envelopes; I’ll share with you info about the best tools to use when addressing envelopes while we enjoy some snacks and light beverages.

All of the above plus a shiny gold ink and some assorted colors/sizes envelopes are also included!

You’ll just need to either bring your own pen holder and nibs or buy those at A Work Of Heart.

Want to join? Just click here!

See you soon!

New workshop date!

Last weekend I had a new round of marvelous students attending my workshop at A Work Of Heart Studio in San Jose, CA.

The new location of A Work of Heart is just so good, it provides us with plenty of natural light, a big studio space where we can be comfortable while enjoying a time of making art together (while indulging with some fresh donuts!)

You already know that I like to prepare each workshop goodies and decor with a different “theme”. I kept the “kraft” color for this one since it’s the color of fall, which is in my favorite season.

I added those little pen boxes that were just too cute!

I always bring extra goodies; assorted samples of paper in different colors and sizes, tags, envelopes, you’ll always find something cool in those if you’re a paper nerd like me!)

Student at work!

For this occasion, I gave  to my students this hand-lettered tote bag with “autumn/fall” messages. Made by me of course, and I think they loved them!

Here’s a look at some of them…

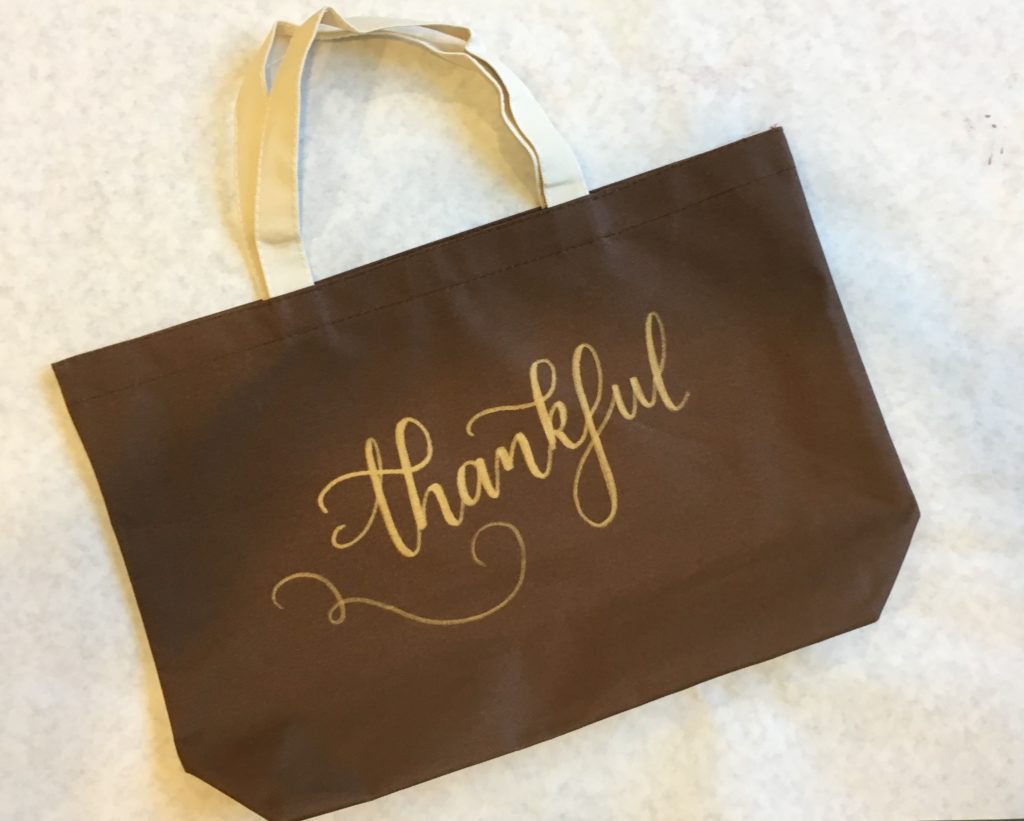
This Thankful tote might be my favorite one…!
I love the Letter “F” in this one!
Ok, that grateful is also very pretty!
Do you want to try Modern Calligraphy?

The good news is that I’ve added a new date for November! Do you want to join us? I’m still working on the new decor so… surprise surprise!

You can register online here and I hope to see you at A Work Of Heart on November 12th!

Baby announcement!

After a long time wishing for this baby to come, he/she will be finally coming to our lives April 1st, 2018!

We’re so happy and tremendously thankful for this blessing!

Or course, being a lettering nerd I wanted to incorporate something of my art to make his announcement and since it is Fall, the best way to do for me was lettering on pumpkins!

For this project I bought real pumpkins at my local grocery store, wipe them clean with a wet cloth and then I dried them with a paper towel.

I tried lettering first with my favorite Molotow marker but the texture didn’t make it very opaque. Same thing happened with the Sharpies Acrylic Water based.. They just didn’t stick plus they created like a rough coat in some patches (you can still see those in the “bebĂ©” littlest pumpkin).

So at the end, the best marker for this project for me was the Chalk Ink Chalk Marker. It sticked, it was opaque and it didn’t create layers of ink leaving a rough look. So, Chalk Ink Marker… Approved!

Also, little detail but the chisel tip is always great to create the thin and thick lines and give it more of a faux calligraphy look.

Enjoy the fall season friends!

My 3 favorite projects for beginners

Let’s be honest. Being a beginner is tough and frustrating a lot of times and this is specially true if you’ve decided to give Modern Calligraphy a try.

During my first year with this beautiful but difficult art I struggle A LOT.

First, it was just trying to get that balance of thin and thick lines. Like, what’s happening? Why does it seem so simple when others do it but so difficult for me? Is it the pen, the nib, the pressure?Argh. This endeavor was hard.

After several hours of practice, it seemed that the weekly practice paid off helping my brain to connect to the dots between what I wanted to do and what my arm and my hand were actually doing.

And that’s when I had to face all the rest of the battles: creating a decent shape for each letter (OMG that was hard!); dealing with the ink bleeding on the paper (and then having to learn about paper and ink quality) to finally keeping kind of a straight line and attempt to create something of a composition.

For a moment, I felt like I was in the middle of The Two Towers in LOTR battling hordes and hordes of orcs (yes, I’m a little bit of a nerd… if you didn’t yet notice it!)

And then, when I somehow managed to have all of the above working… A huge blob of ink would ruin my project!

I tell you friends, the struggle is real!

But there was something that helped me to feel less frustrated. And that was being able to create some projects that were pretty enough for the level I was at that time, a beginner.

That’s why I want to share today 3 ideas of projects that you can create and who knows? They might also help you, as they helped me, to feel more encouraged about my art and not quitting at it.

1. Re-Use those sheets of PRACTICE!

After hours or practice you start to have several sheets of paper with alphabet samples, numbers or maybe calligraphy exercises.

They might not look pretty at all when you see them. For instance, take a look at this one:

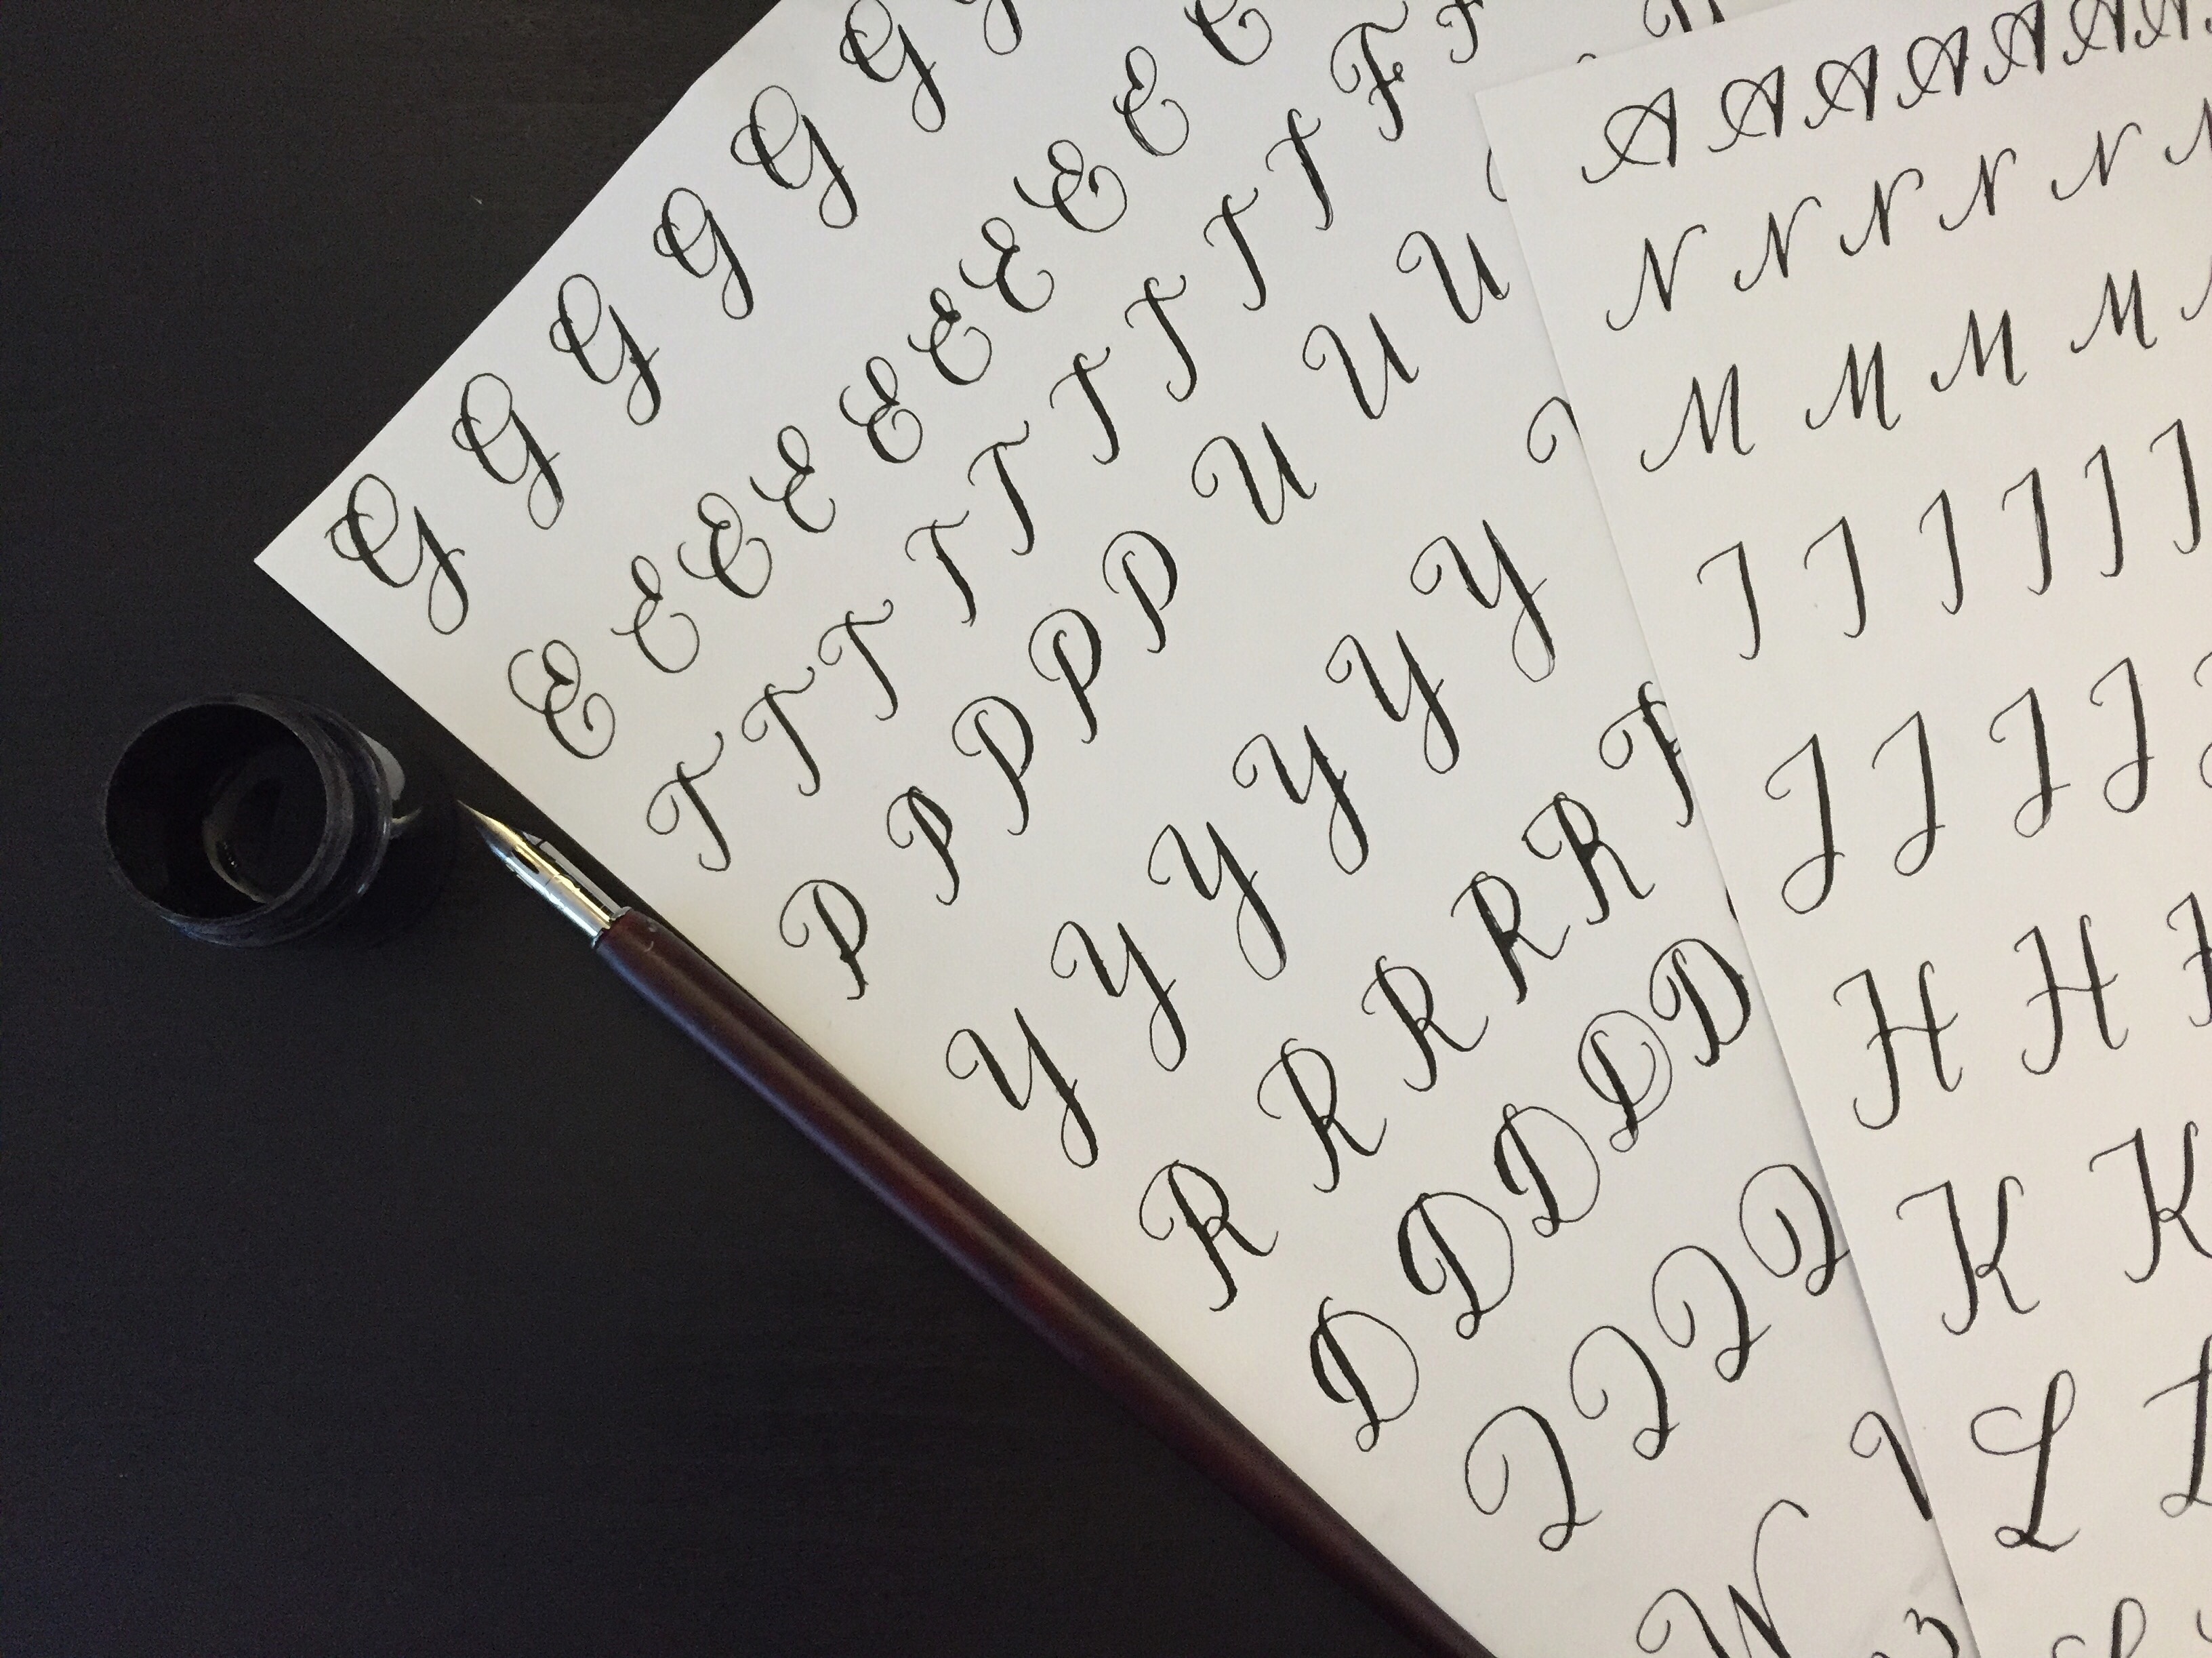
After 1 month into Calligraphy

But what happens when you re-use it as a wrapping paper? Add a nice ribbon and, voilĂ ! Something not pretty turned into something cute!

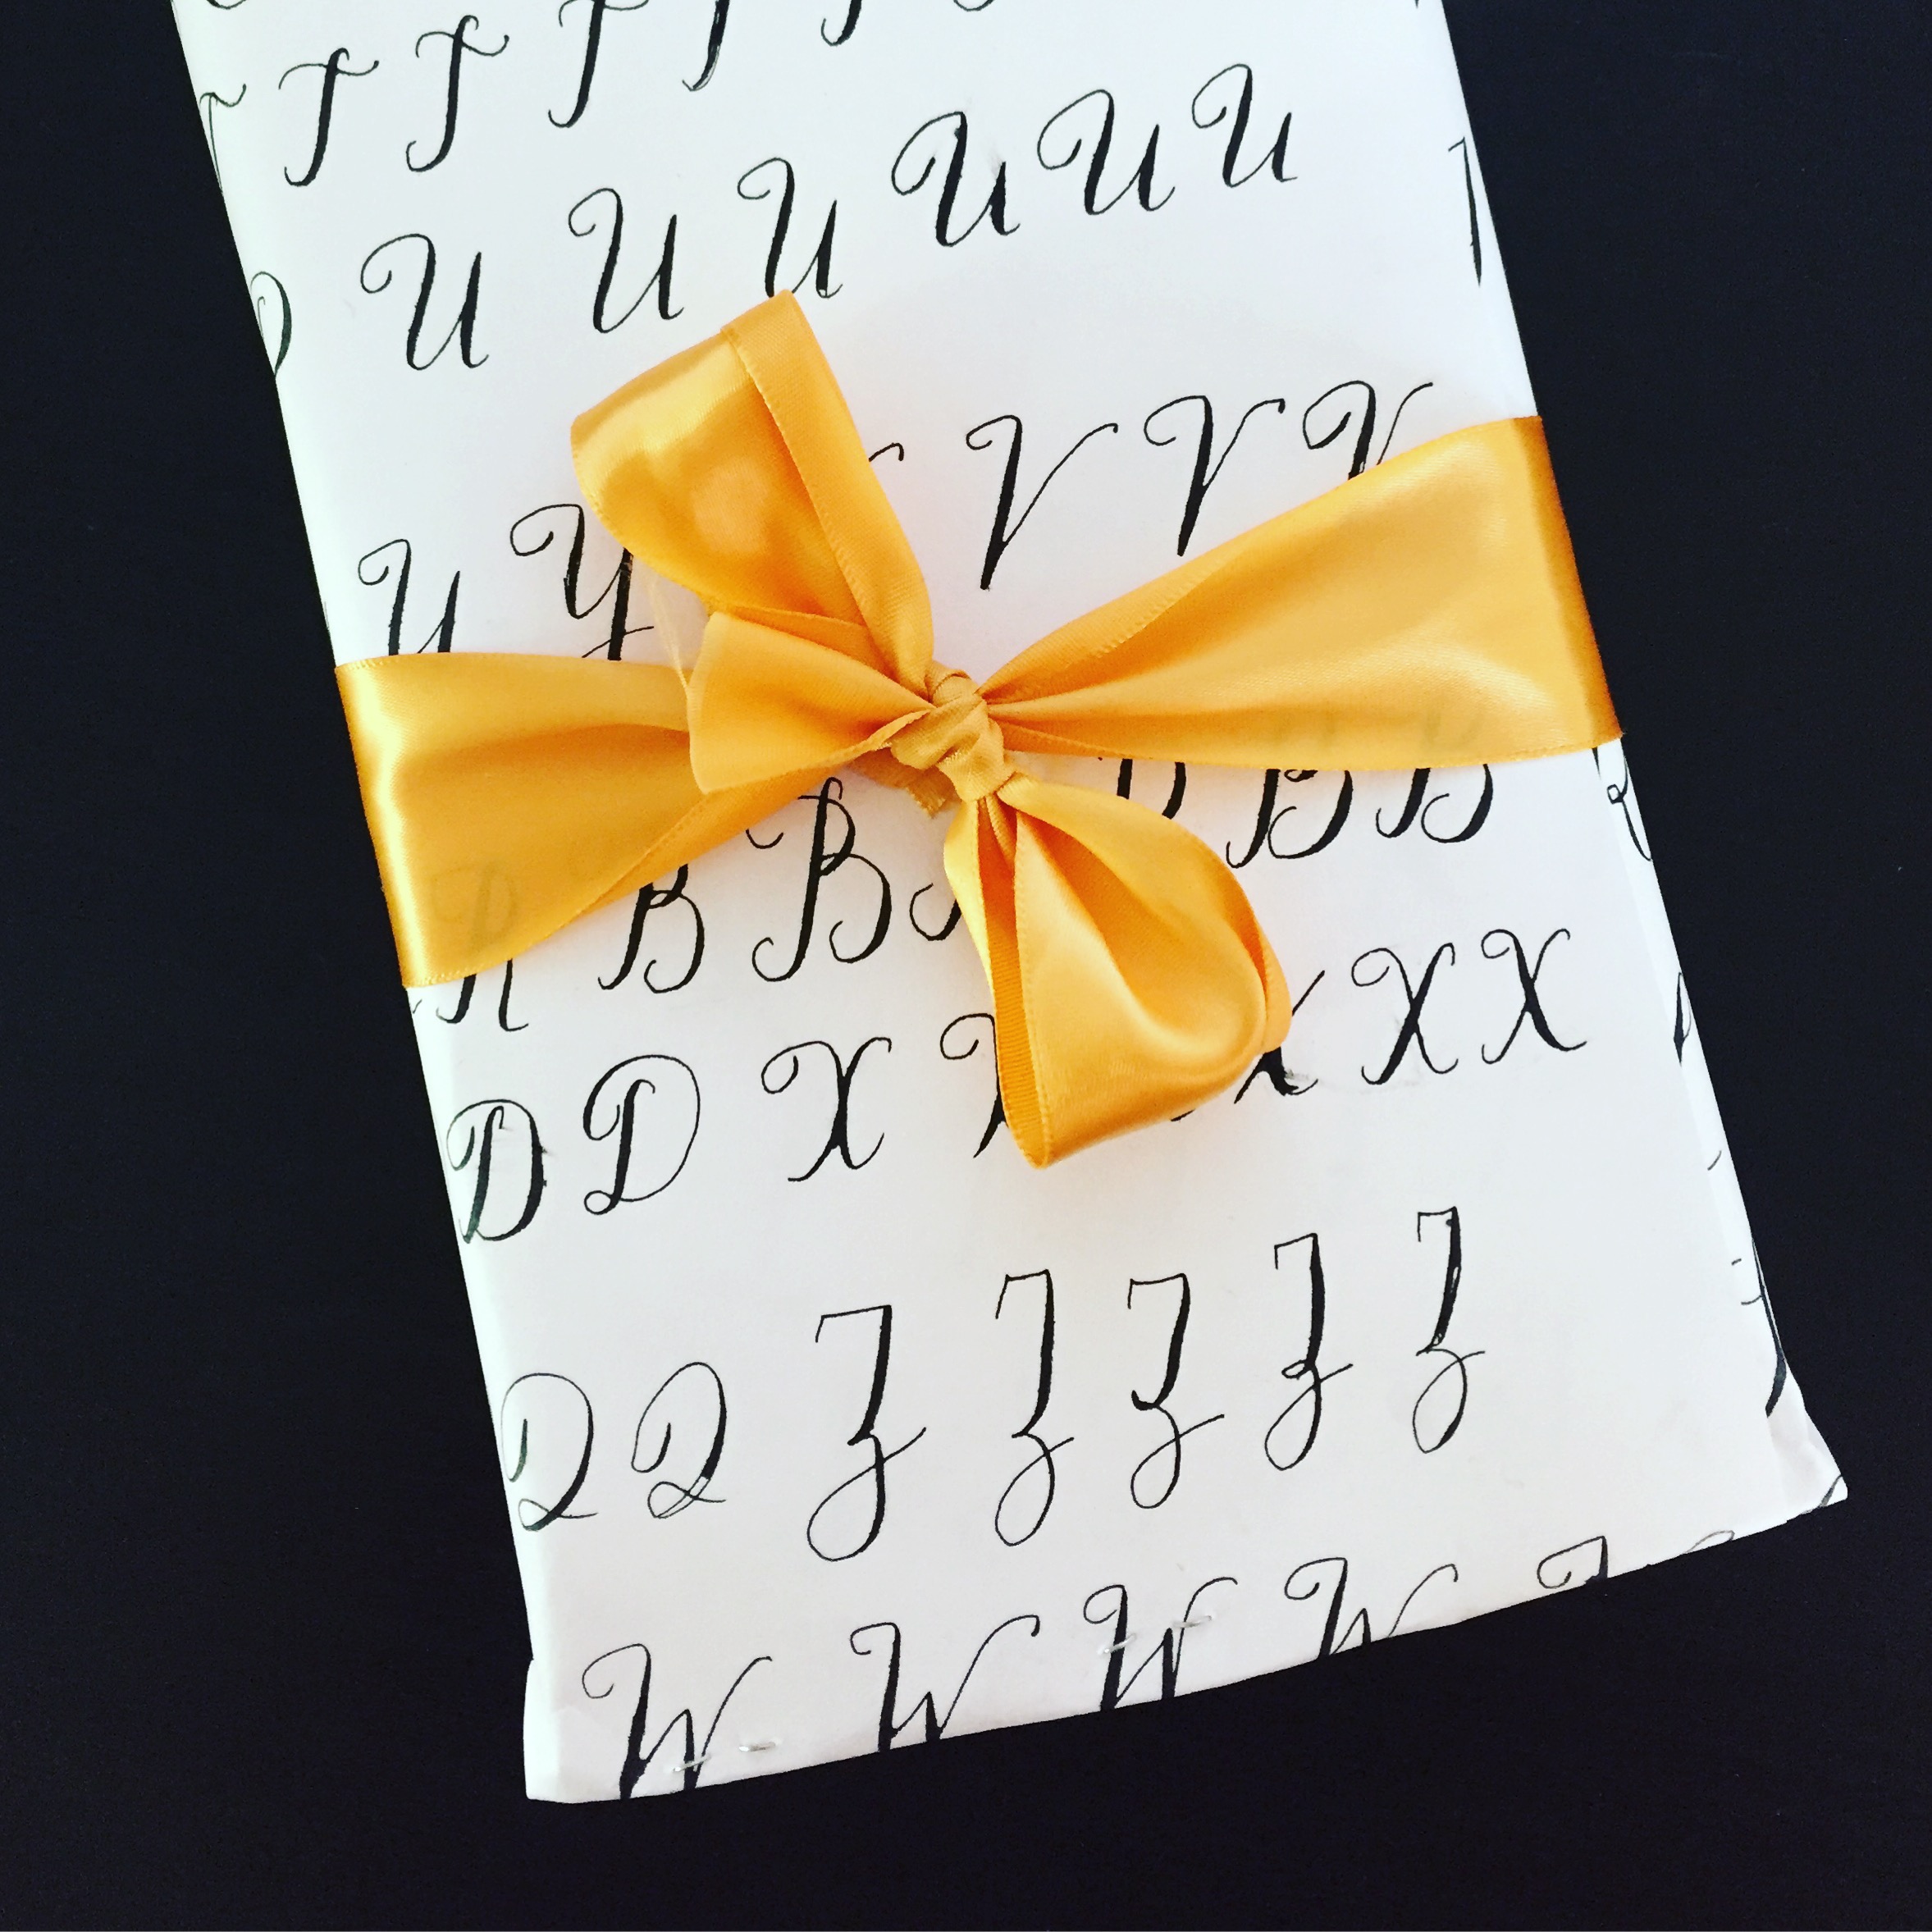
 Ohhh… What a little ribbon can do!

2. Create a simple quote for a wall decor

In this case I would say: keep it simple, keep it short and if you aim for a baby nursery or kids bedroom then it might be even better, since cute and imperfect sometimes is just what we are looking for in this kind of projects!

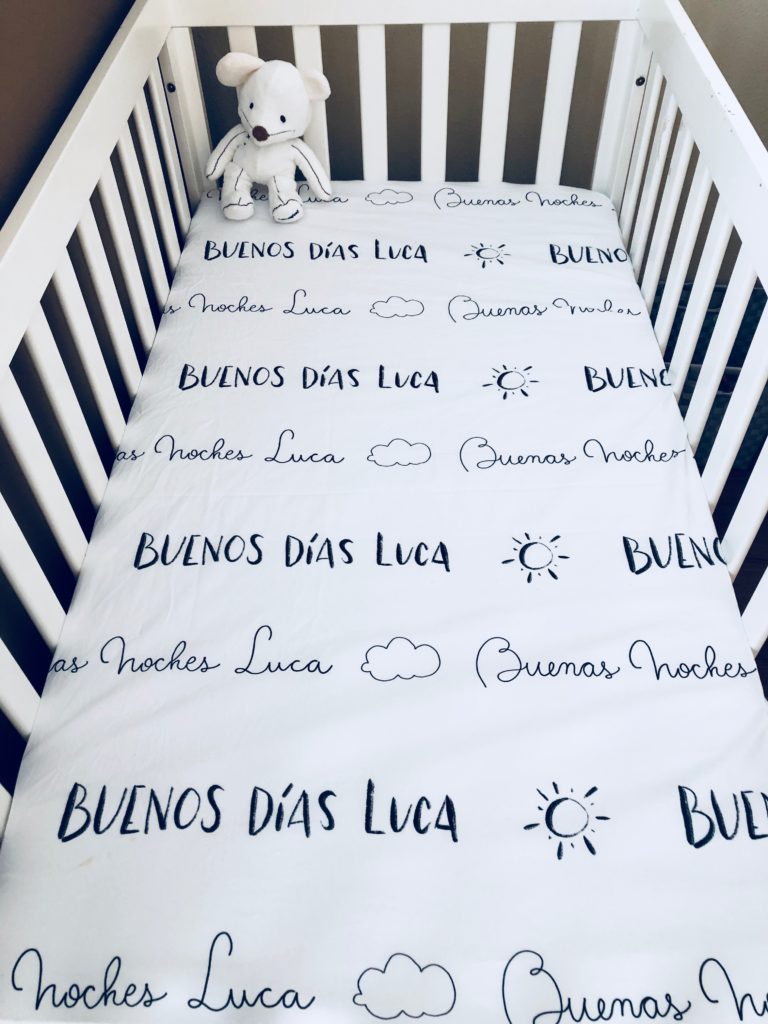
Quote for a baby nursery

Additional points: Frame it. Even with an IKEA frame. You’ll see how much of a difference it makes after it’s framed!

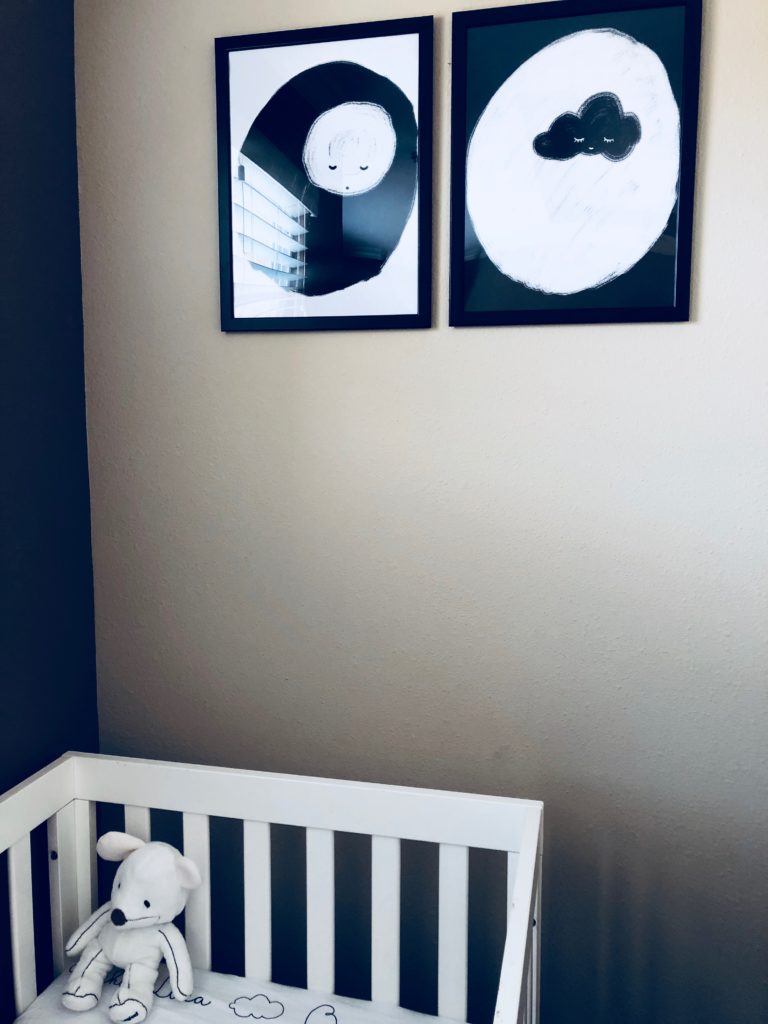
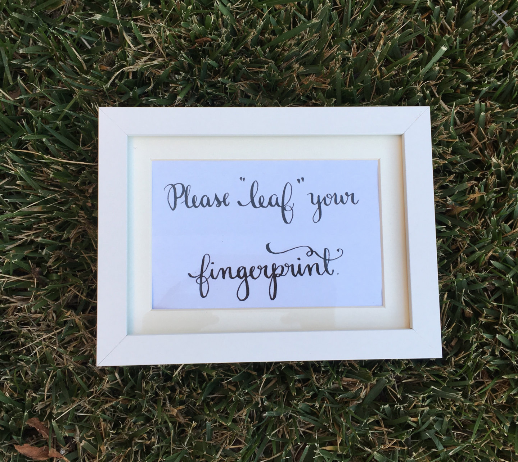
OHHH… WHAT An IKEA Frame CAN DO!


3. UPGRADE YOUR SNAIL MAIL ENVELOPES

It might seem simple but hey…! Who doesn’t love to receive some snail mail love?! I can assure you that not everyone knows how to write how you’re learning to so, feel confident enough to try it! Specially if it’s for a good friend who will appreciate your efforts to send something a little bit more special 🙂

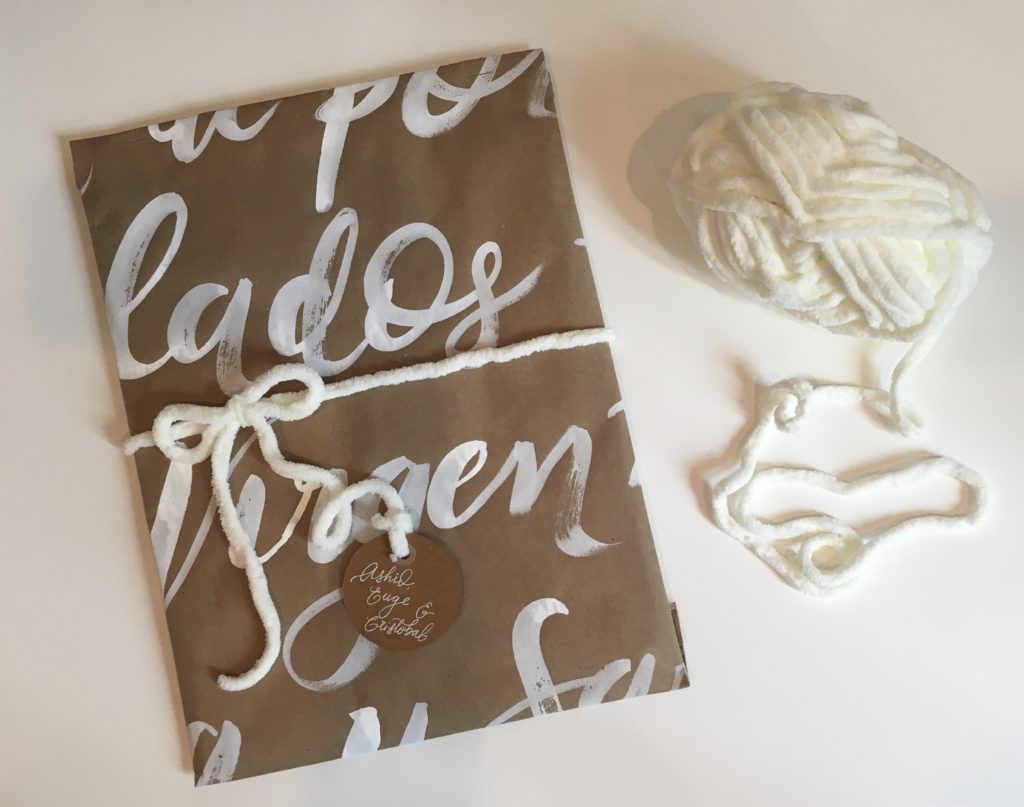
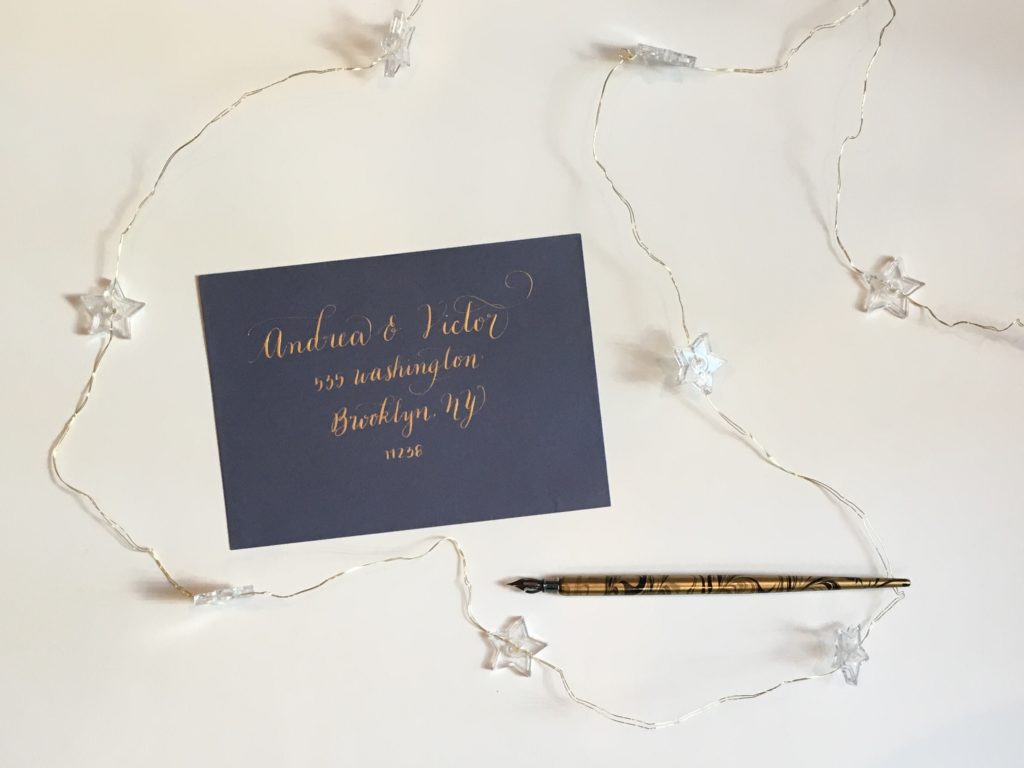
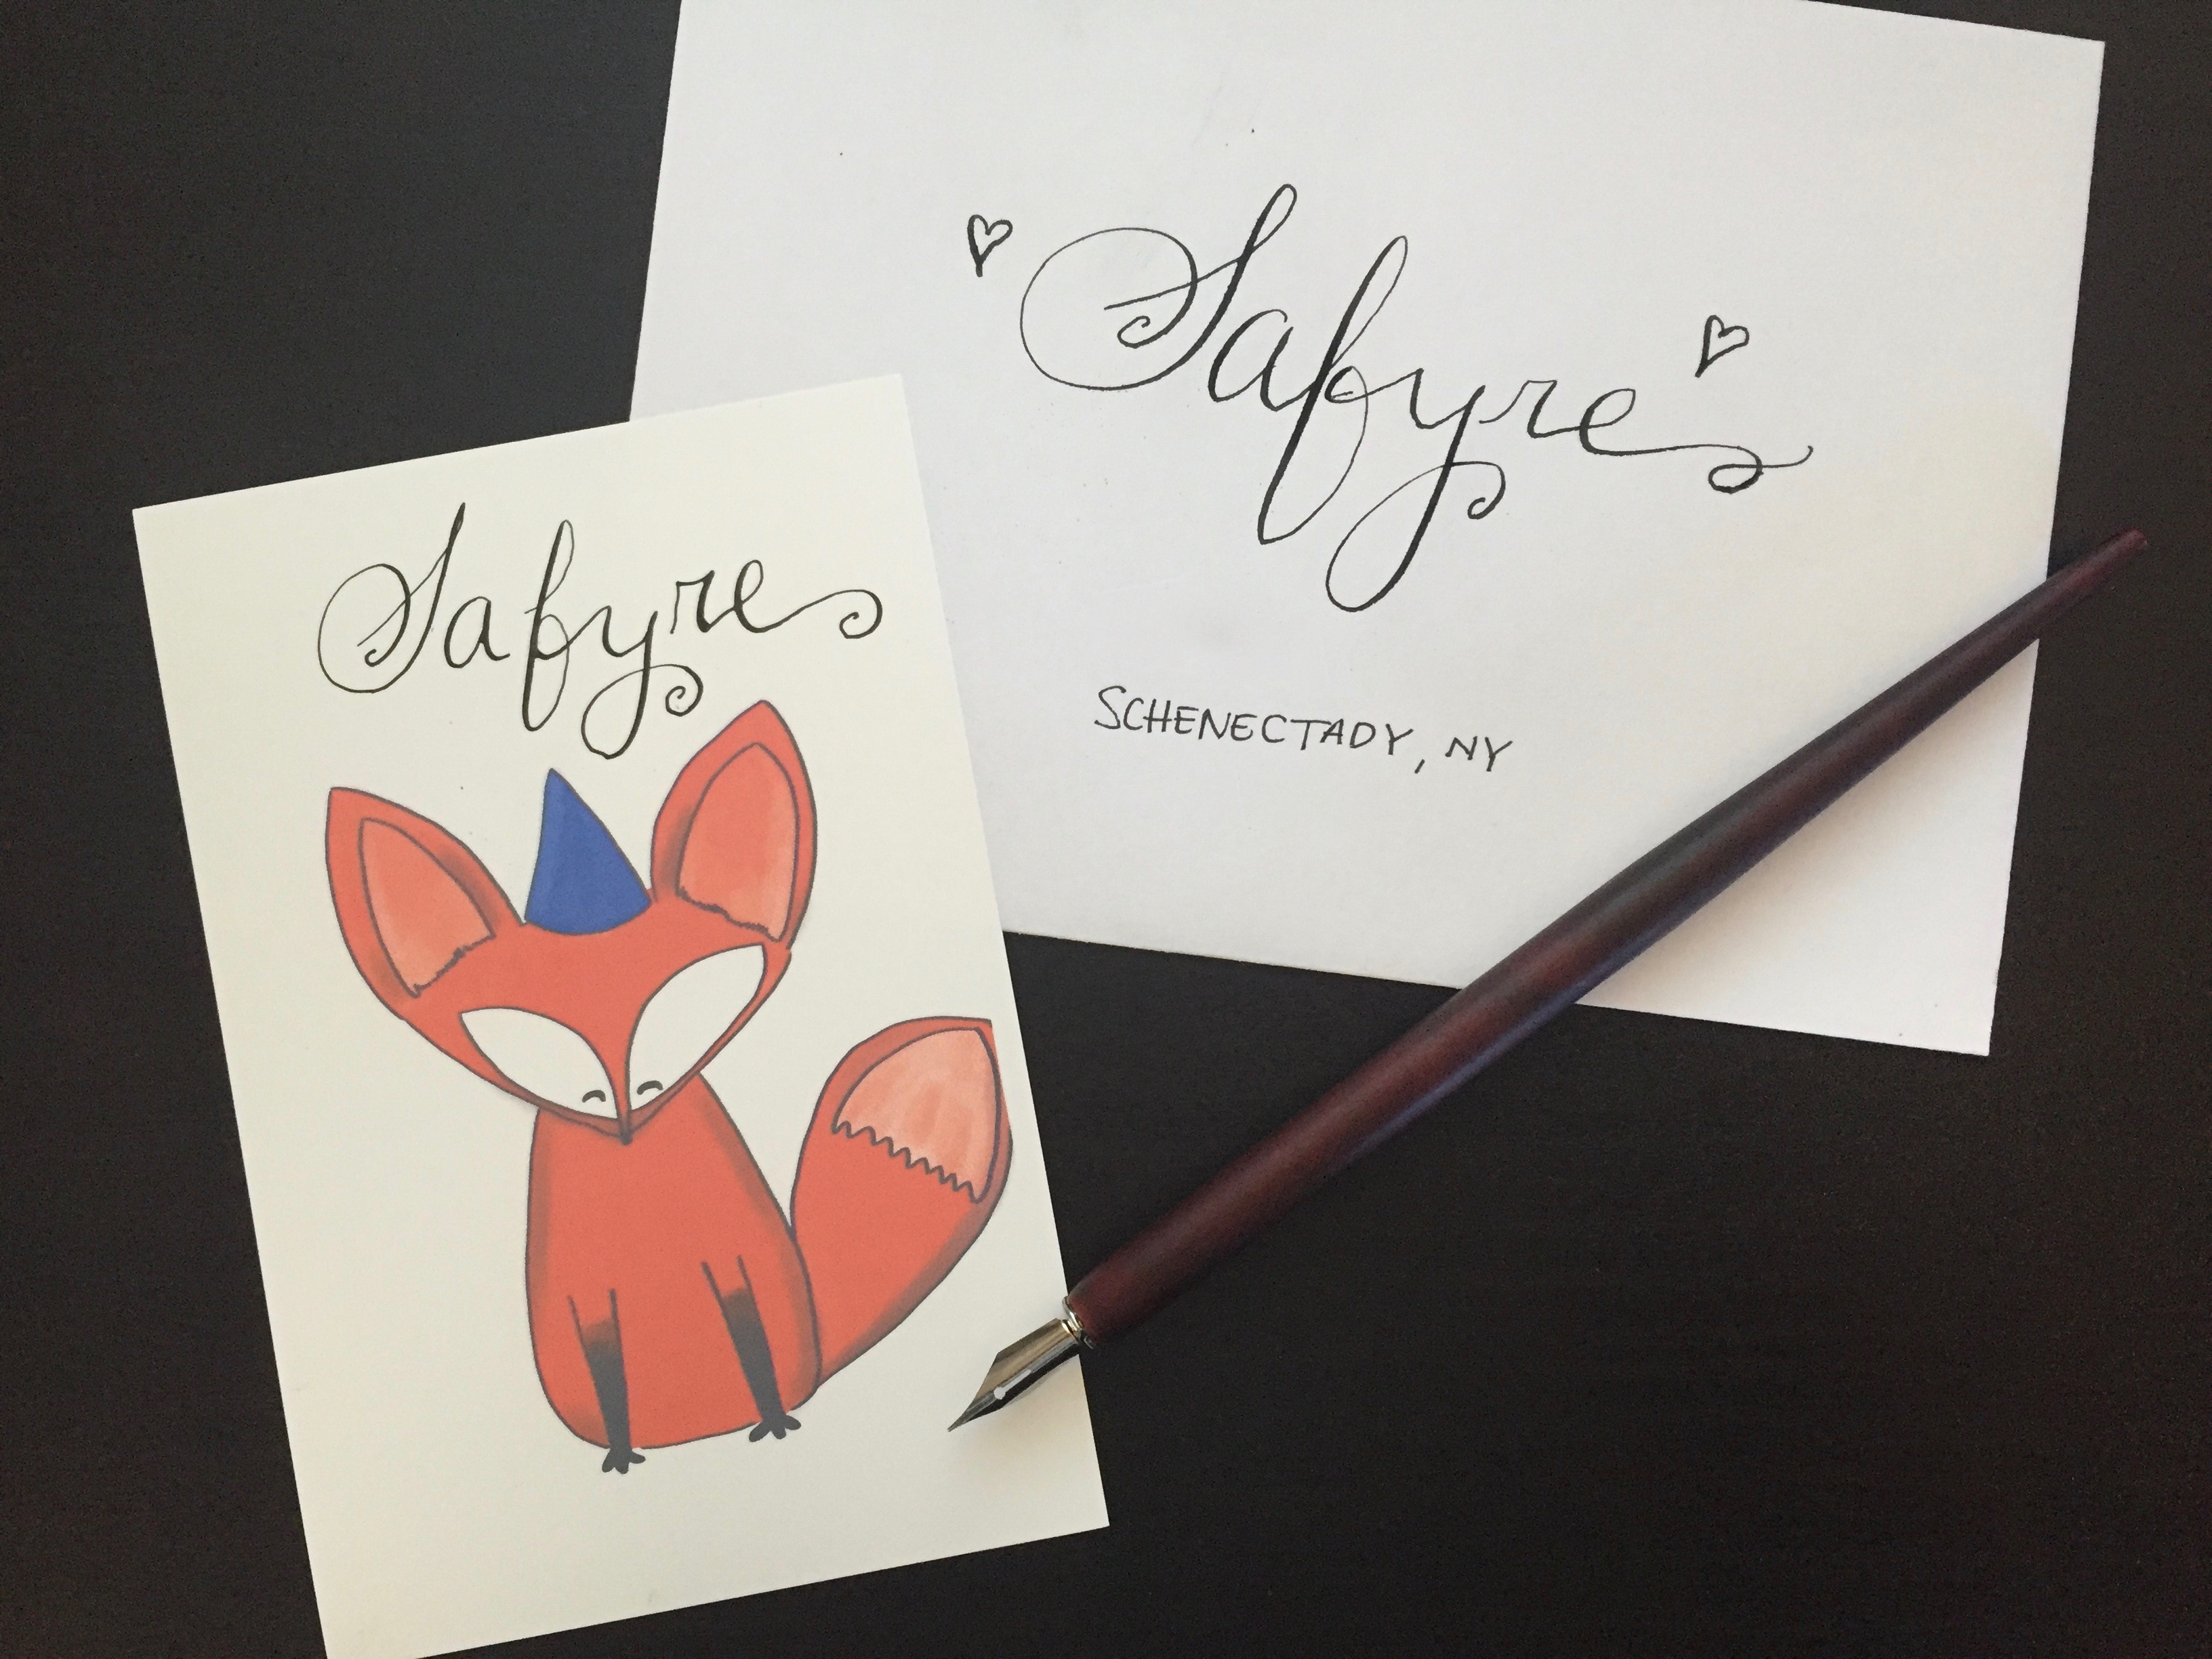
Snail mail day is always a happy day for me!


Okay friends, I hope these ideas are as useful to you as they were to me! Keep on practicing and most important… enjoying that calligraphy practice because we all know: it’s all about the journey!

***

Ps: Want to join in this Modern Calligraphy adventure?

Sign up for my next Introduction to Modern Calligraphy Workshop in San Jose, CA. Register here. Beginner kit, refreshments and treats included. Hope to see you there!