Another favorite marker

Hi folks,

This week I‘ve been working on Luca’s pregnancy journal while I wait for his arrival any moment now since I’m almost 40 weeks pregnant!

To be honest, I couldn’t keep it updated during this pregnancy since it has been a tough ride for me, specially since I had so much nausea and couldn’t keep my food down until week 20. I barely have any energy and it was hard even getting out of bed each morning. It was rough, but I’m thankful we’re getting to the last days of pregnancy.

I thought of sharing this other [amazon_textlink asin=’B00U6KP2KC’ text=’Molotow marker’ template=’ProductLink’ store=’andreacasalsa-20′ marketplace=’US’ link_id=’147a1442-32be-11e8-98fb-15dda49c7385′] favorite of mine.

It’s a masking marker that you can use to write for instance on watercolor paper, then paint with over it and when the painting is dried (super important step!) you can finally remove the masking to uncover your “hidden” message.

It’s a fun technique for art-journaling and also for cards or table place-cards using watercolors and hand-lettering!

I leave you a short time-lapse video showing how I created this page on my pregnancy journal.

See you soon folks and hopefully with some baby news! 🙂

Luca’s nursery

Hi folks!

This week I want to share something very special, my little one’s nursery decor.

Luca will share our bedroom and in the first months he’ll also sleep next to me so his crib is more ornamental at the moment but that didn’t stop my nesting syndrome to create a little space for him.

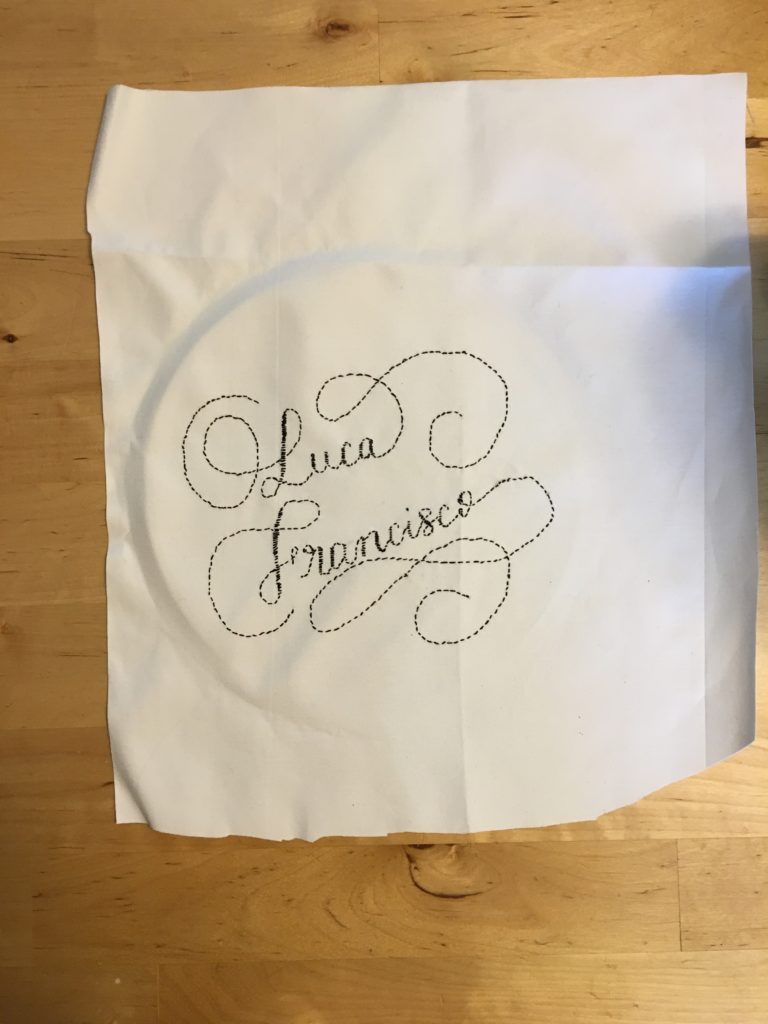
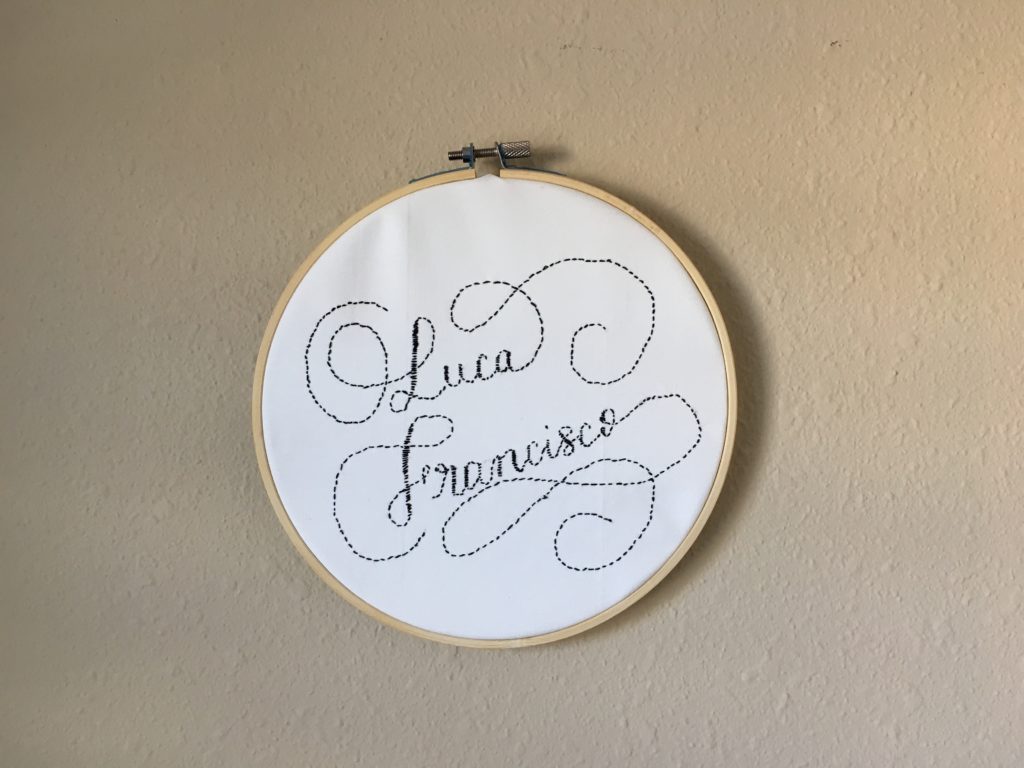
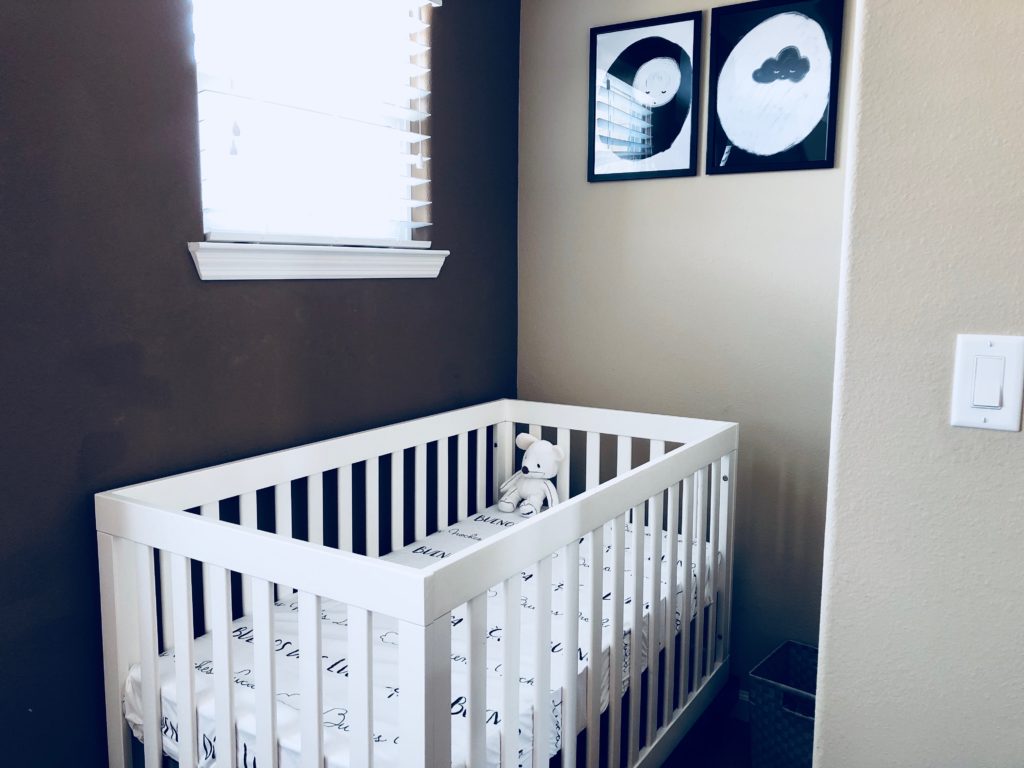
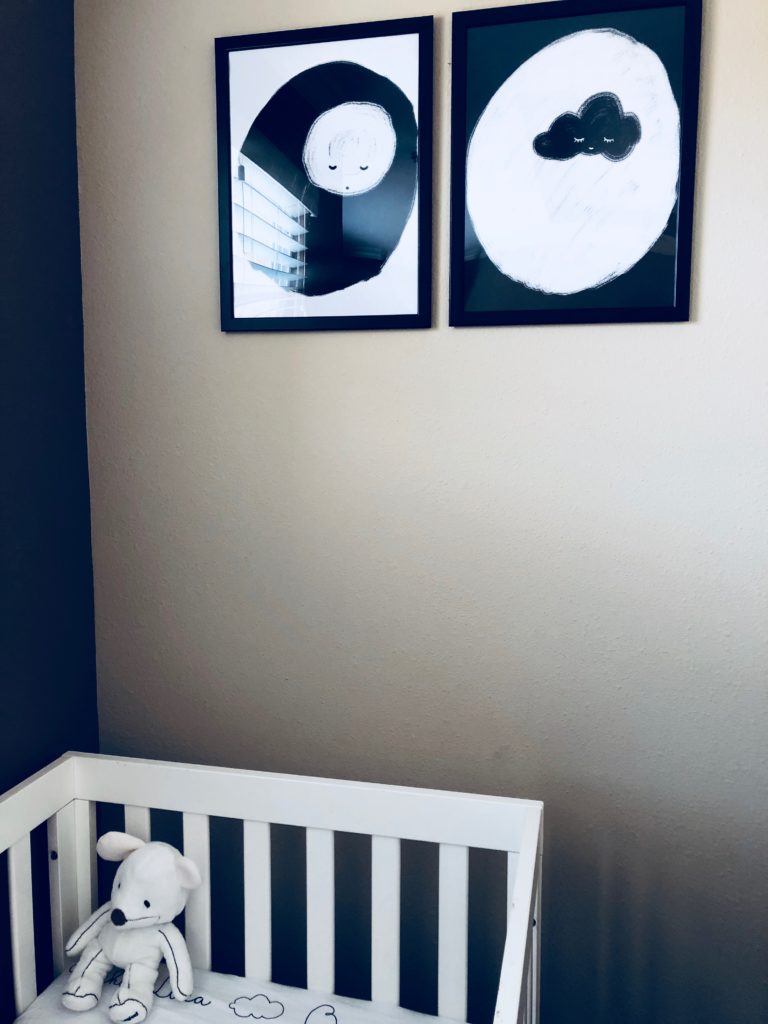
There’re three important things that I created for his space. One is the hand-lettered crib sheets and the other two are the art prints on the wall. Here’s a quick pic of his space with a predominancy of black and white (besides the brown walls that are part of our master bedroom).

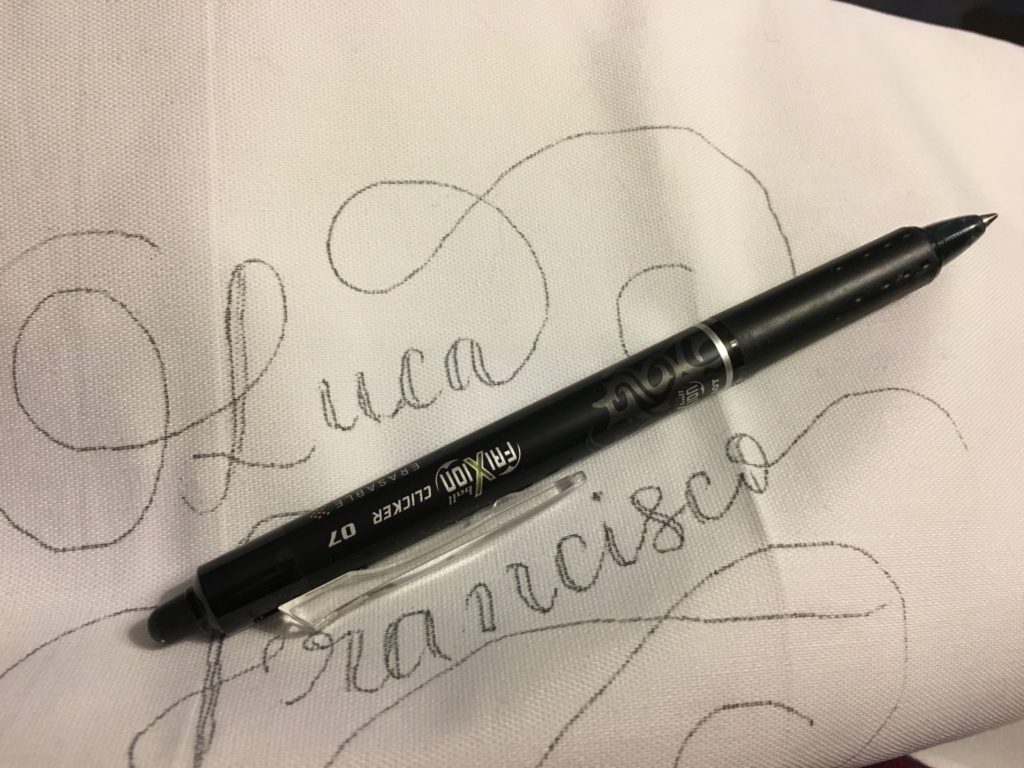
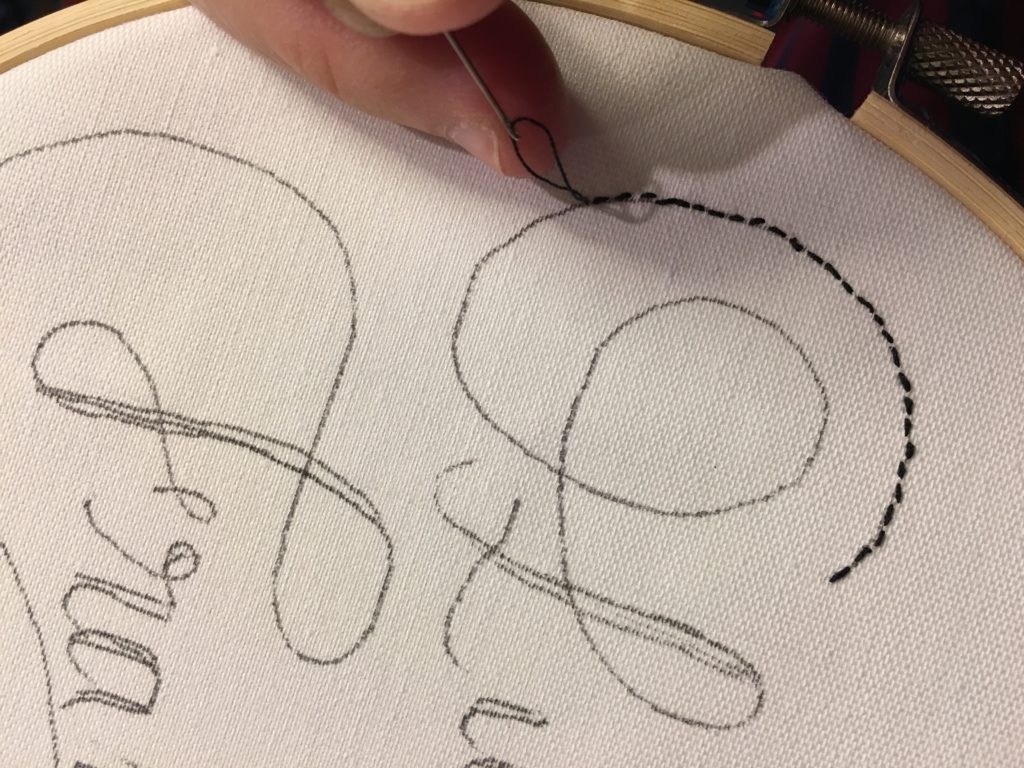
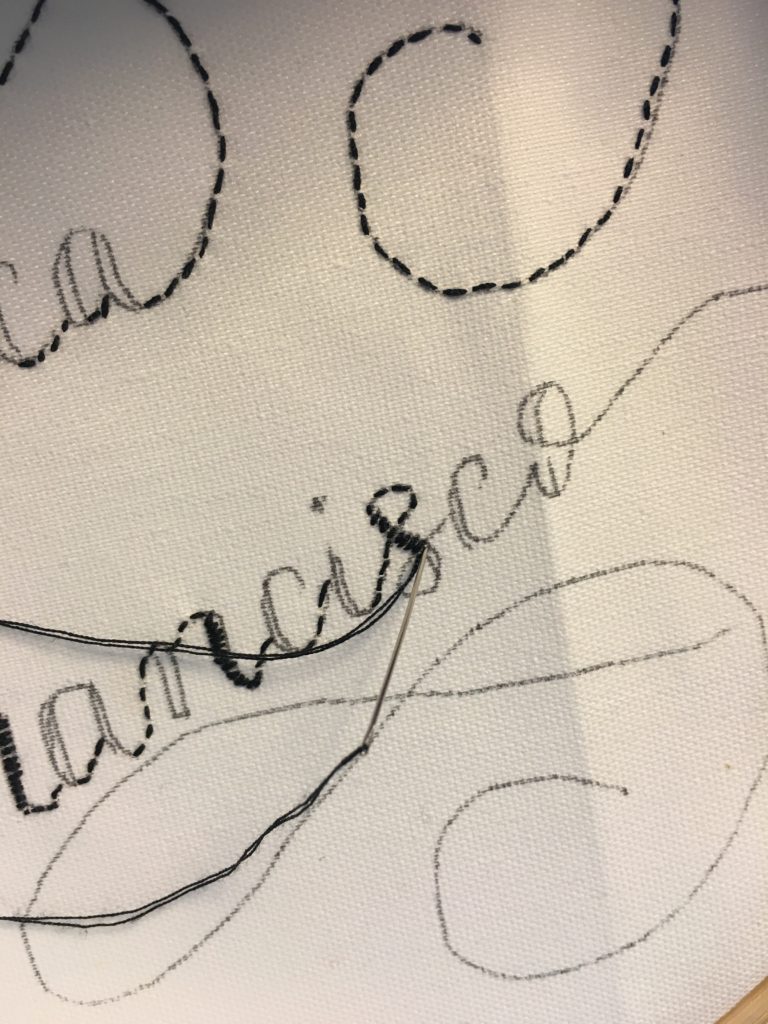
For the sheets, I used my monoline style and a digital brush lettering style and created this pattern that says in Spanish “Buenos Días Luca Buenas Noches Luca” which means “Good morning Luca Good night Luca”.

After printing my fabric I did a little bit of sewing and created the sheets for the crib.

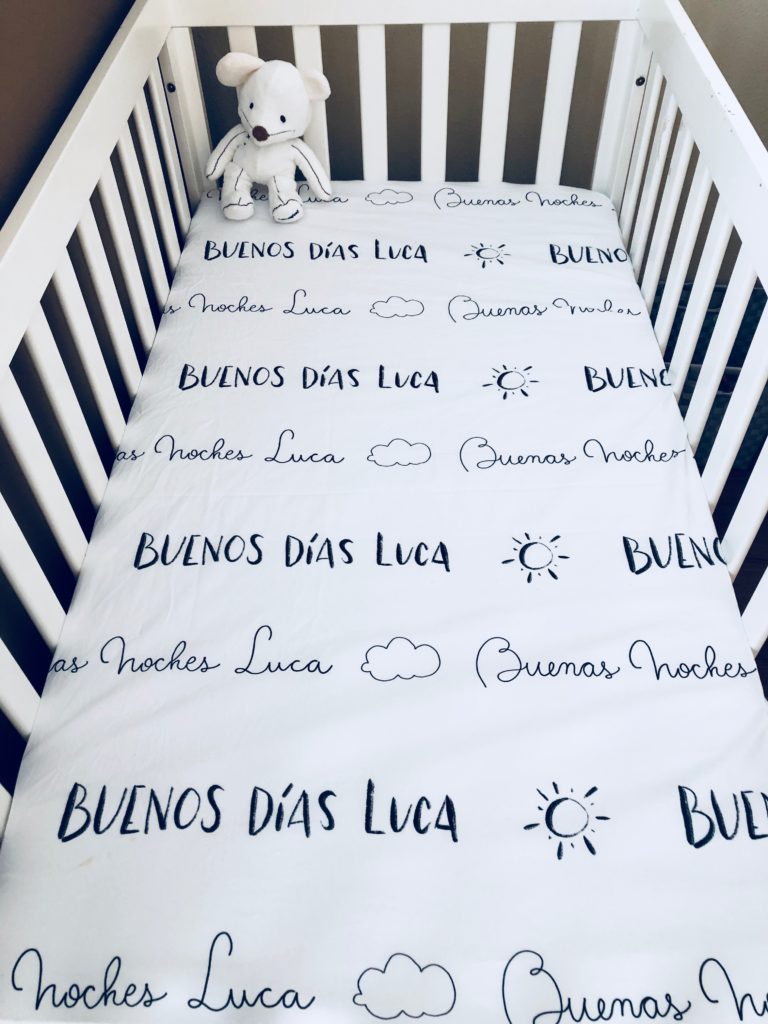
Since some people asked me for this pattern, I went ahead and put a similar one on my Fabric Shop but without the Luca part, just the “Buenos Días Buenas noches“. You can also buy sheets set already done here (crib size not available though).

Now, for the walls, I created a peaceful sleepy moon and a moody cloud and framed them using some black frames.

I love this sleepy moon and the moody cloud so much, I think it added the perfect detail for his little space.

I’m very happy with all the little projects that I’ve been creating for my baby, I’m thankful for being able to use my creativity and skills to prepare these things for him. It filled my heart with happiness, specially since this pregnancy was so rough until the week 22. So, connecting with my baby through art projects and enjoying this last part of pregnancy -even with the difficulties of a third trimester- has been a blessing, a spark of joy!

For those interested, sleepy moon is now also be available as a 8×10 art print on my etsy shop.

Now friends, I’m about to turn 39weeks pregnant so if you get to see that I don’t write next week is because baby arrived!

Anyway, have a wonderful week!


PS: You might want to check also Marco’s nursery or these crib sheets.

Big news!

Hello friends!

I’m beyond happy to share the big news: my Introduction to Modern Calligraphy Course is available online here!This online course is perfect for beginners. You don’t need to have any artistic experience nor a good hand-writing; I’ll guide you step by step with all the details of Modern Calligraphy so that you’ll be able to create at home the thin and thick lines so characteristic of this art using a straight pen holder and a professional nib.

During the course besides all the technical details of this art, a detailed video instruction with warm-up exercises and an alphabet sample, I’ll also give you all the tips on the best tools and materials which is just so important. When I first started, I had to pretty much discovered them by myself, buying, trying and deciding. It was a big waste of time (and money!) so I added these details on my online course since it was something that I really would have wanted to have from the beginning (plus, it would have saved me also so much frustration!).

Now let me tell you a little bit of the “behind the scenes“.

First of all, Victor -my husband- has always been the one that encouraged and supported my artistic journey and to whom I owe so much of the joy that I’ve discovered by being able to now work doing something I love! And he was the one telling me for about forever to create courses and offer them online.

On my side, I also started thinking about this possibility after having some people interested in attending my workshops but they didn’t live in the area. Like many of my friends in New York and Argentina.

So, in January this year, we started filming in my studio in San Jose and now, after all the editing and the online platform is ready, we are sharing  my course with the world!

I’ll still continue to teach my in-person workshops in San Jose but that will re-start after my maternity leave, in the summer. I’ll keep you posted about that as soon as I have the dates set.

That’s it for this week, and what an amazing week it is!

As always, thanks for reading folks and thanks for sharing and recommend my work to your friends and family! I’m always thankful for all of my clients, my students, all the people that have worked with me and recommend me to their friends and family.

Thank you, thank you, thank you! So much love to all of you!! <3

Have a great week, friends!

From Modern Calligraphy to Embroidery

Hi friends!
I’m 36 weeks pregnant and the nesting syndrome has kicked in with all his power. I’ve been trying to finish a lot of projects that this baby inspired me but my energy is so low that is a bad combo having so many things to do with so little time and energy.

Anyway, as one of my favorite Lisa Congdon’s poster says, I had to begin anyhow.

If you follow me on Instagram, you might already seen a few weeks ago that I posted this picture of the name of my baby that I wrote using my own Modern Calligraphy.

I wrote it using a Tachikawa T40 pen-holder and a Nikko G nib. After that and using a light pad, I traced over a piece of fabric the names using [amazon_textlink asin=’B002B55YD0′ text=’this pen’ template=’ProductLink’ store=’andreacasalsa-20′ marketplace=’US’ link_id=’0dee361f-21c1-11e8-8e83-734d209fddb2′].

This pen is MAGICAL, I love it because it’s a gel pen with a fine point but its ink is erasable! Yes, you’re reading this! You can trace over fabric and then just use a warm iron over your illustration or lettering like in this case and it will disappear!

Now, let’s go to the second part. I used a 7 inches wooden embroidery hoop and some Singer black cotton thread.

Then, of course, the hard work started. I chose the very basic, simplest stitch since I didn’t want the stitch to take much attention from the composition of my lettering; it was also going to be faster (remember the first part of this blog post… I’m running out of time and my nesting syndrome is at full steam!) and finally… it has been a thousand years since the last time I did some embroidery! So, the simpler, the better.

I used tighter stitches that were closer together to fill in the thicker lines.

After I finished, I used a warm iron over my design to erase the lines of my pilot pen tracing.

Then, I put it back in the wooden embroidery hoop and cut a little bit of the extra fabric on the sides and hanged it on one of the walls of Luca’s nursery (which at the time is a little space in our bedroom).

Of course I can see some imperfections here and there but still I’m very happy with the result, specially considering that I hadn’t done any embroidery since my Catholic elementary school years!

It was a nice project and it looks super cute on the wall next to the crib.

I hope the info about the erasable pen is useful for you too and let me know if you decide to try to transfer your hand-lettering or modern calligraphy designs to other surfaces and mediums, like fabric and embroidery. I’d love to know about it!

See you next week, friends!

Marco’s 5th birthday party

This week I decided to blog about Marco’s 5th birthday so I can finally be up to date with his celebrations and all the DIY that I created for his parties.

This time was all about Legos. Well, kinda. Because like 4 days before he started saying that he wanted an “army theme” for his birthday. And I was like “There’s no way we’re changing your birthday party theme”. But this is how I resolved that: with a one dollar “lego” tank that I found on the dollar tree store and I used on top of his mini cake (the one that we have at home).

The celebration at home was very simple this time. I just added some balloons, the mini cake and some party hats. It was a weekday and he had to be at school by 7:30am so… Not a lot of time!

But we celebrated with a little party with his friends the day after, and it was so much fun!

First, let me share with you the invitations that I created using some Modern Calligraphy with actual pen and ink and then digitized with Photoshop and some single line lego bricks illustrations.

Now let’s talk about the most important part of any birthday celebration. The cake. Of course 😛

I used this recipe again but this time I filled my cake using an Argentinean dulce de leche. Simple but oh oh oh, out of this world.

If you’re using Dulce de Leche to fill to a cake, be sure to get a “repostero” one which is thicker and won’t melt in your cake. It’s a special Dulce de Leche for patisserie.

I covered it with this chocolate ganache and some chocolate sprinkles that I got at a Brazilian place where I bought everything to do brigadeiros… But that’s another story.

Since it was all lego themed, I played with some old duplos that we didn’t use and built some stuff for decor.

Then of course, my little kid has an Argentiniean mom so… Chipas and Empanadas were part of the menu! Get my chipa recipe here.

Some fast, almost last-minute signs for the food with brush lettering.

I used the same colors all the time, red, green and blue.

I found some lego figurines on Amazon that I added for his party favors and used a free template of a lego background, then used the same digitized calligraphy on top and that was the “card” for the party favors on paper bags.

Finally, I created a chalkboard sign (the night before!) for his cake table.

It was such a special moment for all of us! He had a great time with his buddies and I was as happy as I could be watching my kid grow to be 5 years old and enjoying so much his special day!

That’s it for this week folks! See you next week with no more birthday reviews for a while! Haha! Have fun!