Hi folks!
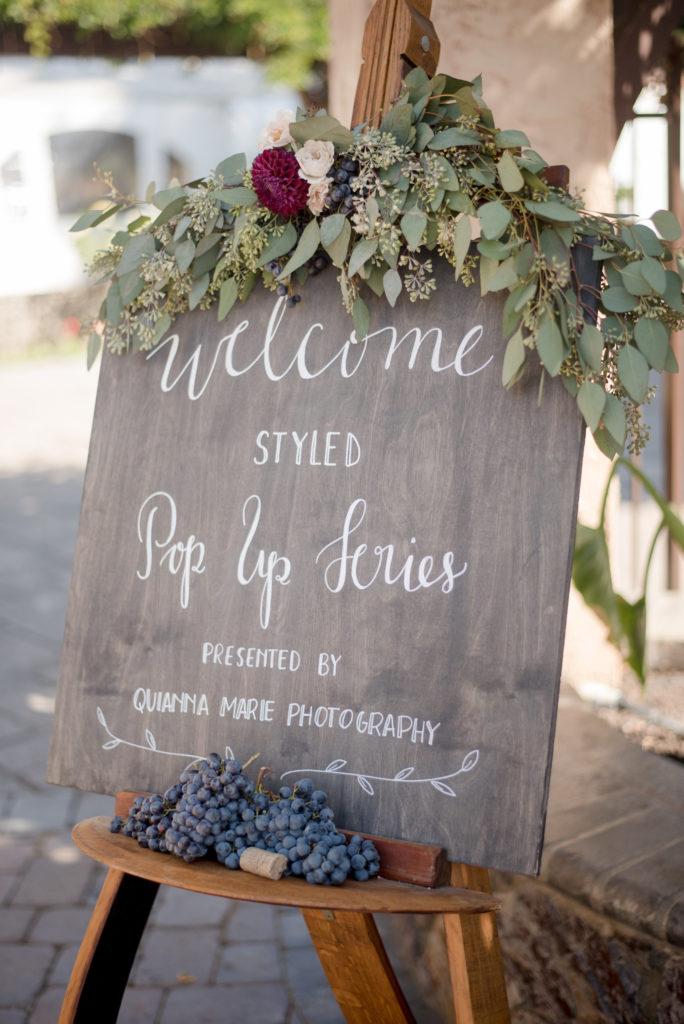
Recently, I’ve been working lettering on wood signs for a special event organized by a local Catholic school.
As I shared the process on social media (Instagram stories), I received a lot of questions and comments from followers and friends that were surprised at how much work needs to be done in order to create one of these precious signs.
Wood requires a lot of work, a lot of preparation in order to create a good quality and beautiful piece.
Well, that’s mostly the reason why also custom-made wood signs are more expensive than acrylic or mirror signs. Besides the obvious part than it’s the material itself, a wood piece is of course more expensive than an acrylic one and sometimes even mirrors or chalkboards.
Also, this work can be dangerous and most specially if you’re allergic or pregnant since you’re working with hazardous materials.
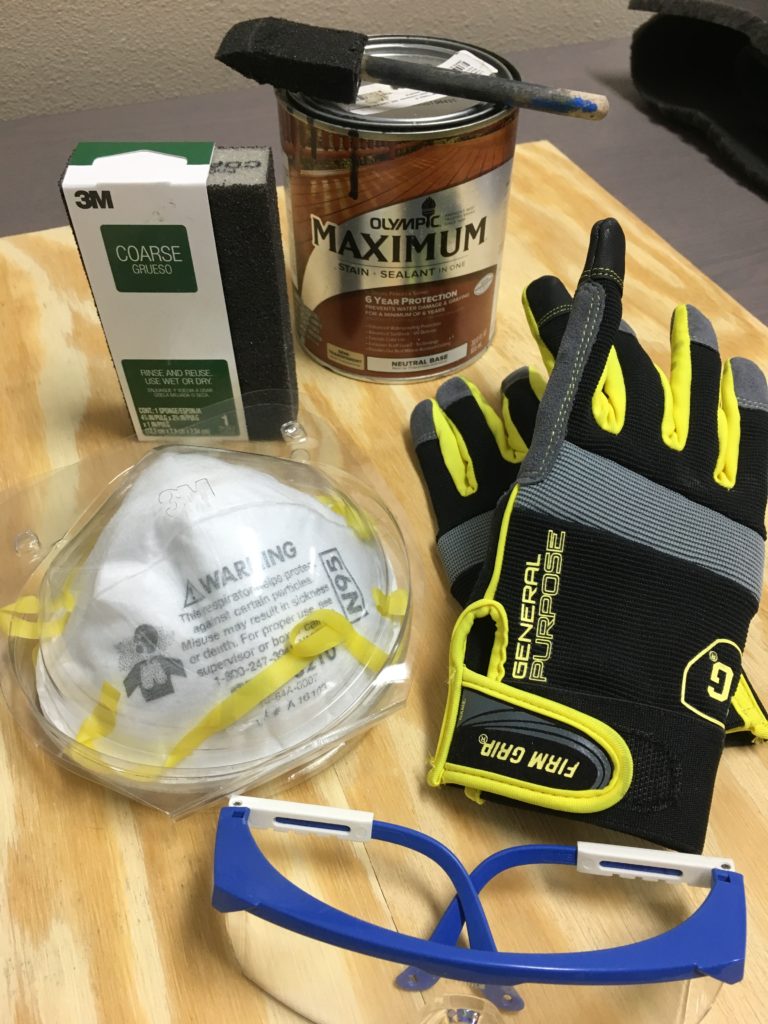
Today I want to share what I use every time that I prepare a wood piece. Disclaimer alert: The materials and safety supplies listed in this blog post are the ones I use. I’m not a Safety and Health professional. Always check regulations and look for professional recommendations before working with hazardous materials.
- Disposable 3M N95 Mask
- 3M Coarse Sanding Sponge
- General Purpose Gloves
- Safety Googles (I got these for free at a Maker Faire)
- Stain + Sealant (color chosen by client, may vary)
- Matte Spray Sealant (to provide a permanent non-gloss finish and protect the artwork at the end of the whole process)
I usually do this kind of work in my patio, since it’s an open space. Now if it’s raining, then I work in my garage BUT I keep the door of the garage completely open so it keeps the area well-ventilated. I also use garbage bags on the floor when I’m painting so I don’t leave any stains on the floor.
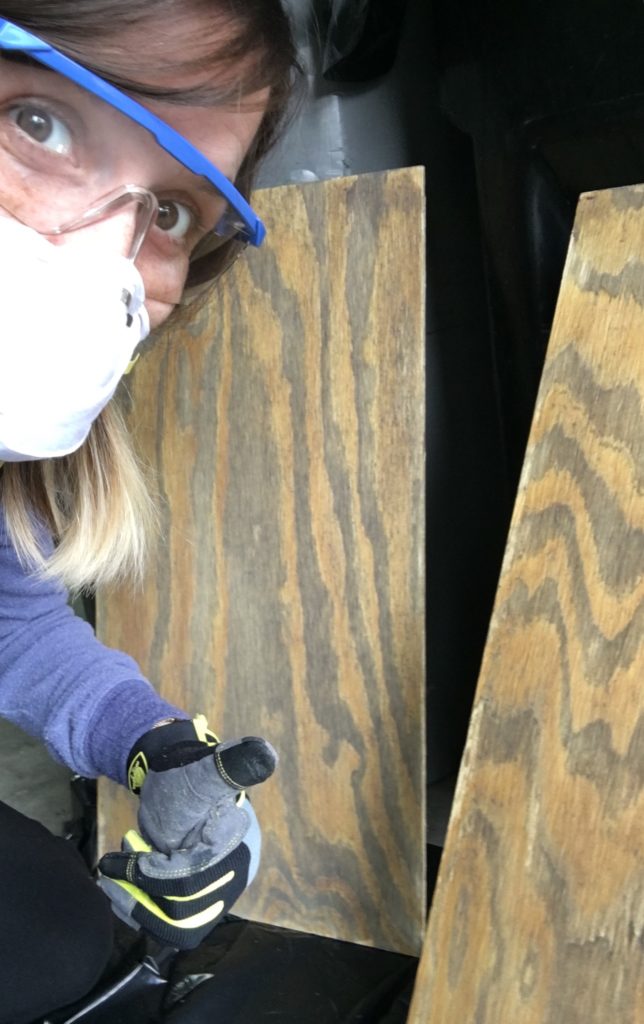
The first part of the process is sanding, it’s the one that requires most of the physical work of course. I always wear a good quality safety mask because breathing the particles of the sanding process can be very harmful.
After the sanding is done (time may vary according to how many pieces or how big is the piece I’m working on) I move to sealing/staining part.
I specially love the Olympia brand since it provides both purposes in one single pot. It is also a good paint/sealer for exteriors so it helps that in case it rains during the event and the wood sign is outdoors, it won’t start staining all over.
I usually give it 2-3 coats on each side (waiting in between coats until it is dried) until I get the color I was looking for. How many coats takes will also depend on the wood, each wood piece is different. Some absorb more some less. You see? It’s a lot of work and time!
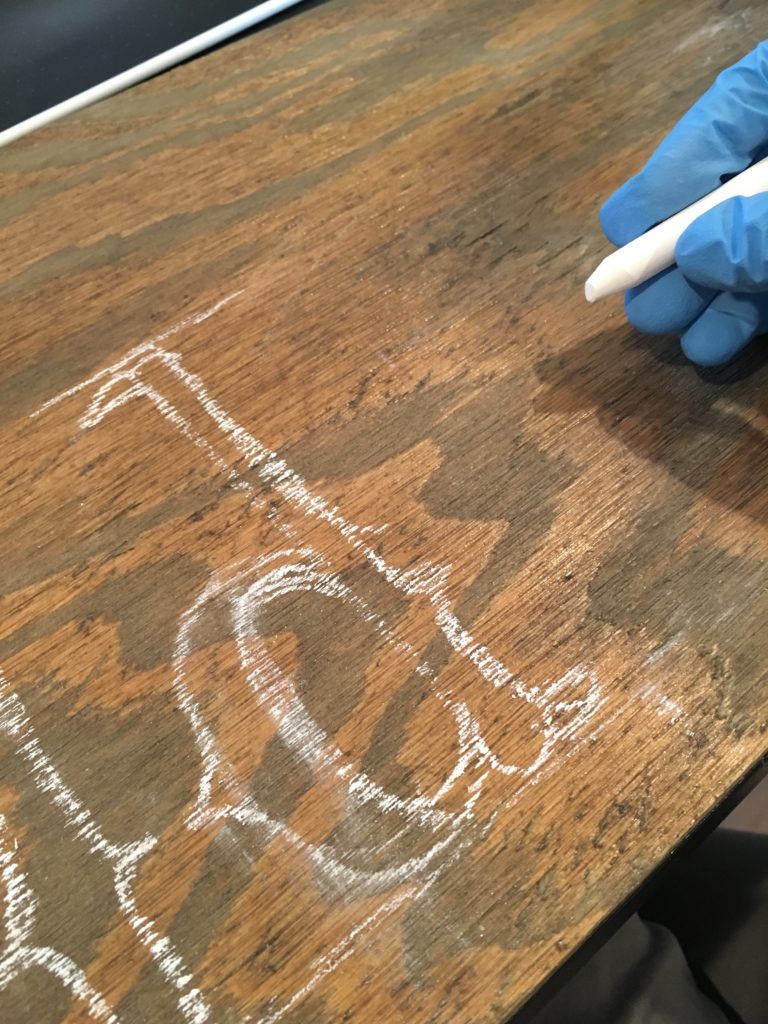
After my piece is stained, sealed and totally dried (12-24 hours after the last coat of paint/sealer) I can start my lettering.
Now from this part, it could also vary. Sometimes I sketch on them first using a chalk pencil or regular chalk. Since I’m also allergic to chalk, I always use nitrile gloves for this part.
Then comes the inking process with my markers, again depending on the color chosen by the client, this will vary but my favorite pen of mass creation is the One4All from Molotow.
After that, 2-4 hours to dry and last, a coat of spray sealant with a matte finish. It will help the artwork and it will give a natural non-glossy
finish to the whole piece.
The wood sign is now ready to be delivered!You’ll have a beautiful piece that will stay the same color for many years and the ink won’t disappear if it gets to rain on the day of your event!
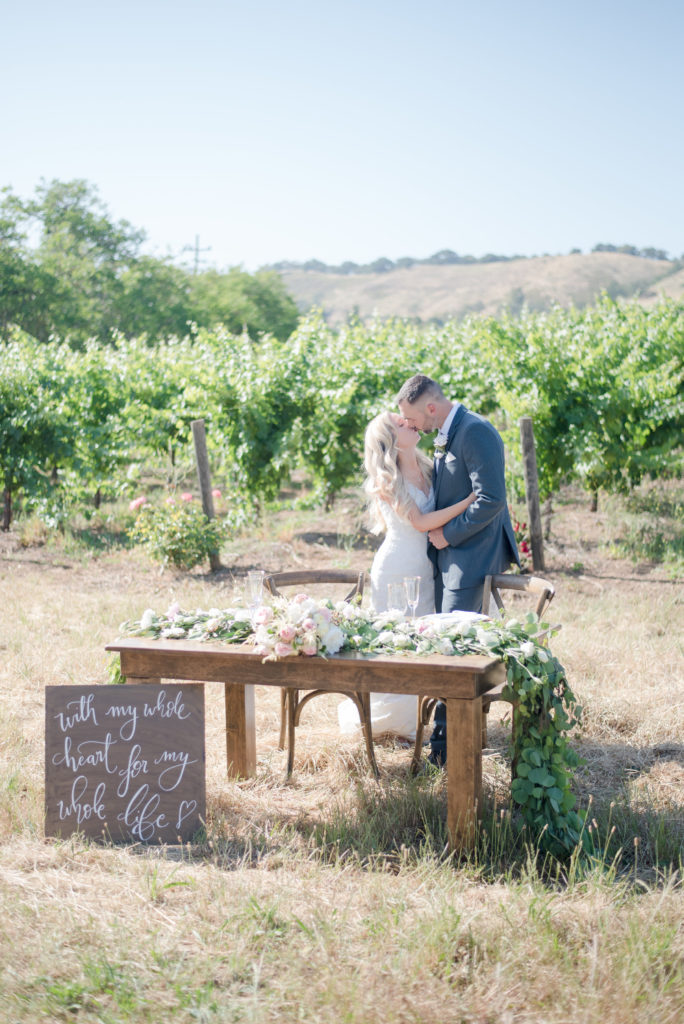
*All the wood signs created by yours truly ;)

**First & last pictures by Quianna Marie Photography