A tip for your Modern Calligraphy practice

Hi folks,

This week I want to share a tip that has helped me to be more consistent with my Modern Calligraphy practice.

If you attended one of my workshops, you already know that I always say that calligraphy takes time and it requires a lot of practice. As any other art, building the habit of practice helps to improve it.

But with calligraphy is not only that, but also the fact that we use a special pen holder and a nib, tools that are new for us, that we need to learn to handle, to “apply pressure and release that pressure”.

It’s a lot, and a lot of new.

Now, life happens. We are too busy, we all have schedules, work, family… How to find time to “unwrap” and practice this art that not only requires time but also space for our inks, nibs and cleaning supplies and a steady table? Well, not always we’ll have those two. But if you have time, or better saying, if you can make time for your practice, don’t feel discourage if you are not in the proper place or don’t have the calligraphy tools with you.

Think of the easiest choice. A pencil and a paper.

I can see your face reading this, like what? How can I practice calligraphy with just a pencil? Well, in fact you can practice the shape of your letters, the consistency, the spacing and even play with the flourishing that you’ll like to add to it.

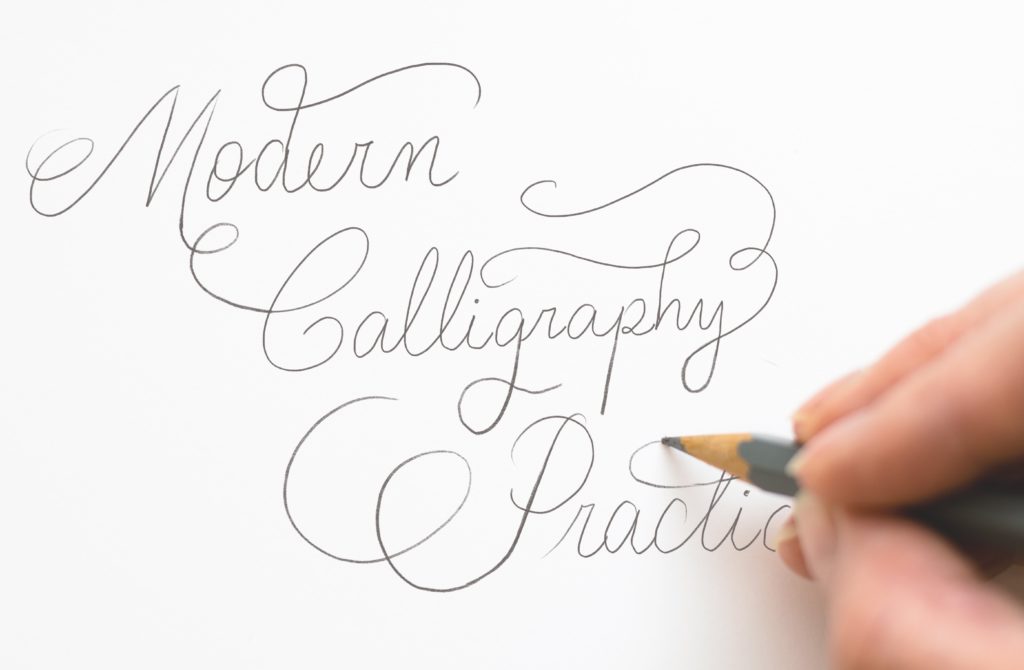
Later on, when you get to meet those two “time” and “calligraphy tools” at the same place, you could ink that sketch or recreate it using your actual pen-holder and favorite nib. But in the meantime, a pencil could be super useful!

So, next time you have 15 minutes while waiting at the coffee shop for your friend to arrive or even while binge-watching your favorite TV show, grab a pencil and start sketching. Start writing, soon you’ll notice you’ll be… drawing letters!

Stay healthy, friends, and have a lovely week!


Special National Handwriting Day: Practice Sheets

Today is National Handwriting Day in America!
A fantastic day for us, pen and ink enthusiasts, to remember and celebrate this old but -yet- not forgotten art.

Fun fact about this day, did you know that it’s celebrated on this day since it’s closer to John Hancock’s birthday and he was the first one to sign the US Declaration of Independence?

Take a look at his signature! So beautifully hand-written in the middle… “I guess King George will be able to read that!” right?

United States Declaration of Independence – Image by Wikipedia

So, I thought that National Handwriting Day was be the best one to tell you about the last adition to my Etsy Shop: Printable Modern Calligraphy Practice Sheets!

Yes! That means that now you can get buy and print these practice sheets at home! It’s a PDF file that includes some calligraphy warm-up exercises, an uppercase and a lowercase alphabet plus numbers for your calligraphy practice.

I want to give you a suggestion on which paper to use to print and direct-use this guide right away. Definitely choose HP Premium Choice laser jet paper. This paper it’s not expensive and it’s good for practice since the sumie ink will not bleed on it like it will on a regular printing paper.

Now, If you’ve taken a workshop with me before, take a look at your mailbox this week, I’ll be sharing a special offer, stay tuned!

And those of you that want to learn this magical art of pointed-pen, join me on February 4th for my last workshop before my Maternity leave. Register here.

Enjoy the week, folks! And Happy National Handwriting Day!

Last workshop coming in February!

Hi friends!

January is going so fast! Maybe I feel that because I have so many things I want to do before Luca arrives to our lives and I’ve been so extremely busy with that or maybe because time feels that it goes faster when you’re doing something you enjoy…

Either way, there’s only one more Introduction to Modern Calligraphy Workshop coming early in February and then I’m taking some time off until I’m back from Maternity leave.

My idea for now is to be back teaching around May/June but we’ll see how life goes by that time 🙂

In the meantime, I want to share some pics of yesterday’s class at A Work Of Heart Studio in San Jose, CA. I had a smaller group this time, with 5 (students) but we had a great time learning all about this beautiful art.

I have to tell you, I always try to keep my groups on the smaller side, no more than 12 students, so I can have some time with each one of them to answer to all of the doubts and questions, go over all the details on how to properly grab their pen holders and be able to get these thin and thick lines characteristic of this art. That special 1:1 time is so valuable when you’re learning this art!

For this session, I chose some Manuscript marbled/gold pen holders for their Calligraphy kits. These pen holders are just so pretty!

As you may know, each one of my students gets 2 (two) different nibs and two small jars with professional calligraphy ink in black and white, a lesson handout and some papers/envelopes/tags in assorted color and sizes.

Plus, there’s always a “special something”. For this occasion, it was a hand-lettered pouch with different phrases for each one of them.

Last, don’t forget that besides all of that, snacks and beverages are included when you register to my workshop!

This Sunday we enjoyed some blueberry muffins, raspberry chocolate brownies (so yummy!), organic bananas and Italian sodas.

Want to join the next one? Don’t miss the opportunity!

Register now here, remember the class is for 12 students max.

I hope to see you then!

Your weakness is your strength, Sharpie water based marker

Hi friends!

You might remember last week, I told you about my favorite marker to letter on wood.

This week I want to tell you something that will sound a little bit funny actually, because that same weakness that I mentioned last week about the Sharpie Water Based became a strength for this project and it made me choose the Sharpie marker over the Molotow one.

First, let me tell you more about this project.

So, I had to write 20 signs on black paper 8*11 in. These signs were going to be used as props in a photo-shoot at a school in San Jose, CA.

They wanted this idea of black backdrop/white ink kind of a chalkboard thing but didn’t want to use actual chalkboards (better buying paper vs. buying 20 chalkboards) so I thought that the best tool for this project could actually be the Sharpie Water Based!

Why? You already know it! The Sharpie acrylic water based marker isn’t very uniform, it’s also not as opaque as the Molotow and it is even a little bit transparent/watery sometimes. All of those reasons helped to actually give a similar appearance as the regular chalk. 

You see? There’s no ONE marker for all of the projects, no ONE marker that magically works with all of them (although, there is the a ring to rule them all 😛 remember I’m a little bit of a LOTR fan).

There are projects and tools. And we’ll need to find what’s the best union for each one.

Have a nice week folks!

More about wood signs

A few weeks ago, I’ve shared with you a lot about my process when I create a wood sign.

Today I want to share my favorite marker to letter on wood.

Sometimes, after the wooden piece is sanded, stained and ready to be lettered, I start by lettering first using regular chalk and after the sketch is done, I start the inking process with my markers.

At the end, I just use a wet cotton swab to erase the chalk.

Other times, I just go free-handed and start lettering directly using my marker. Depends on the day and the design mostly.

Now, to the most important part of this post! Yes, as you can see in the next picture, my favorite marker for this kind of work is the MOLOTOW One4All Acrylic Pen Marker.

The main reason why they are my favorites is that they are quite opaque.

The kind of transparent white ink on the upper part of the filling inside the letter “d” was made using a Sharpie Water Based. The bottom part, was filled using the Molotow marker.

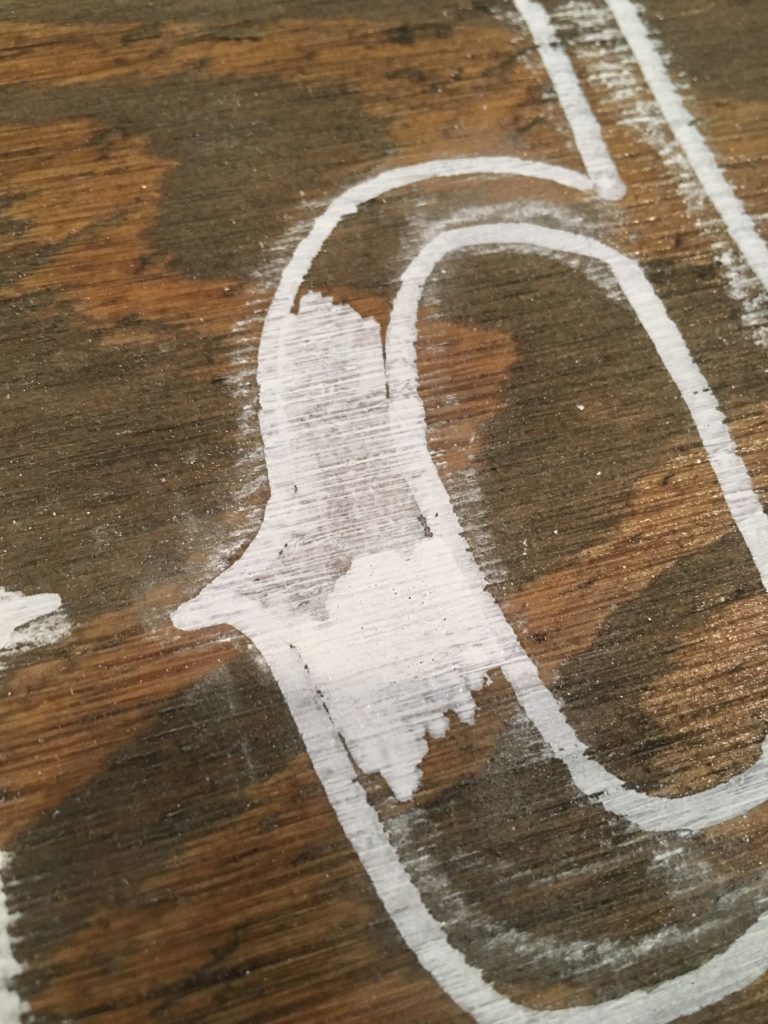
Can you see the difference?

The lettering really stands out when the ink is opaque and not translucent.

Which one is your favorite marker? Let me know in the comments!

Have a lovely week and stay warm <3