hallacas

Hallacas is a traditional venezuelan meal that is served during Christmas holiday. It’s a recipe that gathers the family on its preparation and it also transmits the multicultural heritage of Venezuela since it needs ingredients from different continents.

I’ve only tried this dish twice in my life before attempting cook it. Both times the same presentation was the same but the stew that was inside and also t he dough was different in taste. That’s because it has a lot of variations and of course, each family has kind of their own way of doing it.

Nevertheless, I like challenges. So, I searched and found a recipe that could be adapted to the ingredients that I could find in America and guide me a little. I also watched some videos on Youtube and of course, I had the best guide: Victor, who ate Hallacas  a million times in his life so he was kind of my guide thru this almost impossible task.

I bought everything I needed in the 16th and Mission (latin neighborhood in San Francisco) and at Mexicana Produce in Downtown San Bruno. I needed 24 hours to do everything BUT if you have more time, it’s absolutely better. All the flavors of the stew will arise with unless one more day.

I have to say that I’m very proud of myself on accomplishing this task and preparing a delicious meal that can also transmit part of my husband’s family cultural heritage.

So, today I’m proudly sharing with you the most difficult recipe that I’ve ever done: my own adapted recipe of Hallacas.

You’ll need:

For the Stew

  • 1 hen (about 2.5 lbs)
  • 8 cups water (enough to cover chicken)
  • 1/2 cup celery
  • 1/2 cup scallions
  • 2 tsp garlic salt
  • 1⁄2 cup vegetable oil
  • 2 lbs pork shoulder, with some fat remaining
  • 1 lb ground beef
  • 3 cloves garlic, minced
  • 2 cups white onion, diced (about 2 medium onions, I used the already sliced from Trader Joe’s)
  • 1 cup leeks, white and pale green portion only, thinly sliced (I used the frozen ones from Trader Joe’s)
  • 1/2 cup green onions, thinly sliced
  • 2 cups red bell, green and yellow peppers sliced (I used the frozen and sliced from Trader Joe’s)
  • 1 can organic diced tomatoes
  • 1⁄4 cup capers, finely diced
  • 1⁄2 cup pimiento-stuffed olives, sliced
  • 1⁄2 cup muscatel (Muscat) wine
  • 1⁄2 tsp freshly ground black pepper
  • 1/2 tsp lime juice
  • 1/2 cup organic raisins
  • 1 cup shredded papelon / piloncillo (sugar cane cones sold al Latin stores) dissolved in 1 cup water.
  • 1 tbs worcestershire sauce
  • 2 tsp salt

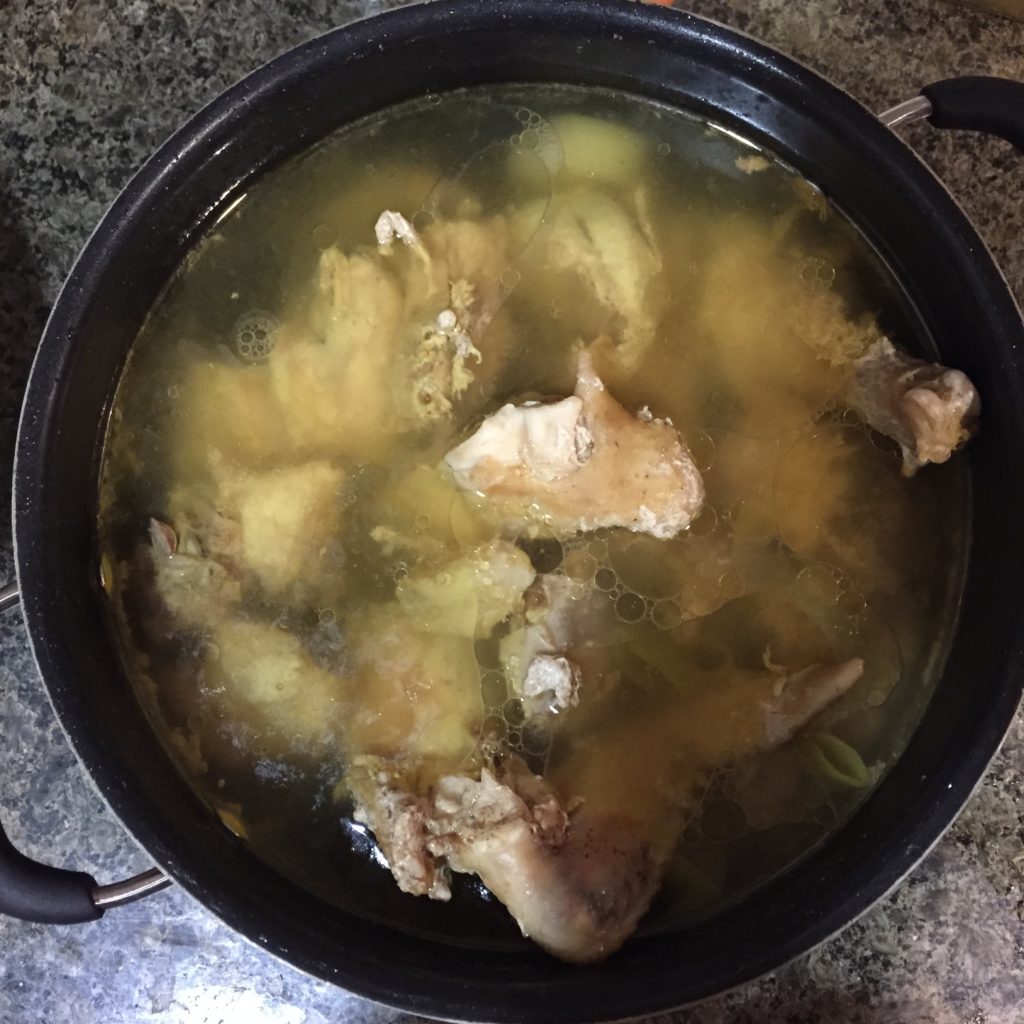
First, put the water and the hen in a large sauce pot. Bring it to a boil and add the celery, scallion and garlic salt. Cook for about 30 minutes at a medium heat.
IMG_1358

Transfer the hen to a plate and save stock. When the hen is at room temperature, pull the meat from the bones and shred it using your hands.

In a large sauce pot, heat oil and add the pork and ground beef to cook. Stir frequently until the has brown a little.

Reduce heat to medium-minimun and add more vegetable oil. Then, add the leeks, green onions, onions and garlic. Add 1 cup of the saved hen stock and stir frequently. Don’t let the vegetables go brown.

Add peppers, diced tomatoes and 1 more cup of the stock. Let it cook for 10 minutes at low heat.

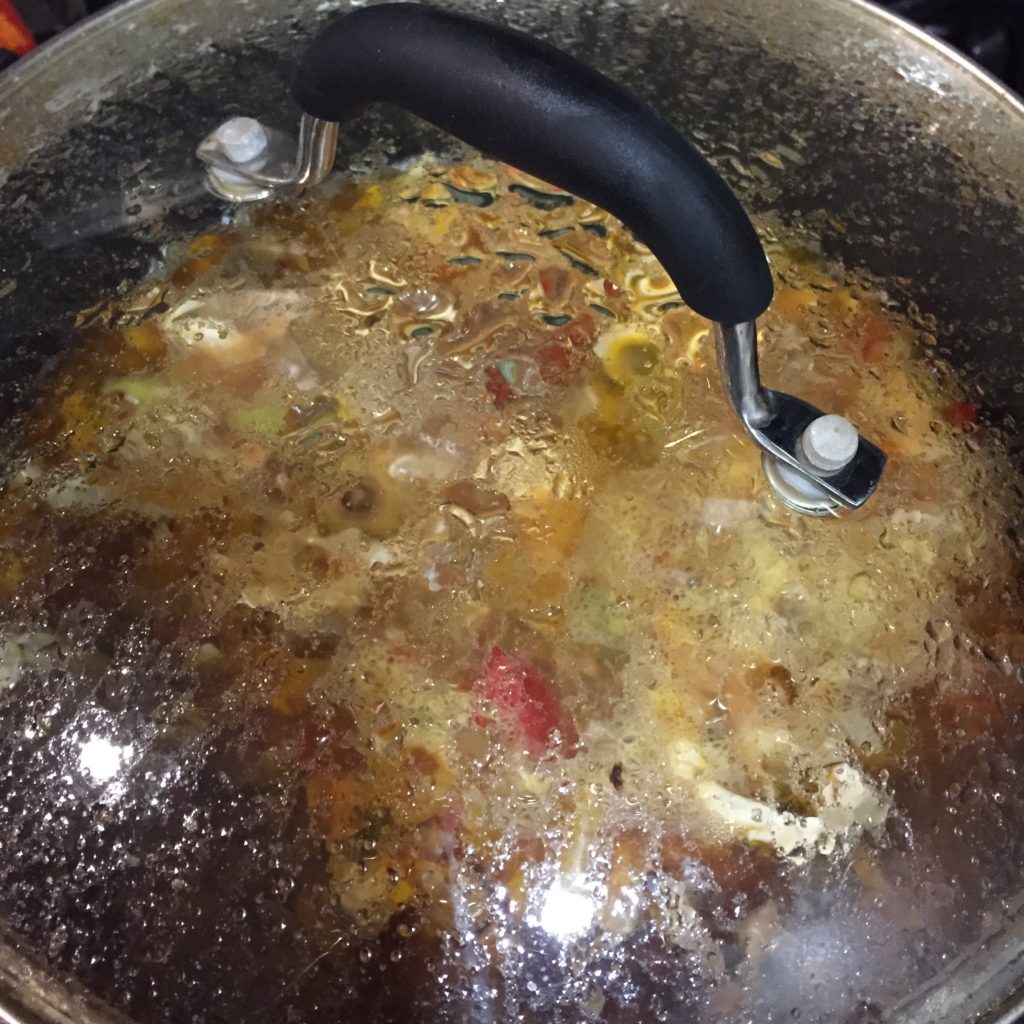
Add the diced capers, olives, the papelon already dissolved in warm water, the organic raisins, sliced olives, muscat wine, worcestershire sauce, salt, pepper, lime juice and one more cup of the stock.  Let it cook on low heat for 30 minutes stirring ocassionally.
IMG_1362

Finally add the shredded hen. Let it cook for 30 more minutes, stirring occasionally.
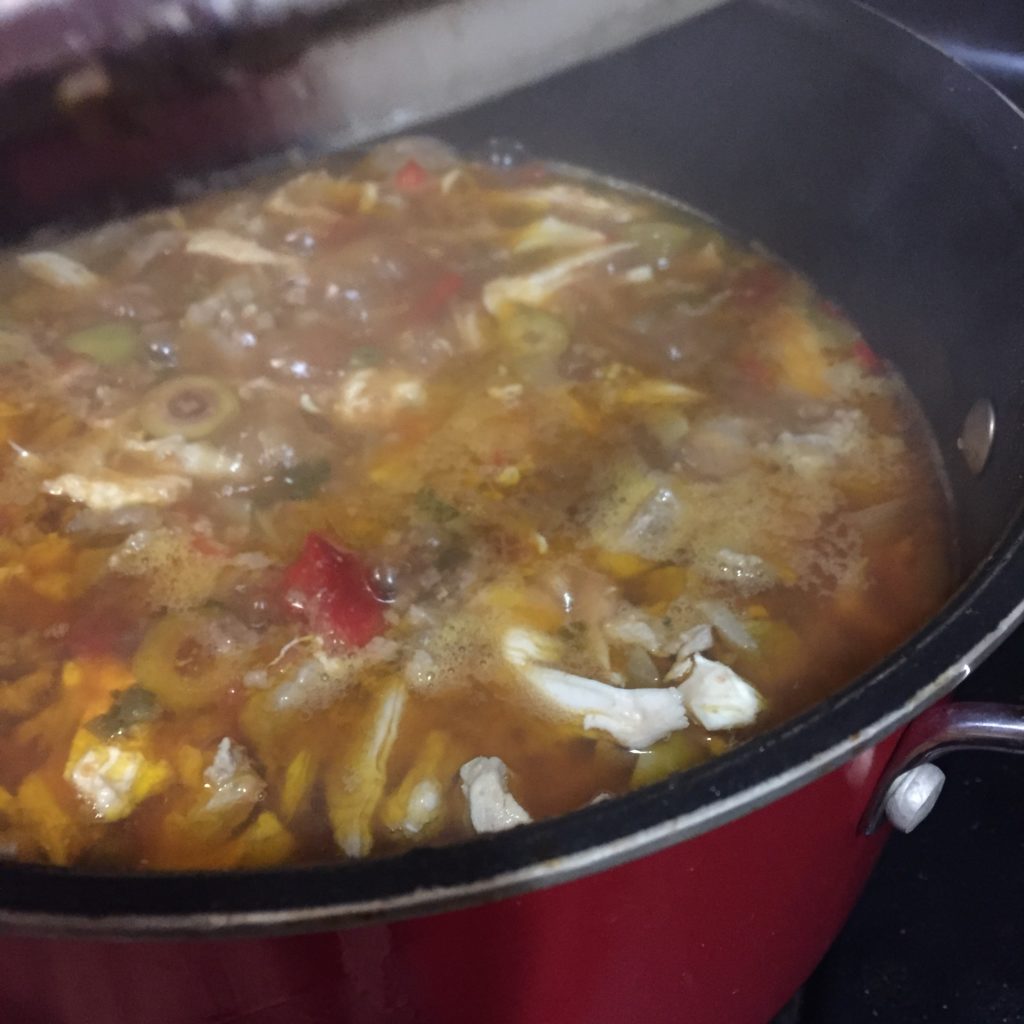
IMG_1364

Remove from heat and let it covered until it’s cool. Refrigerate overnight until 2 hours before using it.

For the Dough:

  • 1 package of Harina PAN (pre-cooked white corn flour, available at Latin grocery stores).
  • 3 cups of hen stock
  • 4 sticks of unsalted butter
  • 3 tsp of achiote paste (available at Latin grocery stores)
  • 1 tbsp salt

Place the achiote paste with the butter in a pan and warm it until they dissolve and create a reddish liquid. Set aside.

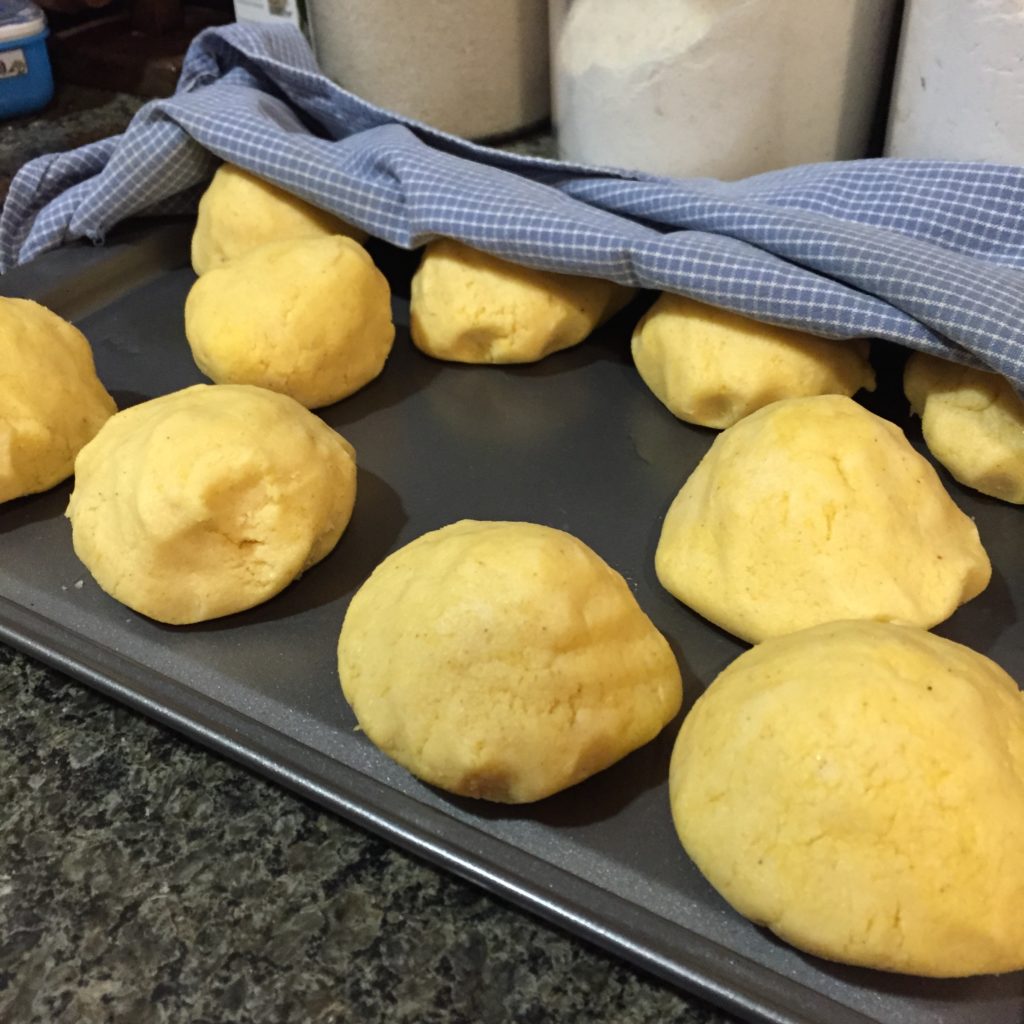
Using a large bowl, mix the flour and the salt. Slowly add 1 cup of the melted reddish butter to the flour and start mixing it. Then, add 1 cup of hen stock and continue kneading the dough. Repeat the steps adding fat and then the stock until you get a soft but firm consistency. The dough should be a dark yellow/orange color, smooth with no lumps.
IMG_1379

Make medium balls of the dough using and your hands, set aside and cover with a humid cloth. By the way, your  hands should be very shiny from the fat used on the dough. If they are not, add more butter or shortening to the dough.

Wrapping:

  • 2 packages of frozen plantain leaves (available at Latin grocery stores).
  • 1/4 cup white vinegar
  • 1 cup water
  • 1 piece of clean kitchen cloth or papel towels
  • cooking twine

The day before using the leaves, thraw the frozen package in the refrigerator overnight and leave it at room temperature 2 hours before cleaning them.

Use the the cloth or paper towel damped in the vinegar dissolved water to rapidly clean the leaves over the two sides. Set aside for the hallaca assembly.
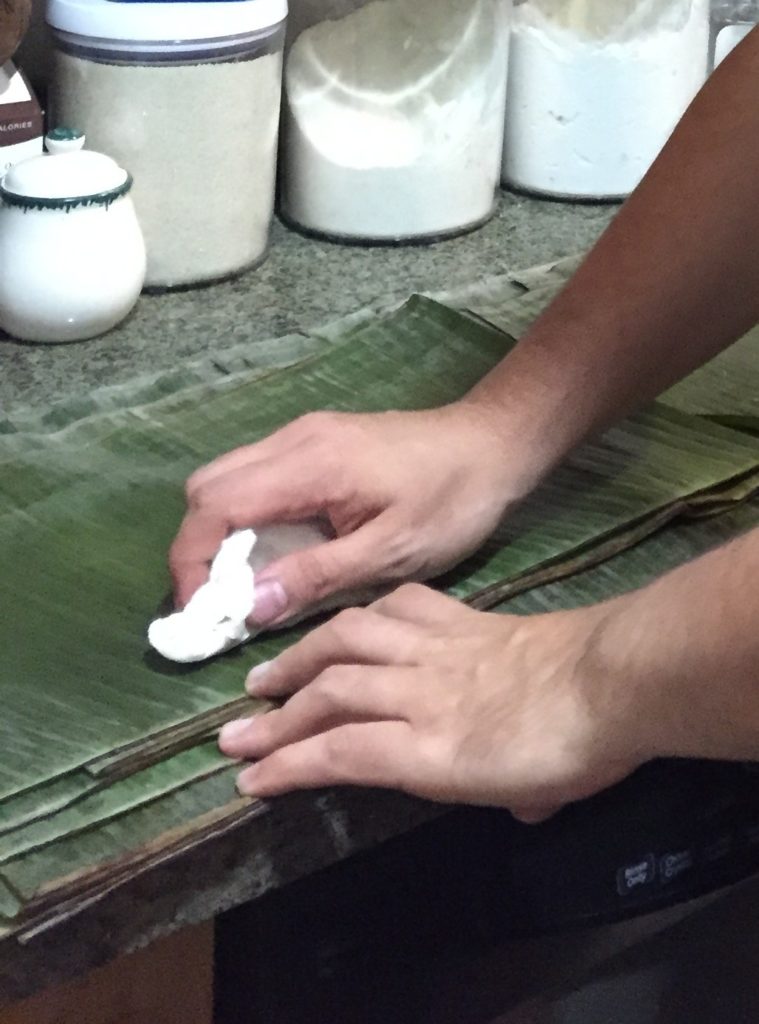
Each hallaca uses 3 leaves. You should cut them prior to its use.

The first leaf -the base- should be about 10 x 14 inches. The second, also called the “shirt”, should be about 8 x 10 and the last one, called “belt”, should be about 4 x 6 inches. I’m not completely sure about this meassures, but they can work as an approximetely. I suggest you watch some videos to learn how to properly wrap the hallaca since I’m not and expert AT ALL in that matter (Victor is!).

Cut about 1 yard of twine for each hallaca. For this recipe you’ll need about 20 yards.

Assembly 

You’ll need:

  • stew (room temperature)
  • 20 colored medium dough balls
  • plantain leaves already cut
  • 20 yards already cut cooking twine
  • 3/4 cup colored butter (made with achiote paste and regular organic butter, like the one for the dough)
  • garnish ingredients

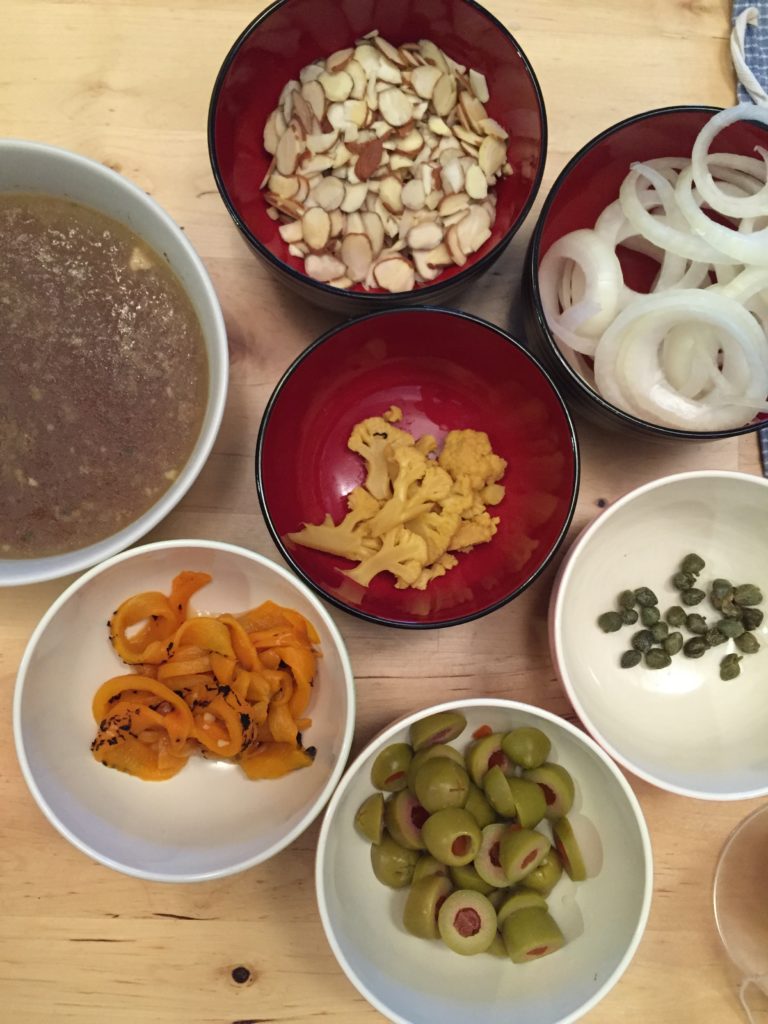
Garnish Ingredients 

  • 1 cup roasted peppers (sold in jars at Trader Joe’s)
  • 2 medium sliced onions (in rings)
  • 1 cup sliced olives
  • 1/2 cup capers
  • 1/2 cup organic raisins
  • 1/2 whole or sliced raw almonds
  • 1/4 cauliflower pickled style (this is optional, I just had this in my fridge and thought of adding it)

Prepare your mise en place -prepare and organize everything you’ll need- for the assembly.
IMG_1387

Arrange the base leaf and add 1/2 tsp of red-colored butter. Use your fingers or a cooking brush to spread it through the leaf.

Put a medium dough ball in the center of the leaf. Flatten the dough, we used a plastic cutting board for this process, covered with a piece of plastic bag so the dough doesn’t stick to the board.
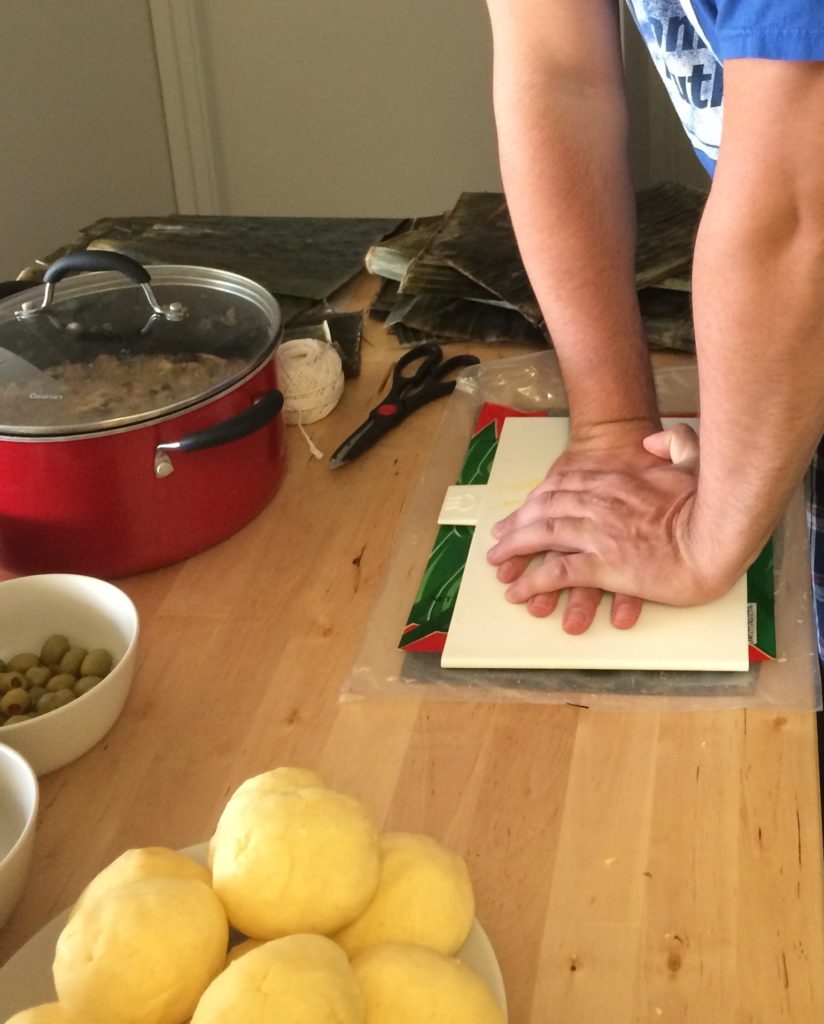
IMG_0184

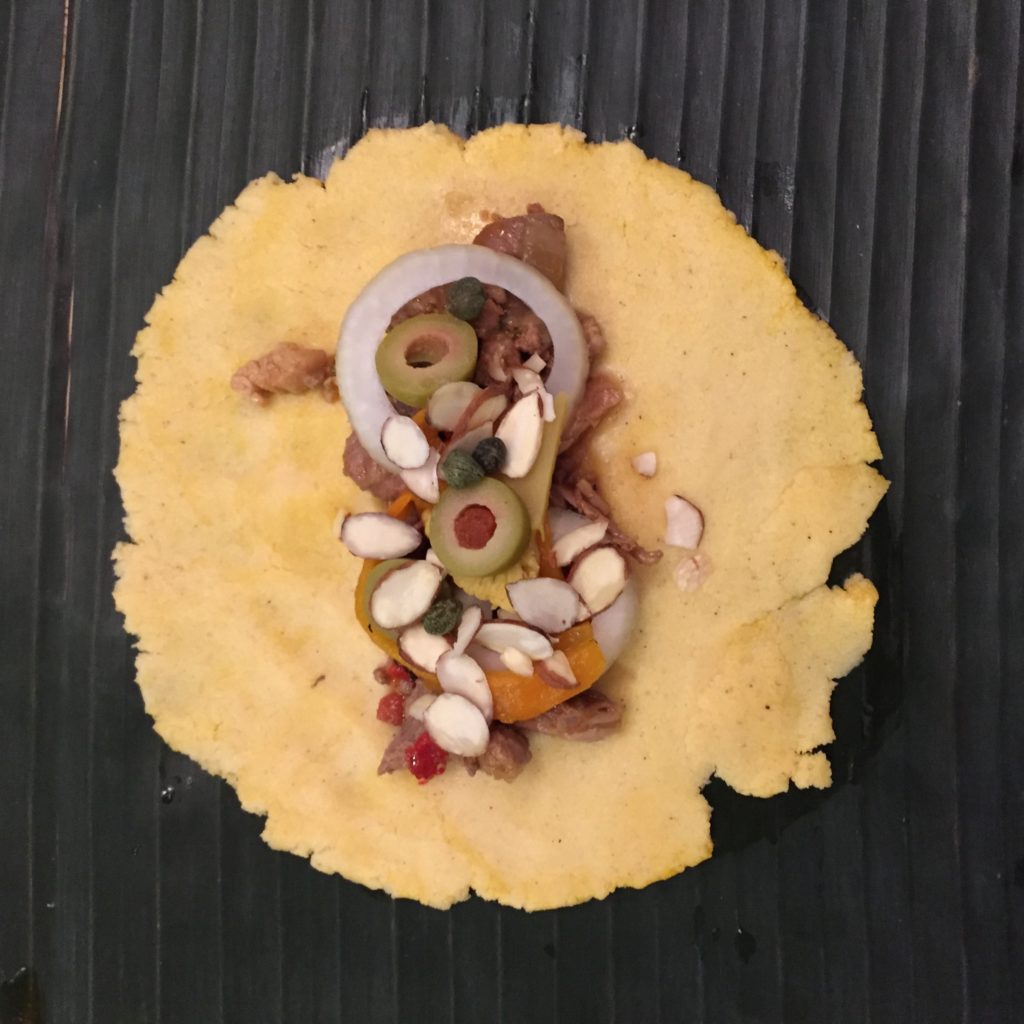
Add 1/4 cup of the stew in the middle of the dough. Add the garnish ingredients.

Fold over the plantain leaf carefully so it doesn’t break, first one side, then the opposite. Finally bring the ends of the leaf up covering the filling.
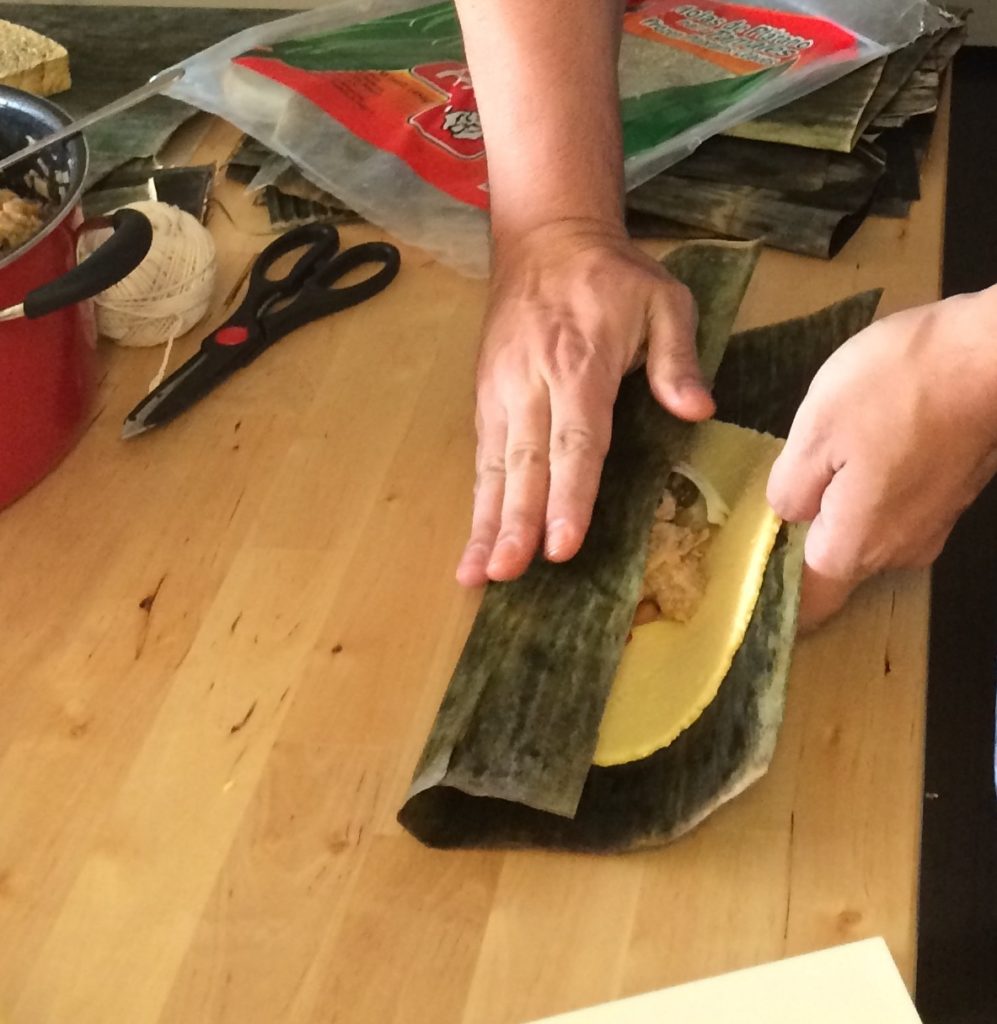
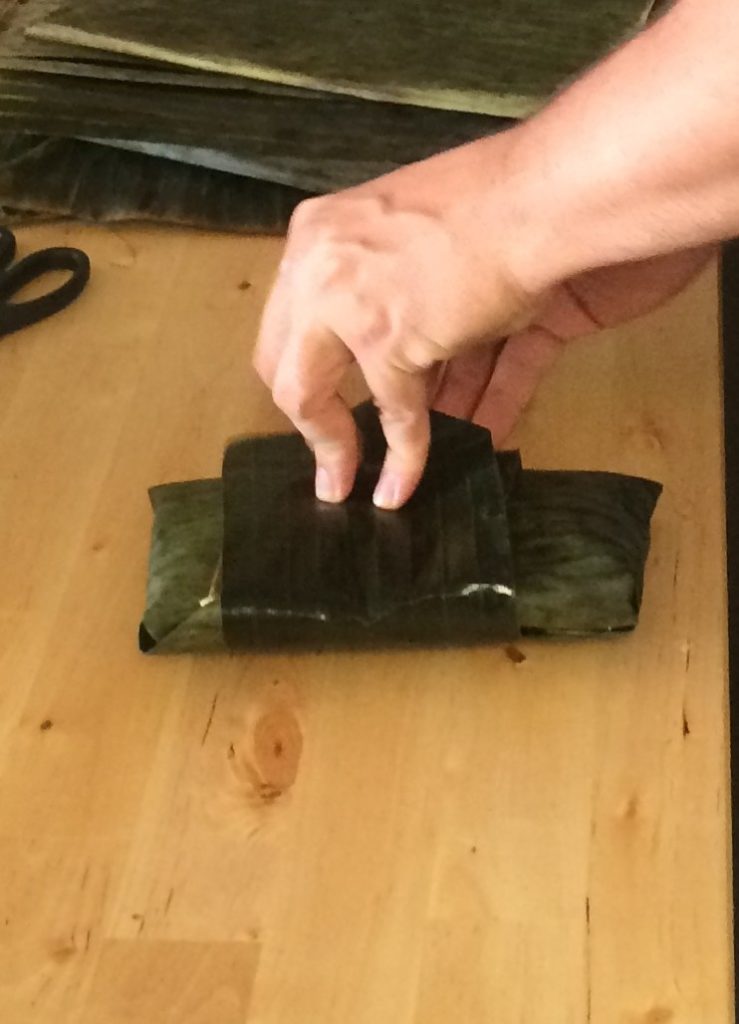
Place the hallaca over the second square of the plantain leaf and fold it again. Finally use the third leaf (belt) to hold the two pieces of leaf under it, wrapping the hallaca around with it.
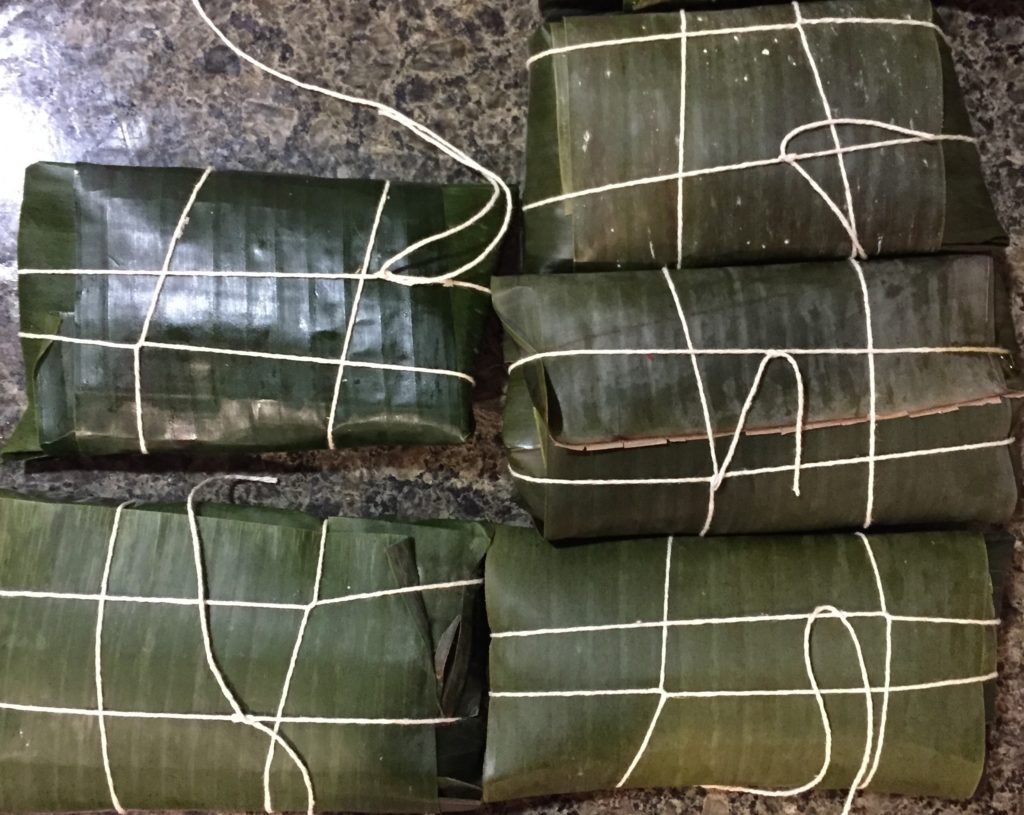
Tie the hallaca using the cooking twine to keep it secure during the cooking process.
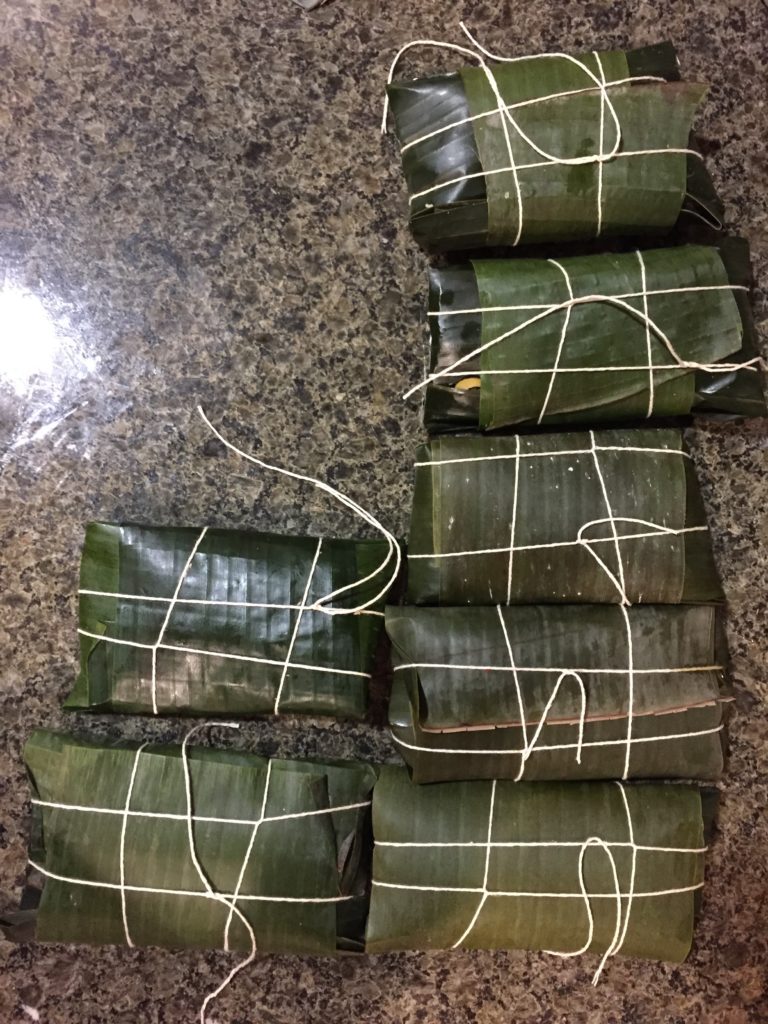
IMG_1392

Final process!

Bring water to a boil in large sauce pot. Place the hallacas in the pot, they must be covered by the water. Cook for 1.30h to low heat but keeping the water boiling, add more water if it needs it.

Remove it from the water and allow them to drain for 5 minutes standing on one of its sides over a plate.

If you want to freeze them, only cook them for 1 hour and then remove them from the water and let them cool down to freeze them. When you’d like to eat the hallacas, you’ll just need to cook them (frozen) for 30 more minutes. You cannot reheat them in the microwave.

Serving

Use kitchen scissors to remove the twine and the plantain leaves, remove them carefully. Serve immediately.

IMG_1426

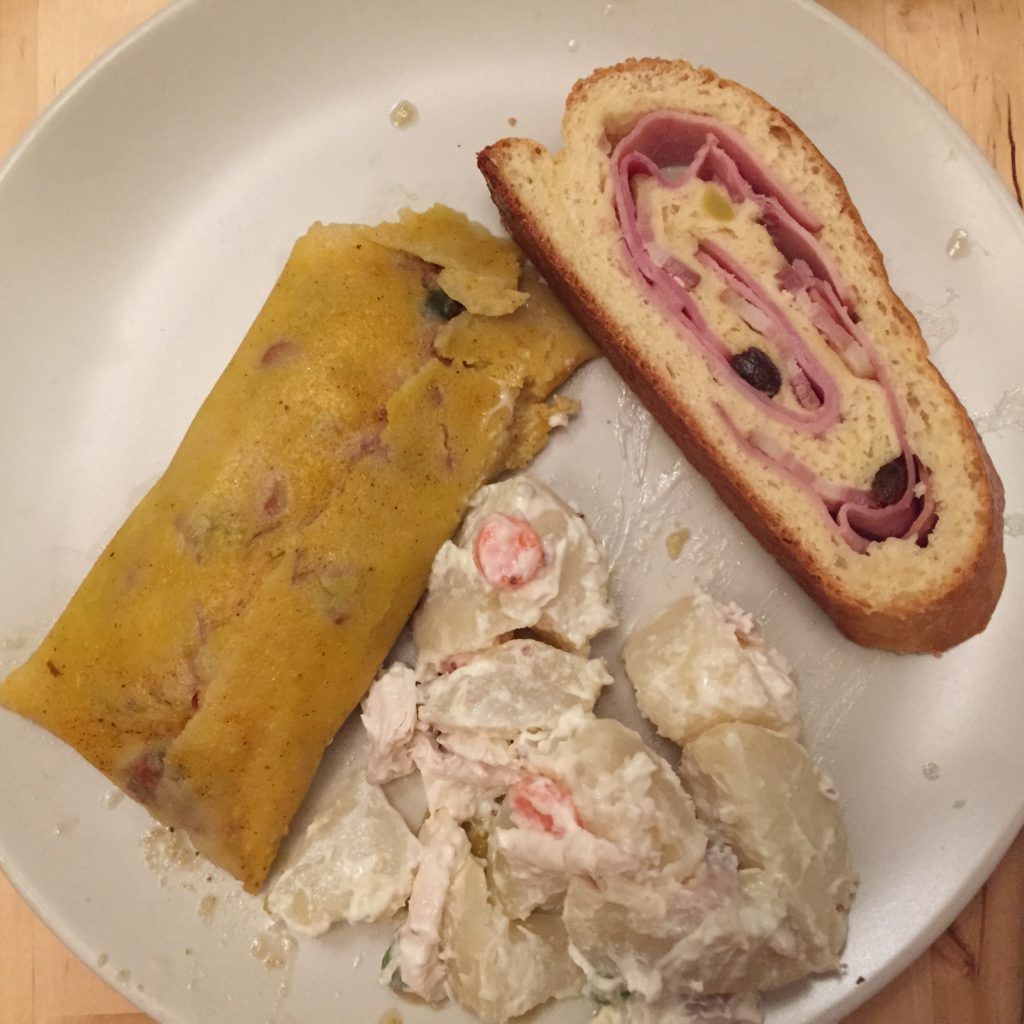
Our Christmas dinner: hallacas, pan de jamon (ham bread), and ensalada de gallina (hen salad).

Enjoy it!
DIY: wrapping presents idea

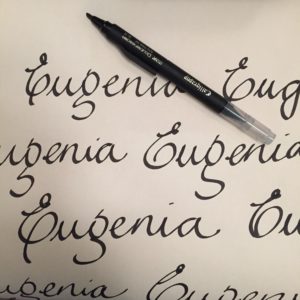
A calligraphy pen, some blank paper and a piece of ribbon can add some magic when you need to wrap a present.

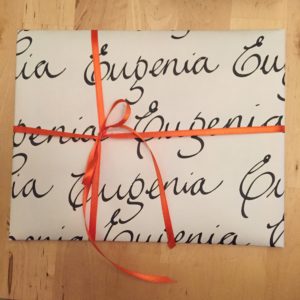
Write the name of the person you’re giving the gift to all over the paper, then wrap the present as you would normally do it.

IMG_1075

You don’t need to know how to make beautiful lettering, the calligraphy pen will help your letters to look lovely just by writing with it.

IMG_1077

You can even add a finish touch with a colorful ribbon.

*What do you think of this idea?

christmas in a jar

Maybe I went too far using the same jars for decorations in my home this year but I just can’t get enough of how lovely they look!

You’ve already seen how I used it for Halloween and for Thanksgiving… But this time, I decided to try using the jar in a craft project with Marco.

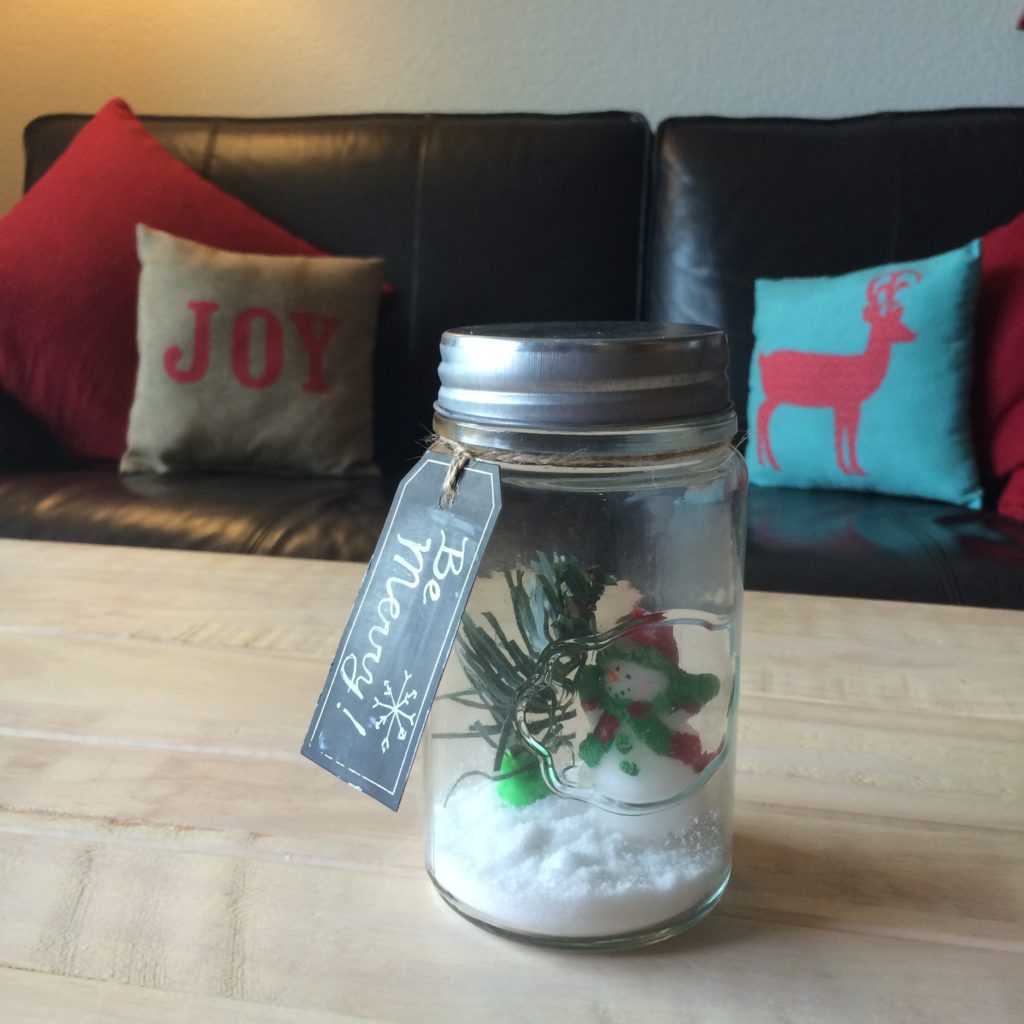
We used, of course… a jar, sea salt, a small  plastic pine branch that I cut it from our plastic christmas tree with some play dough on the base, a snowman candle that I had from previous years and one of the chalkboard tags with a new message: Be Merry! * (This time I used a white Sakura Gelly Roll to write the message).

IMG_0521

This jar project was fun, cute and easy to do. You just put all the elements inside and close the lid.

The only issue is that I don’t know how much time it will last on our coffee table since this little toddler grabs it anytime he goes by the table and start shaking it constantly! Anyway, it was fun!

PS: I’d love to know about your DIY christmas decorations! The season is just starting!

playing with acrylics

About 2 years ago,  Victor gave me a set of acrylics and brushes for my birthday. I never ever used them until yesterday. Procrastination, I guess.

Even-though my first time painting with acrylics was a great experience in my life, this new approach was by myself, with no teacher, and that was great as well.

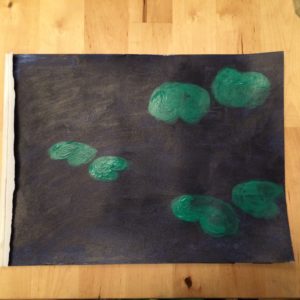
I must admit that I felt a little lost, so I search the web and got to this tutorial for the painting that I wanted to try.

IMG_0343

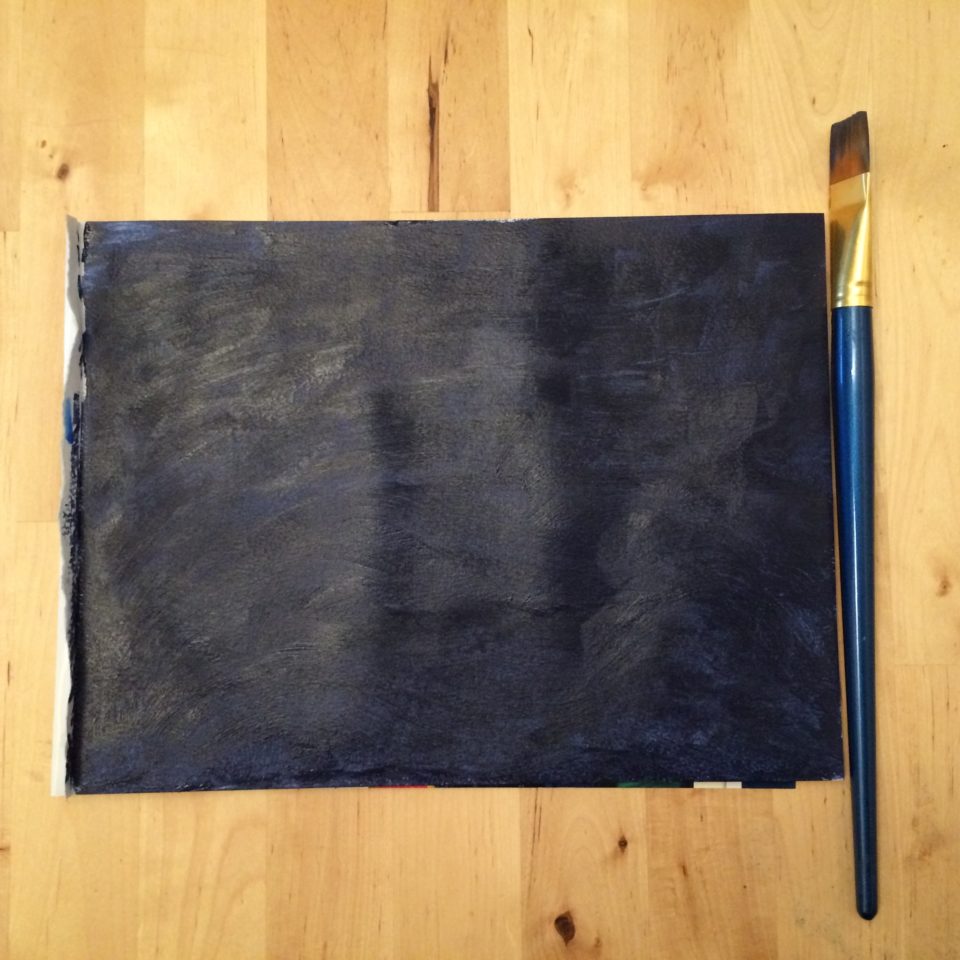
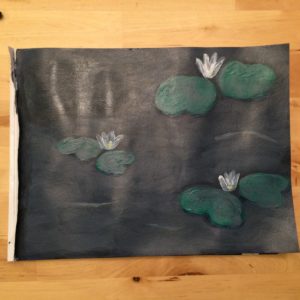
I followed some steps from the tutorial but I didn’t use the charcoal so after the first step, I kind of followed my own path. I felt that it was more fun for me to explore and experience by my own.

IMG_0348

Light didn’t help in this picture, but anyway, it’s just to show you some of the process.

IMG_0353

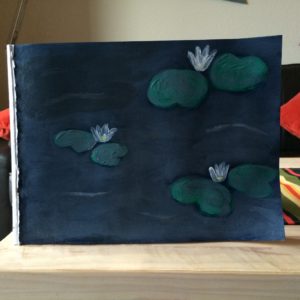
Today was a foggy morning in San Bruno so I took a picture with natural light, now that the painting was finally dried.

IMG_0375

It was a nice practice and I’ll try more often, I thought of using the same “sketchbook” so it gets kind of an art-journaling sketchbook.

Have a great weekend, folks!

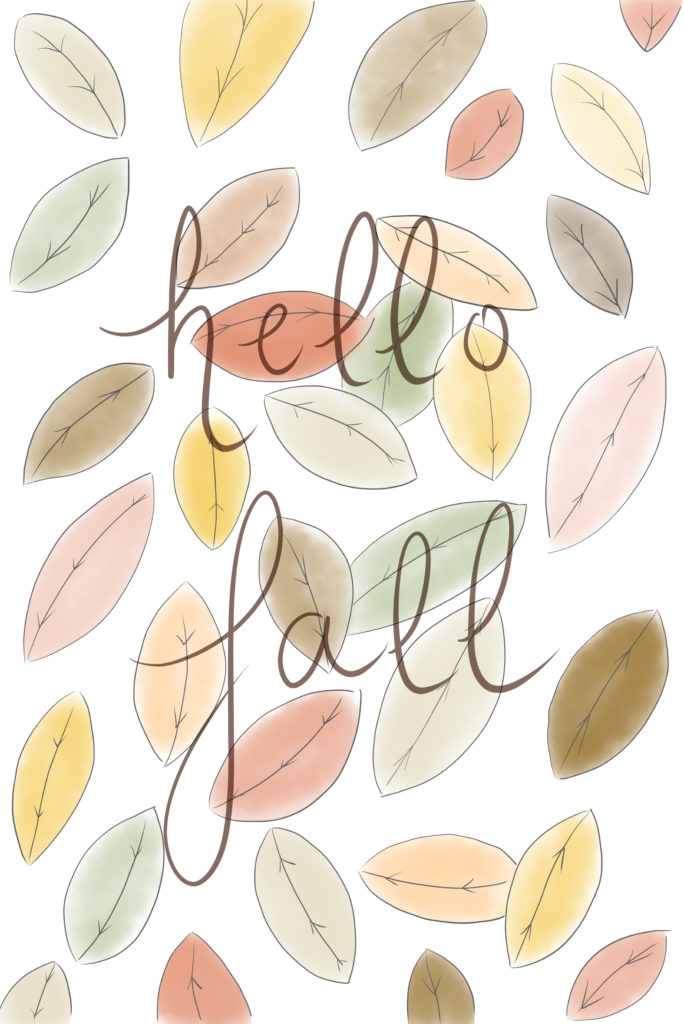
hello fall, illustration and promo

Yes, you might already know it: I love fall.

I grew up in a city where autumn lasts only one or two weeks and I believe that might be the reason why I love fall so much: scarcity.

When I lived in Buenos Aires, I enjoyed those cool fall mornings that even when the sun is there, it’s barely warm.

Then I lived in Brooklyn, New York. I don’t have to say anything more about the season and the city because that might be “the” season to appreciate the stunningly beautiful city at its best.

Everything about fall is just so pretty: the colors, the clothes, the weather, the fruits and veggies… And fall has that smell that it’s been my favorite ever since: cinnamon.

I want to tell you also that to celebrate the season, there’s a promo available now at my online shop: FREE Worldwide Shipping*! (Promotion expires November 9, 2014 at Midnight Pacific Time. *Offer excludes Framed Art Prints, Stretched Canvases and Rugs)

Access to promo here.
2014-10-02 Leaves
I’d love to know, which is your favorite season?
“hello fall” on my coffee table Continue reading “hello fall, illustration and promo”
#nowreading

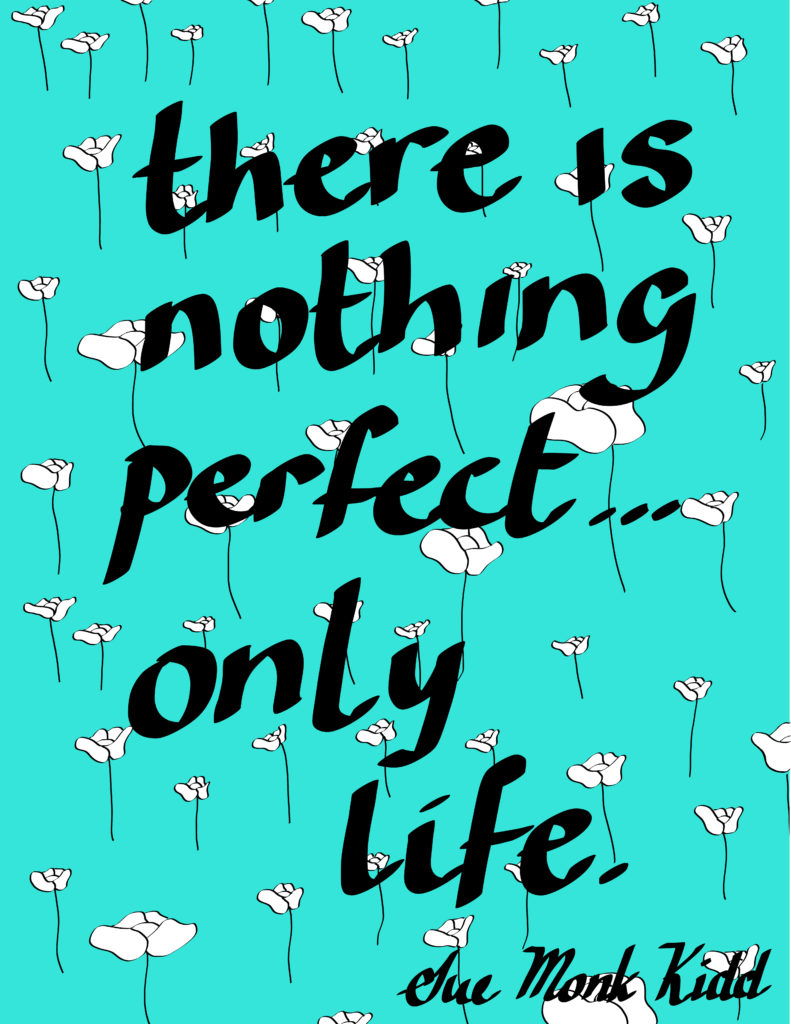
Those of you who follow me on Instagram, already know that the #nowreading of this month was “The Secret Life of Bees” by Sue Monk Kidd.

I’ve decided to draw a little something with a quote from this book and I’m planning to continue doing so with the following #nowreading.

It’s a difficult task to choose just one quote -specially from this emotional, moving novel- but I’ll do my best.

Here it is.

secretlifeofbees

More of my favorites quotes from this book:

“In the photograph by my bed my other is perpetually smiling on me. I guess I have forgiven us both, although sometimes in the night my dreams will take me back to the sadness, and I have to wake up and forgive us again.”

“After you get stung, you can’t get unstung. No matter how much you whine about it.”

“Someone who thinks death is the scariest thing doesn’t know a thing about life.”

PS: I’d love to know which one is your favorite from The Life of Bees!

chipas recipe

As many of you know, I was born in Posadas, the capital of Misiones, in the north east of Argentina.

The most traditional snack from my homeland is “Chipa“. This is a little cheese-roll made with tapioca flour and it’s also a traditional snack in Paraguay and in the south of Brazil (with some differences).

Today, I’m super happy to share with you my family recipe for this yummy gluten-free delicacy.

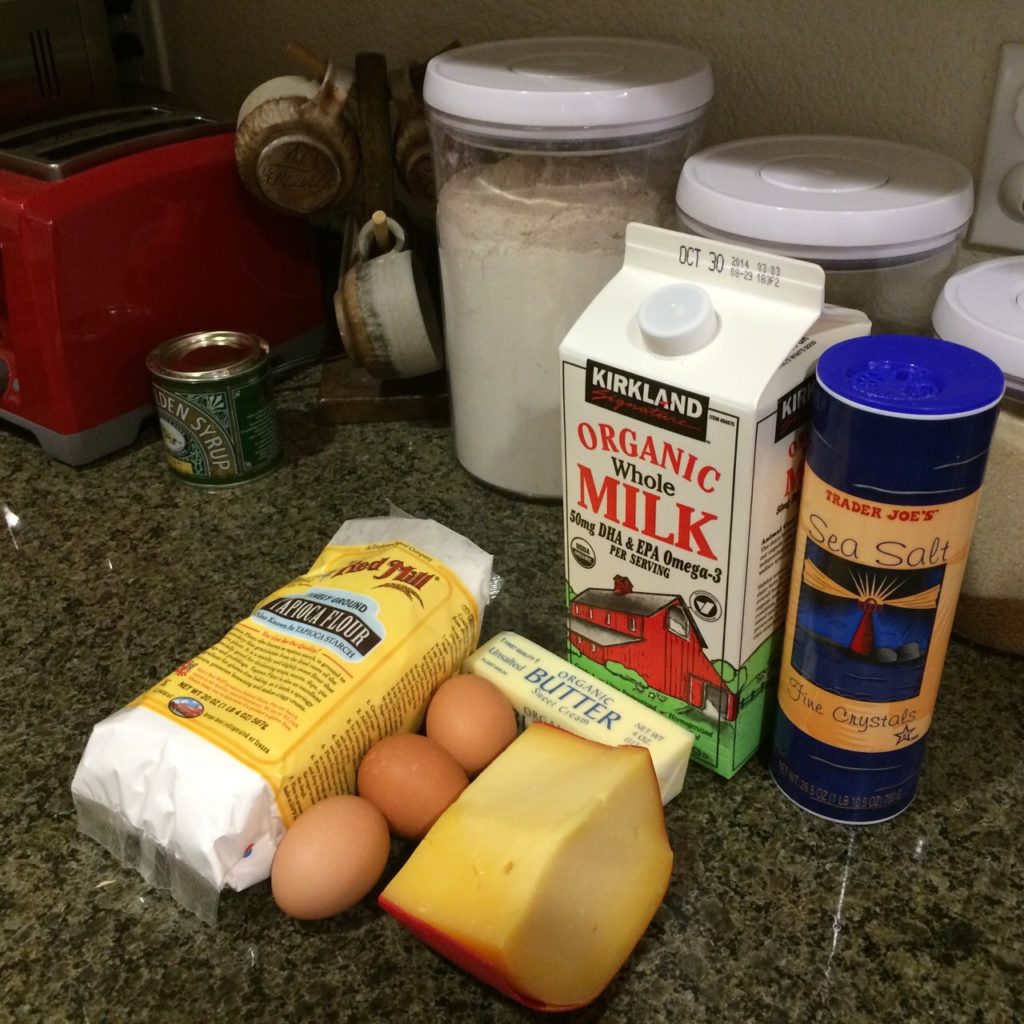
You’ll need:

  • 1 lb tapioca starch 
  • 3 eggs
  • 1 1/2 cups gouda cheese shredded or crumbles
  • 6 tbsp unsalted organic butter
  • 1/2 cup organic milk
  • 1 Teaspoon Baking Powder
  • 1 tsp salt
  • 1/2 tsp aniseed (Optional)

37565fcff386d8d949b23c79d048232e

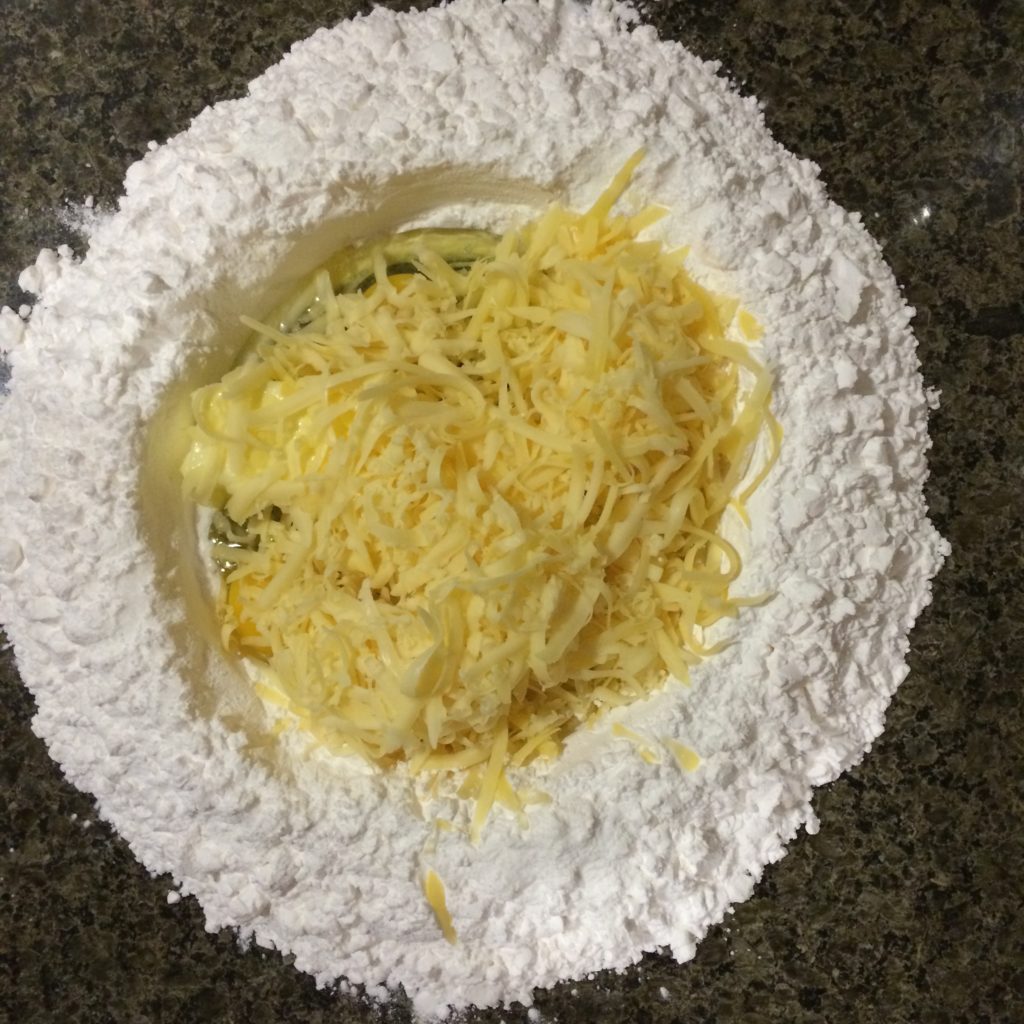
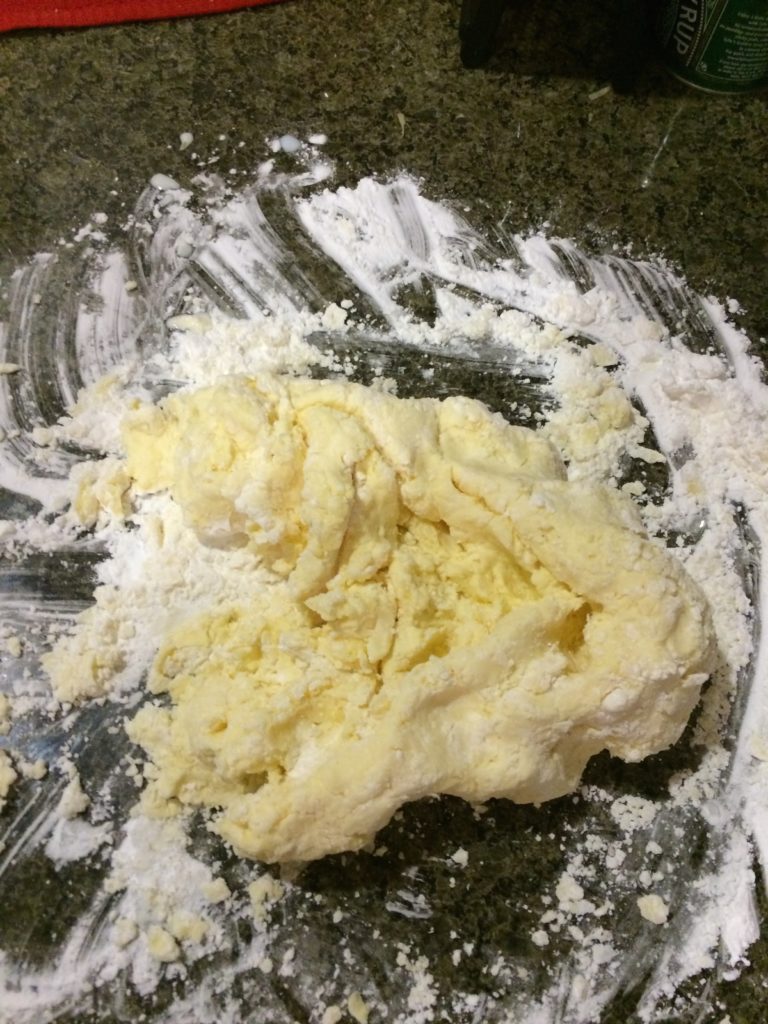
Make a crown with the flour.

IMG_8653

Add the eggs, cheese, salt, baking powder, butter (which should be at room temperature), milk in the middle of the crown and the aniseed (optional).

IMG_8655

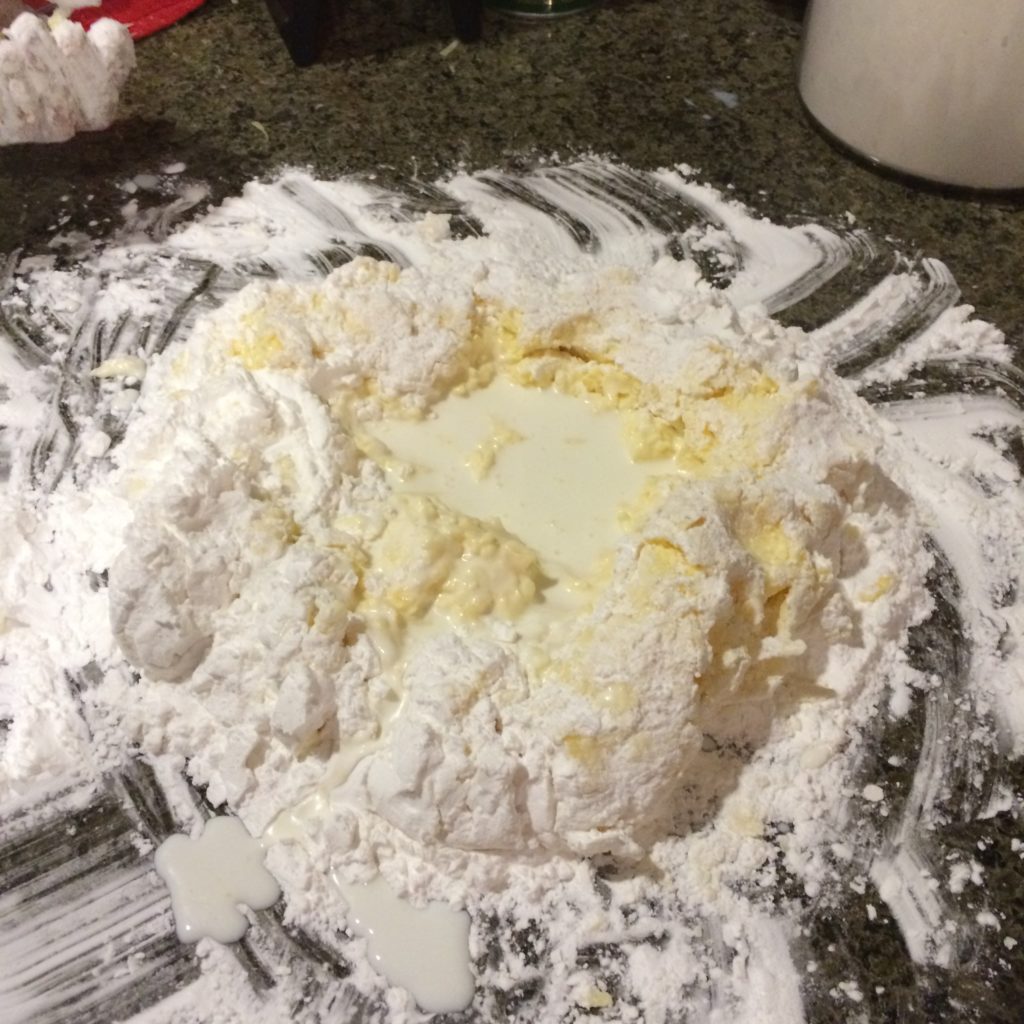
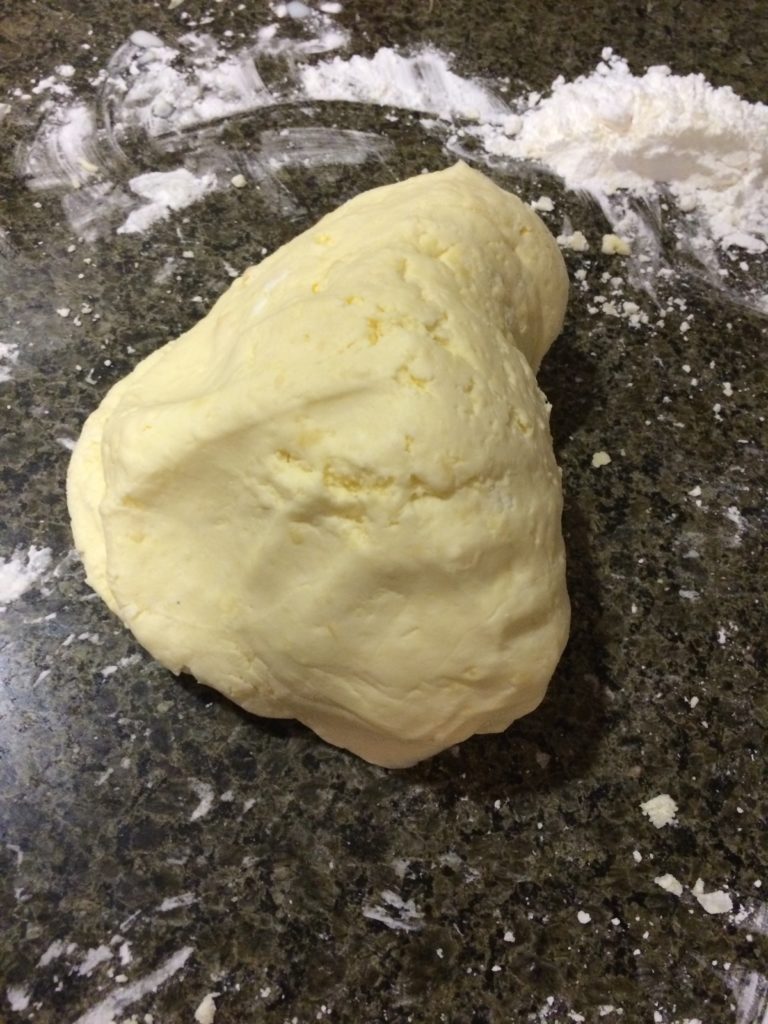
Start making a dough.

Tapioca flour/starch doesn’t have gluten so it will resemble to corn meal in the beginning because it’ll be crumbly and it will be a little bit difficult to create an homogeneous dough. But keep going, it’ ll be good at the end.

IMG_8667

After 5 to 8 minutes you’ll have a dough like this. If it’s still too crumbly, add a little more milk. Try adding 1/2 tablespoon first.

IMG_8668

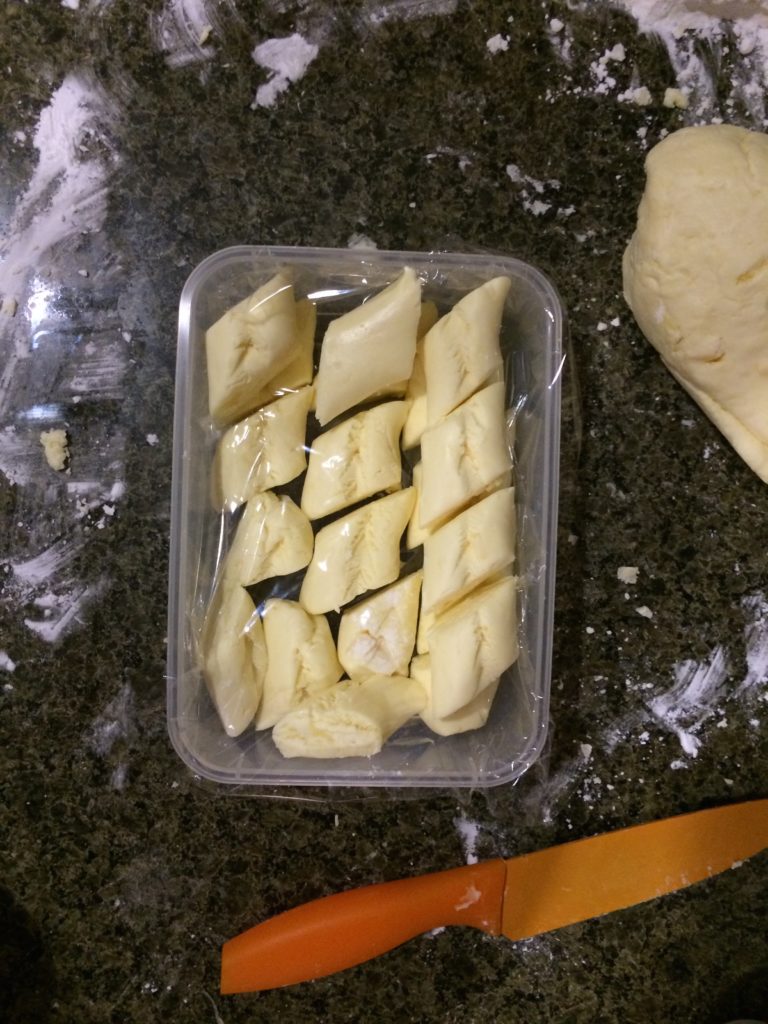
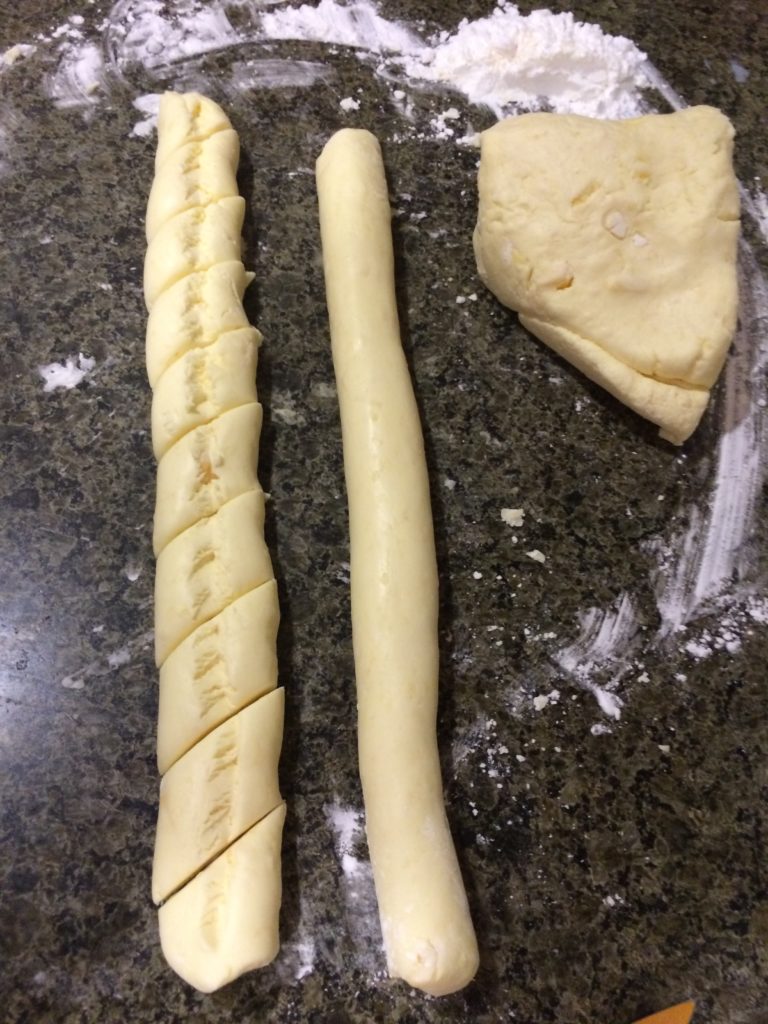
Once you have an uniform dough, separate the dough and create 4 rolls. Use a knife to create a thin line thru the roll (it will help to cook the inside).

IMG_8669

Chipas can be storage raw in your freezer for up to 3 months. You don’t need to defrost the dough before baking; just put them straight to the oven at 375F for 25 minutes… Isn’t that great?

IMG_8671

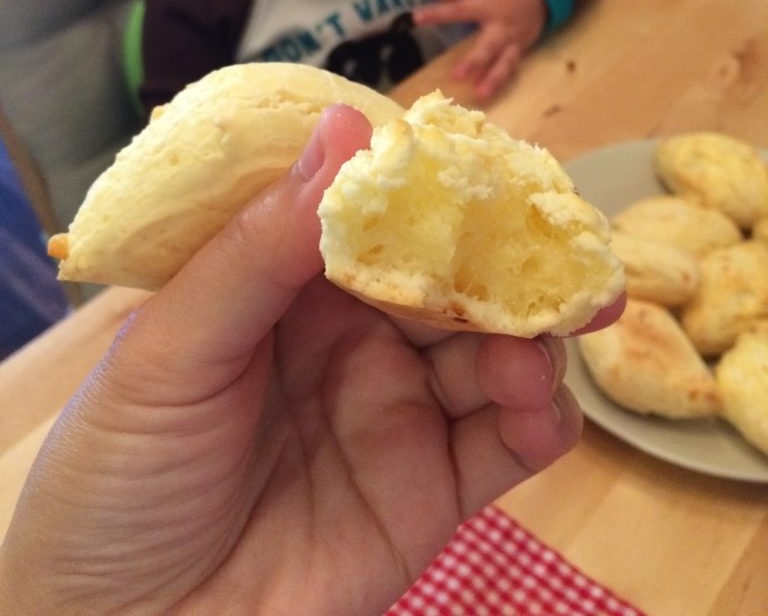
If you’re going to bake them without freezing them, then set your oven at  350F  and bake them for 30-40 minutes. Serve them warm!

IMG_8677

… And enjoy!

***If using a Kitchen aid:

1. Add dry ingredients (flour, baking powder, salt) to the bowl and stir.

2. Add cheese crumbles, soft butter, eggs slighted beaten and milk. Mix until it becomes a homogenous dough.  Then follow steps to create rolls and cut the little pieces.

have you heard the news?

Dear friends,

I’m so happy to tell you that I’ve decided to offer a bigger variety of products on my online shop at Society6.

With the last art-print uploaded yesterday -“I love you fore-e-e-ver”- I’ve decided to also start offering mugs, tote bags, kids and adults t-shirts, throw pillows and yes… super cute onesies!

More designs are being created and uploaded in the upcoming weeks.

I want to say thank you in advance for sharing this post with your friends and family and thanks for shopping at my online shop! Your money becomes coffee giving this mom the boost to create more art! 😛

Thanks folks and happy shopping!

14211629_3264569-stscrd01_b   Cards.

14211638_12208620-plwfr2_b Pillows: This pillow would look lovely in a nursery.

14211705_6809967-mugs11f_lMugs: A nice way to start your morning, feeling loved.

14211638_12208620-bagtote16_bTote bags.

14212141_5722103-kidtw206_bKids T-shirts:  The perfect match, kids and unconditional love.

baby crib sheets

I found this great fabric with the world map on sale at my local fabric store and I thought it would be nice to have it at home and teach Marco where some of our friends and family live.

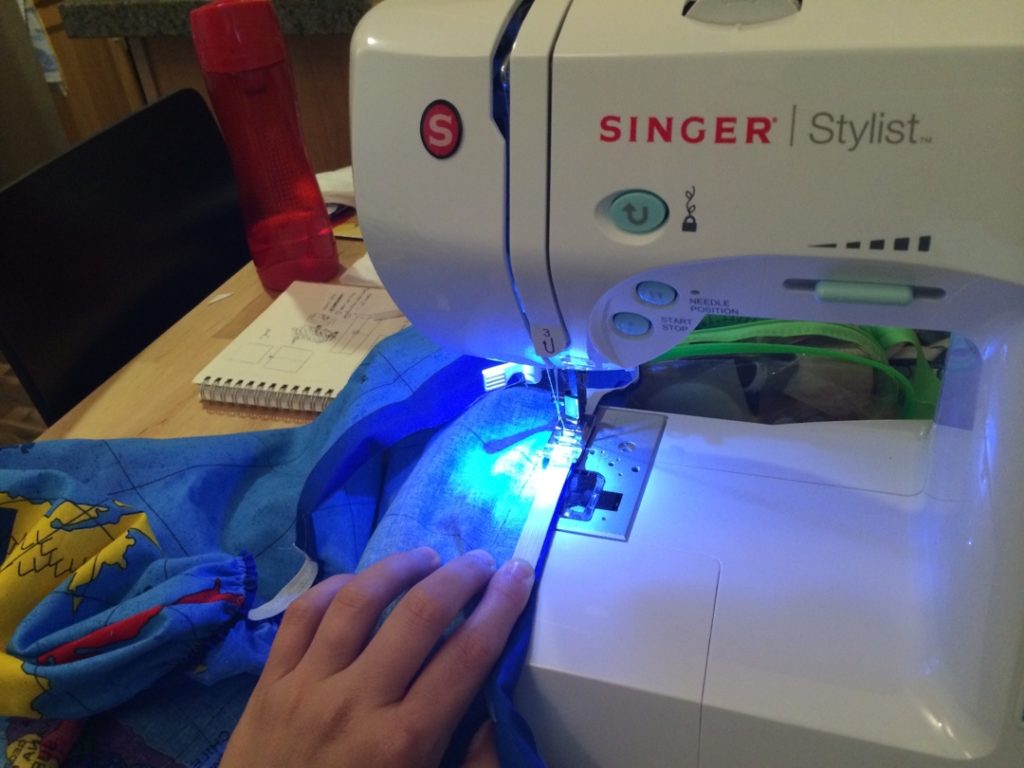
I’m still a beginner at sewing but I discovered that I can actually sew anything… as long as it has a rectangular shape. That’s how I thought about using this fabric to make some sheets for Marco’s crib.

I followed this tutorial and I were amazed at how easy it actually was to sew sheets, even using an elastic band one the edges.

wpid-20140913-105330.jpg

It’s nice to wash the fabric before, in case it shrinks. Also, measure the crib mattress to customize the pattern. I used a 12″ square instead of the 9″ suggested by the tutorial.

This project took about 2 hours but it was a lot of fun and I felt so good after seeing it done!

wpid-20140913-105405.jpg

During  the weekend, when I put him to bed, I told him where some of our dear friends and family live. He didn’t get much yet because when I asked for his aunt Barbarita -who lives in Barcelona- he pointed to Moscow… but we’ll get closer with some more practice!.

first day of preschool art

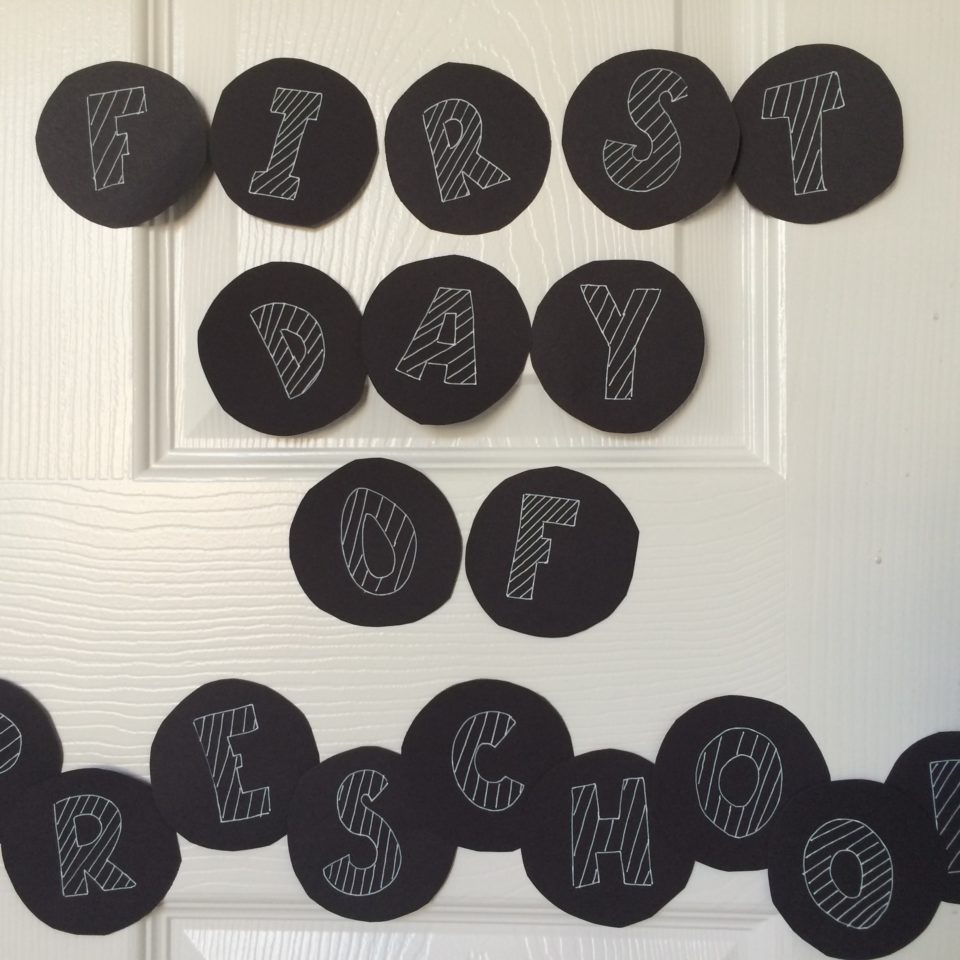
Last week, looking for something to do for Marco’s first day of preschool I went to the art supply aisle at Target and I saw a chalkboard calendar kit. But,  since I’m trying to re-use what I already have, I decided to do something similar by myself.

IMG_7789

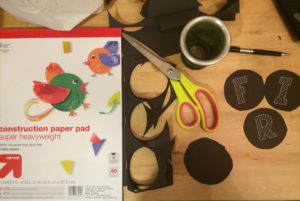
With a cup and a black pencil, I drew circles over a black construction paper. Then, I used my sakura gelly roll white 08 to do the letters over the circles.

IMG_7816

I put the circles on Marco’s bedroom door and I took some pictures of him playing with the letters, spontaneous and simple.

I’d love to hear what you did for your little one first day of school picture!

preschool blanket

I sewed the parts creating a rectangle. This was going to become the blanket’s filling.

I got these lovely fabrics for the blanket at my local fabric store. I needed 1 yard of each.

IMG_7578

I put the filling in the middle and I sewed a rectangle leaving about 10 cm. over the edges.

IMG_7581

IMG_7584

Then, I unstitched some of the corners to sew correctly the edges.

IMG_7583

And after 3 hours, the project was done and it looked great!

IMG_7582

You can adjust even more the filling by adding some stitches to the middle part of the blanket, using a cross-stich like in a quilt.

This project was so easy. I didn’t use patterns, I just took the measures properly and used a lot of pins! If you want to do this and need any help, let me know!

Happy first day of school!

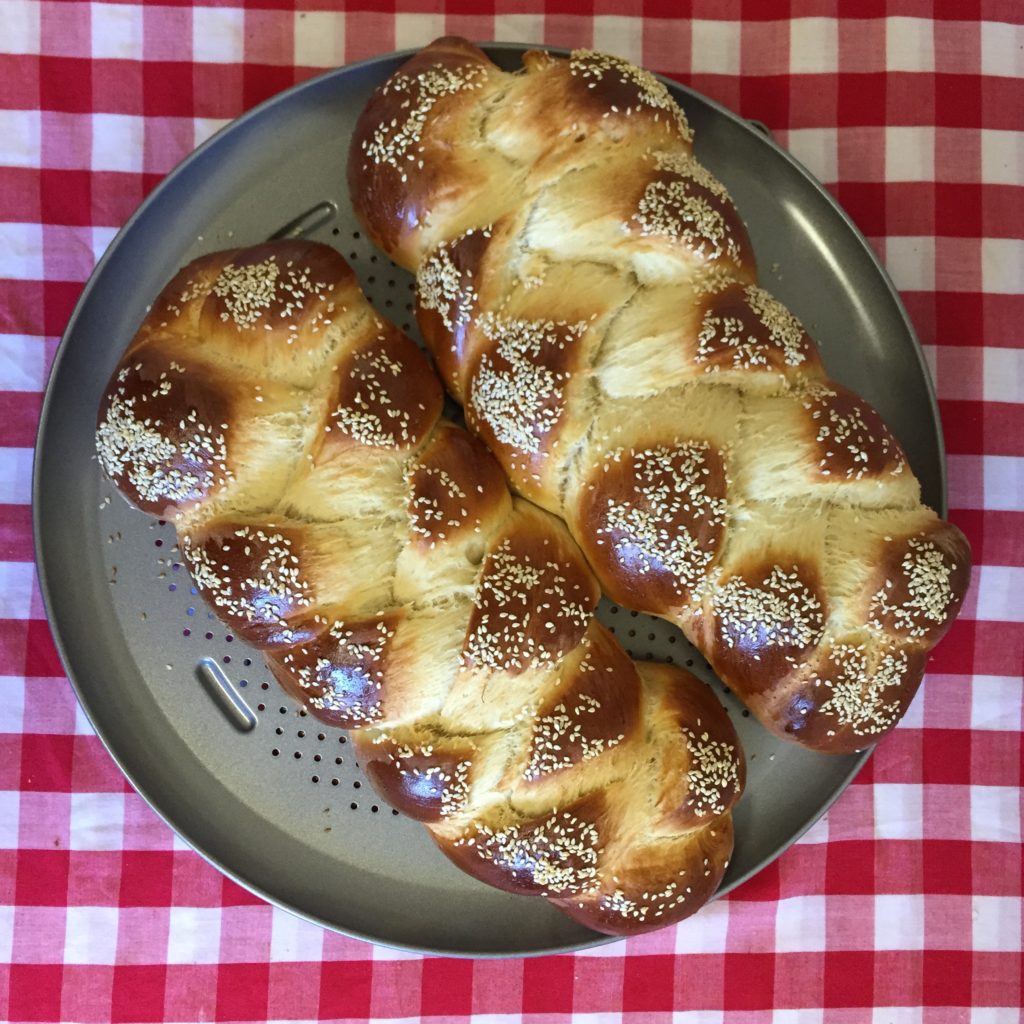
my favorite challah recipe

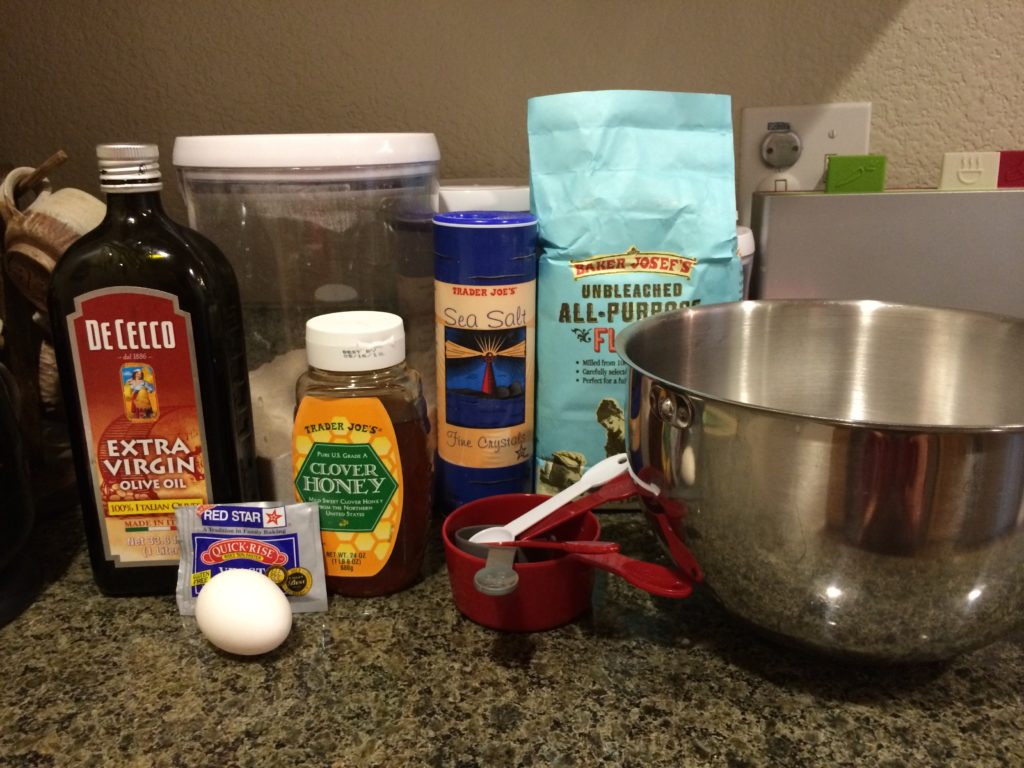
After experimenting with a lot of challah recipes, this is my favorite. You’ll need:

IMG_6824

  • 4 cups unbleached all purpose flour*
  • 1  1/4 cup of warm water
  • 1 package dry active yeast
  • 1/2 tbsp salt
  • 1/2 cup of honey
  • 1 large egg
  • 2 tbsp vegetable or olive oil
  • optional: 1/2 teaspoon sesame seeds 
  • optional: quickly beaten egg for brushing

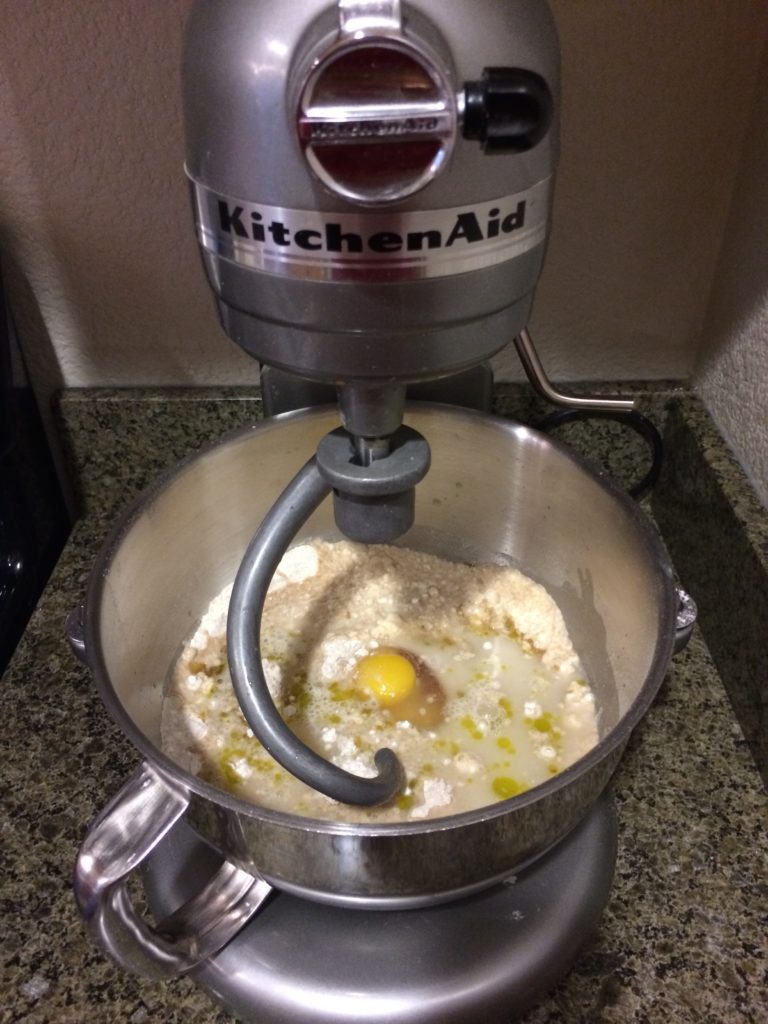
In a large mixing bowl, sprinkle yeast over barely warm water. Add honey, oil, 1 egg, and salt. Add the flour one cup at a time, using the kitchen aid at medium speed.

IMG_6825

Knead until it become a smooth and elastic dough but no longer sticky. It will take around 15′ using the Kitchen Aid Mixer.


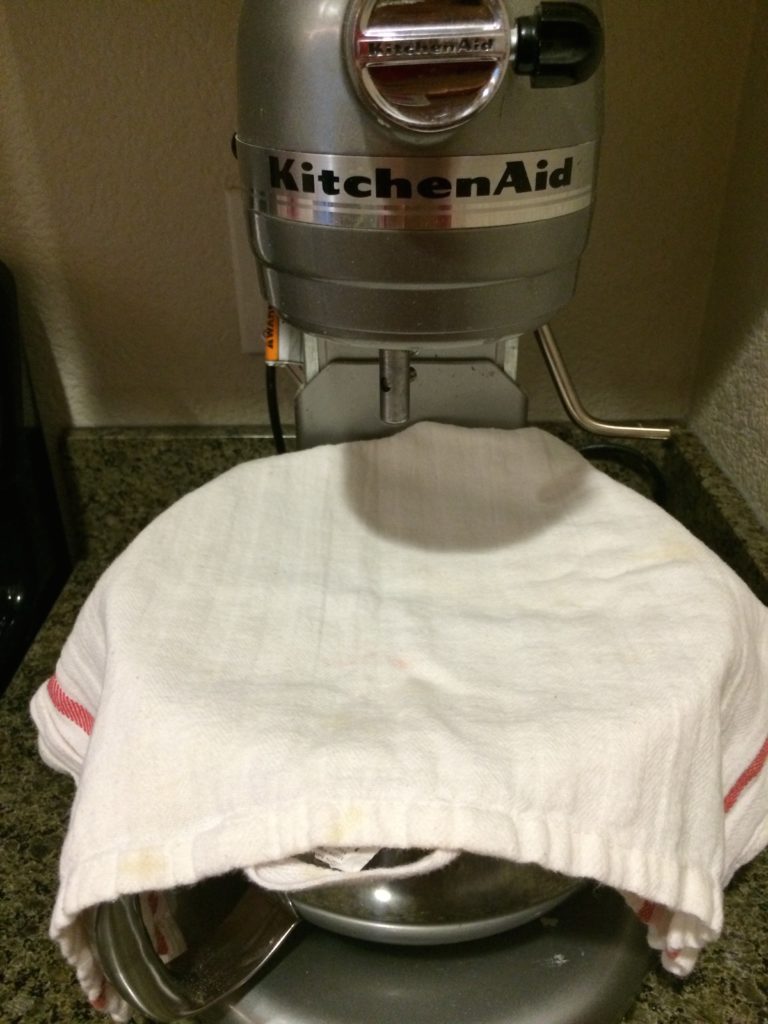
Cover the bowl with a cloth. Let the dough rest at room temperature for 1.30 hours.

IMG_6831

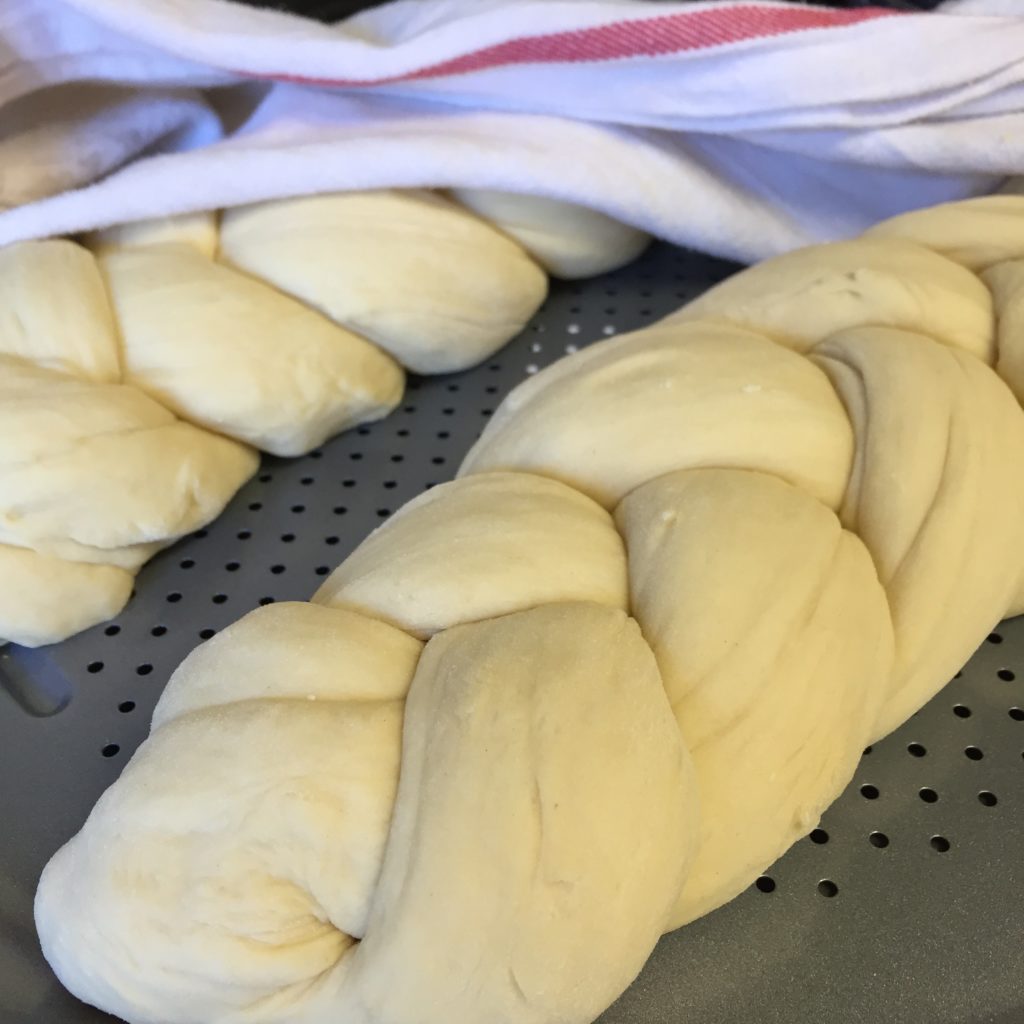
Separate the dough in 3 pieces, flatten a little bit and make a braid. Cover the dough with a clean cloth and let it rest for 45′ more minutes.

IMG_8202

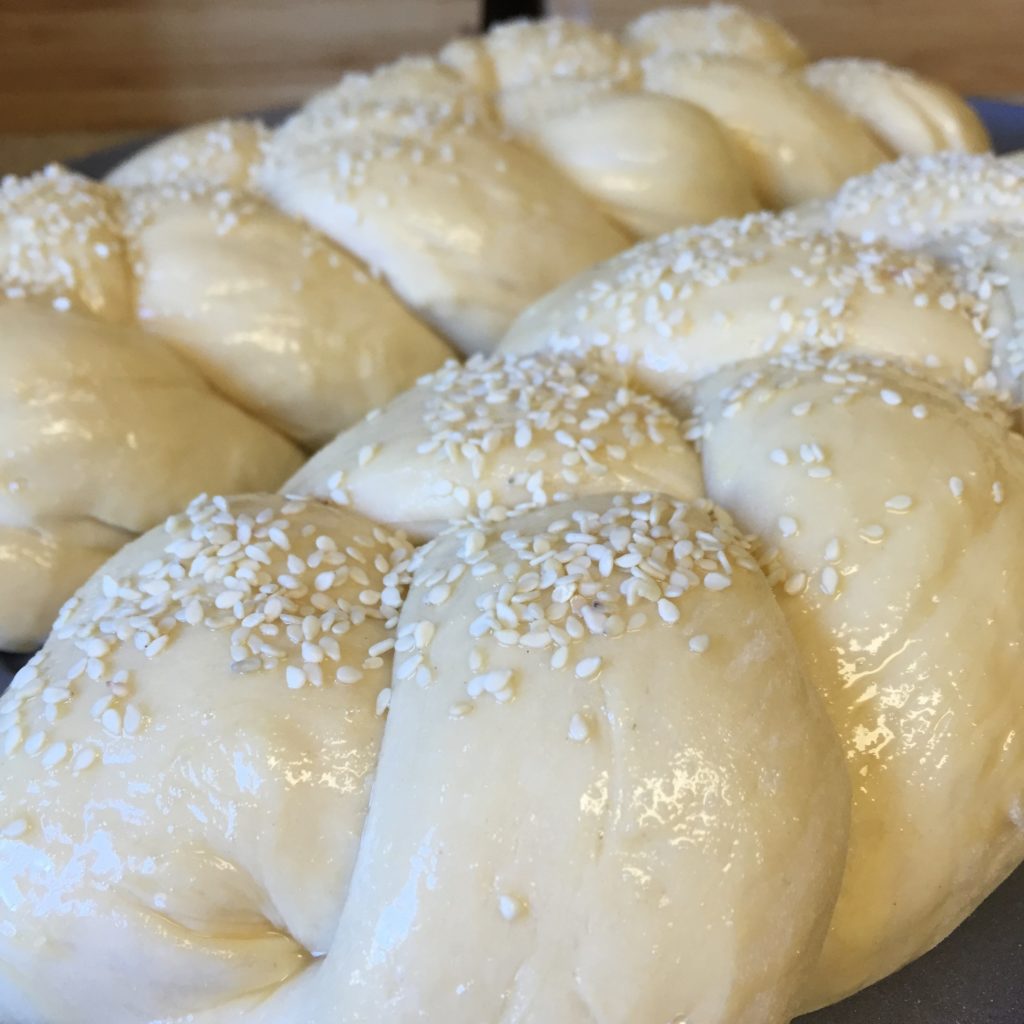
After the resting time, you can either use a slightly beaten egg to brush it or just sprinkle the sesame seeds.

IMG_8203

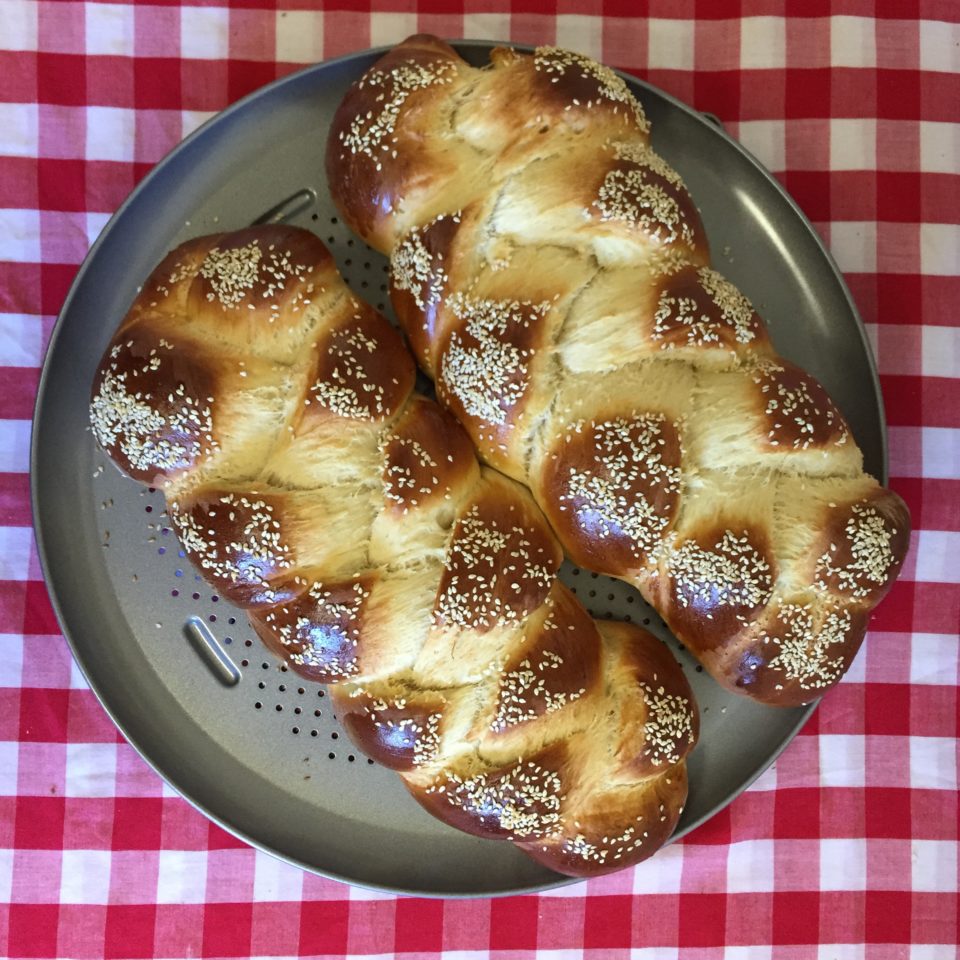
Bake it at 350F for 30′ minutes or until the bread is golden brown. Remove it from the oven and let it cool. The result is impressive and delicious!

IMG_8211

Enjoy it!

things to do in Brooklyn with a baby/toddler

These are some of the things we used to do with Marco during the time we lived in Downtown Brooklyn, NY.

Our favorite spots for those cold winter days or for the rainy summer ones:

  • Brooklyn Children’s Museum: Our favorite spot is the area right on the main level with water games -you don’t need to get wet- and blue sand. It’s great for “sensory” activities for the little ones.  Where? 145 Brooklyn Ave, Brooklyn, NY 11213 ($$) 
  • Brooklyn Public Library:   FREE – Big and great children’s area with lots of activities and with an adorable rug with some characters from Eric Carle’s books. Where? 10 Grand Army Plaza, Brooklyn, NY 11238
  • Brooklyn Heights Public Library: FREE –  It had a decent children’s area but a big con is that it only has fans and it gets very hot in the summer. Where? 280 Cadman Plaza West at Tillary St., Brooklyn, NY 11201
  • Carroll Gardens Public Library:  FREE – Another great place. The children’s area even though it’s small, it has some interesting toys specially for those between 1-2 yrs. Where? 396 Clinton St. @ Union St. Brooklyn, NY 11231
  • Beer Garden in Fort Greene:  What does a beer garden has to do with kids? Well, a lot! Because at Der Schwarze Koelner in Fort Greene you also can have fun! They organize a playgroup on weekdays around 2.30pm that for a little fee your little one can play around with the toys they provide while you eat a pretzel and drink a little something around him. Sounds nice, ha? Where? 710 Fulton Street, Brooklyn NY 11217 ($$)
  • Greenlight Bookstore: FREE – They organize sing-a-long and story time, provide a lot of good books and they have some nice toys. The place isn’t huge but it’s almost never crowded. Check their website to see the kids’ events. Where? 686 Fulton Street, Brooklyn, NY.
  • Moxie Spot: For those days that you need to get out of the house for a nice and at a great price activity but you don’t need to register for the classes months before! On the cons: the food is not very good and the toys are not in very good condition
 But still, you have a place to be that’s safe and it’s not your house! Where? 81 Atlantic Ave., Brooklyn, NY 11201 More info here ($)

Playgrounds Review:

  • Carroll Garden Playground: Small but it has a lttle bit of everything, even a water spray area for kids. Tip: Try going during the morning, it gets very crowded on weekdays afternoon and weekends.
  • Fort Greene: There are two playground areas. The one on Dekalb is less crowded and with younger kids. The one on Myrtle Ave. is big and it has a water spray area also but it’s crowded and sometimes not very safe.
  • Mc Laughlin Park: There’s a basketball court that’s always full of people but the playground is ok even though is more for older kids. Just take care that sometimes there are people using non-legal substances, check before entering to the park.
  • North Pacific Playground: A gem! A small playground area but it’s never crowded! Woohoo! Marco loved this playground.  This one is on Pacific St between 3rd Ave. and Nevins St., Brooklyn.
  • Brooklyn Bridge Park: Ok, so many areas to have hours of entertainment for every age. Until we left, these are ones we tried:
  1. Pier 1 playground: Super fun. There’s a lot of space to play around. Bring your picnic blanket and have lunch afterwards in the beautiful park with the amazing view of Manhattan and the Brooklyn Bridge.
  2. Pier 5: It has a beautiful play space for younger kids under a tent so you don’t need to worry too much about been outdoors because there’s a nice shade that covers the play space.
  3. Pier 6 Swing Valley: great for those little ones that love the swings! Marco used to loved this play area. Also it was good to practice his walking around this playground because the padded floor was very comfy and safe.
  4. Pier 6 Water Lab: Super crowded on weekends and afternoons but still an amazing place, specially for more than +2 years. The water is very cold and since it’s so full of kiddos it won’t be much fun for the little ones.
  • And of course, another great park is our beloved Prospect Park, where you can find a carrousel, a zoo, 7 different playgrounds and lots of grass to run around. Endless fun!

Enjoy Brooklyn!