Let’s be honest. Being a beginner is tough and frustrating a lot of times and this is specially true if you’ve decided to give Modern Calligraphy a try.
During my first year with this beautiful but difficult art I struggle A LOT.
First, it was just trying to get that balance of thin and thick lines. Like, what’s happening? Why does it seem so simple when others do it but so difficult for me? Is it the pen, the nib, the pressure?Argh. This endeavor was hard.
After several hours of practice, it seemed that the weekly practice paid off helping my brain to connect to the dots between what I wanted to do and what my arm and my hand were actually doing.
And that’s when I had to face all the rest of the battles: creating a decent shape for each letter (OMG that was hard!); dealing with the ink bleeding on the paper (and then having to learn about paper and ink quality) to finally keeping kind of a straight line and attempt to create something of a composition.
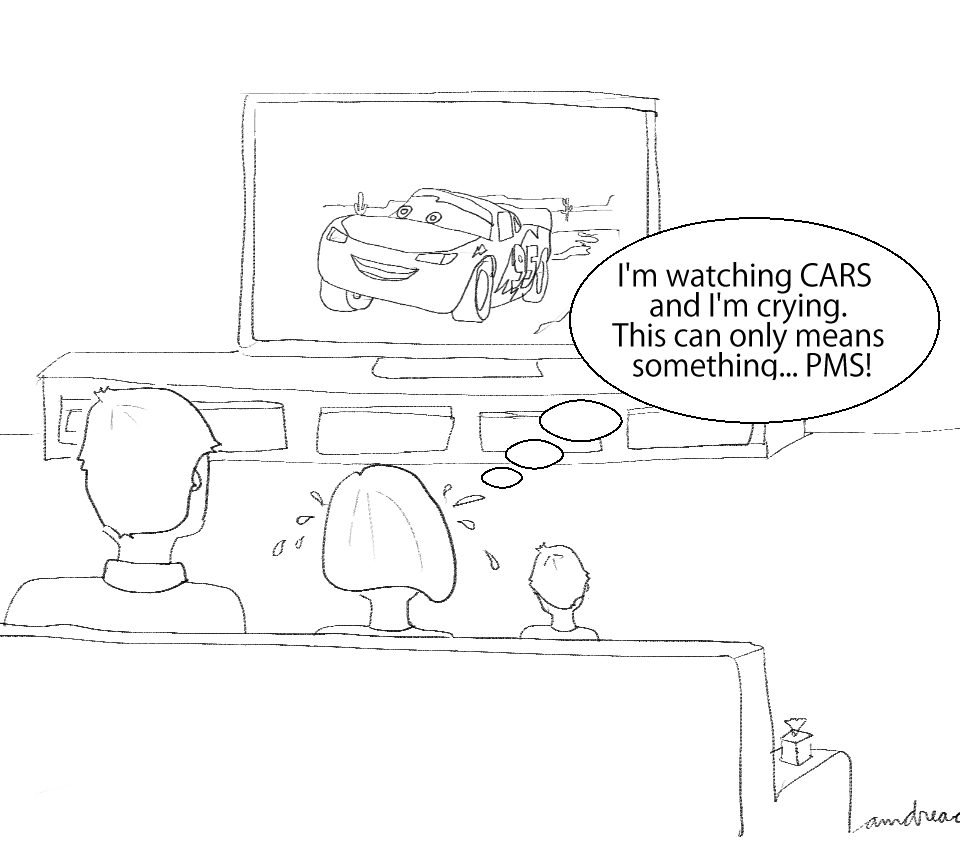
For a moment, I felt like I was in the middle of The Two Towers in LOTR battling hordes and hordes of orcs (yes, I’m a little bit of a nerd… if you didn’t yet notice it!)
And then, when I somehow managed to have all of the above working… A huge blob of ink would ruin my project!
I tell you friends, the struggle is real!
But there was something that helped me to feel less frustrated. And that was being able to create some projects that were pretty enough for the level I was at that time, a beginner.
That’s why I want to share today 3 ideas of projects that you can create and who knows? They might also help you, as they helped me, to feel more encouraged about my art and not quitting at it.
1. Re-Use those sheets of PRACTICE!
After hours or practice you start to have several sheets of paper with alphabet samples, numbers or maybe calligraphy exercises.
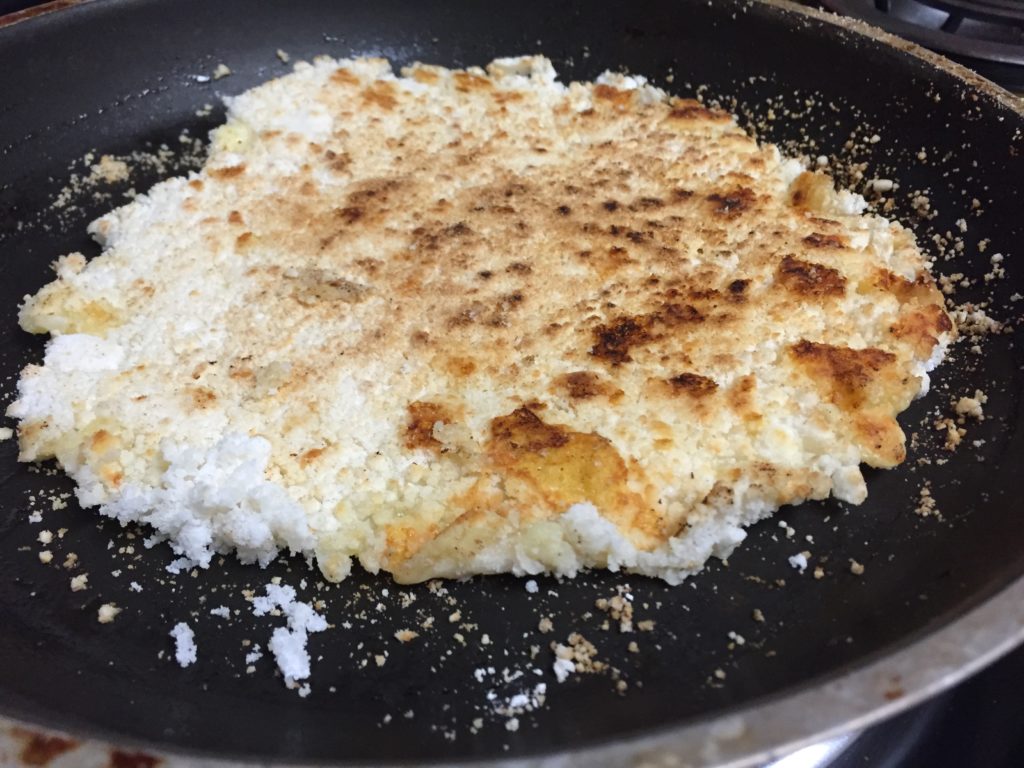
They might not look pretty at all when you see them. For instance, take a look at this one:
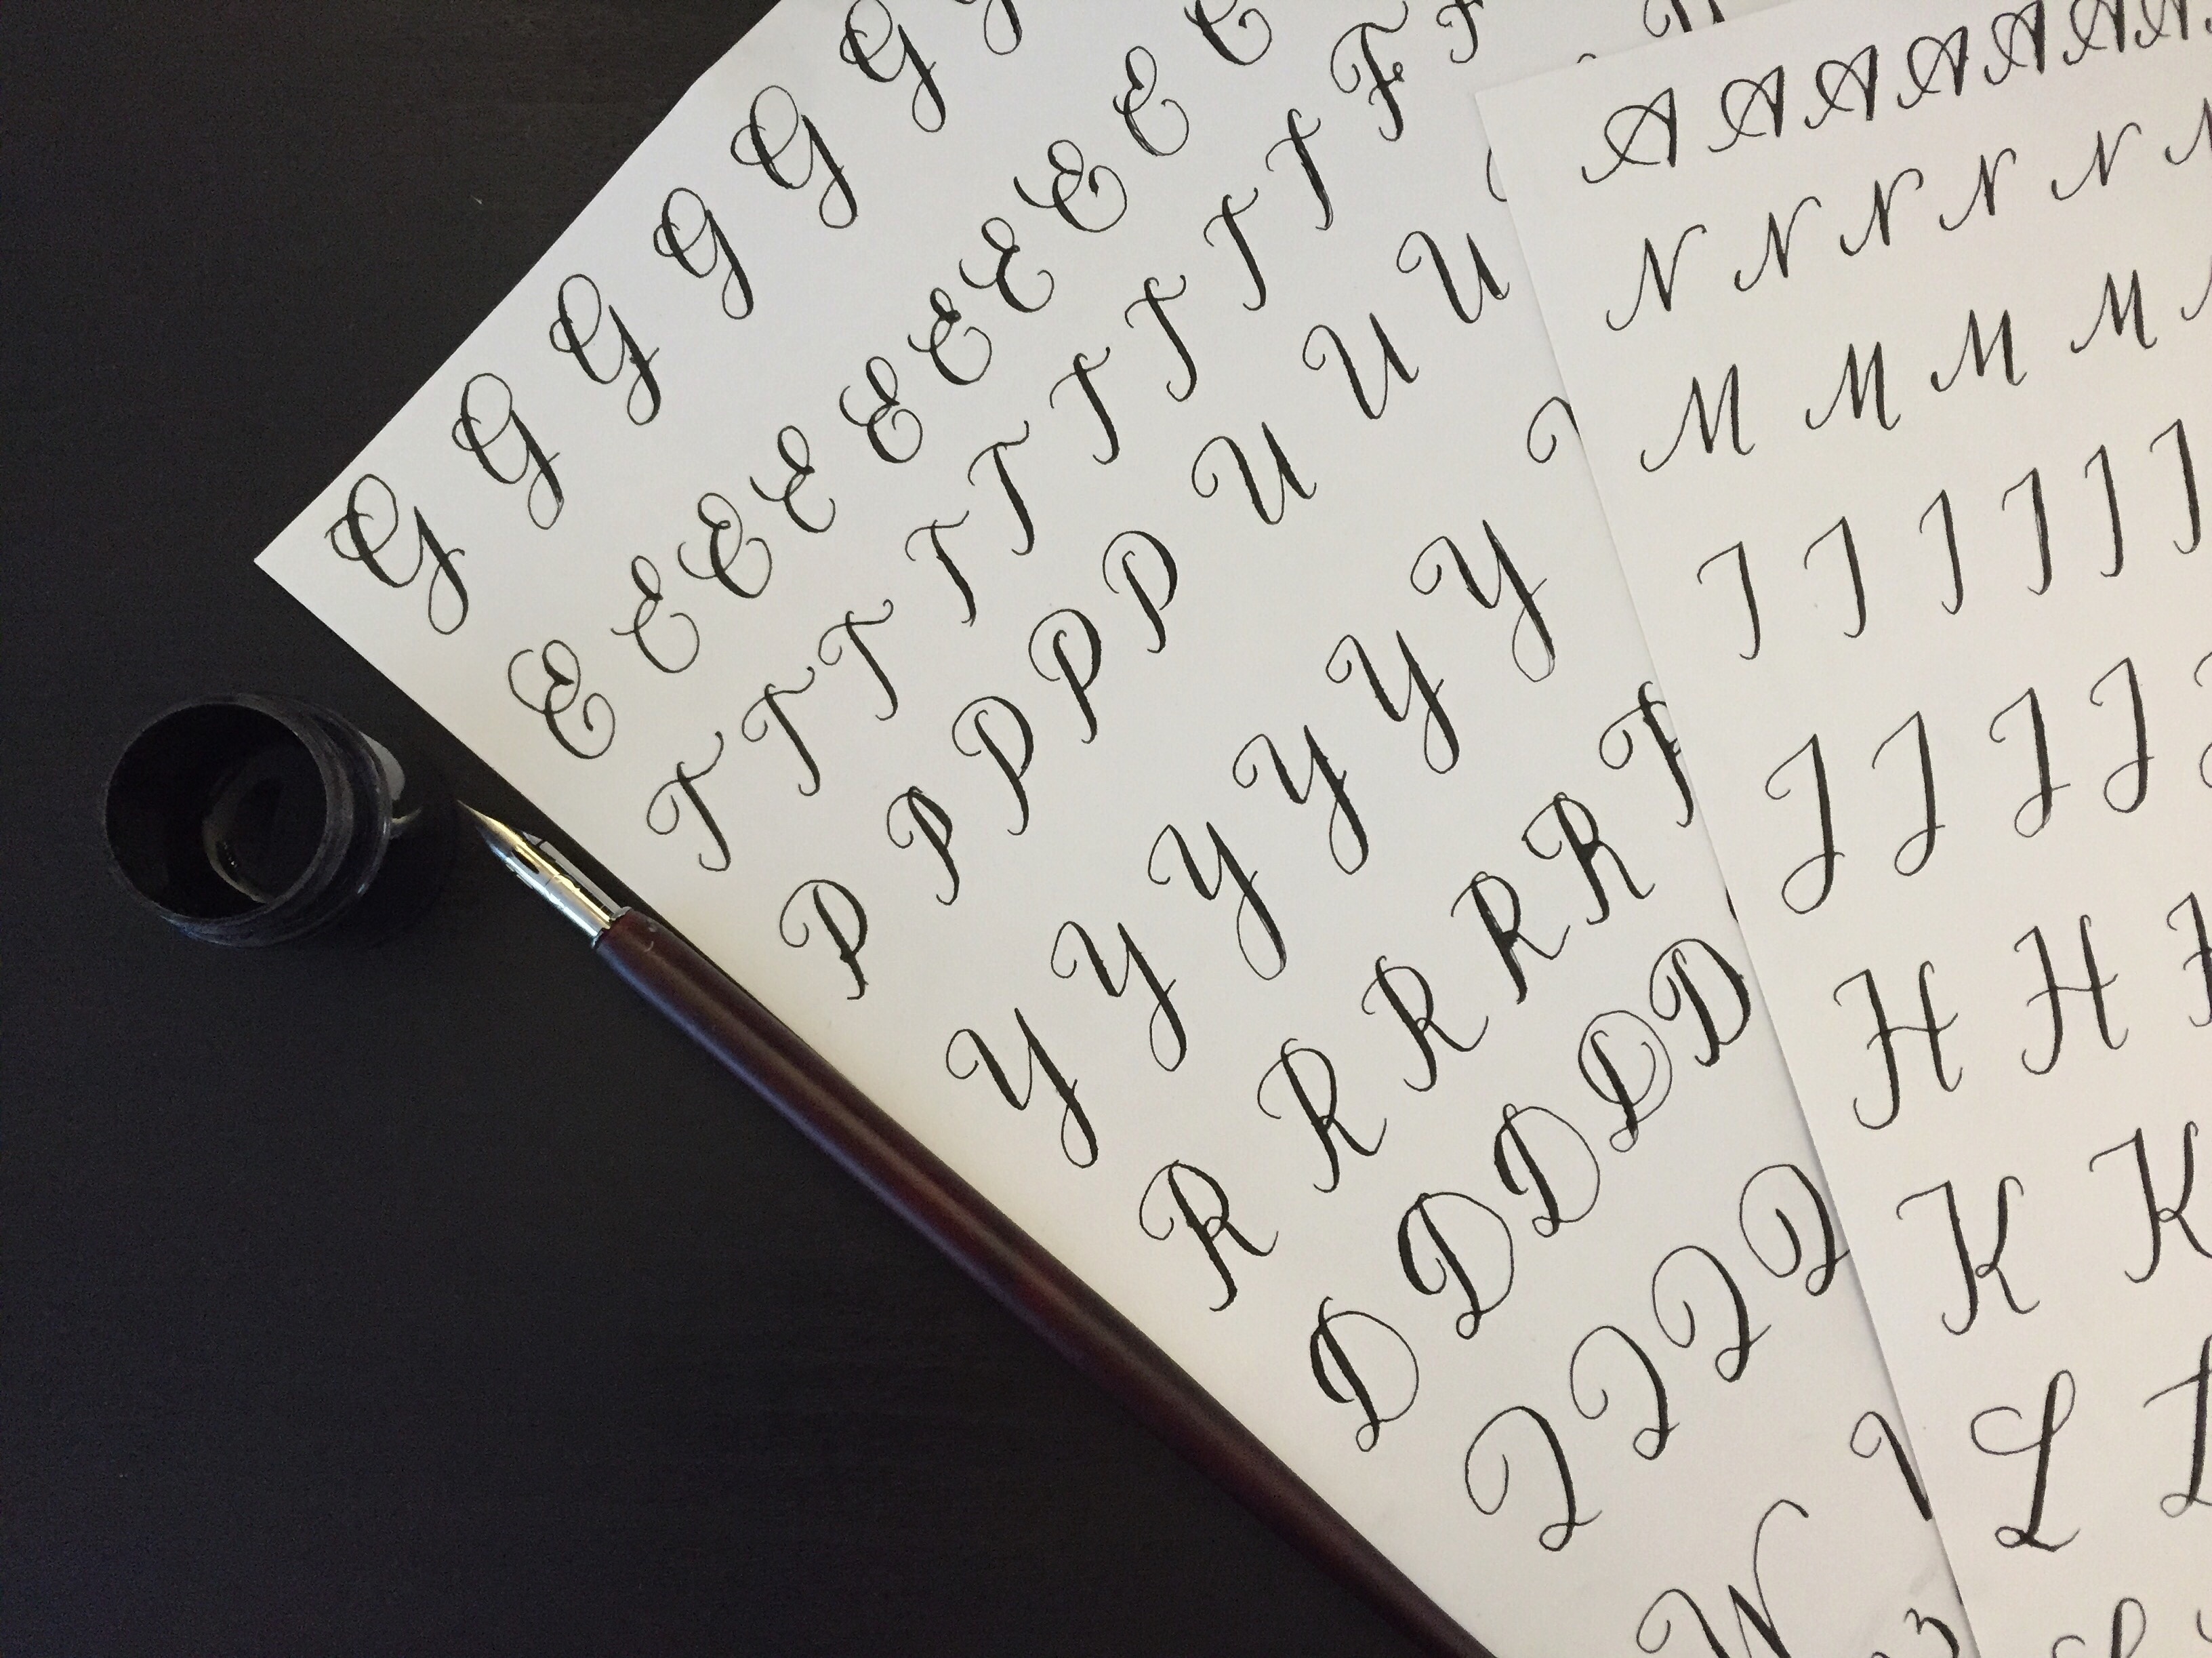 After 1 month into Calligraphy
But what happens when you re-use it as a wrapping paper? Add a nice ribbon and, voilà! Something not pretty turned into something cute!
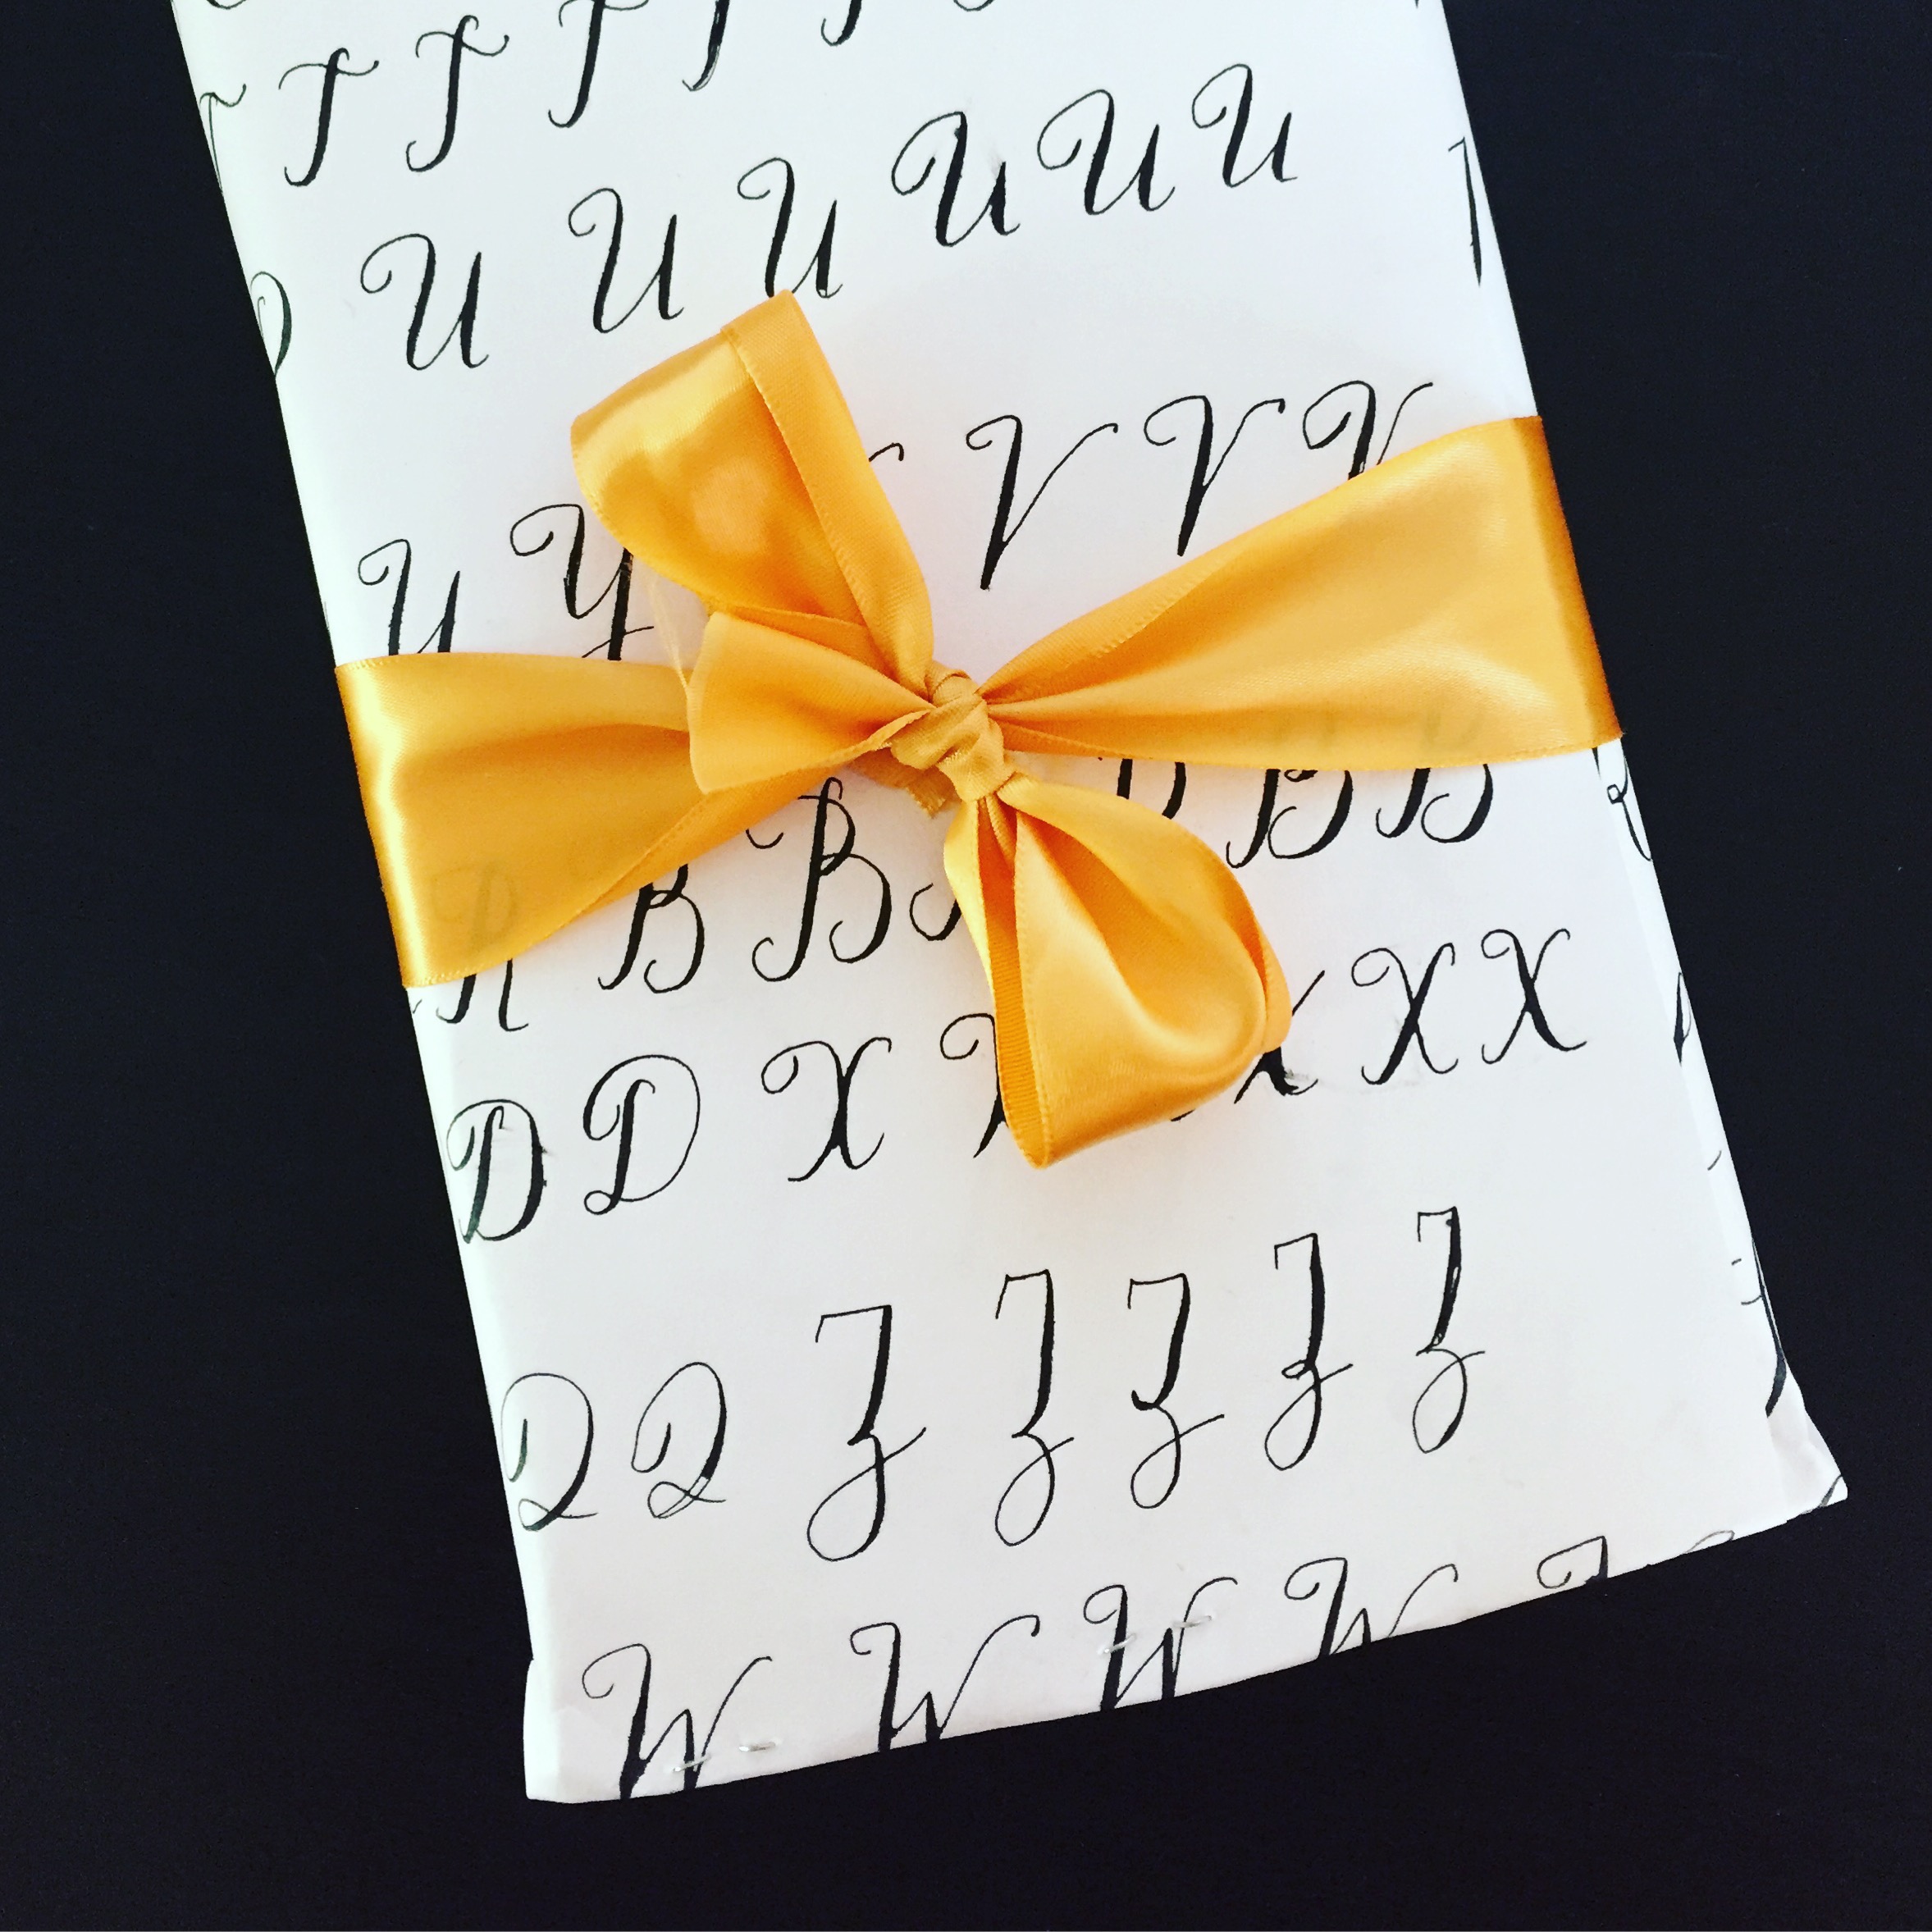 Ohhh… What a little ribbon can do!
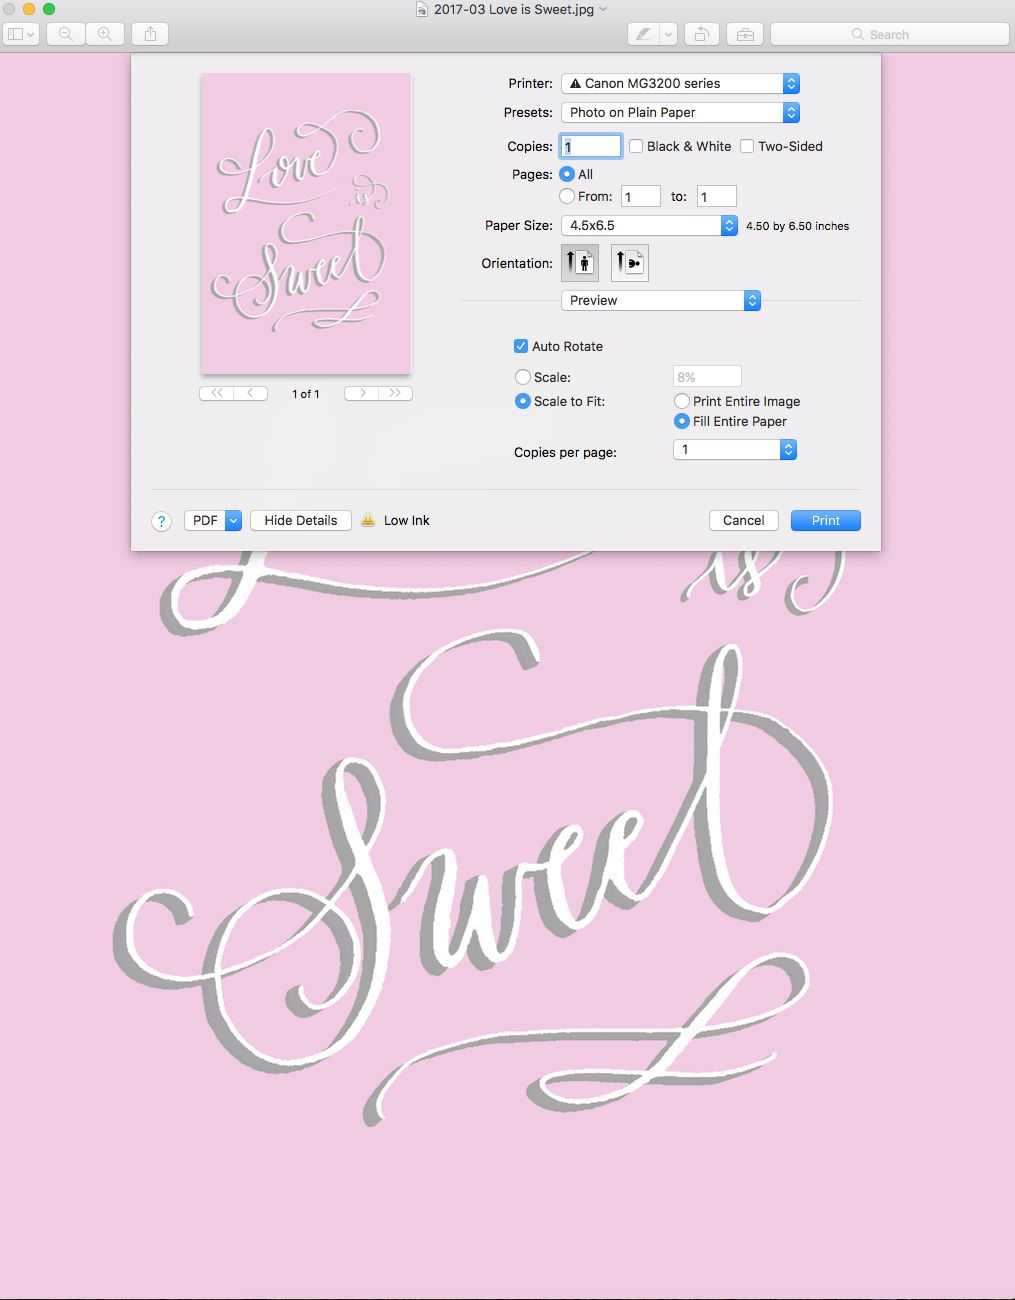
2. Create a simple quote for a wall decor
In this case I would say: keep it simple, keep it short and if you aim for a baby nursery or kids bedroom then it might be even better, since cute and imperfect sometimes is just what we are looking for in this kind of projects!
 Quote for a baby nursery
Additional points: Frame it. Even with an IKEA frame. You’ll see how much of a difference it makes after it’s framed!
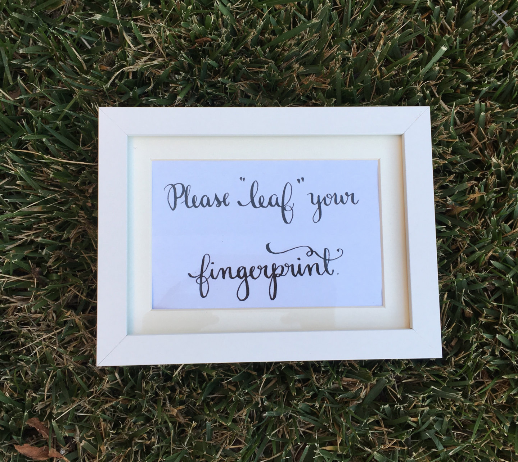 OHHH… WHAT An IKEA Frame CAN DO!
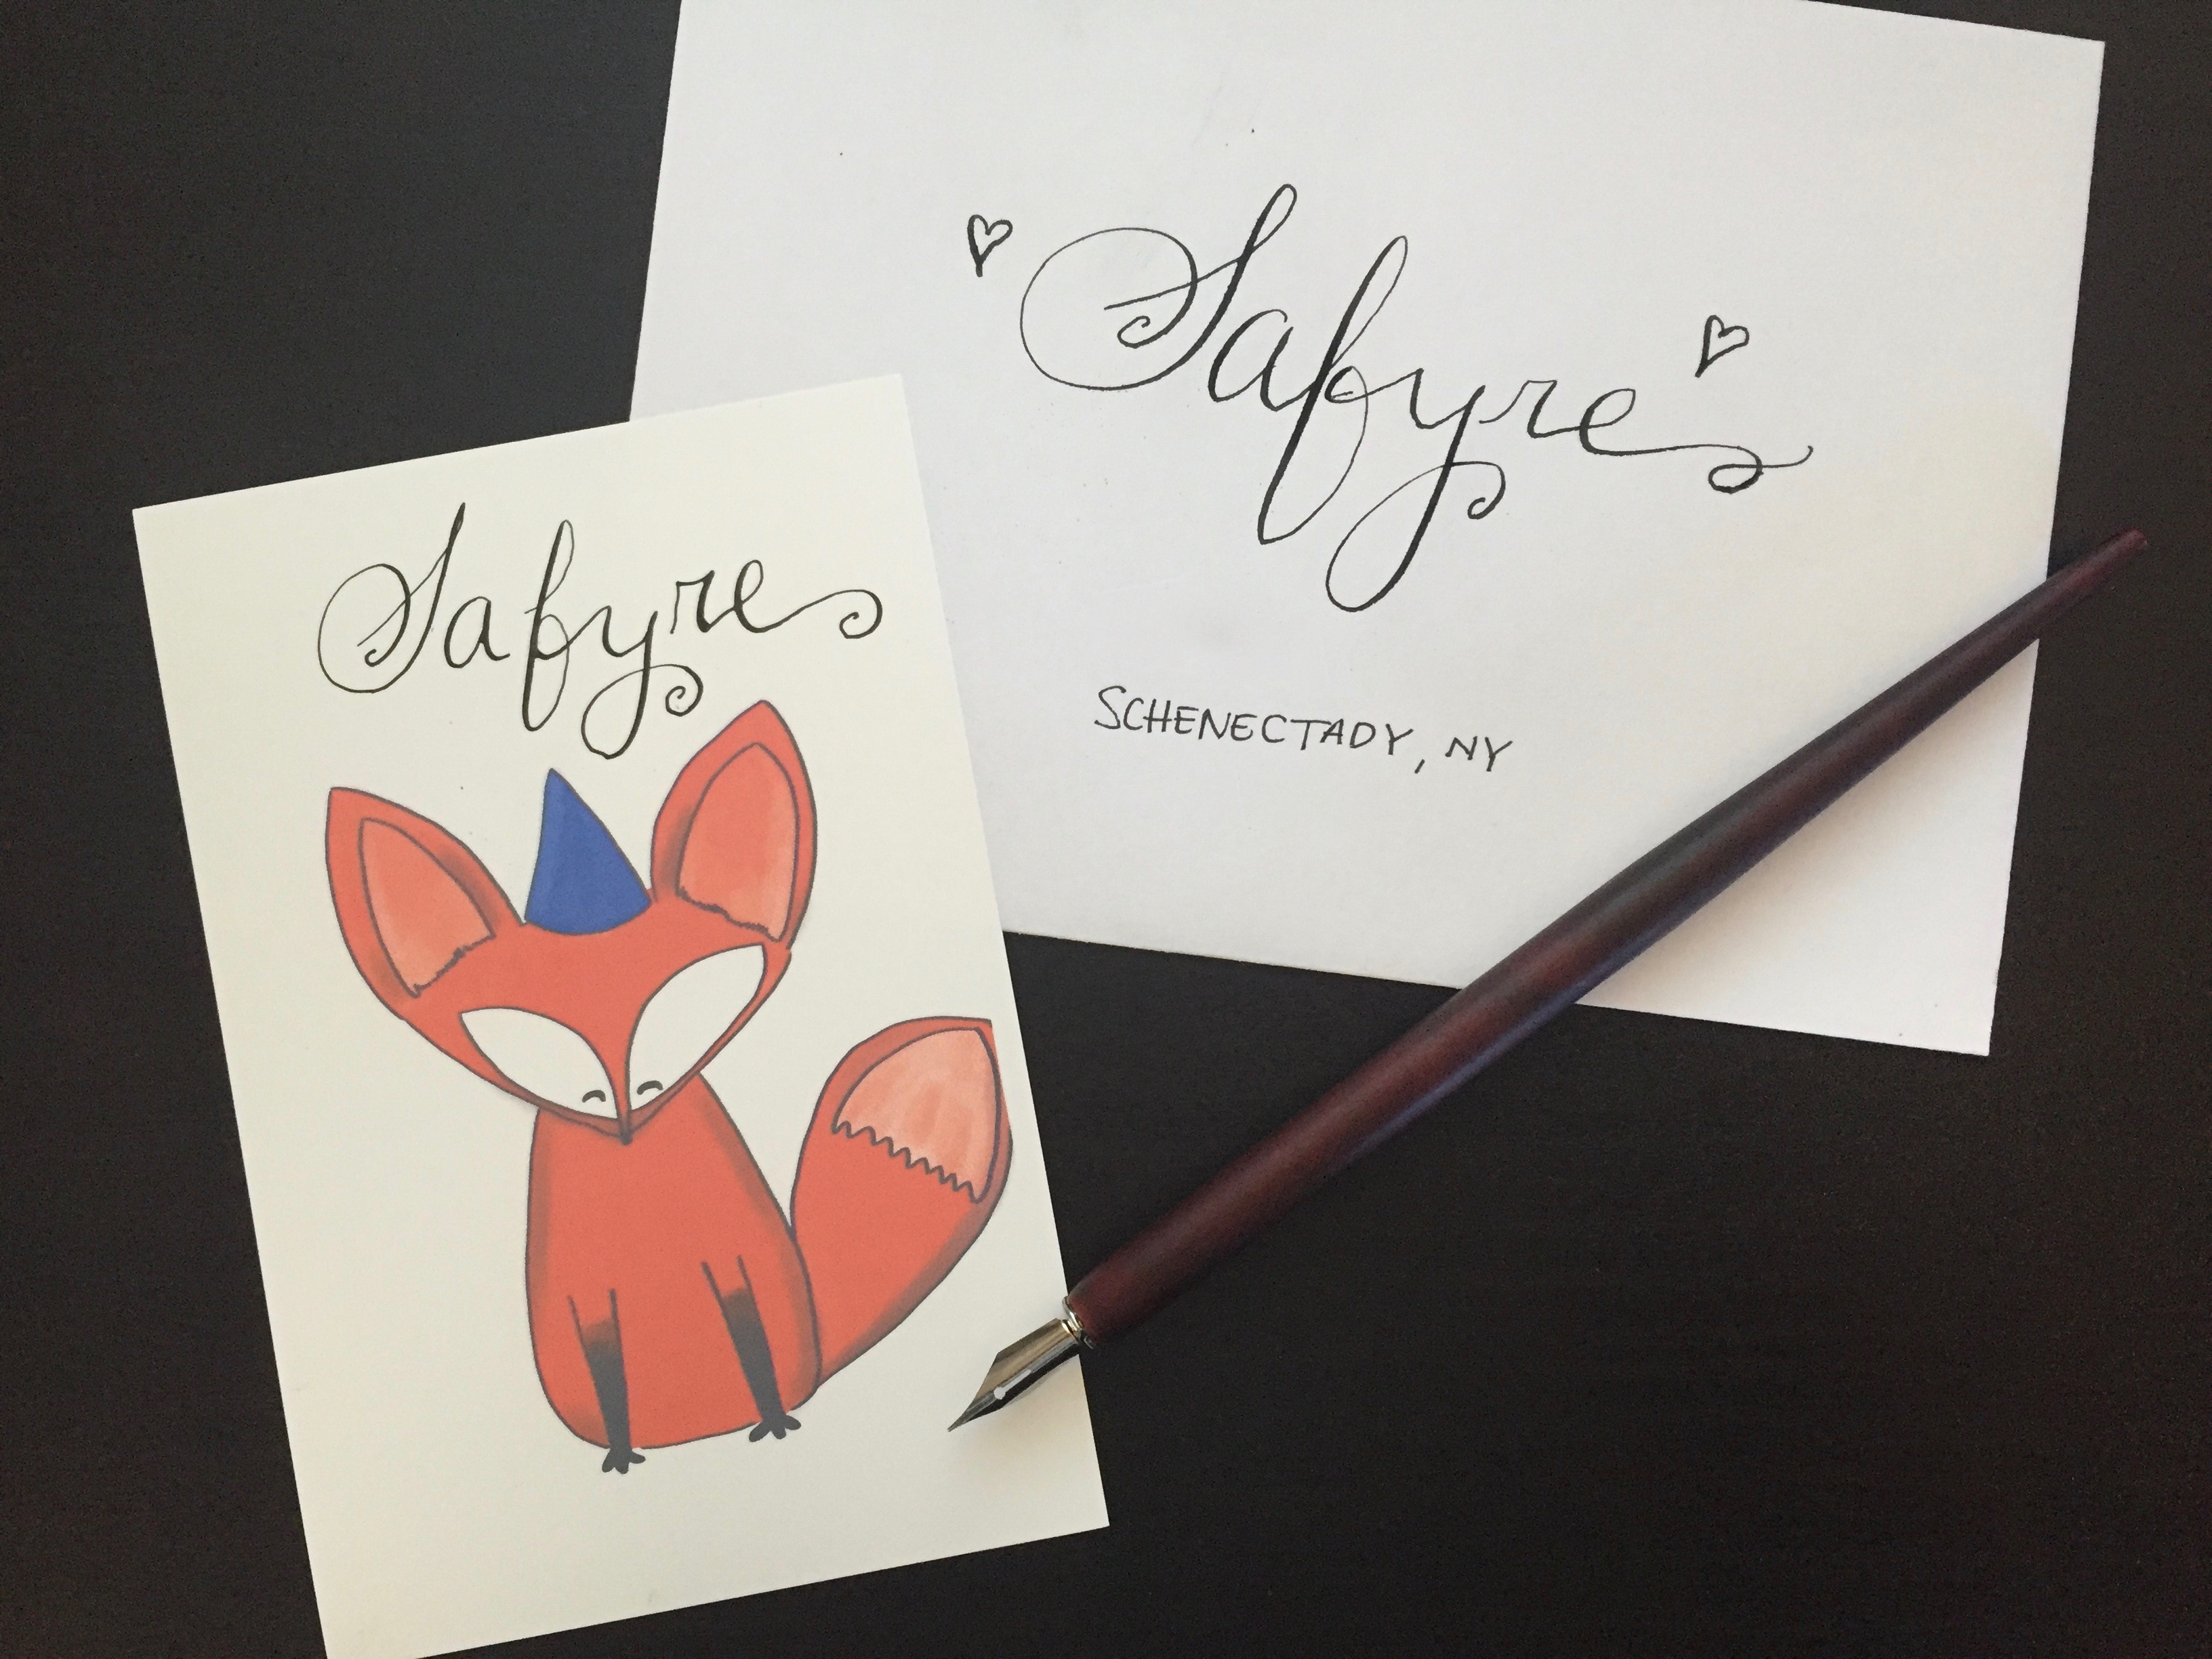
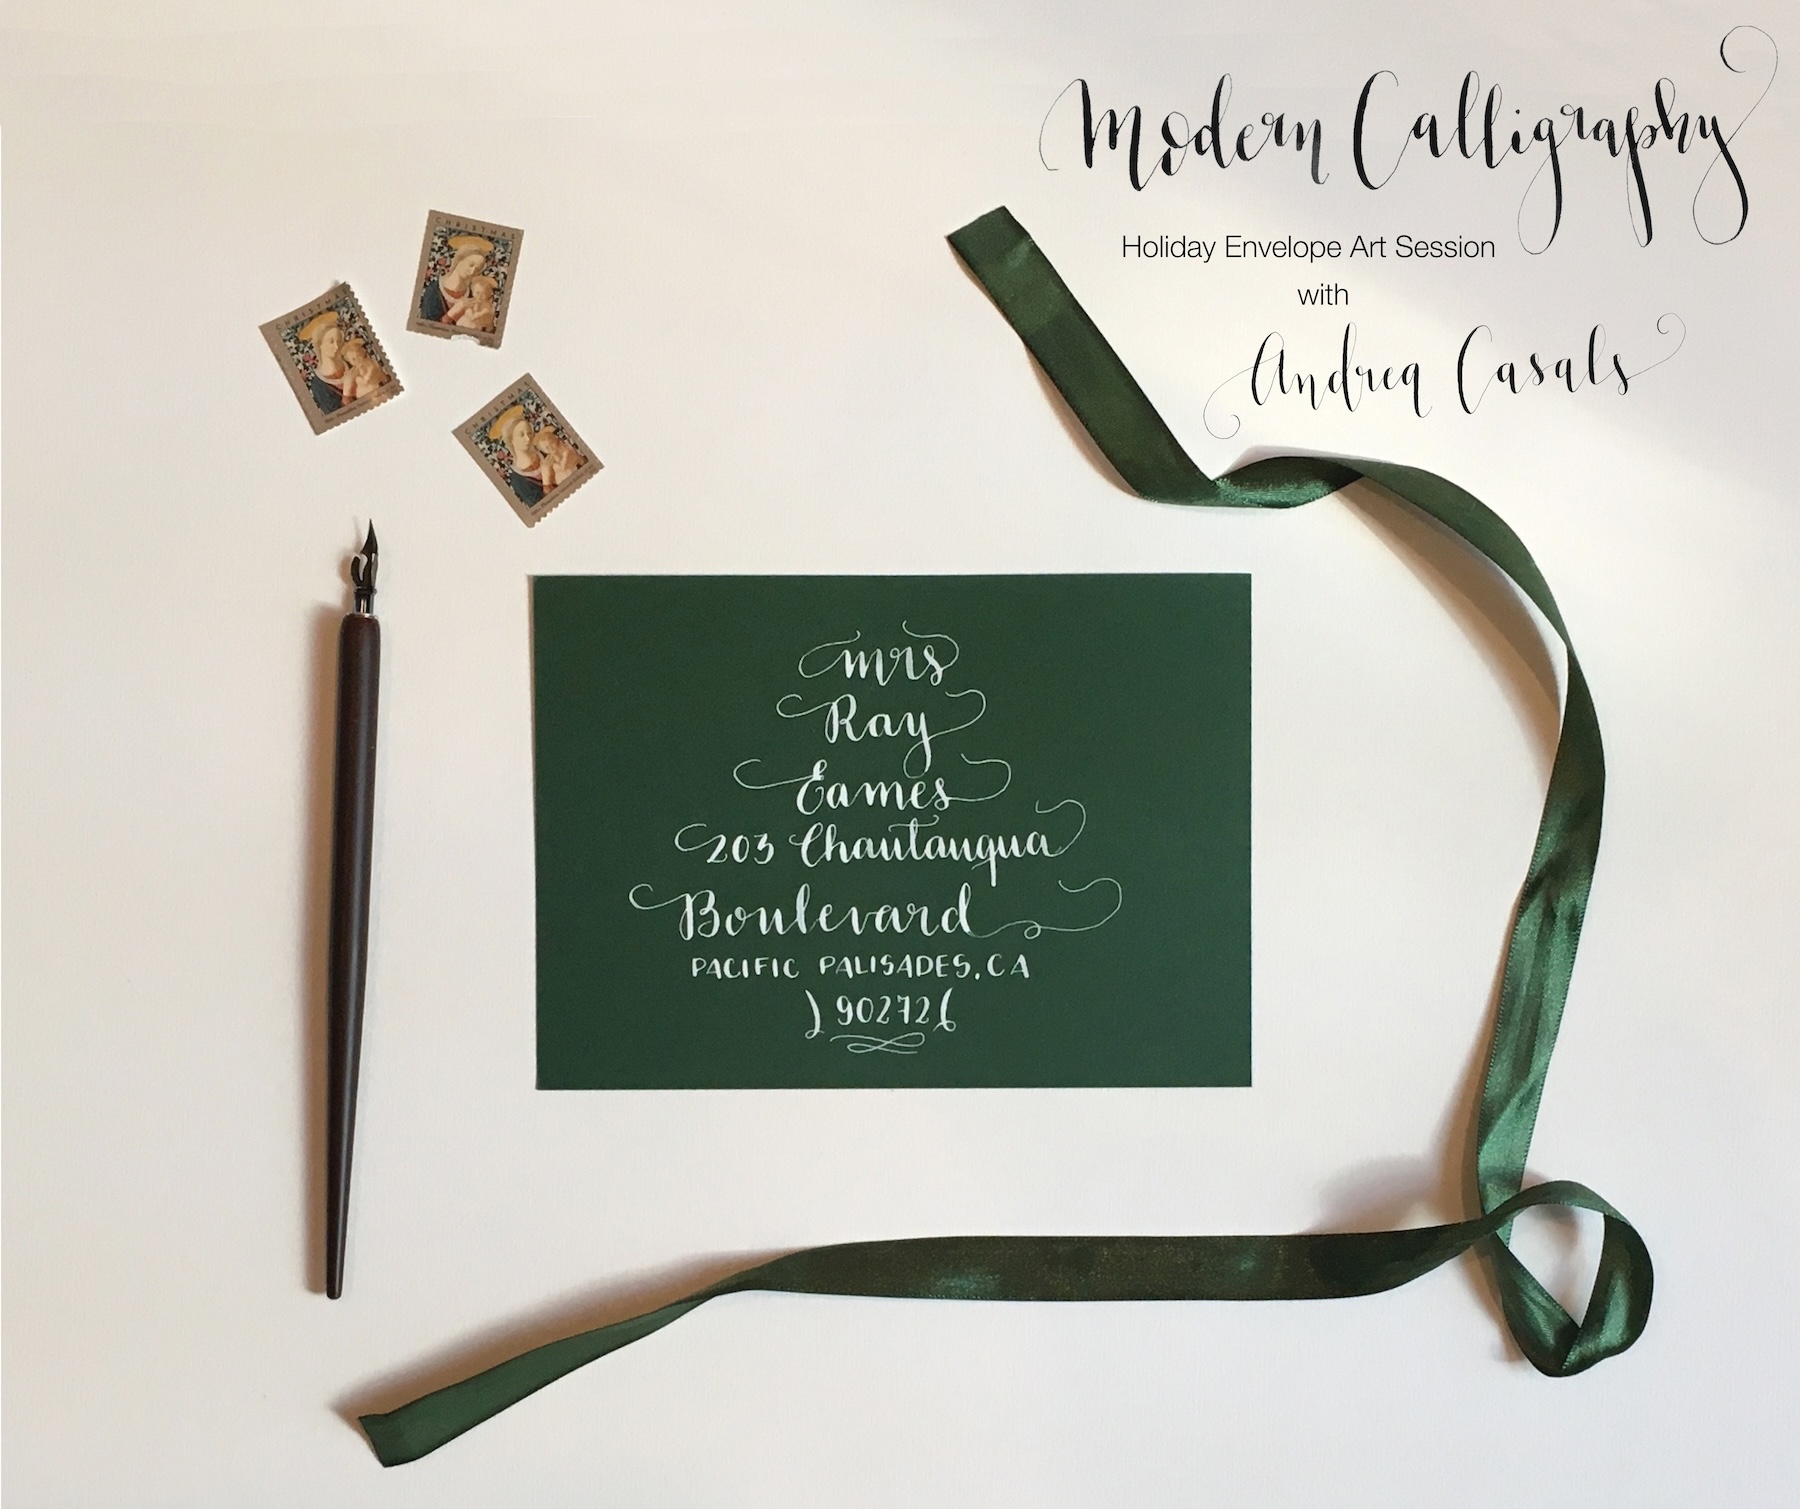
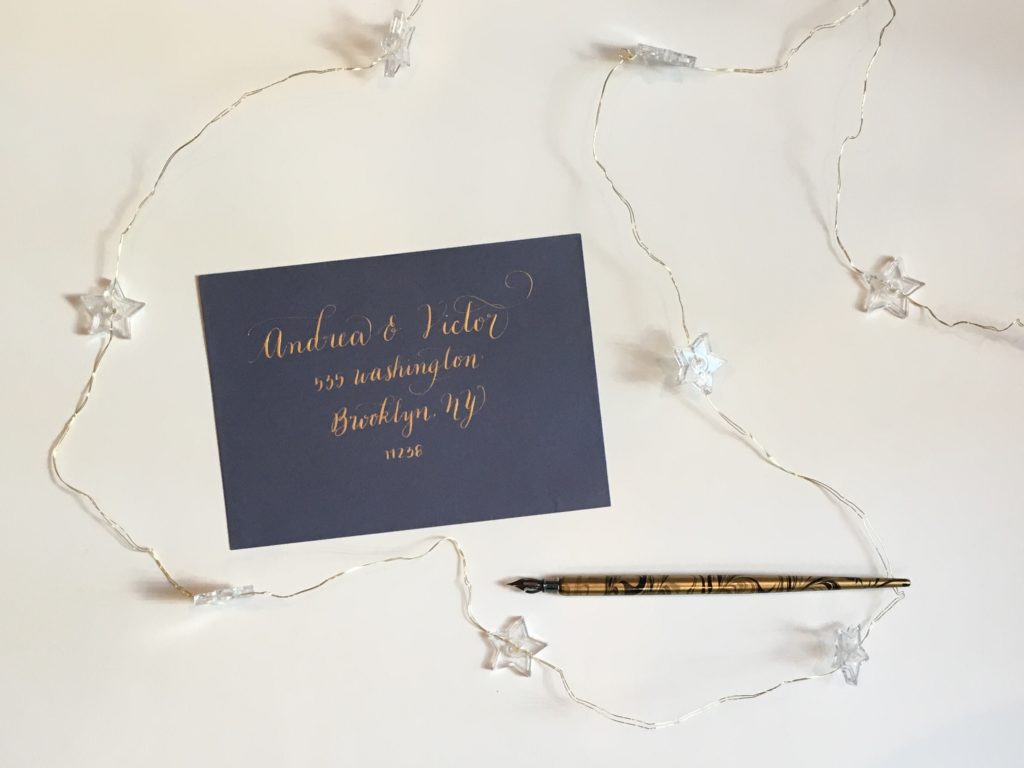
3. UPGRADE YOUR SNAIL MAIL ENVELOPES
It might seem simple but hey…! Who doesn’t love to receive some snail mail love?! I can assure you that not everyone knows how to write how you’re learning to so, feel confident enough to try it! Specially if it’s for a good friend who will appreciate your efforts to send something a little bit more special 🙂
 Snail mail day is always a happy day for me!
Okay friends, I hope these ideas are as useful to you as they were to me! Keep on practicing and most important… enjoying that calligraphy practice because we all know: it’s all about the journey!
***
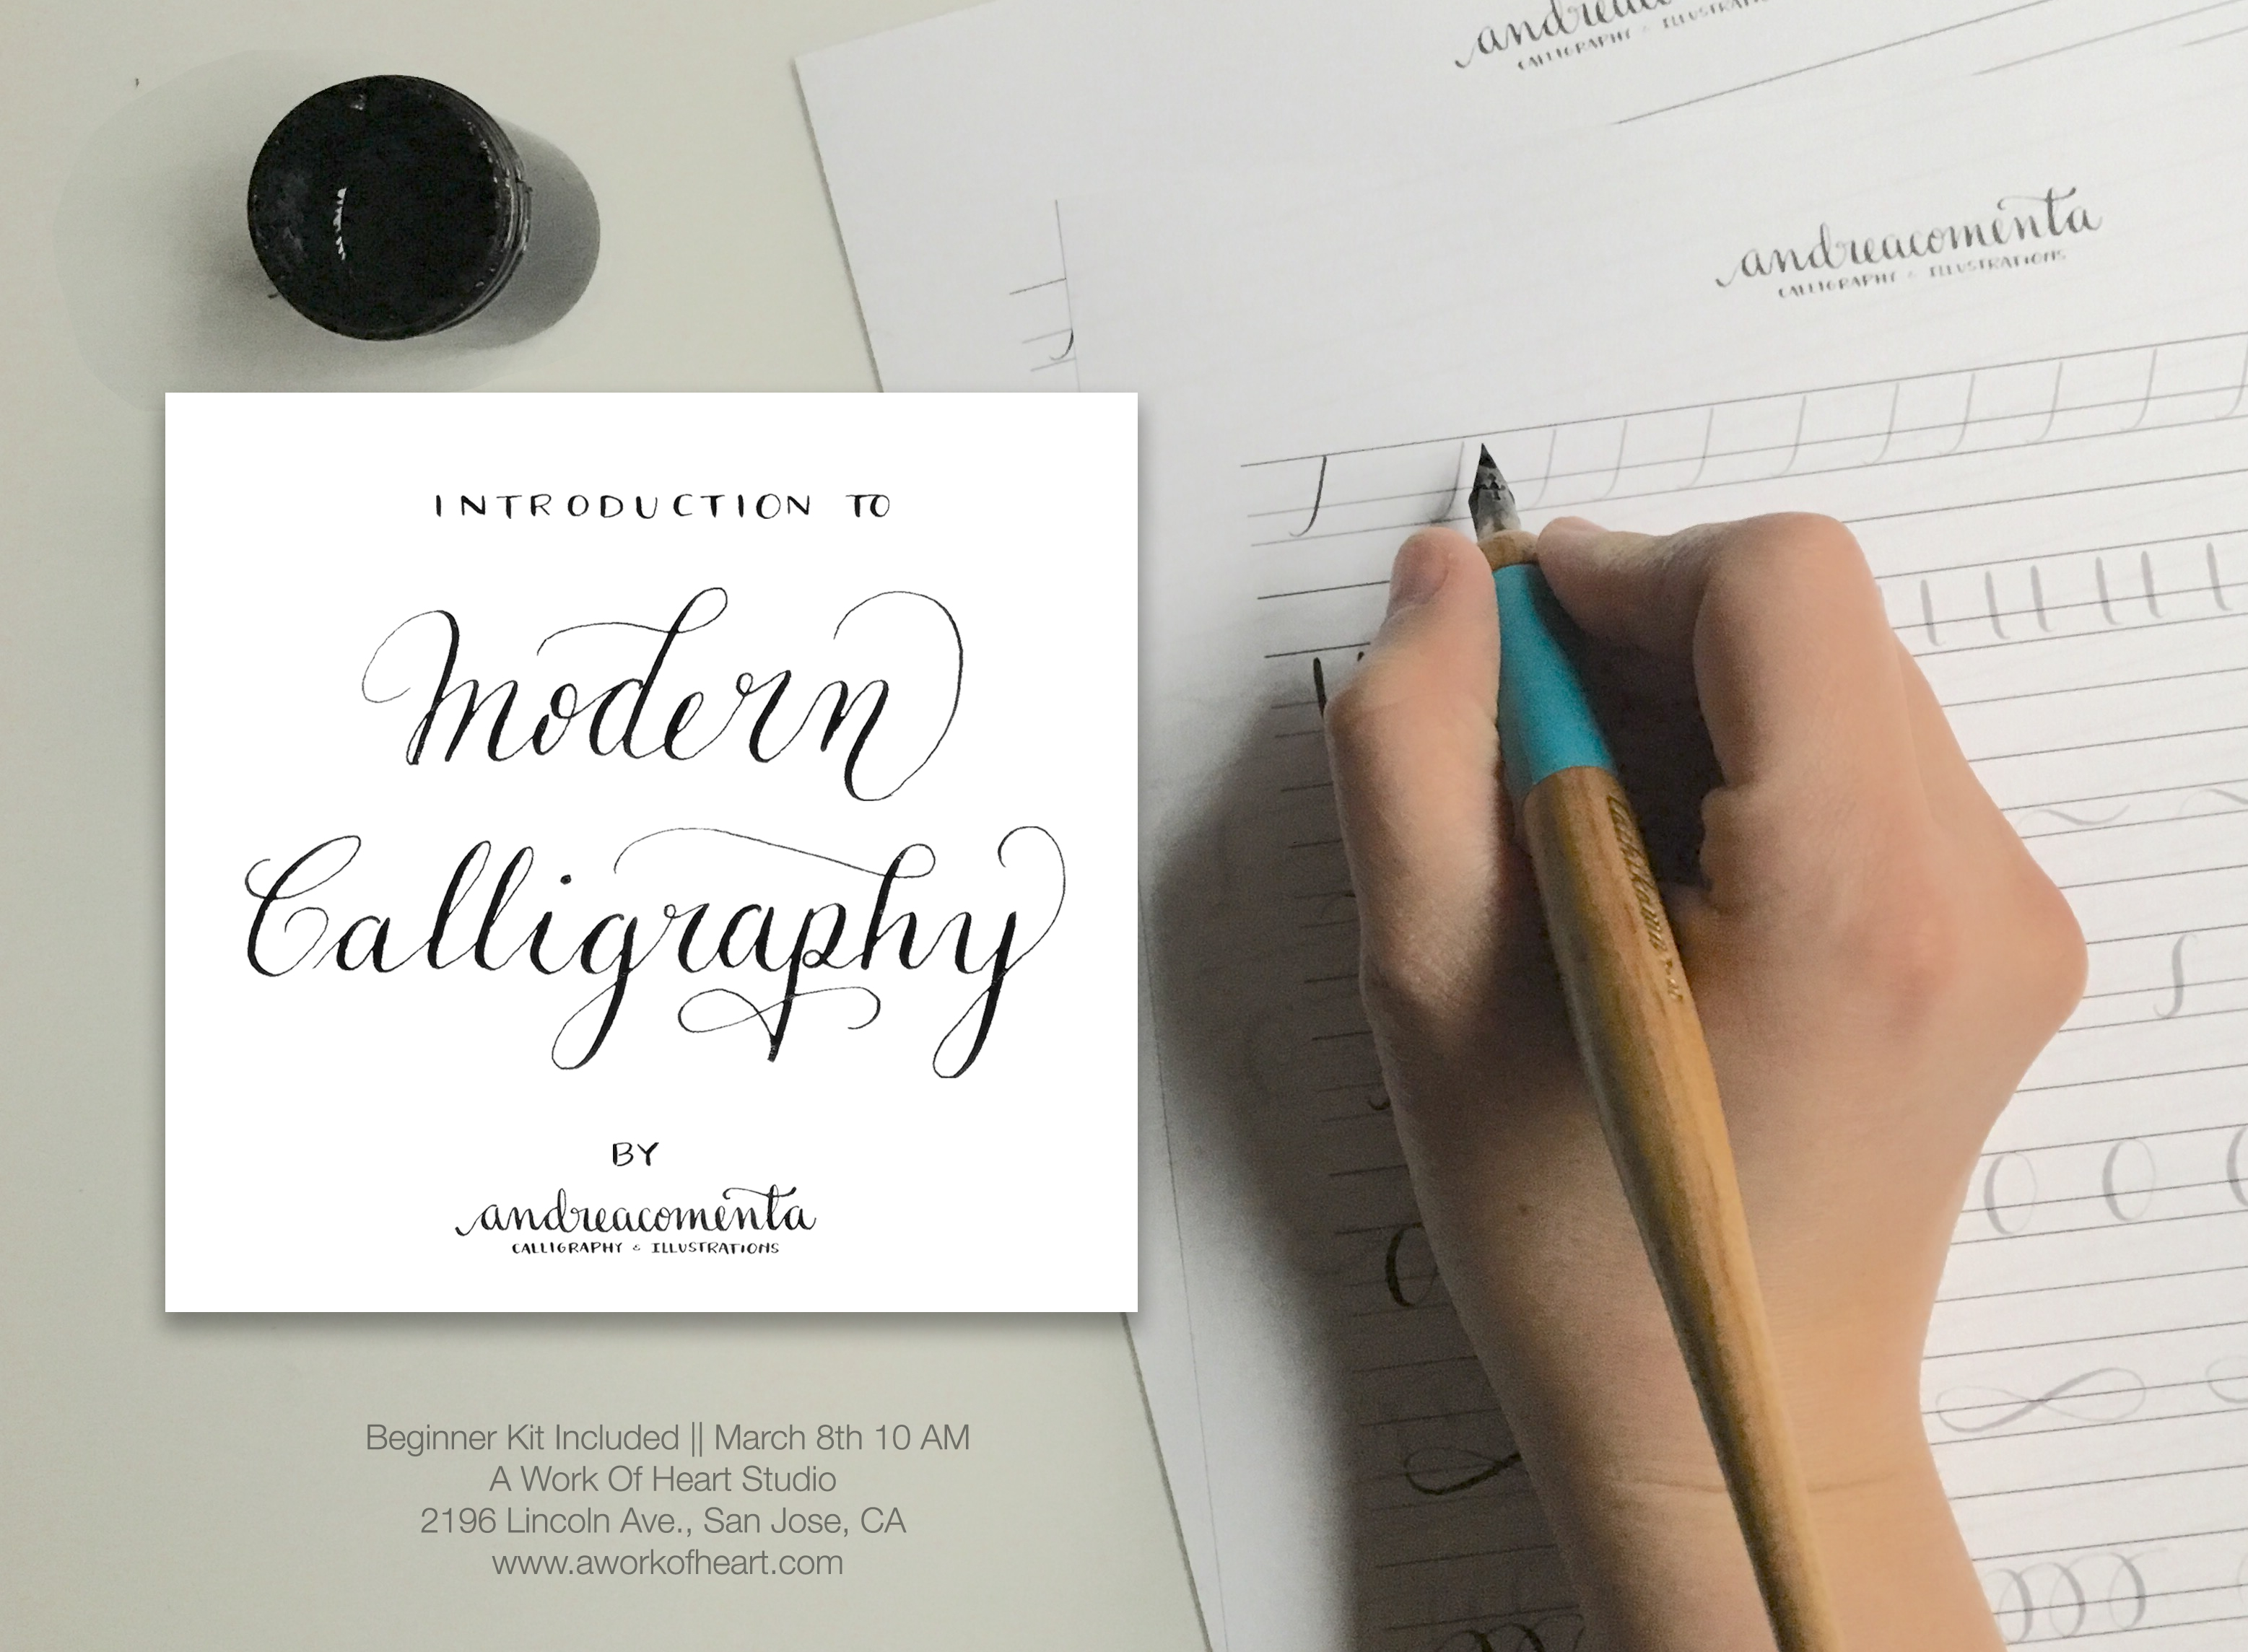
Ps: Want to join in this Modern Calligraphy adventure?
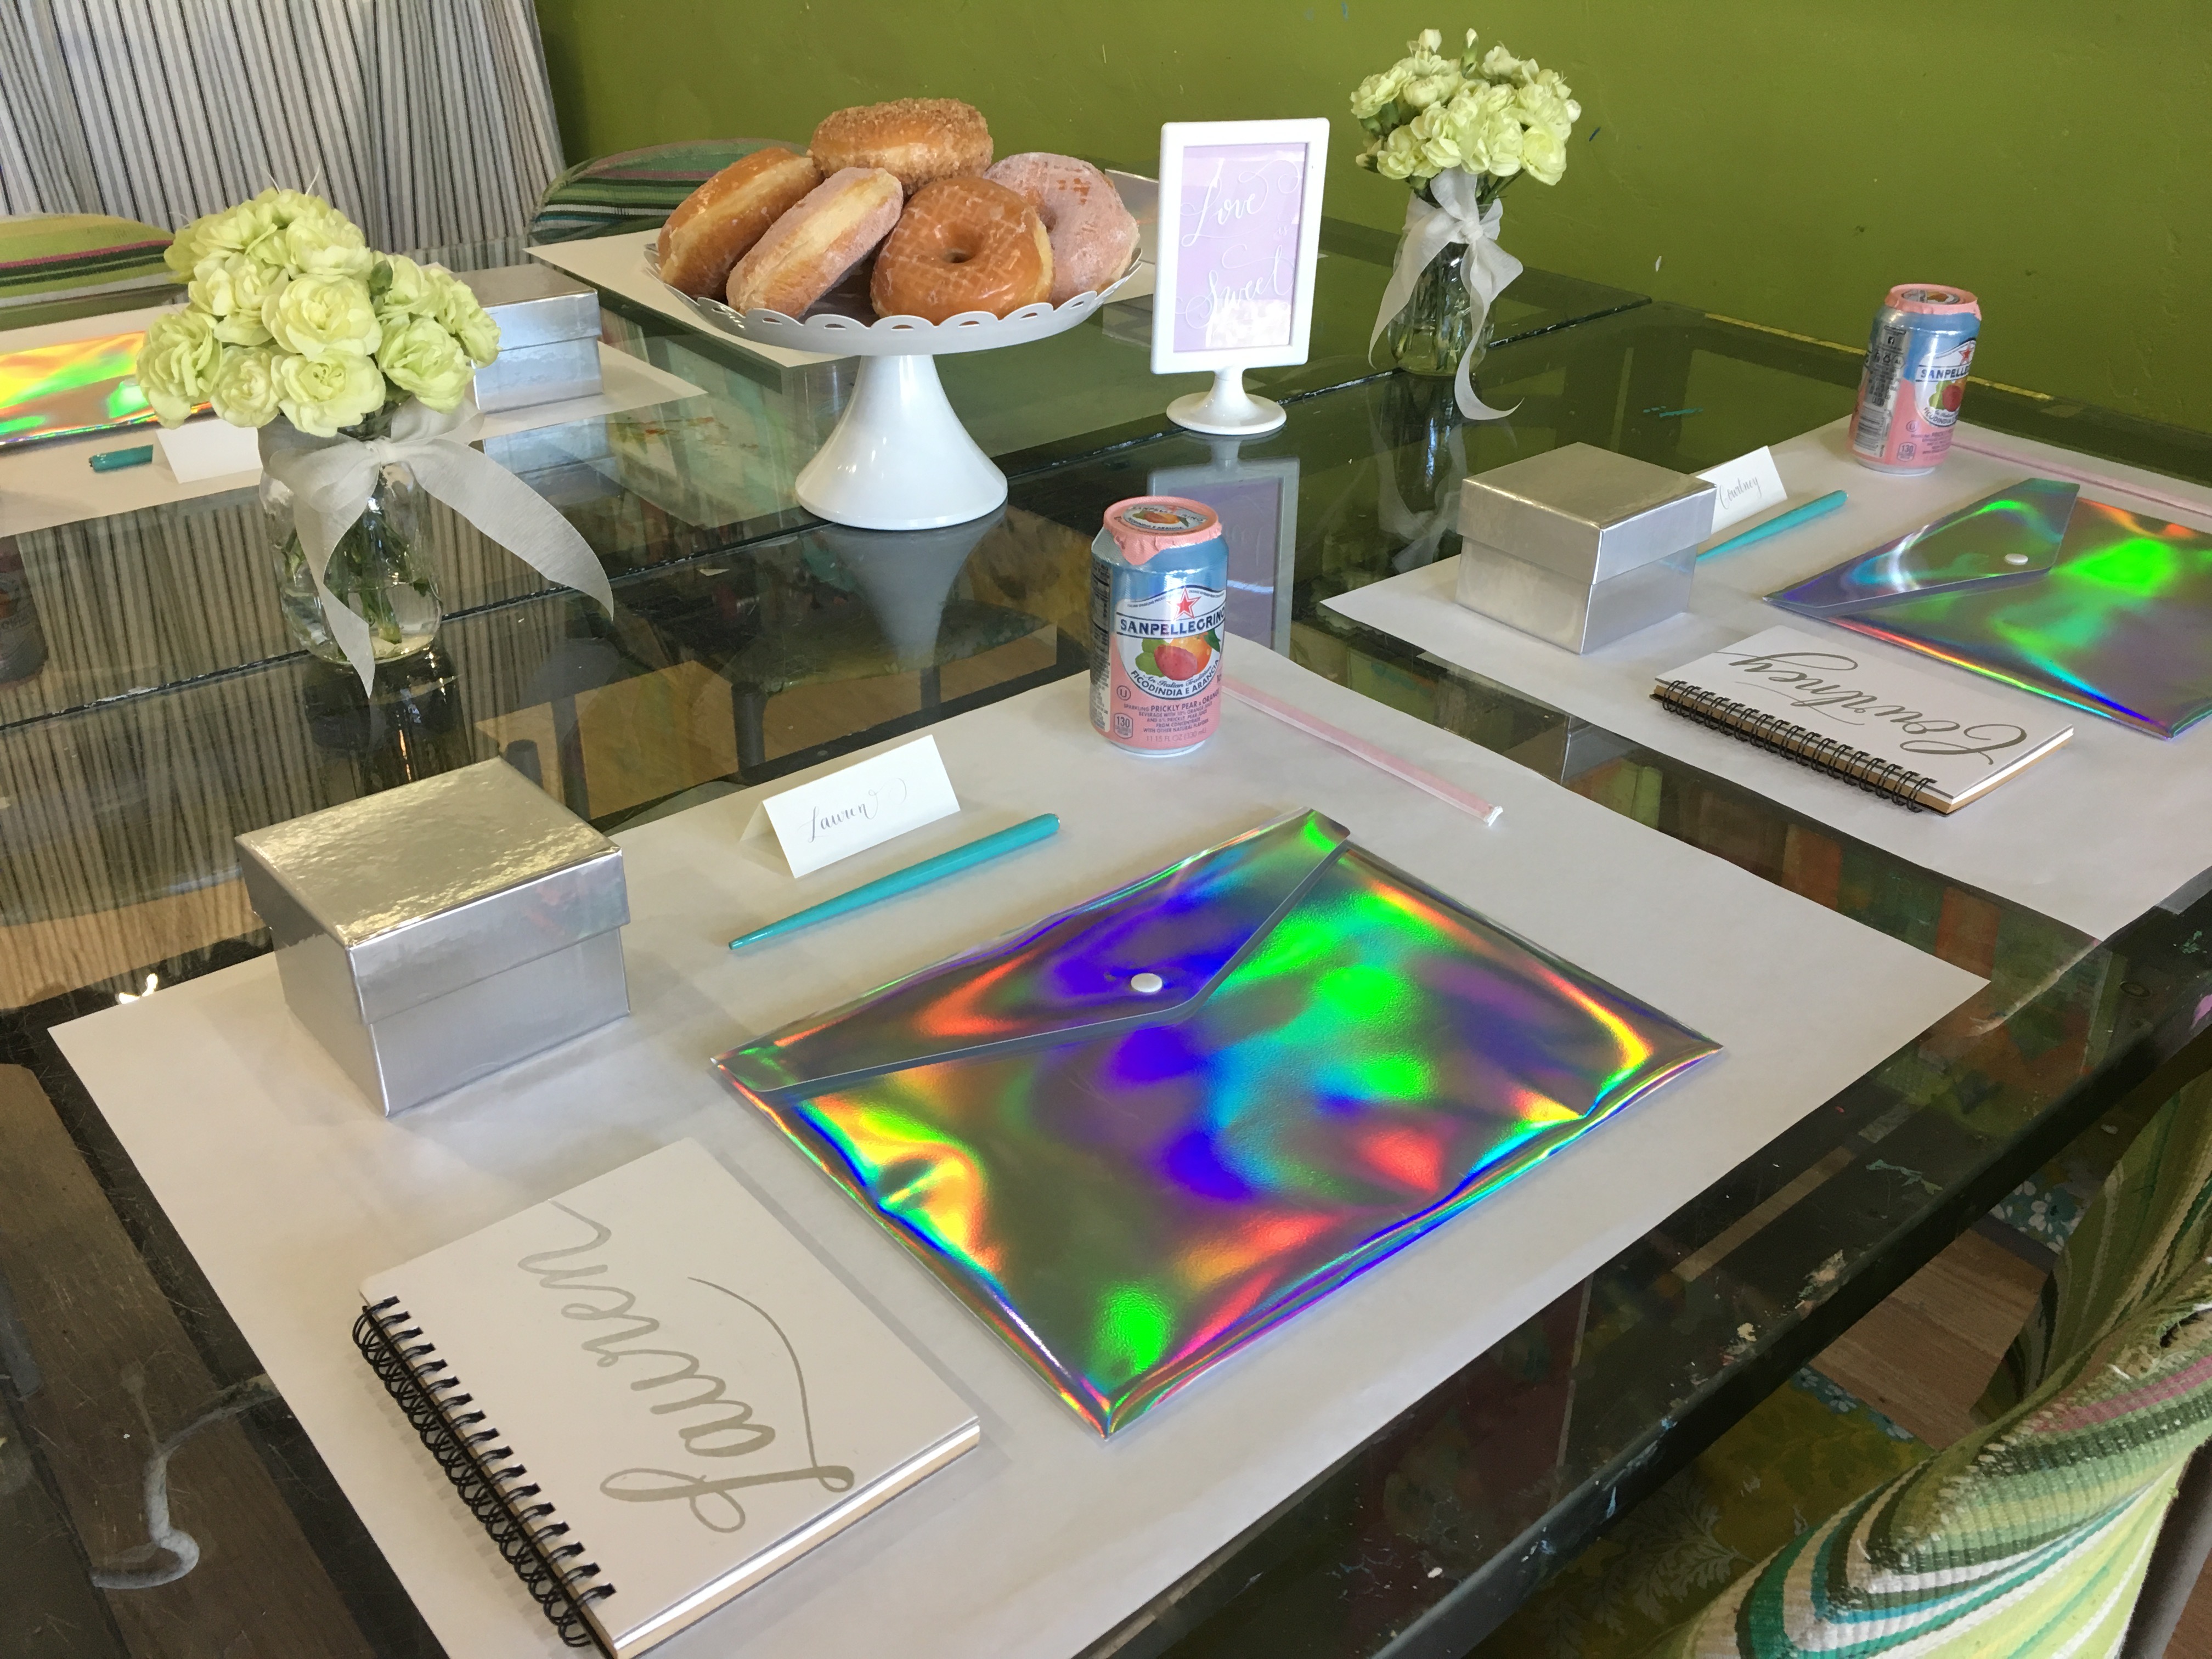
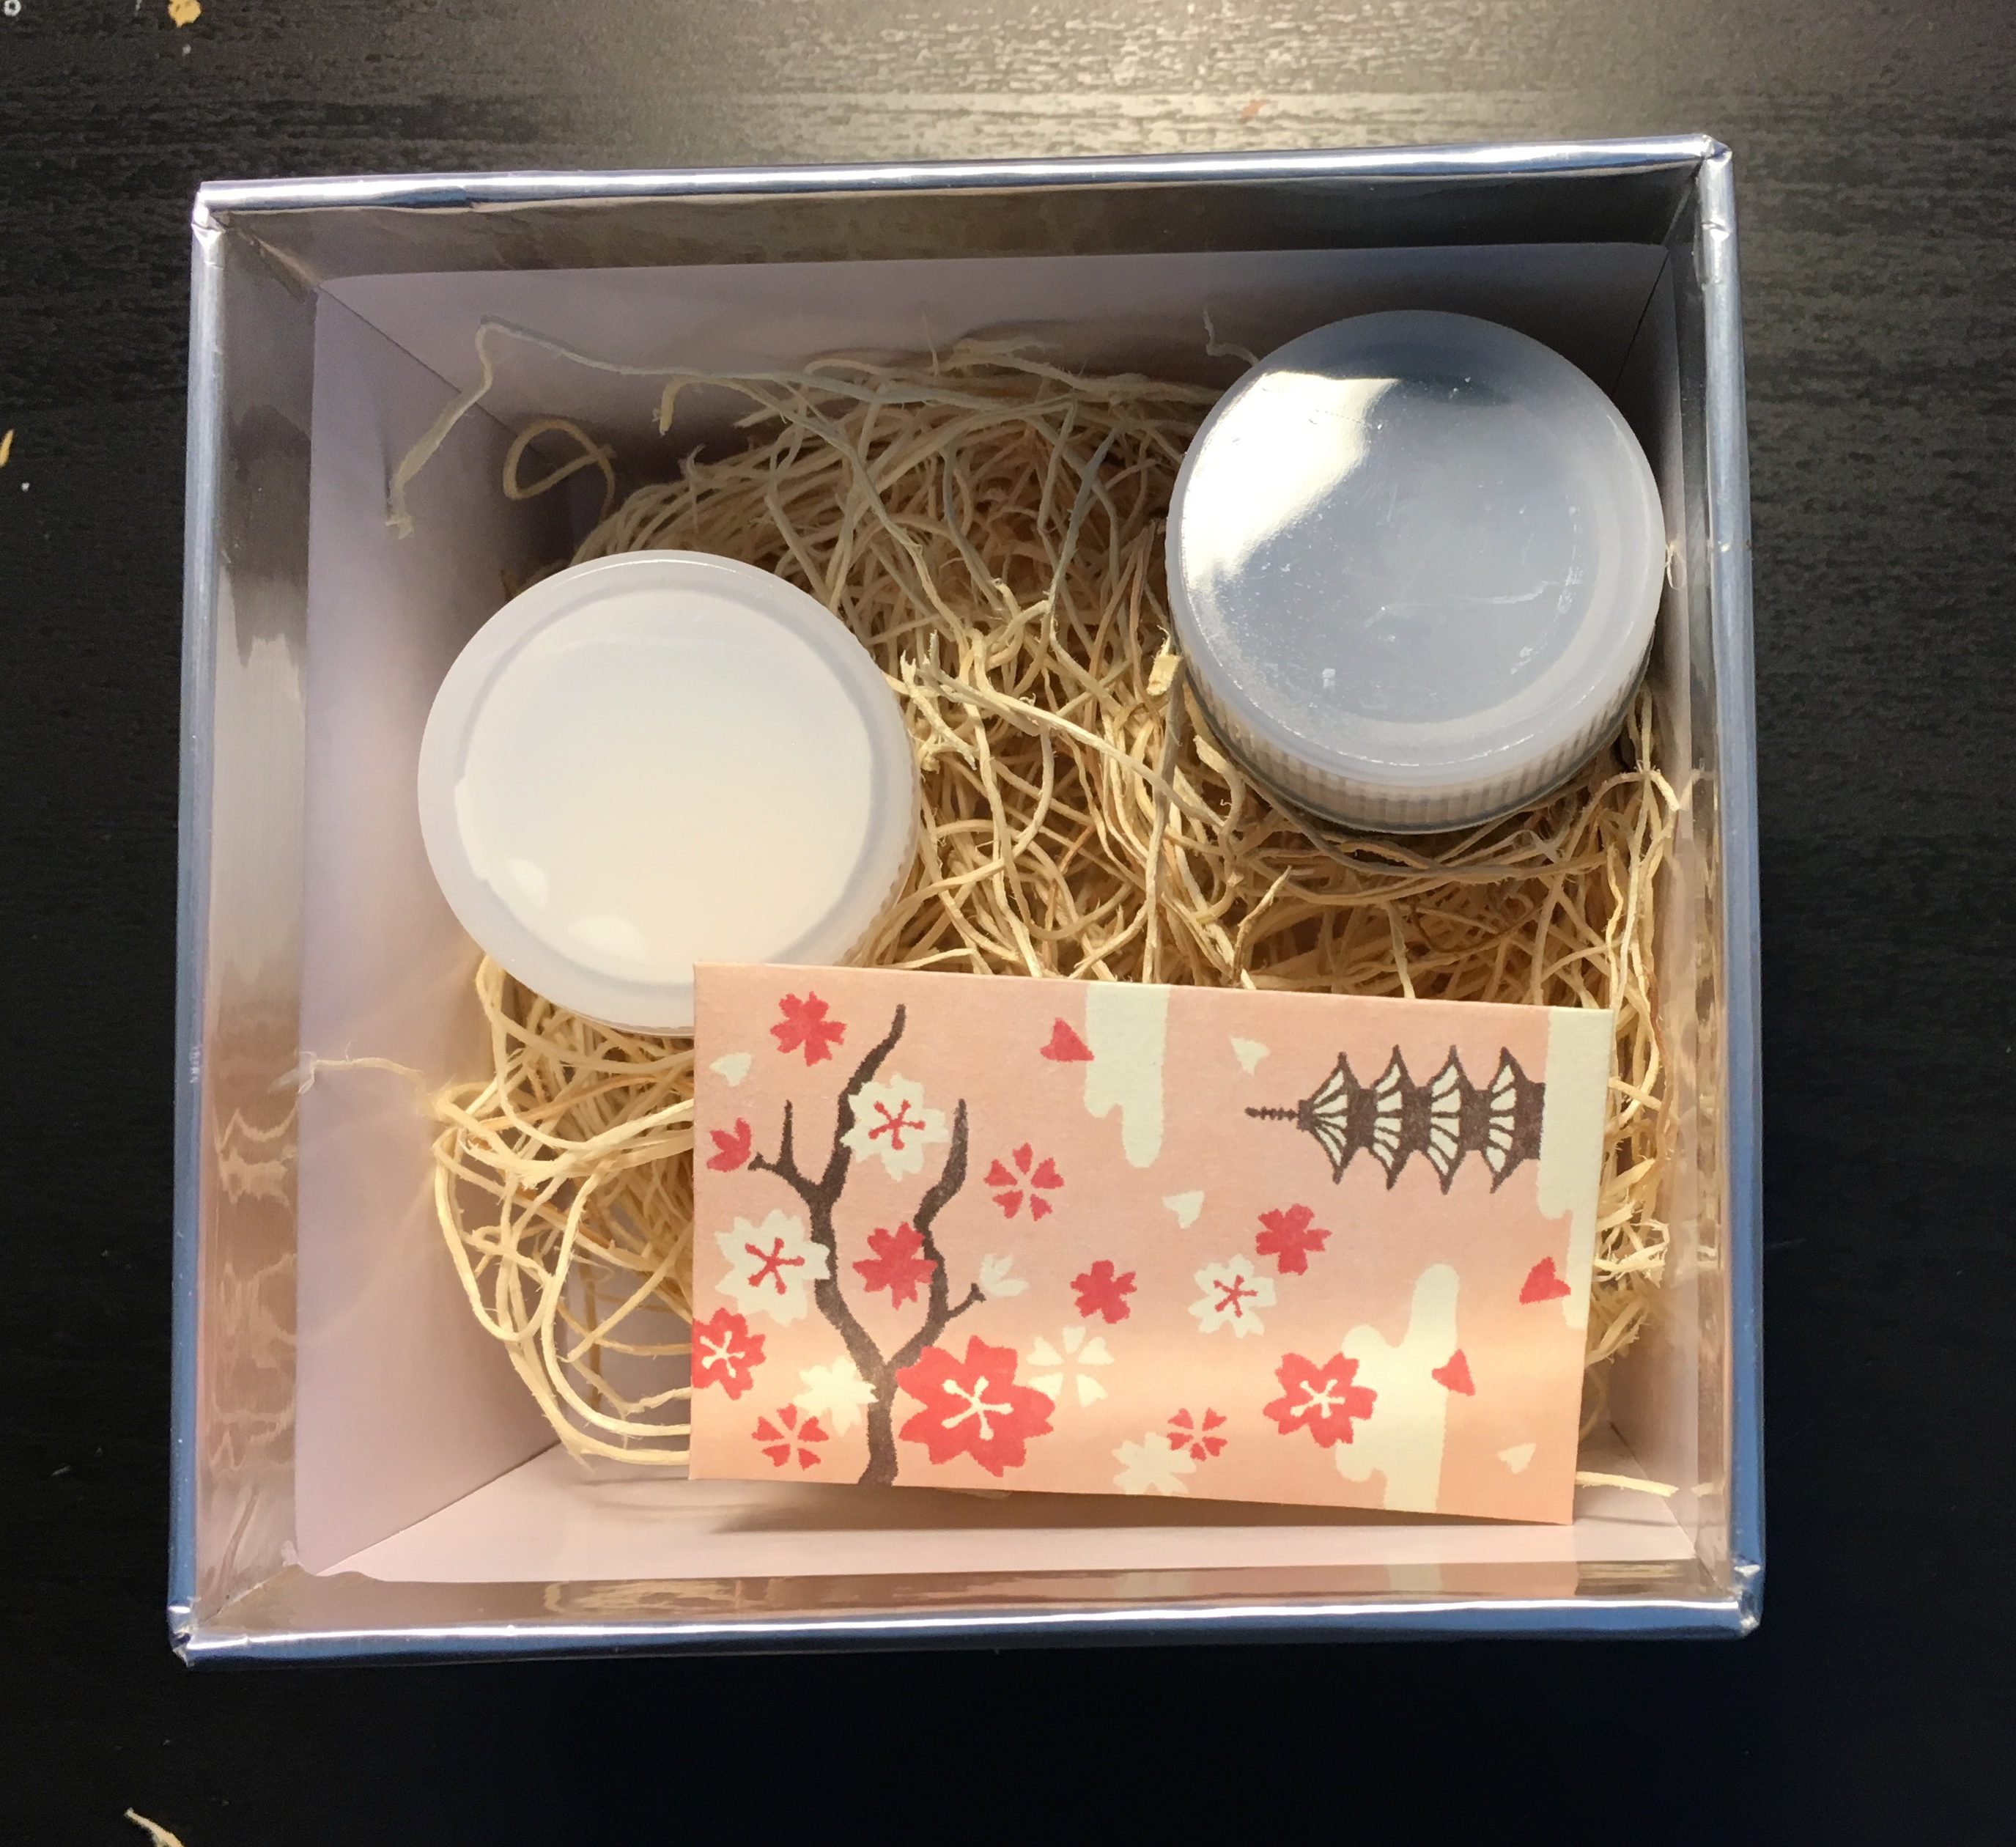
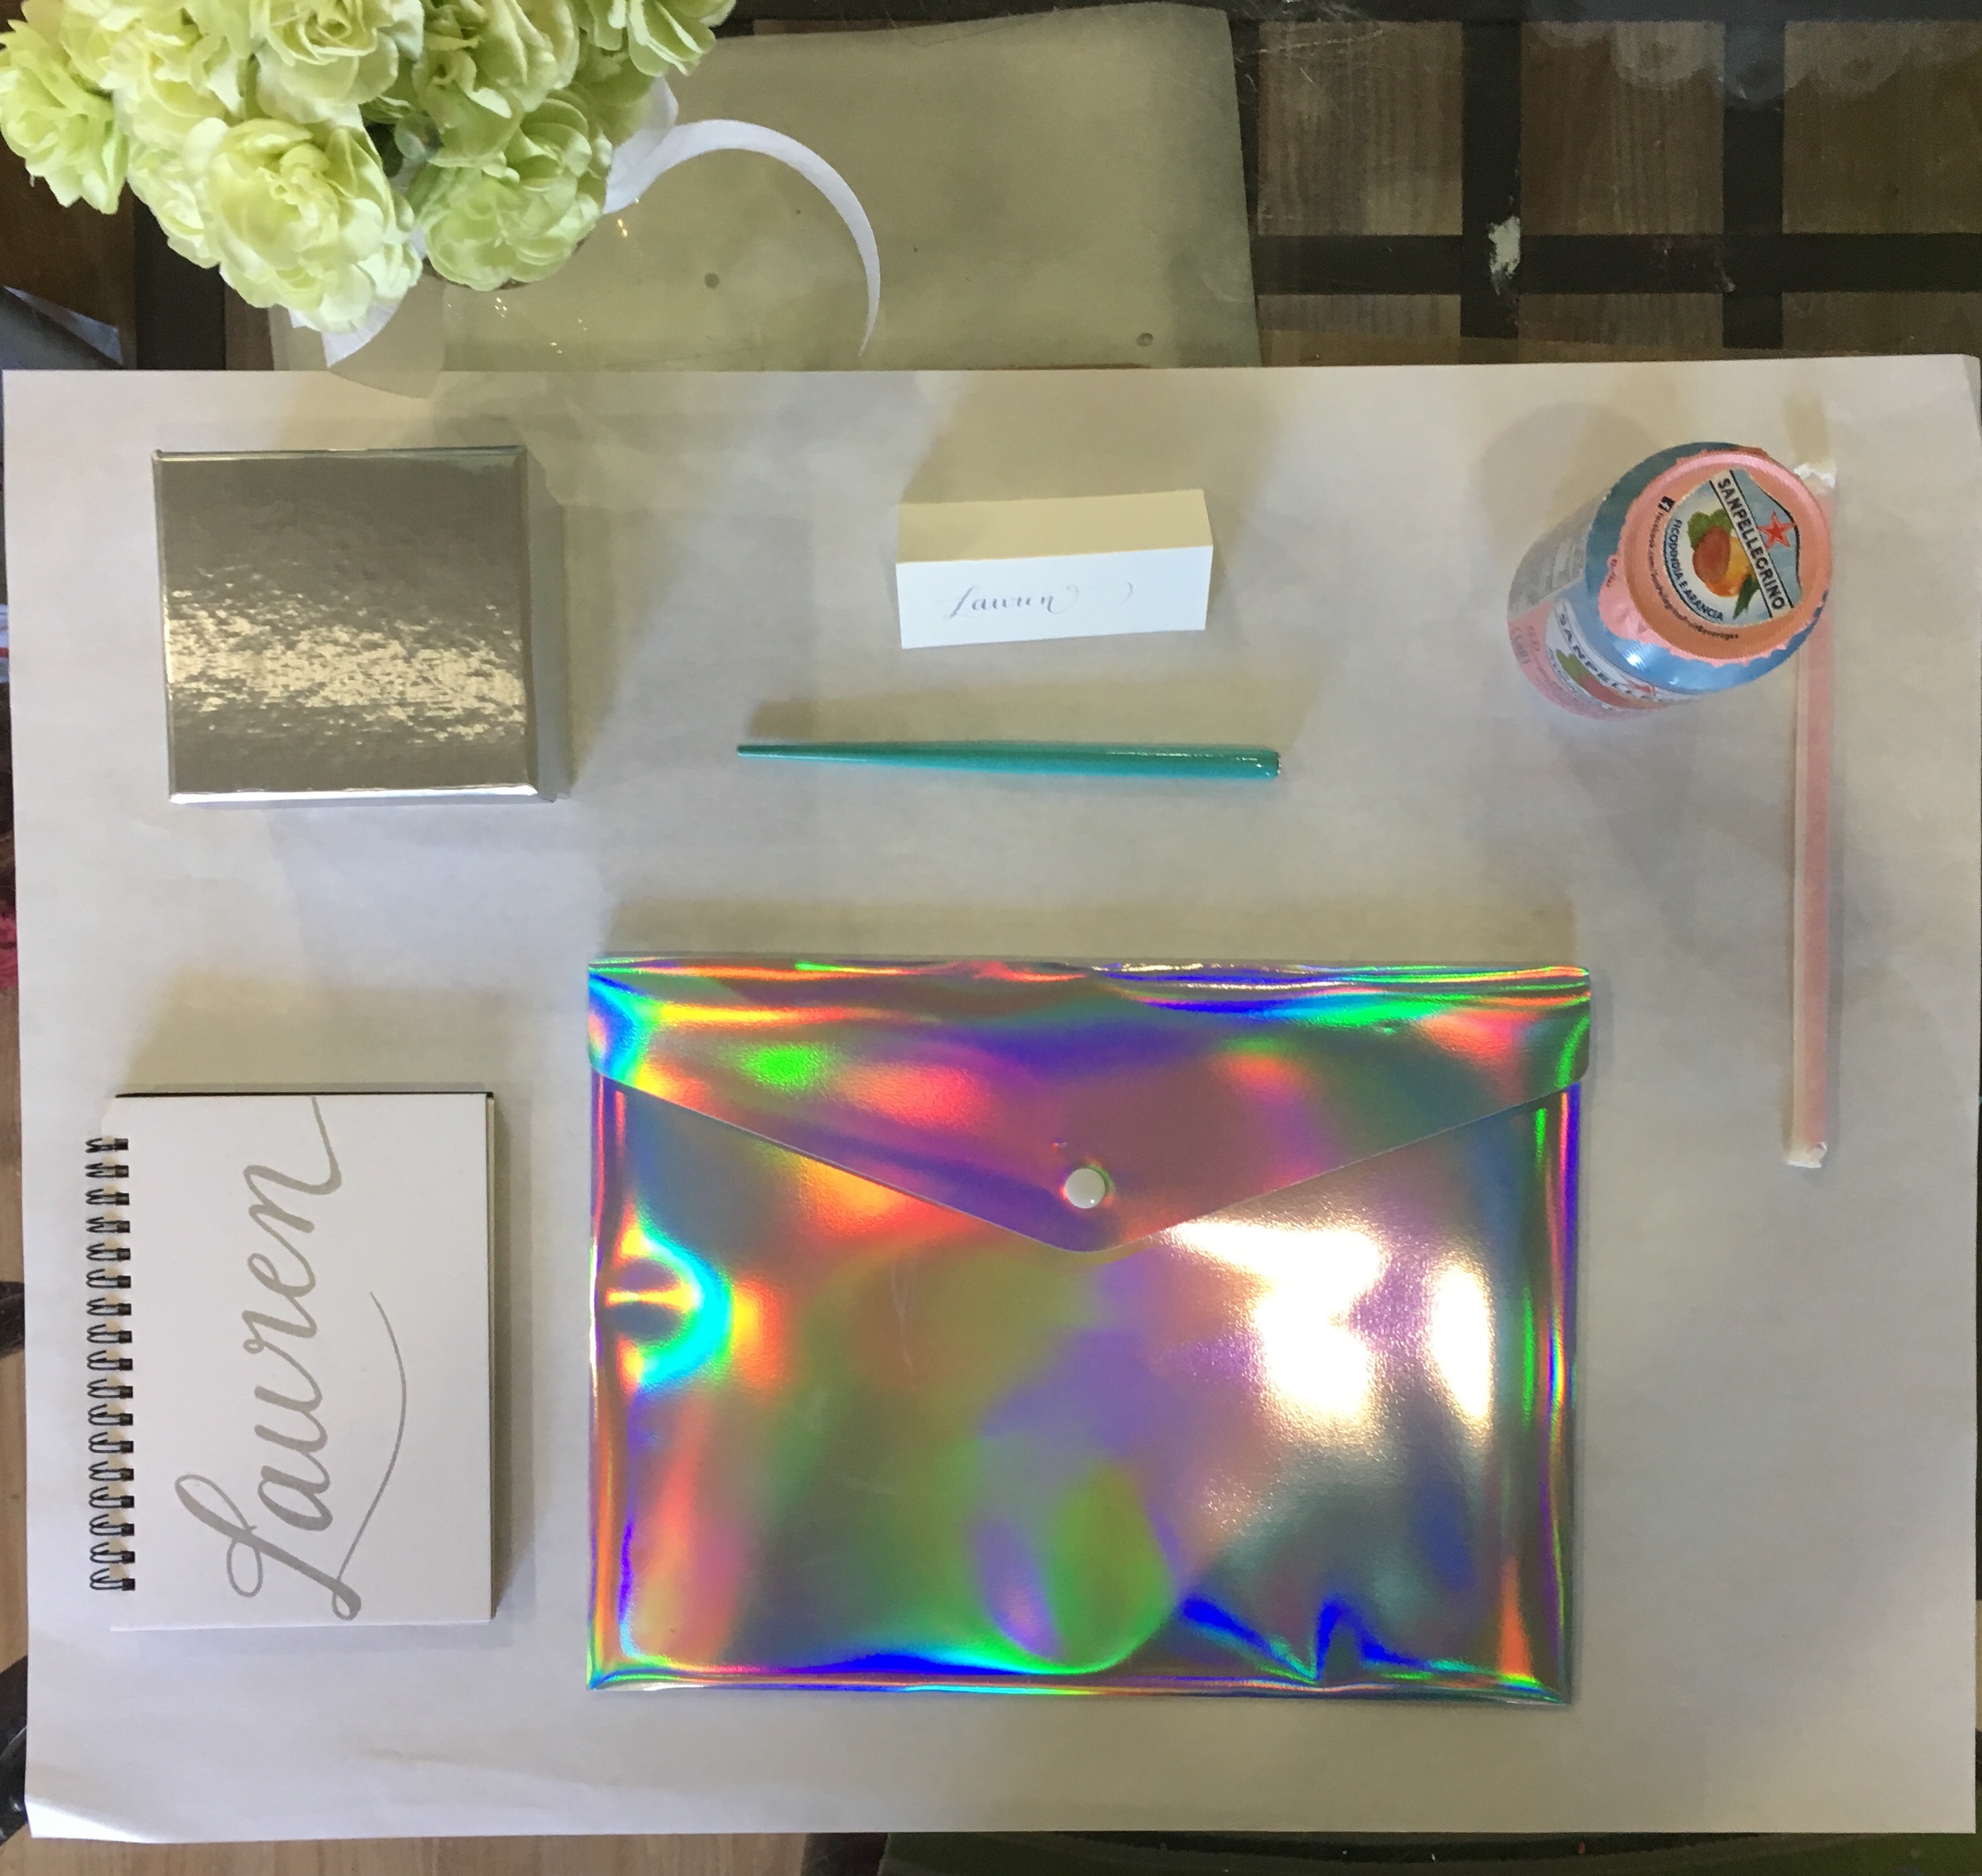
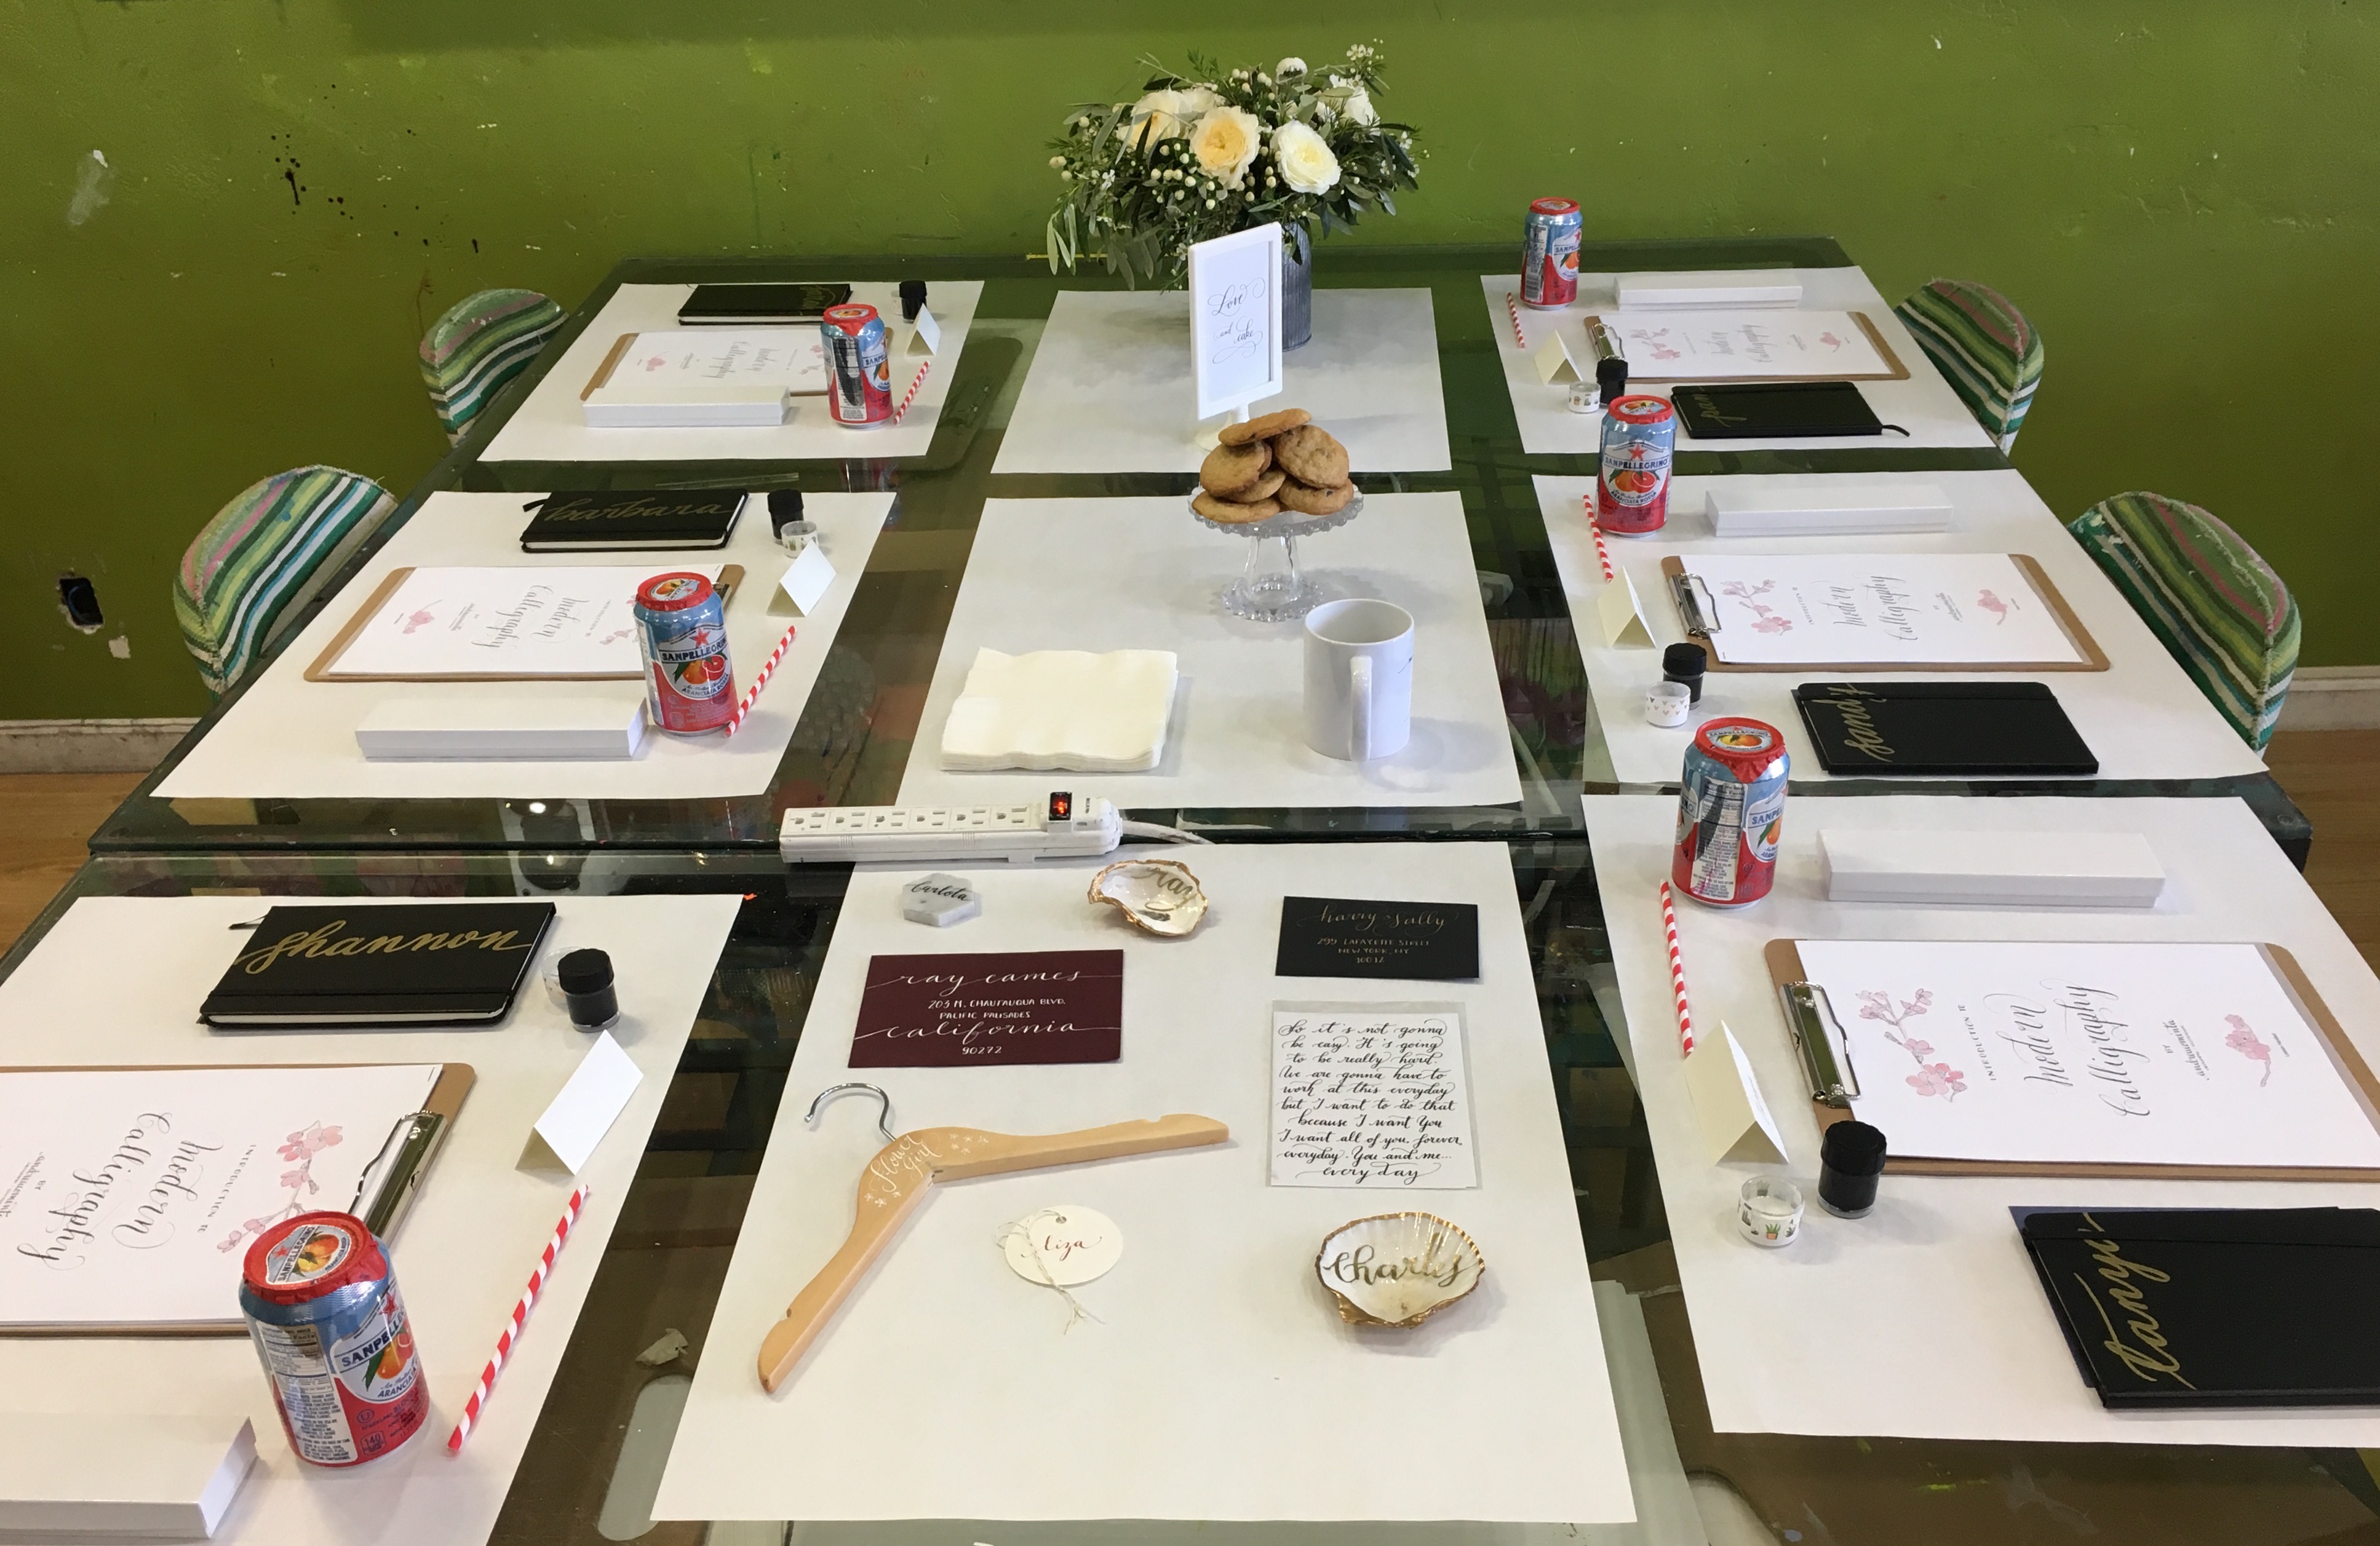
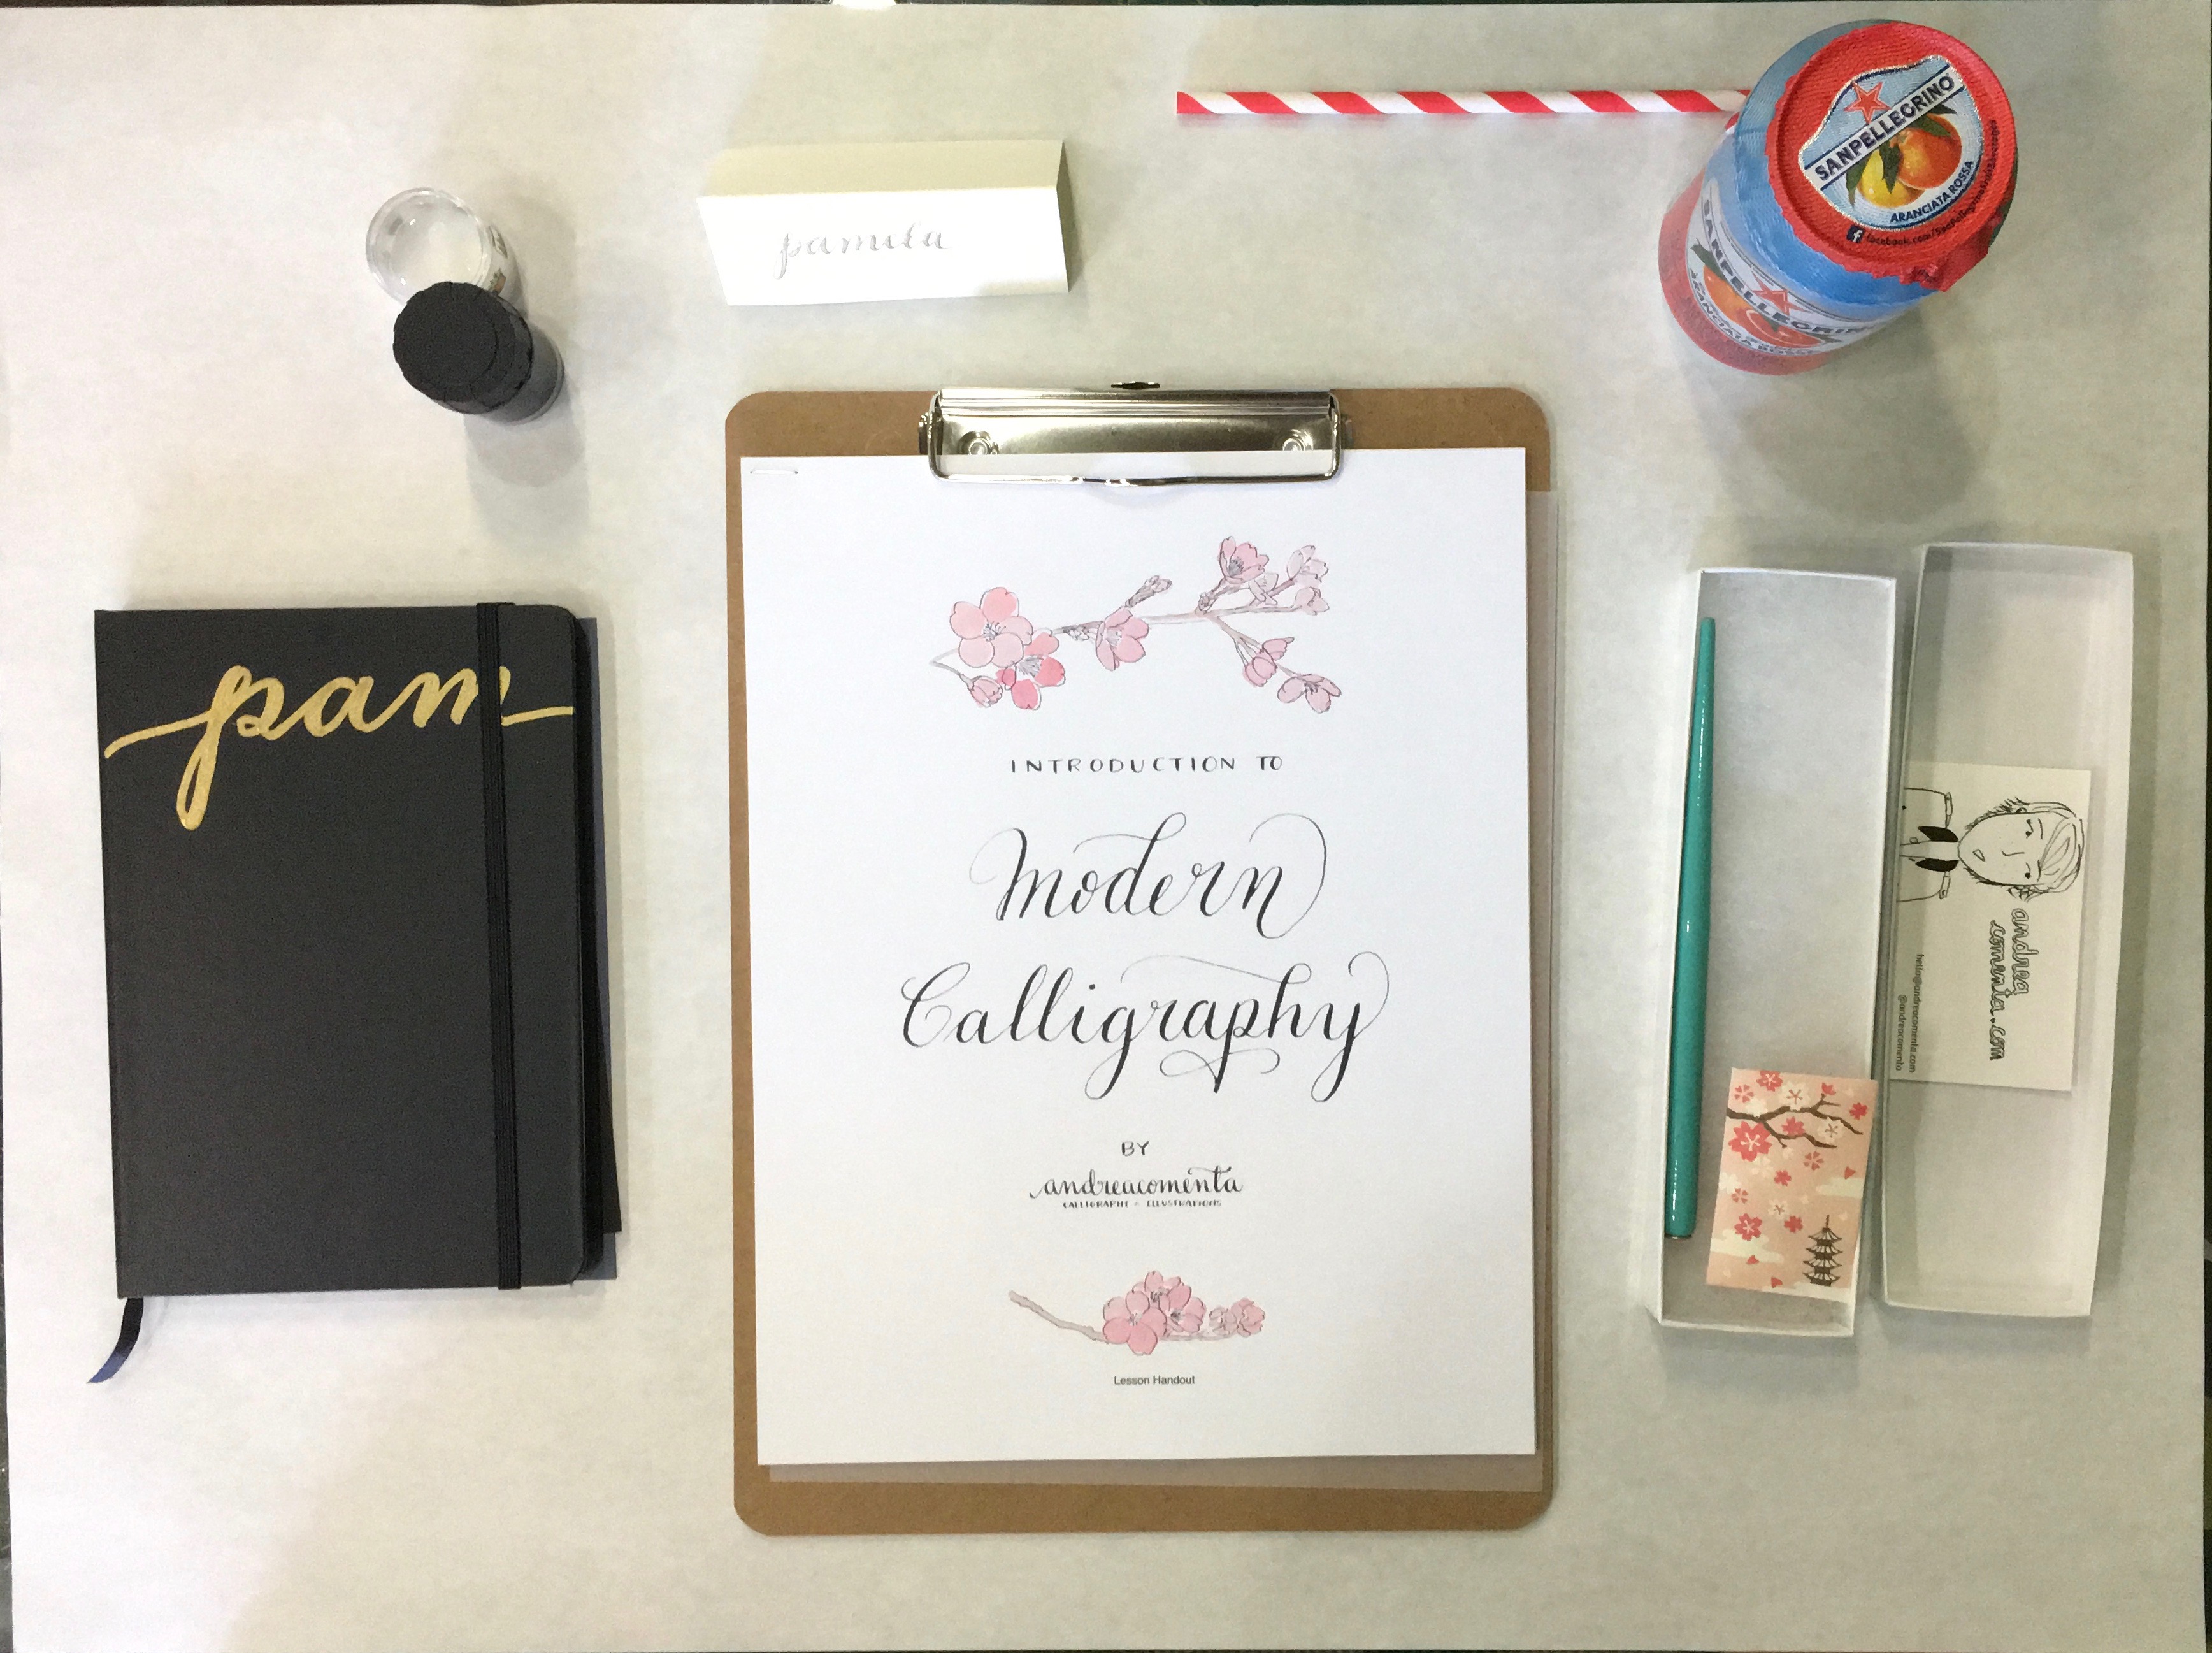
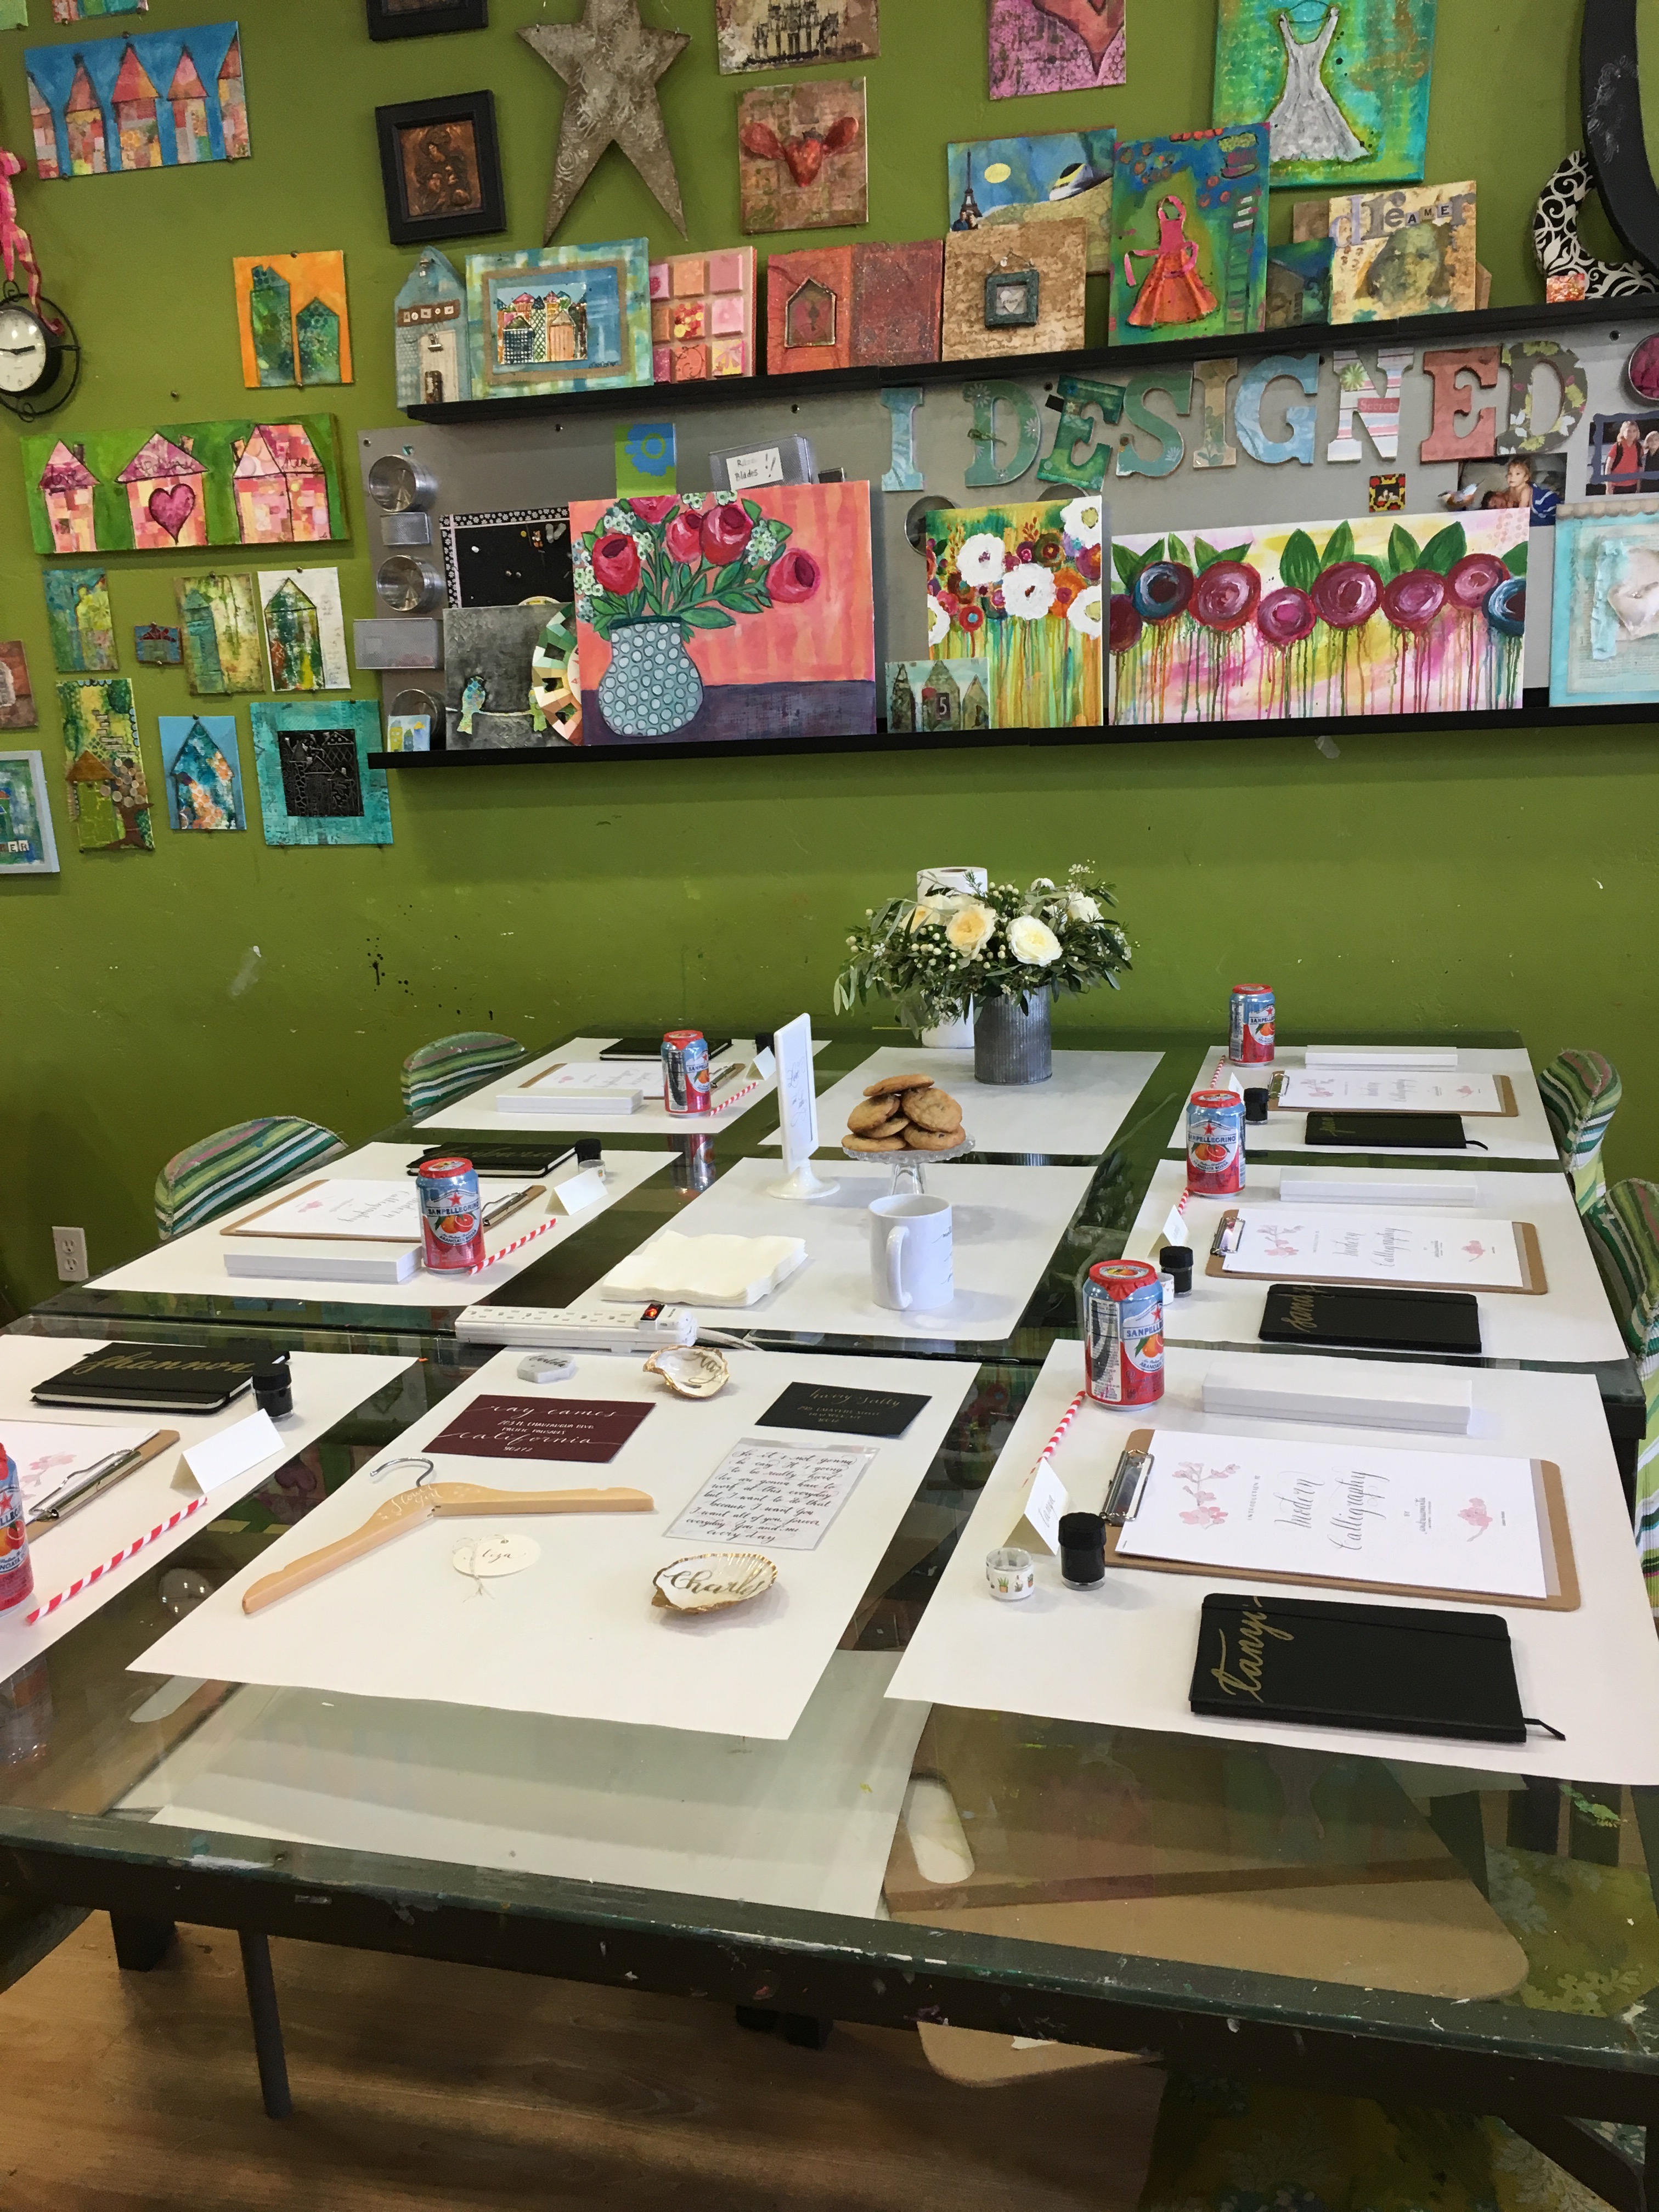
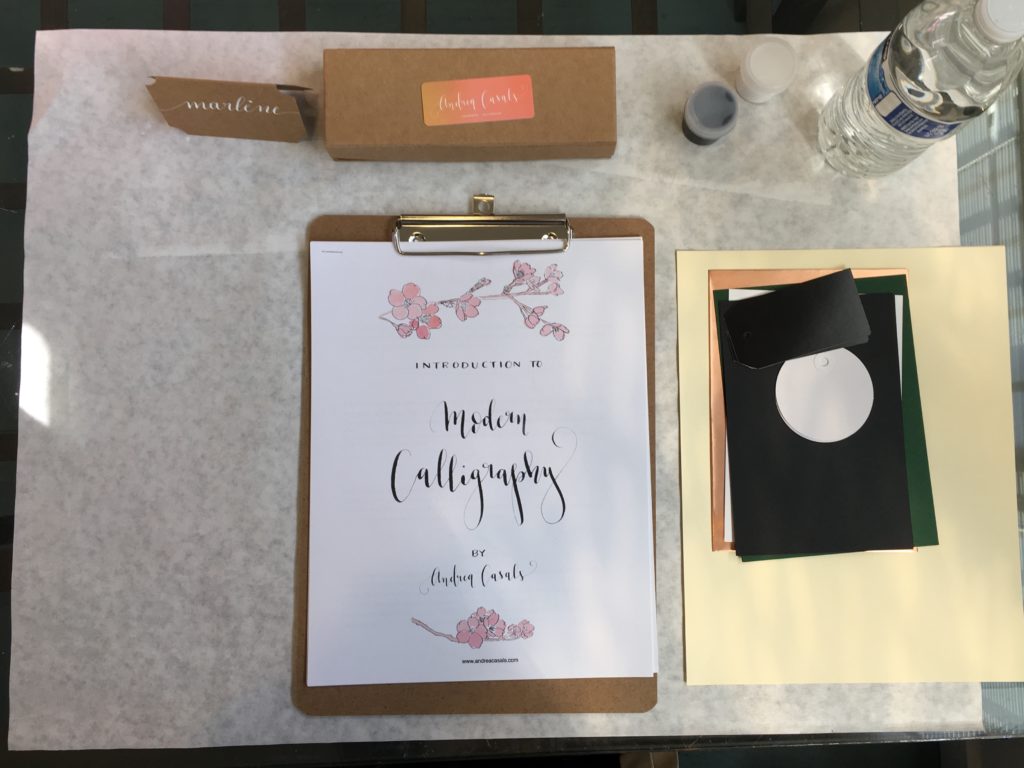
Sign up for my next Introduction to Modern Calligraphy Workshop in San Jose, CA. Register here. Beginner kit, refreshments and treats included. Hope to see you there!


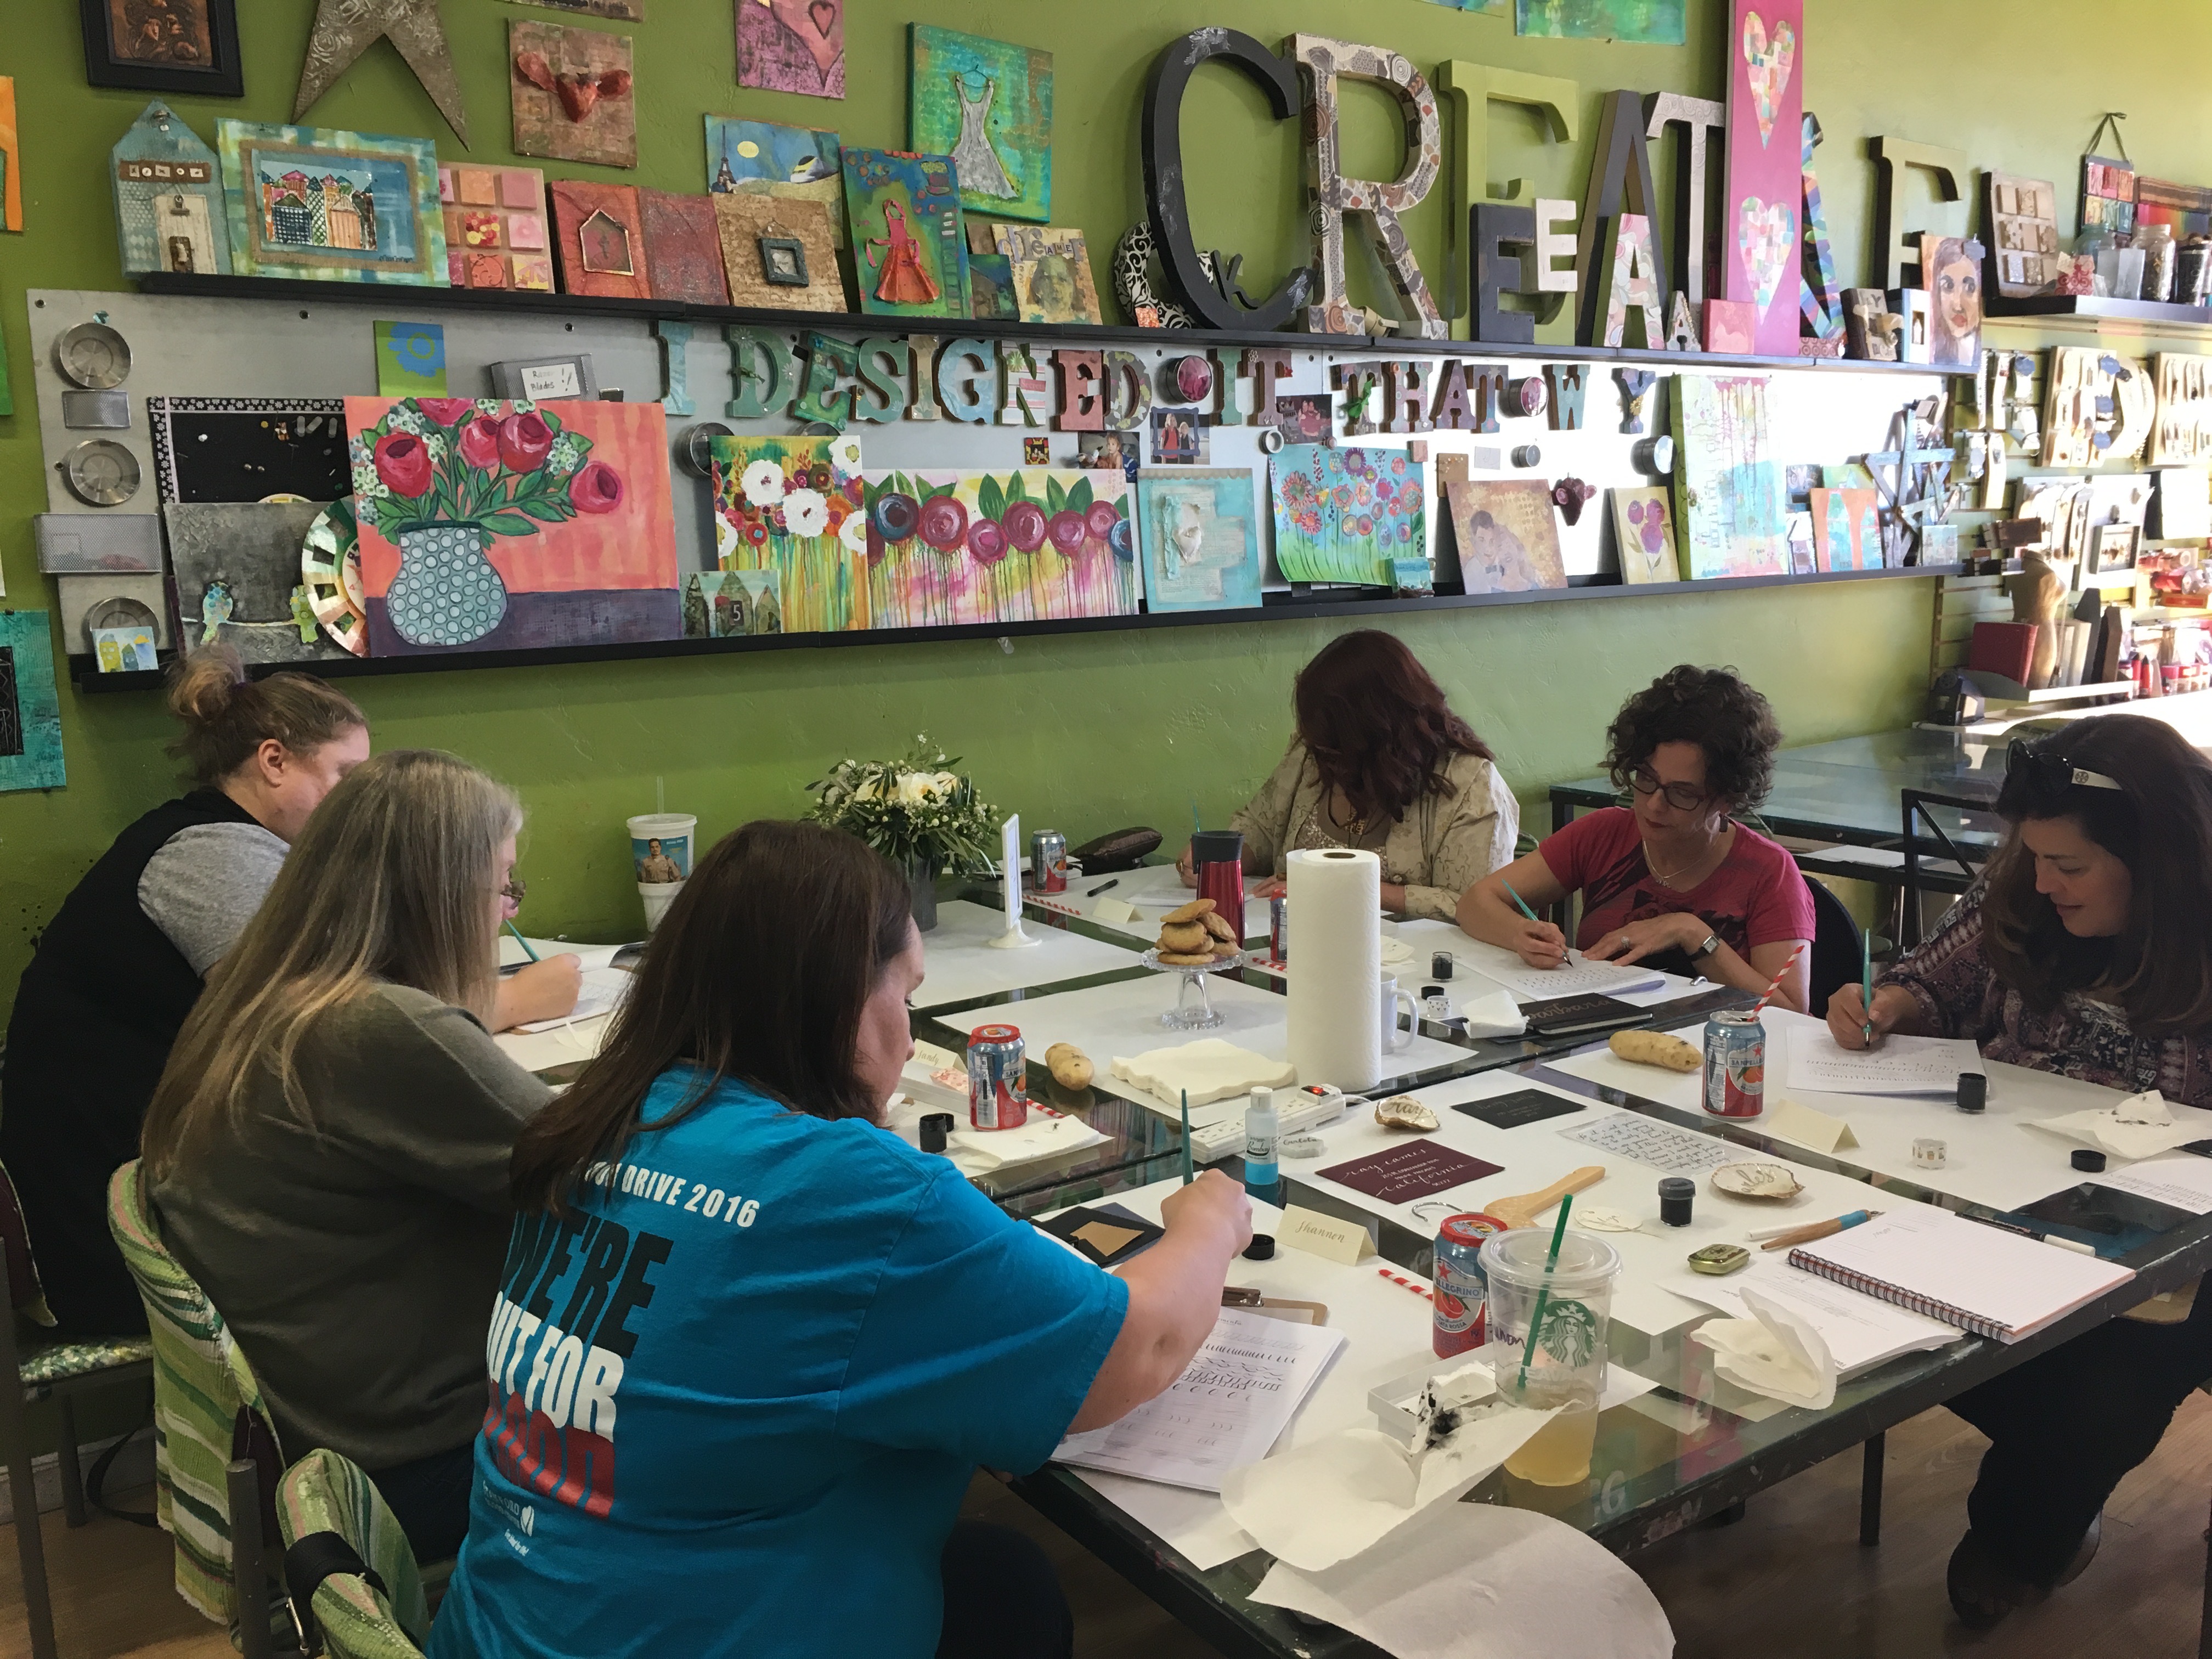
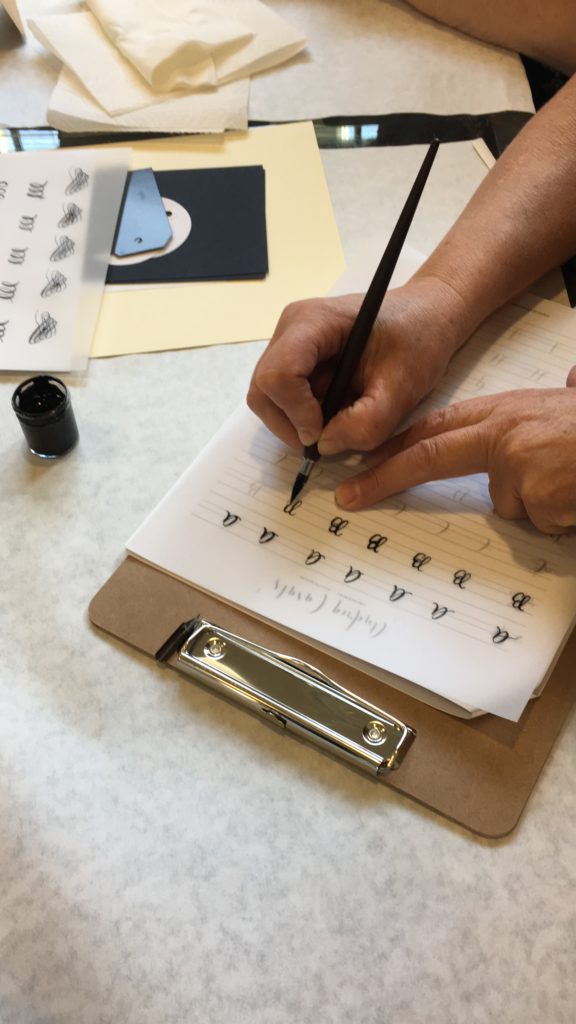 Student at work!
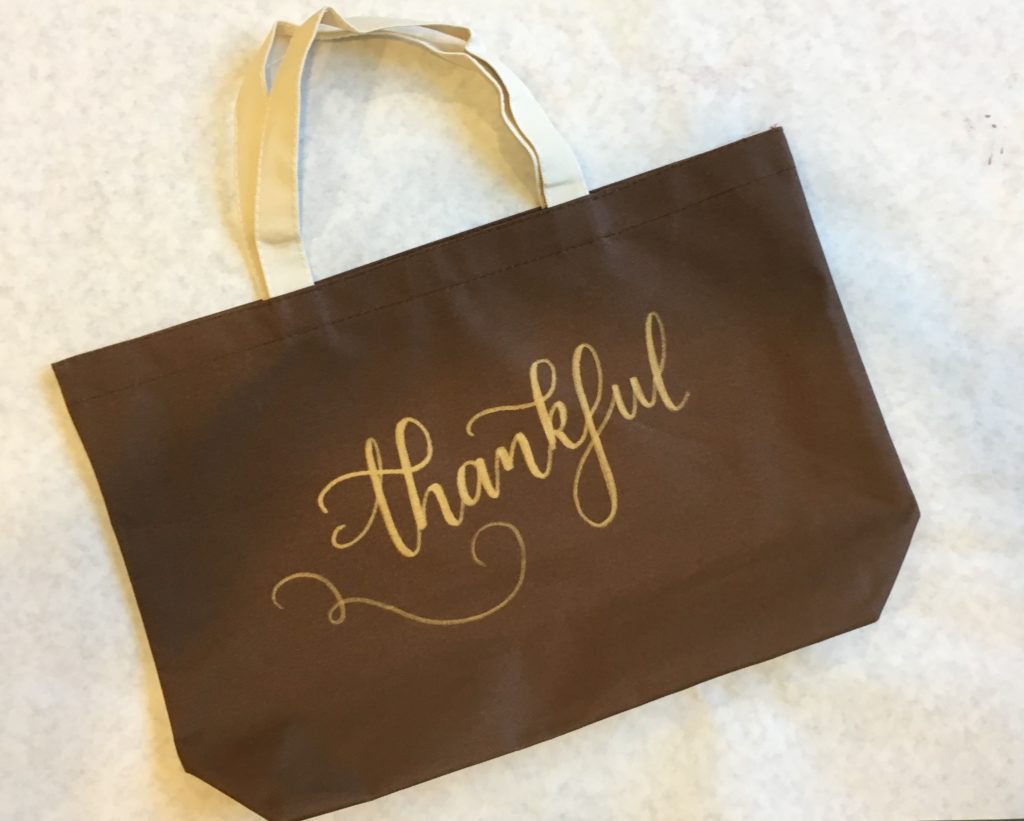 This Thankful tote might be my favorite one…!
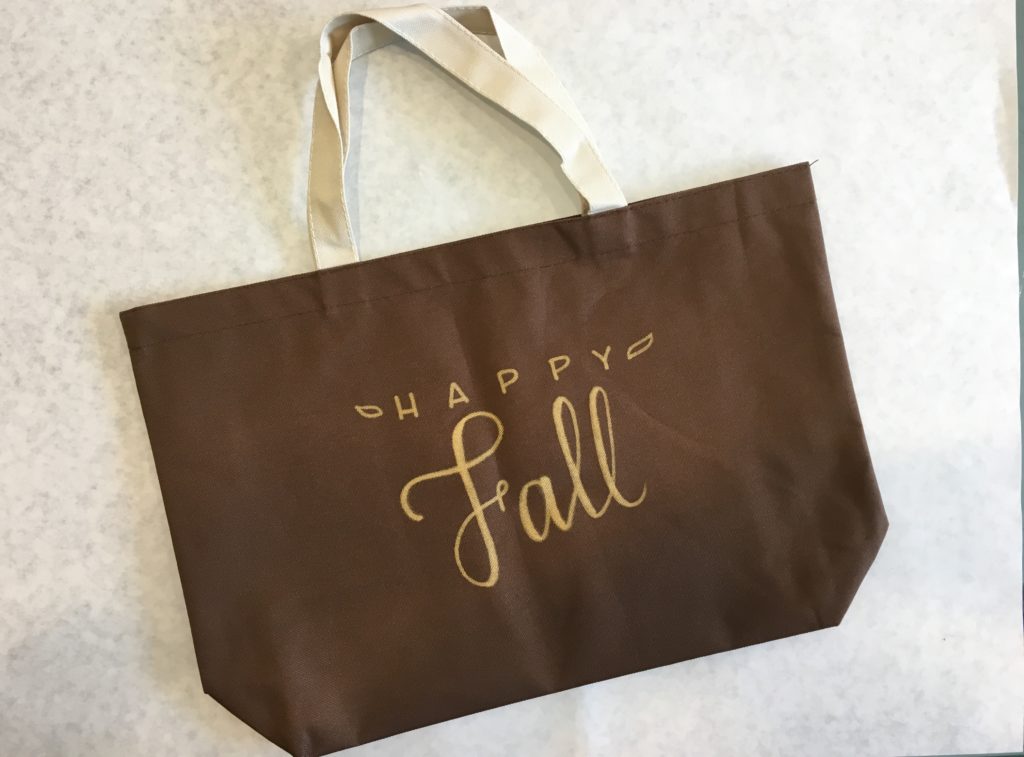 I love the Letter “F” in this one!
 Ok, that grateful is also very pretty!
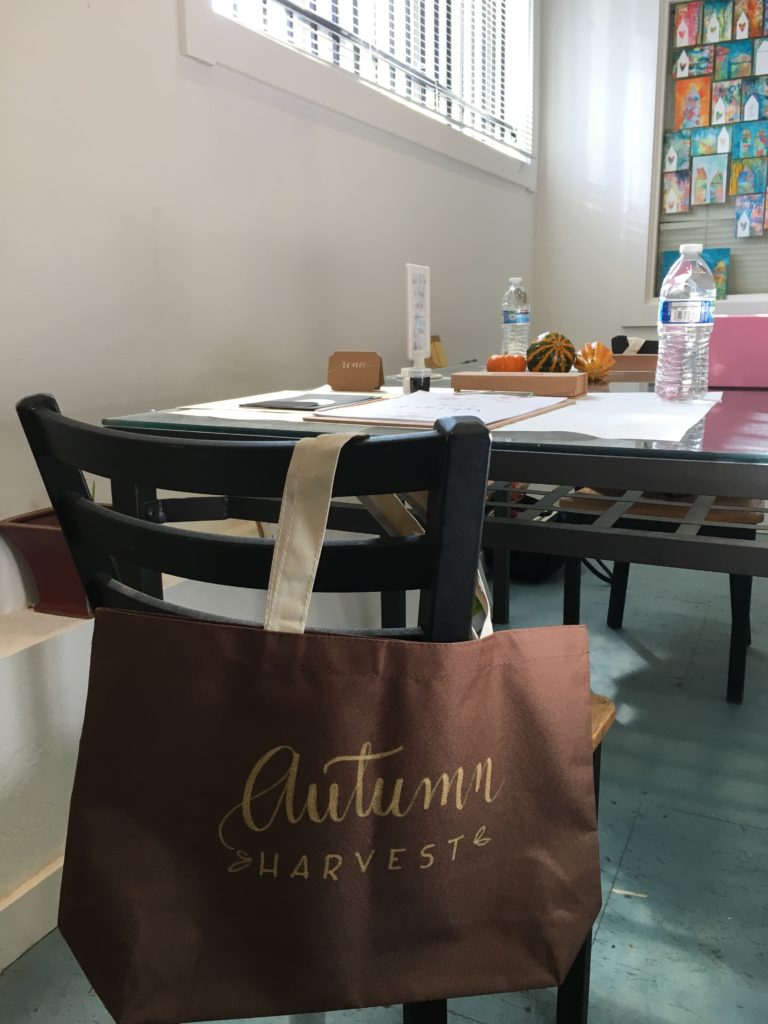 Do you want to try Modern Calligraphy?
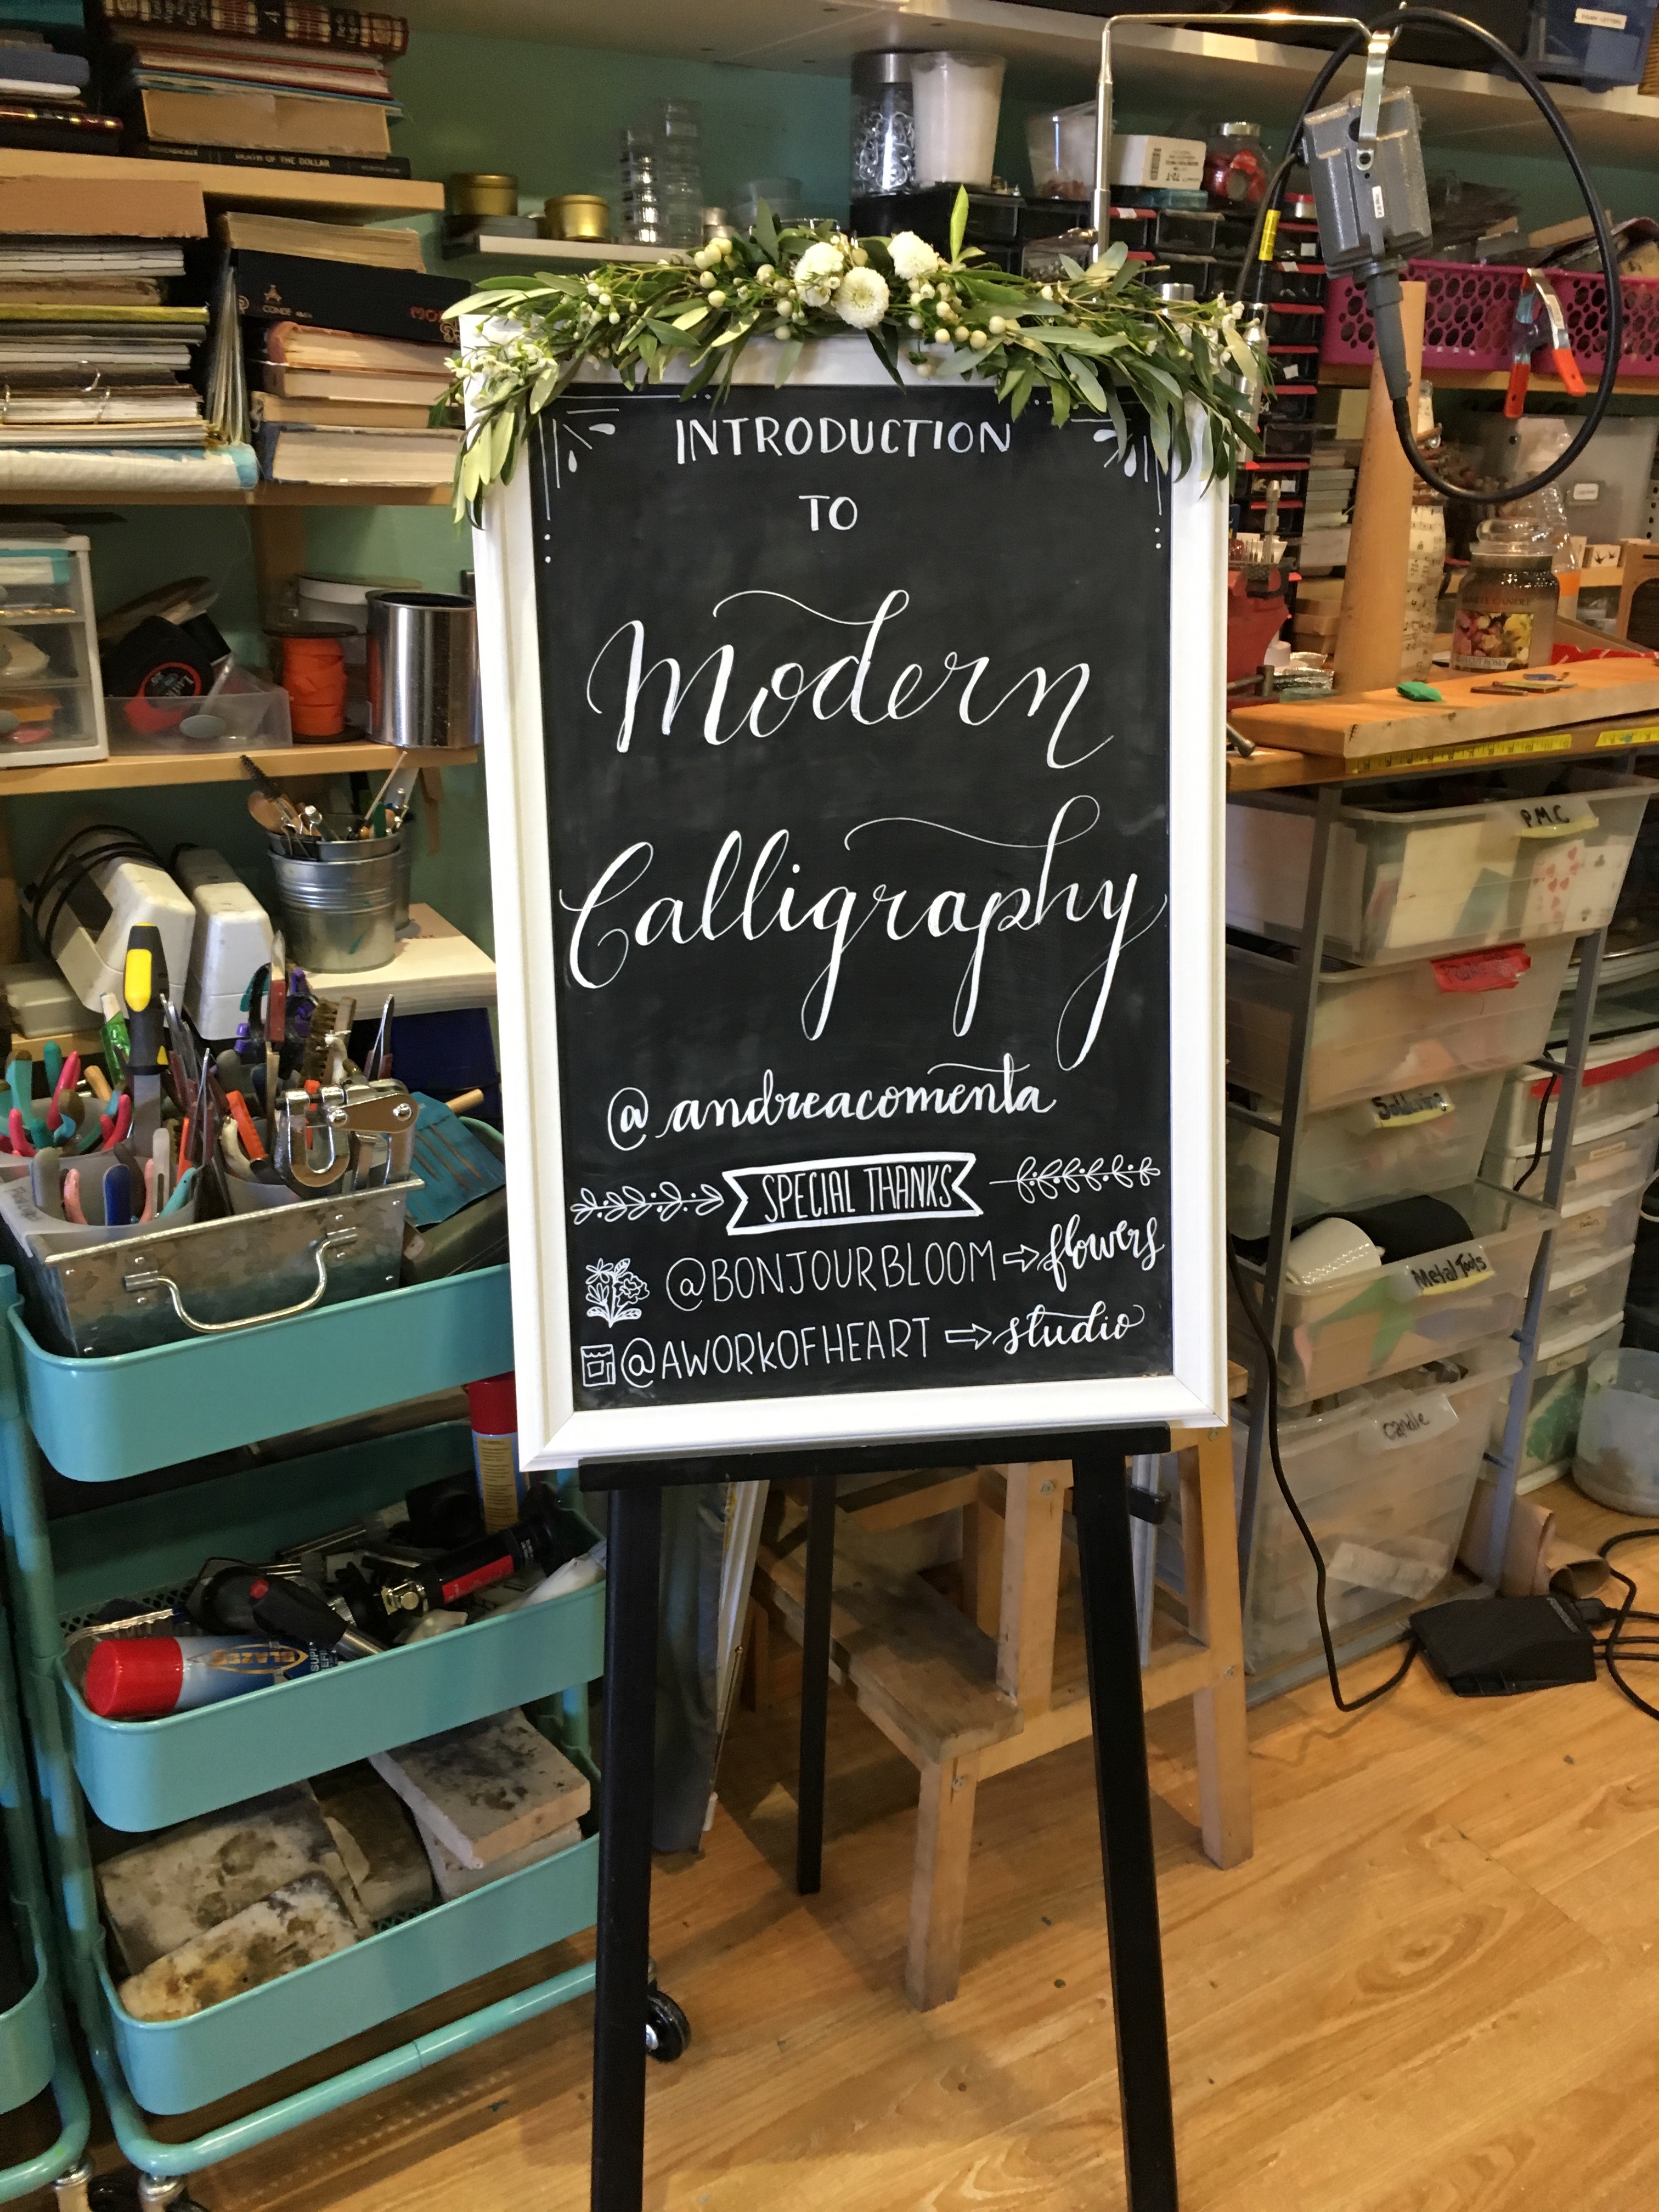
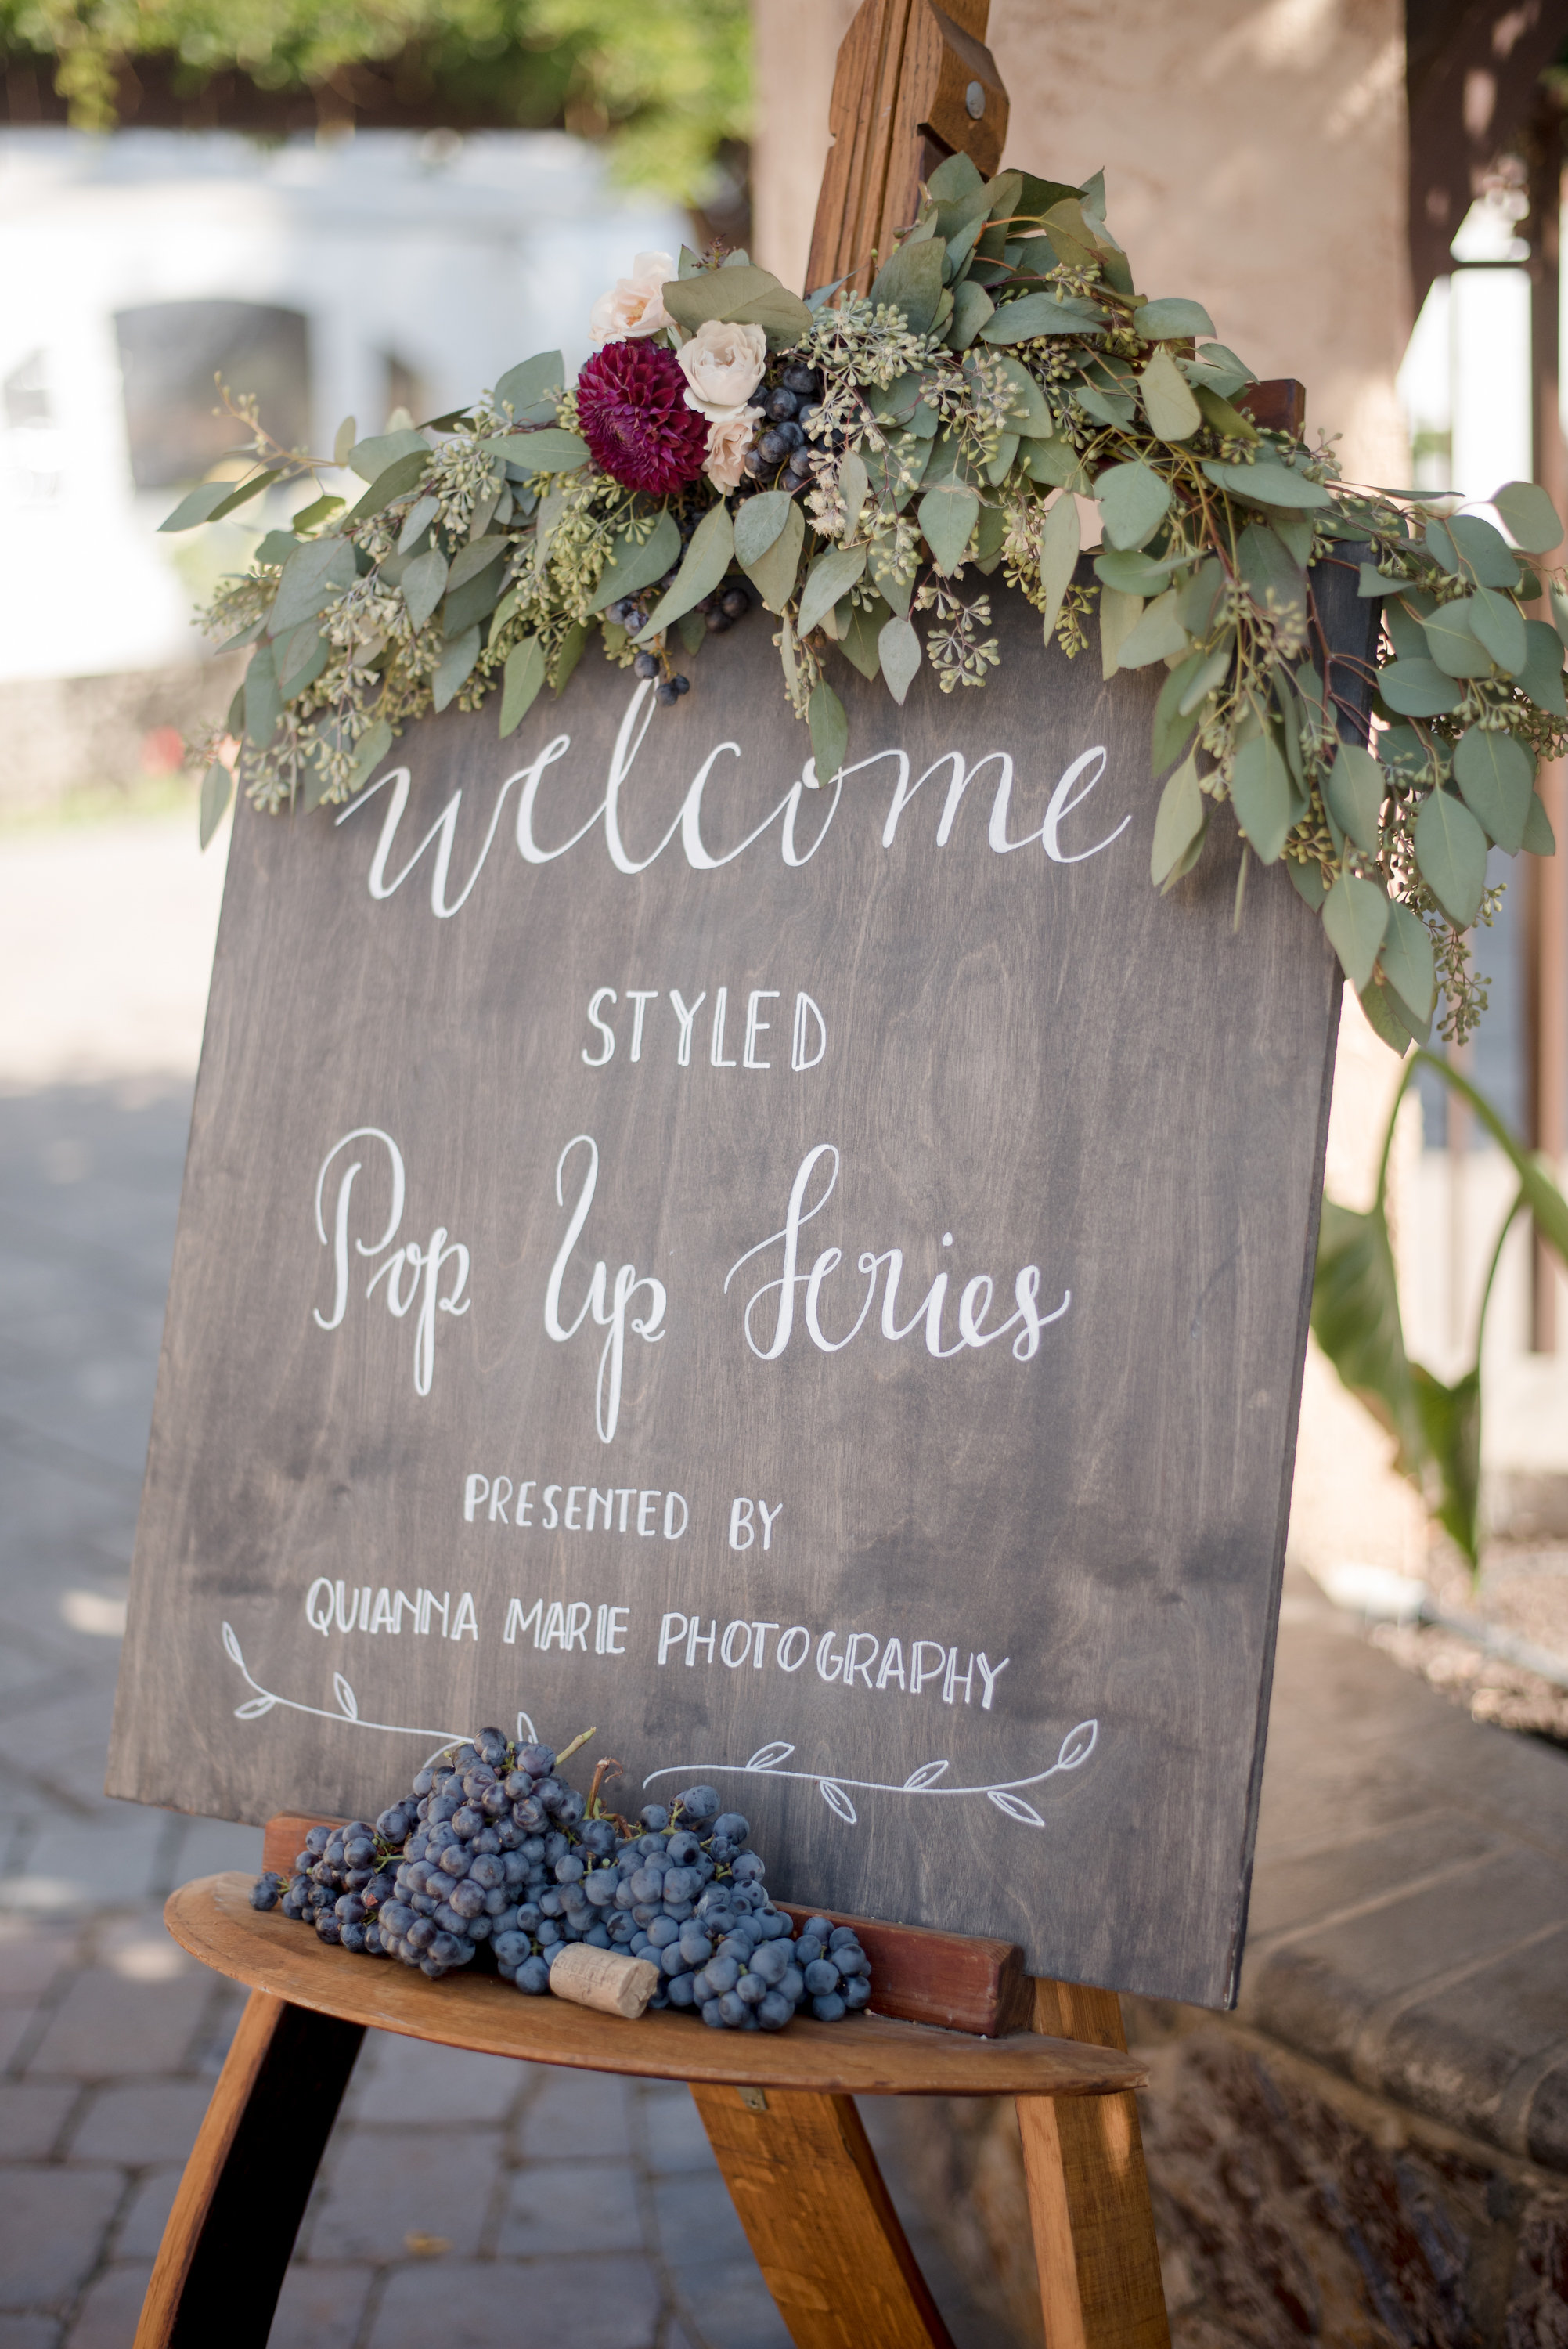 Welcome sign that I created for the workshop
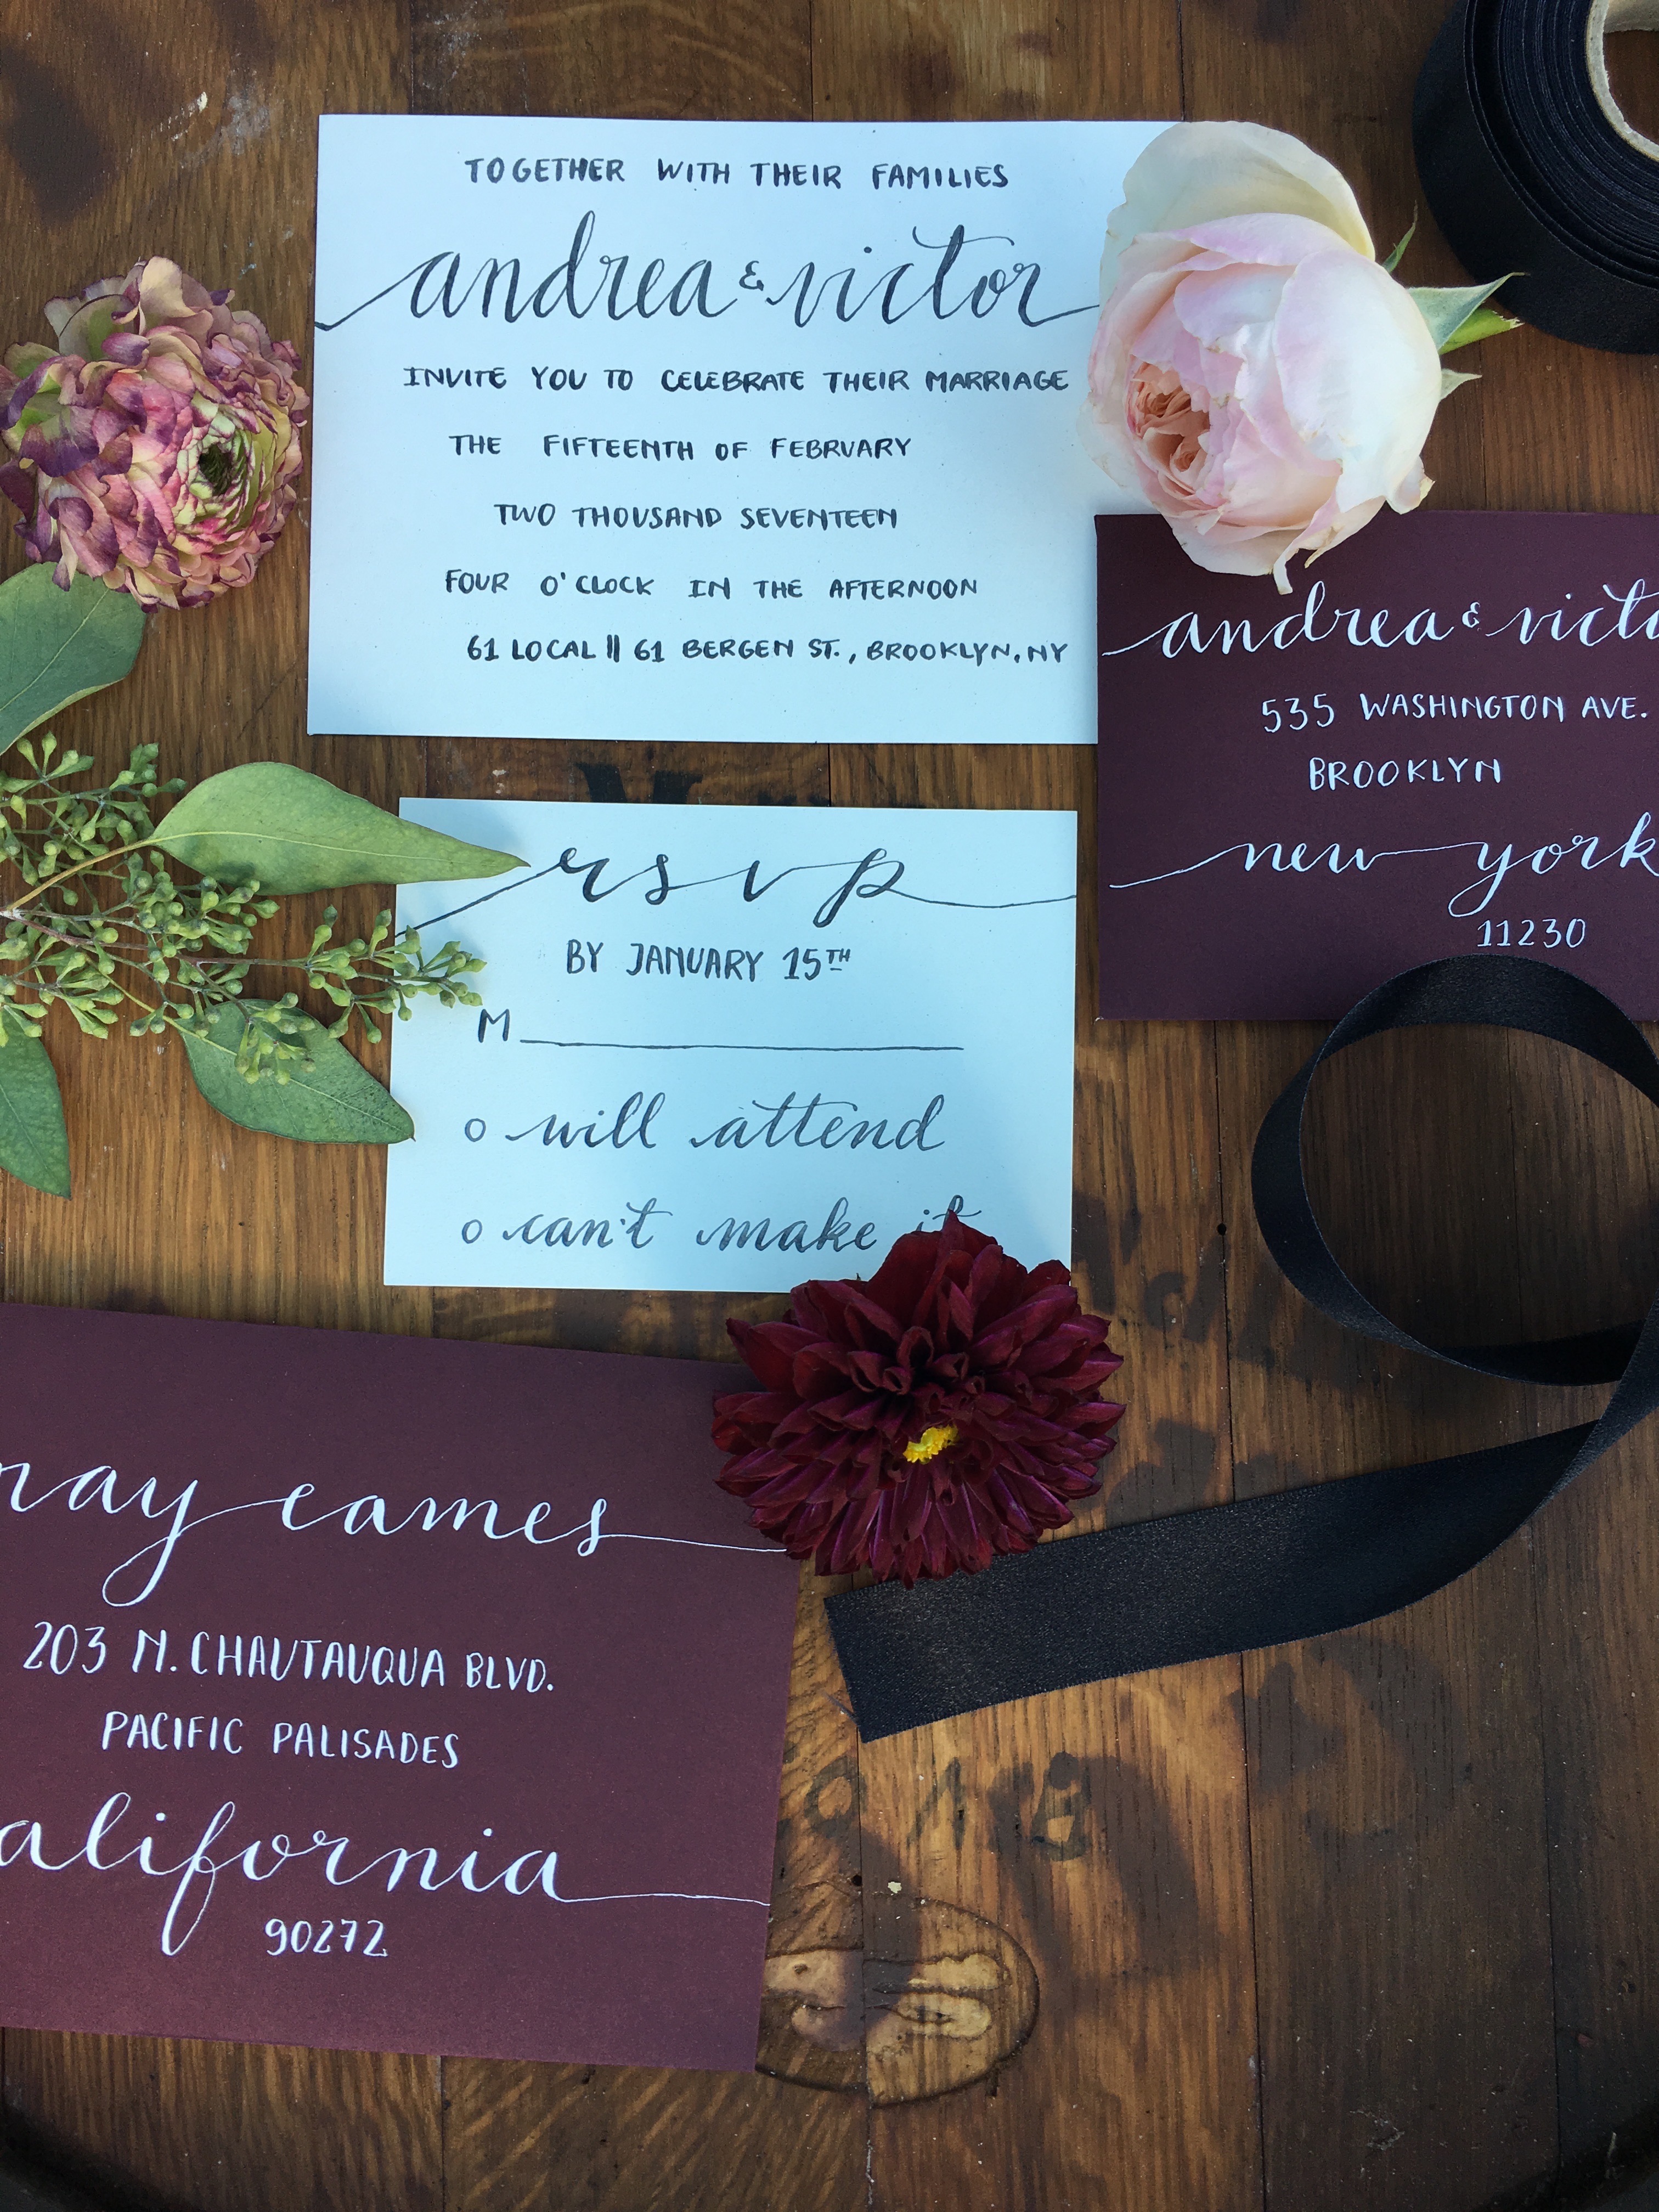 modern calligraphy wedding invitation suite
 In love with this beautiful state that I call now home: California