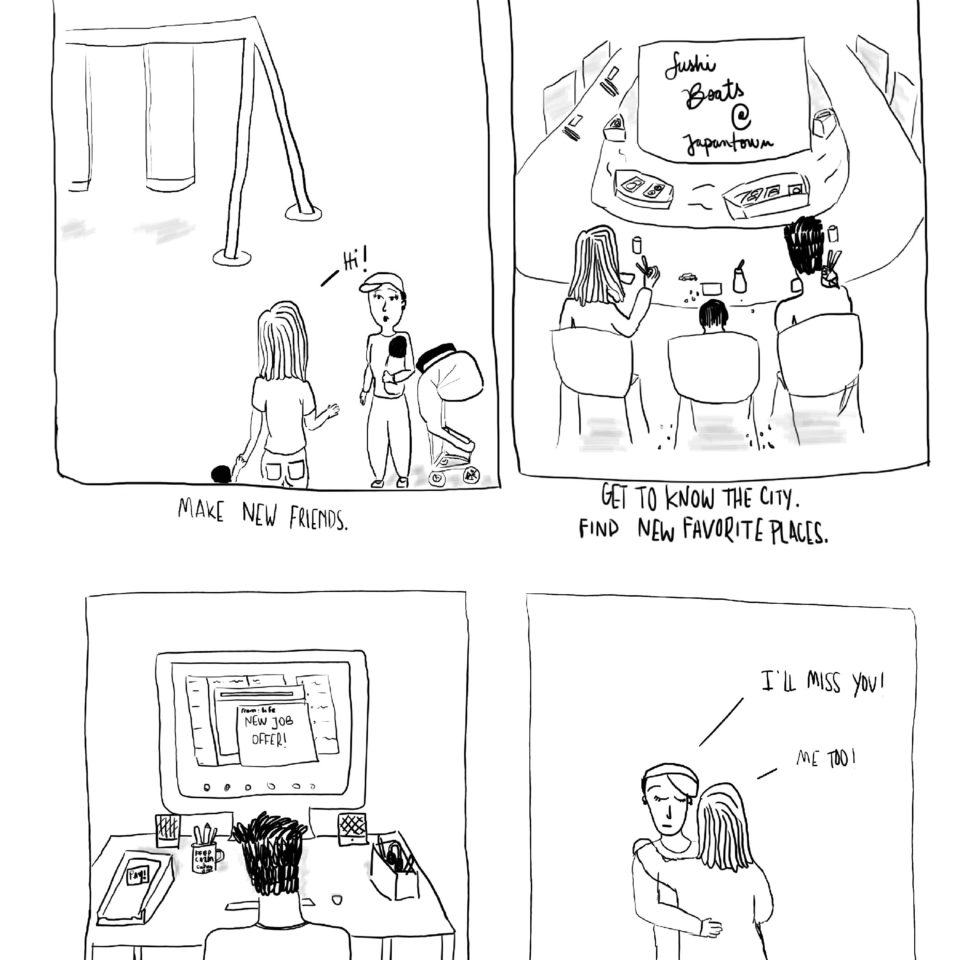
Being a parent.
Artist // Modern Calligraphy + Illustration Made in the Bay Area, California
Dear friends,
I’m so happy to tell you that I’ve decided to offer a bigger variety of products on my online shop at Society6.
With the last art-print uploaded yesterday -“I love you fore-e-e-ver”- I’ve decided to also start offering mugs, tote bags, kids and adults t-shirts, throw pillows and yes… super cute onesies!
More designs are being created and uploaded in the upcoming weeks.
I want to say thank you in advance for sharing this post with your friends and family and thanks for shopping at my online shop! Your money becomes coffee giving this mom the boost to create more art! 😛
Thanks folks and happy shopping!
 Pillows: This pillow would look lovely in a nursery.
 Mugs: A nice way to start your morning, feeling loved.
 Kids T-shirts: The perfect match, kids and unconditional love.

I found this great fabric with the world map on sale at my local fabric store and I thought it would be nice to have it at home and teach Marco where some of our friends and family live.
I’m still a beginner at sewing but I discovered that I can actually sew anything… as long as it has a rectangular shape. That’s how I thought about using this fabric to make some sheets for Marco’s crib.
I followed this tutorial and I were amazed at how easy it actually was to sew sheets, even using an elastic band one the edges.
It’s nice to wash the fabric before, in case it shrinks. Also, measure the crib mattress to customize the pattern. I used a 12″ square instead of the 9″ suggested by the tutorial.
This project took about 2 hours but it was a lot of fun and I felt so good after seeing it done!
During the weekend, when I put him to bed, I told him where some of our dear friends and family live. He didn’t get much yet because when I asked for his aunt Barbarita -who lives in Barcelona- he pointed to Moscow… but we’ll get closer with some more practice!.
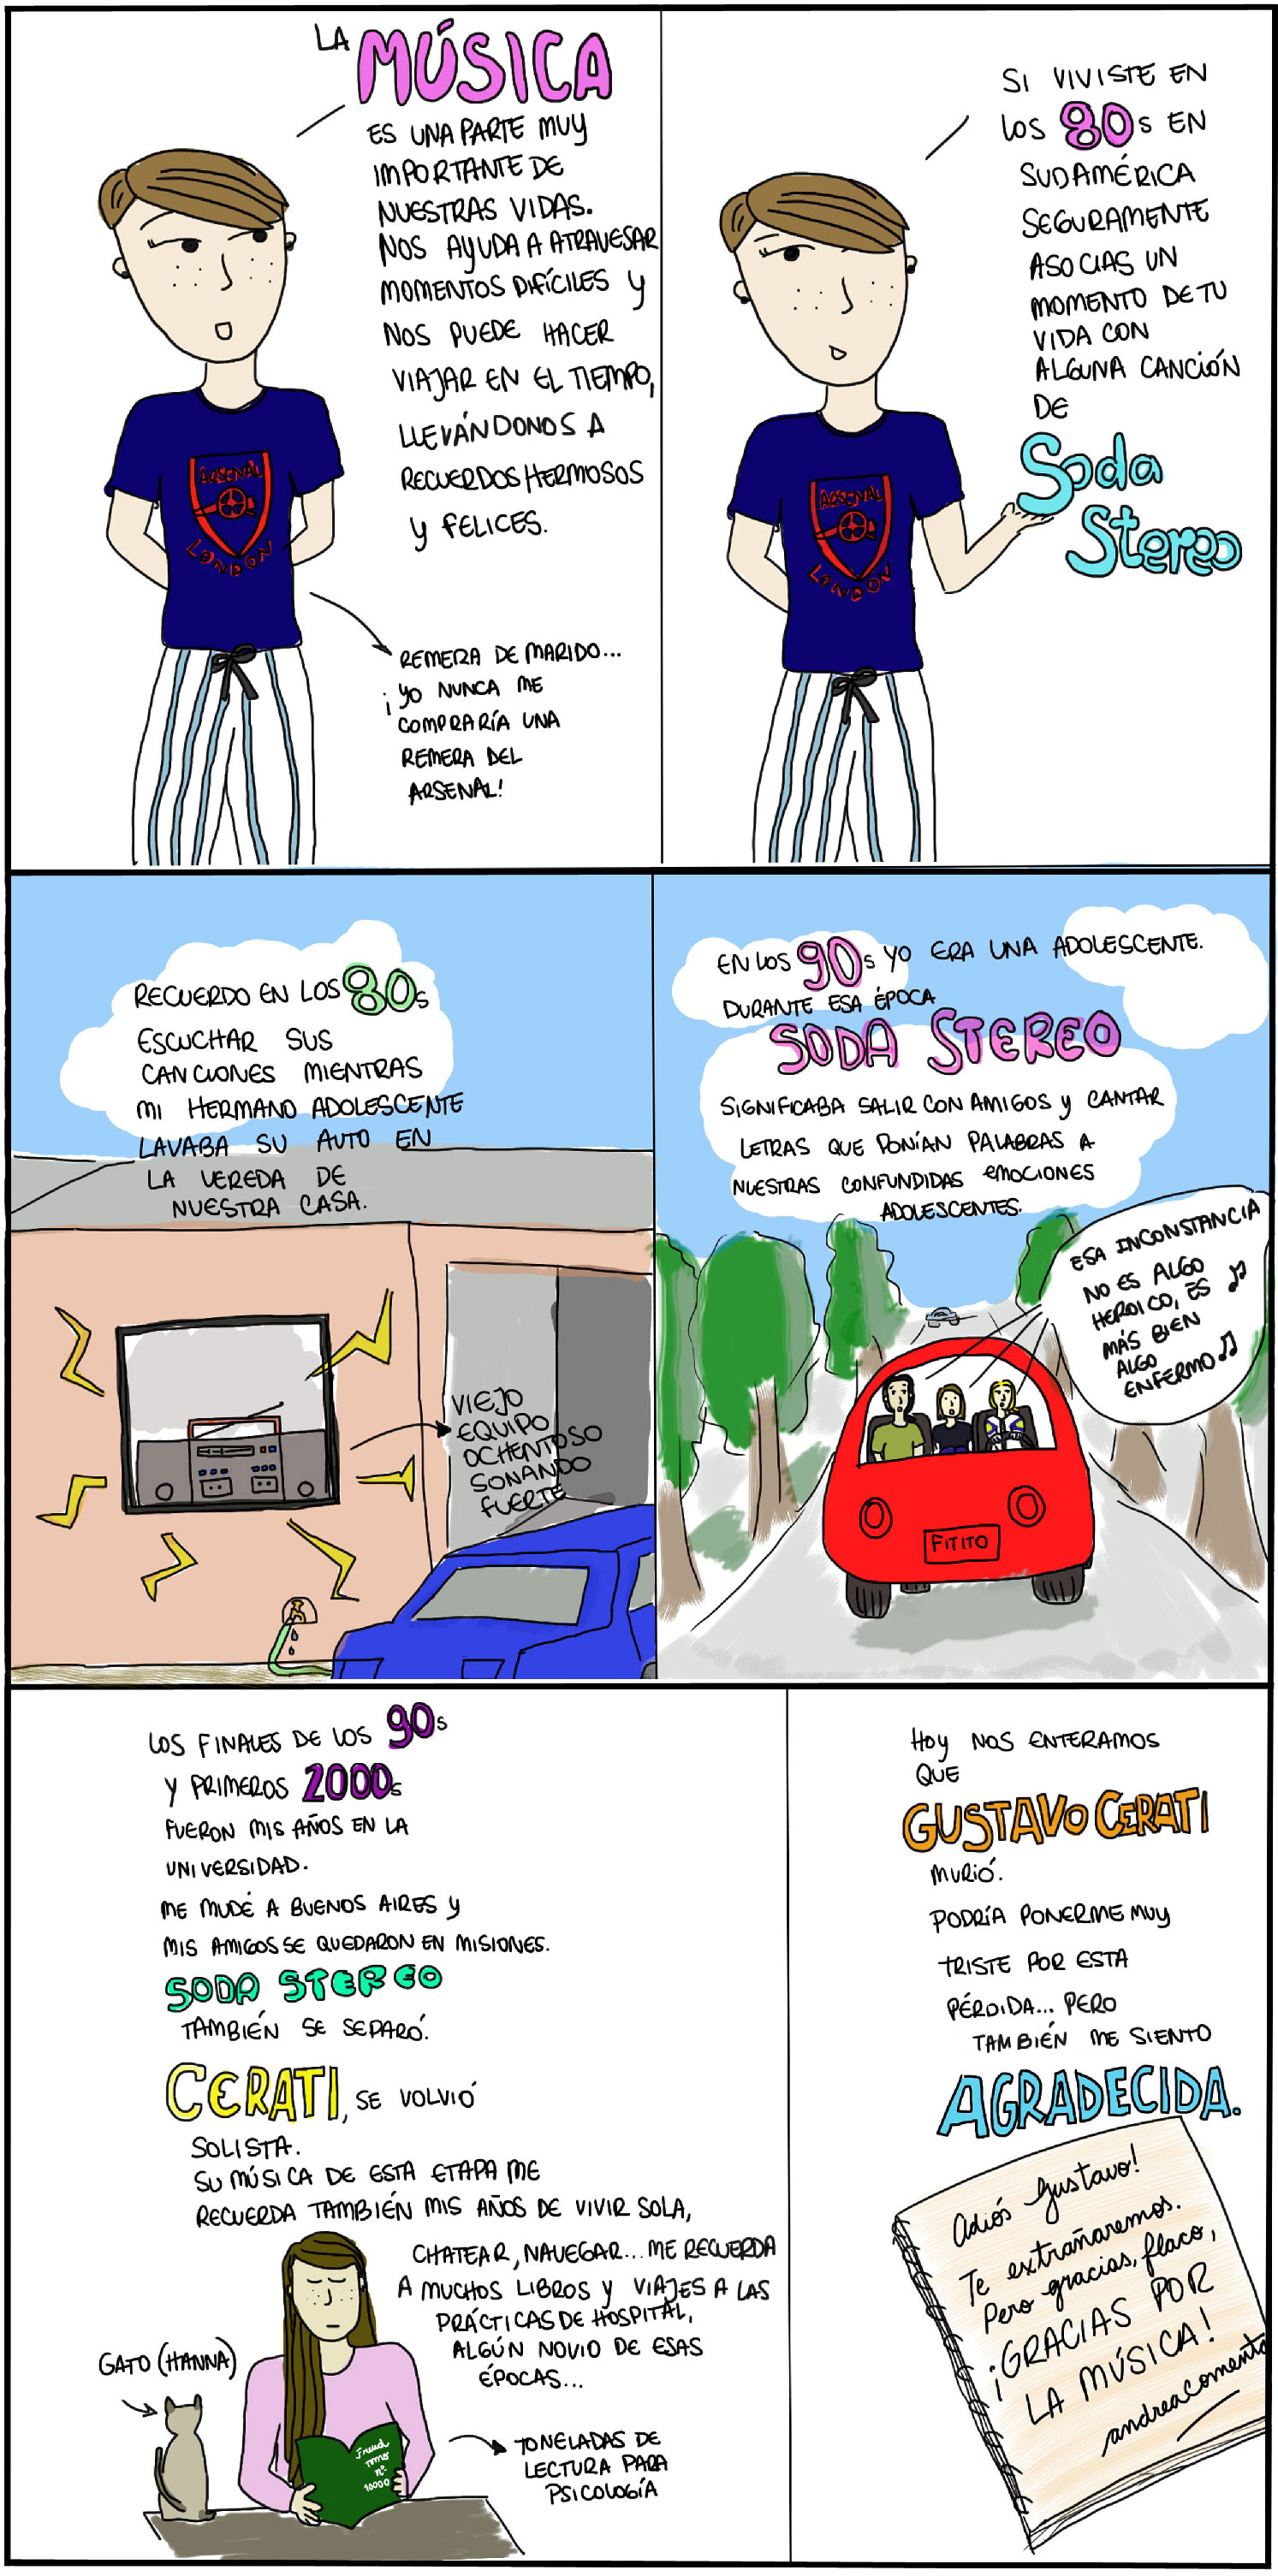 La versión en español de my life with cerati.
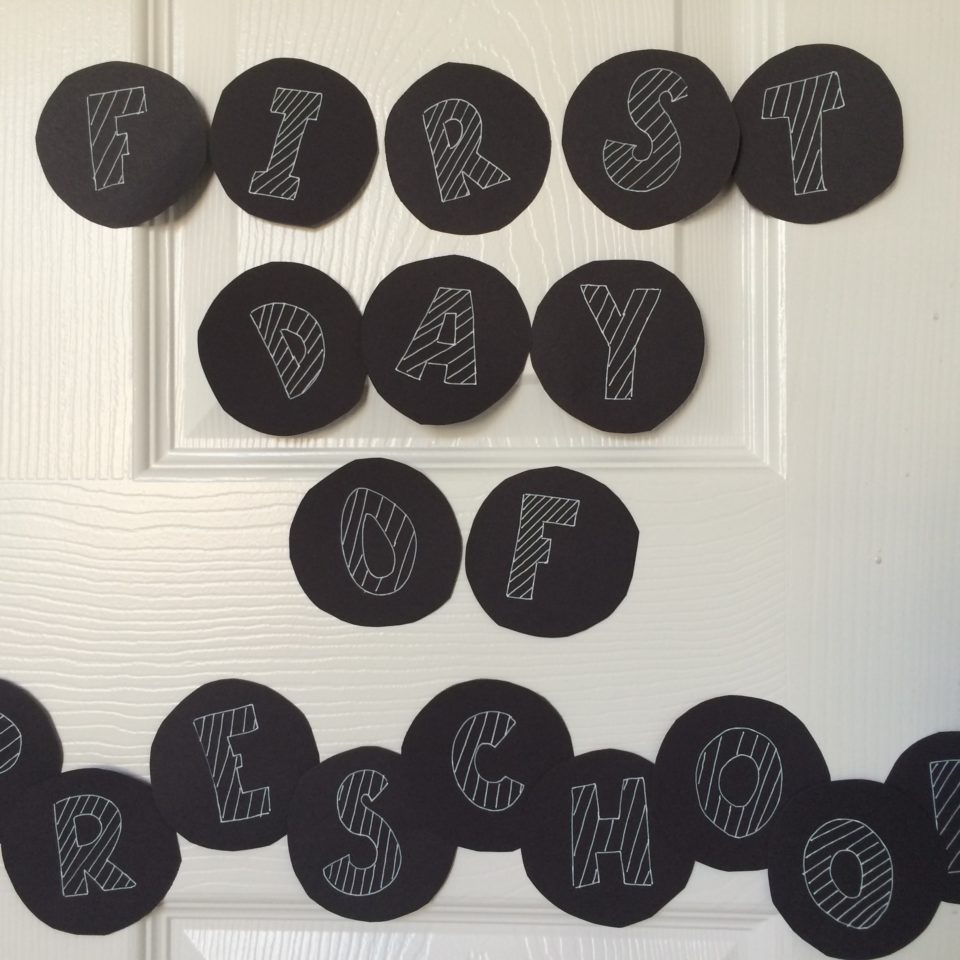
Last week, looking for something to do for Marco’s first day of preschool I went to the art supply aisle at Target and I saw a chalkboard calendar kit. But, since I’m trying to re-use what I already have, I decided to do something similar by myself.
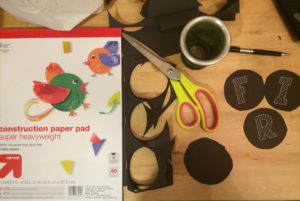
With a cup and a black pencil, I drew circles over a black construction paper. Then, I used my sakura gelly roll white 08 to do the letters over the circles.
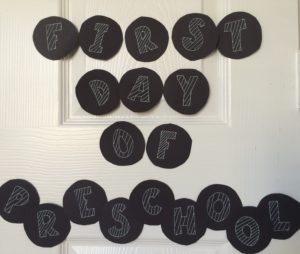
I put the circles on Marco’s bedroom door and I took some pictures of him playing with the letters, spontaneous and simple.
I’d love to hear what you did for your little one first day of school picture!
I sewed the parts creating a rectangle. This was going to become the blanket’s filling.
I got these lovely fabrics for the blanket at my local fabric store. I needed 1 yard of each.
I put the filling in the middle and I sewed a rectangle leaving about 10 cm. over the edges.
Then, I unstitched some of the corners to sew correctly the edges.
And after 3 hours, the project was done and it looked great!
You can adjust even more the filling by adding some stitches to the middle part of the blanket, using a cross-stich like in a quilt.
This project was so easy. I didn’t use patterns, I just took the measures properly and used a lot of pins! If you want to do this and need any help, let me know!
Happy first day of school!
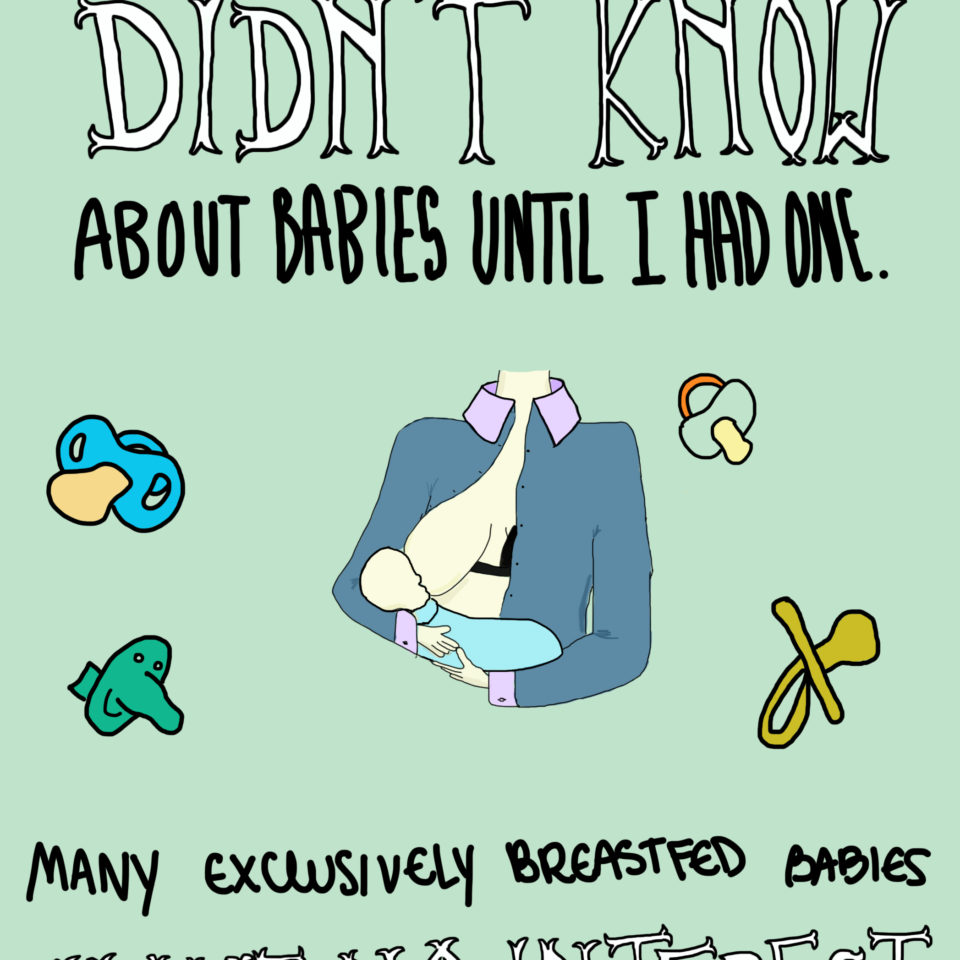
From the things I didn’t know about babies…
Many exclusively breastfed babies have no interest in pacifiers, especially during the first months.
You can find more information about it here.
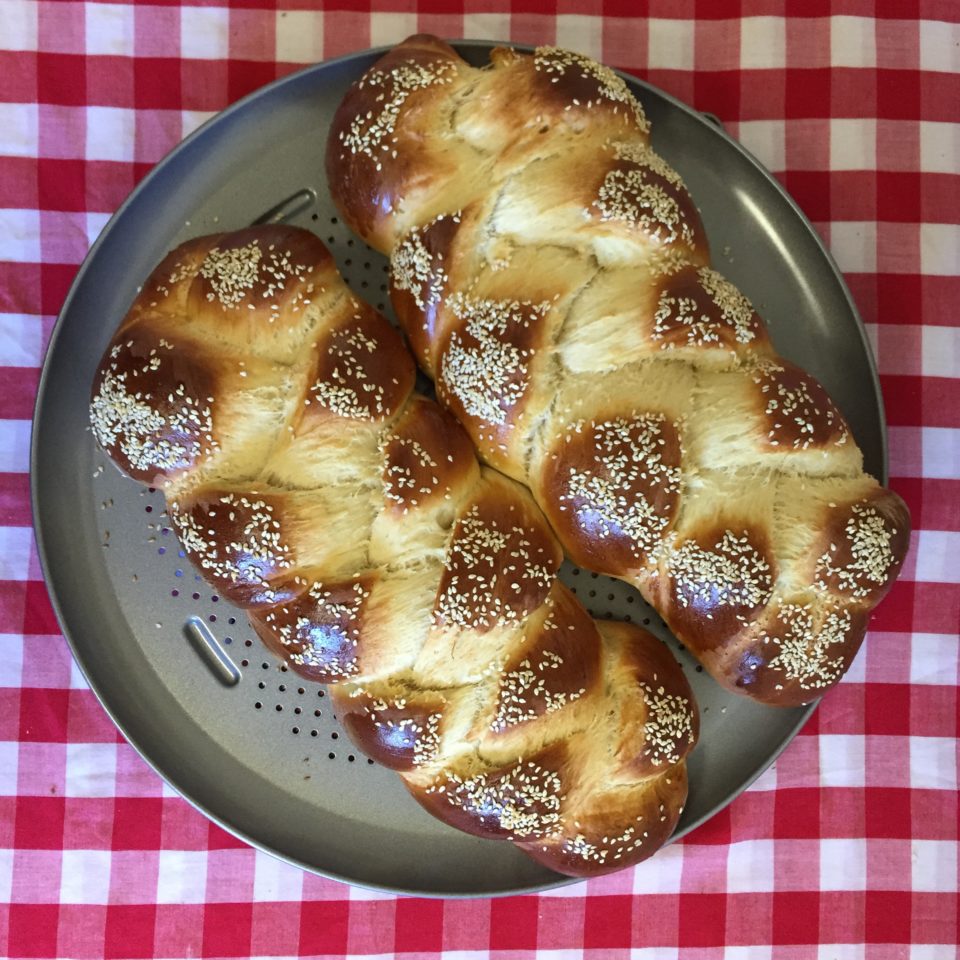
After experimenting with a lot of challah recipes, this is my favorite. You’ll need:
In a large mixing bowl, sprinkle yeast over barely warm water. Add honey, oil, 1 egg, and salt. Add the flour one cup at a time, using the kitchen aid at medium speed.
Knead until it become a smooth and elastic dough but no longer sticky. It will take around 15′ using the Kitchen Aid Mixer.
Cover the bowl with a cloth. Let the dough rest at room temperature for 1.30 hours.
Separate the dough in 3 pieces, flatten a little bit and make a braid. Cover the dough with a clean cloth and let it rest for 45′ more minutes.
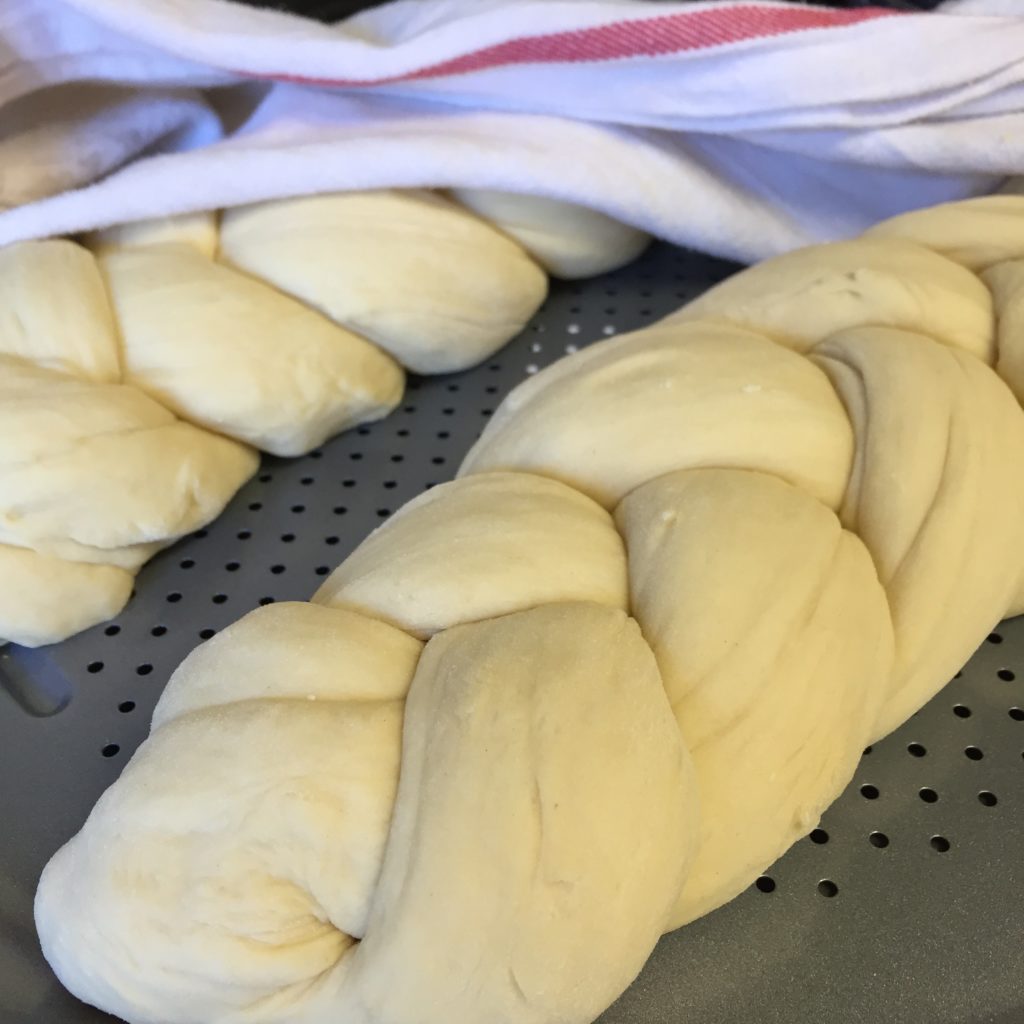
After the resting time, you can either use a slightly beaten egg to brush it or just sprinkle the sesame seeds.
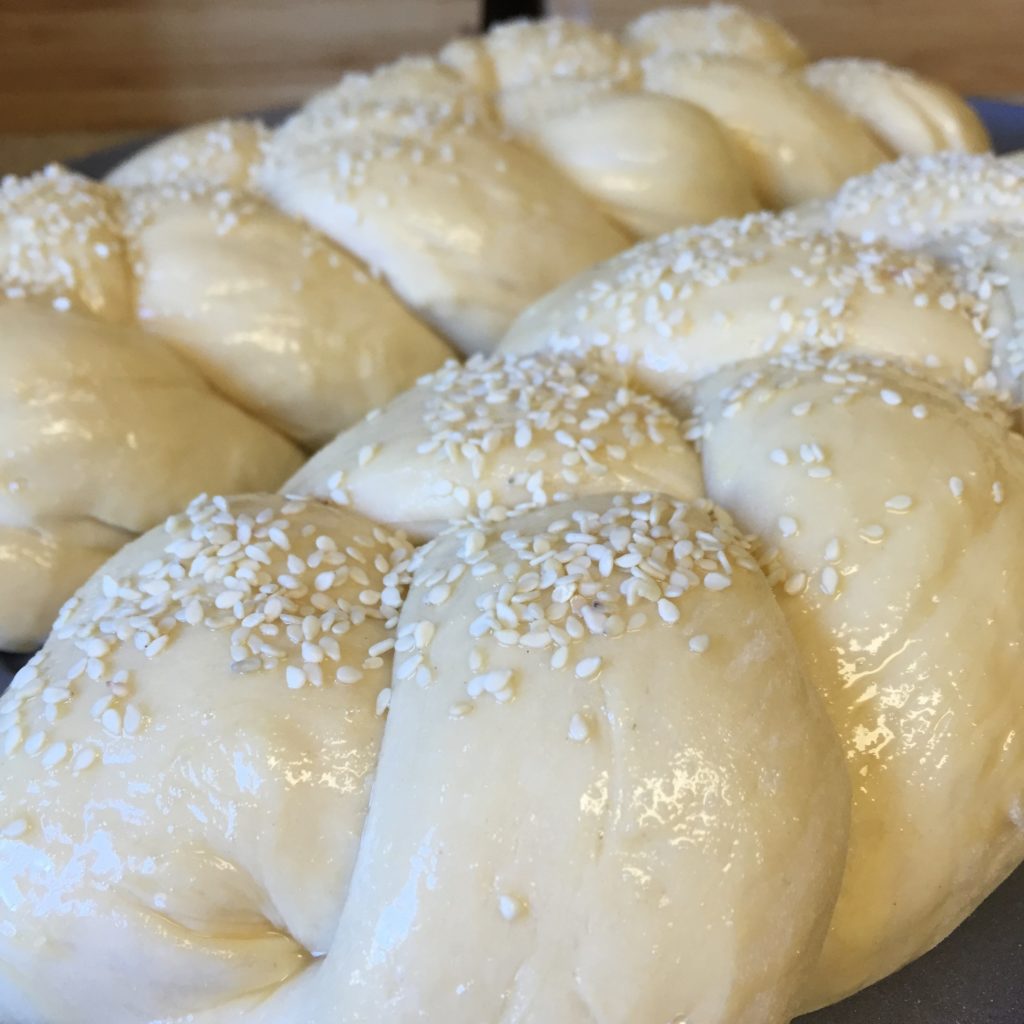
Bake it at 350F for 30′ minutes or until the bread is golden brown. Remove it from the oven and let it cool. The result is impressive and delicious!
Enjoy it!
These are some of the things we used to do with Marco during the time we lived in Downtown Brooklyn, NY.
Our favorite spots for those cold winter days or for the rainy summer ones:
Playgrounds Review:
Enjoy Brooklyn!
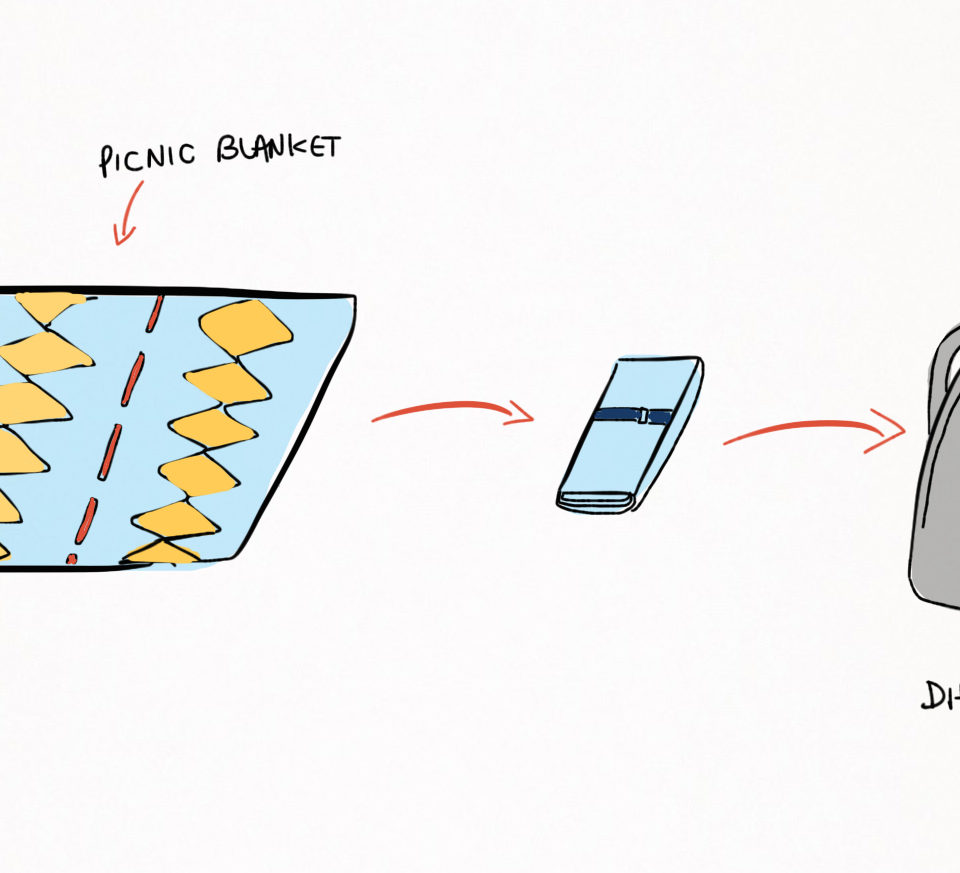
The summer is close to its end but you can still take advantage of the tip I’m going to share with you: carry a picnic blanket in your diaper bag.
I have to tell you, ever since I bought my new portable and cheap blanket from Ichiban Kan, we have been doing a lot of spontaneous picnics!
Of course this blanket is not as beautiful as our JJ Cole one but this cheap blanket was the perfect size, waterproof, light and small enough to fit into the diaper “backpack”.
By the way, that’s another tip. Backpacks are much more easier to use than traditional diaper bags if you use public transportation frequently in San Francisco 😉
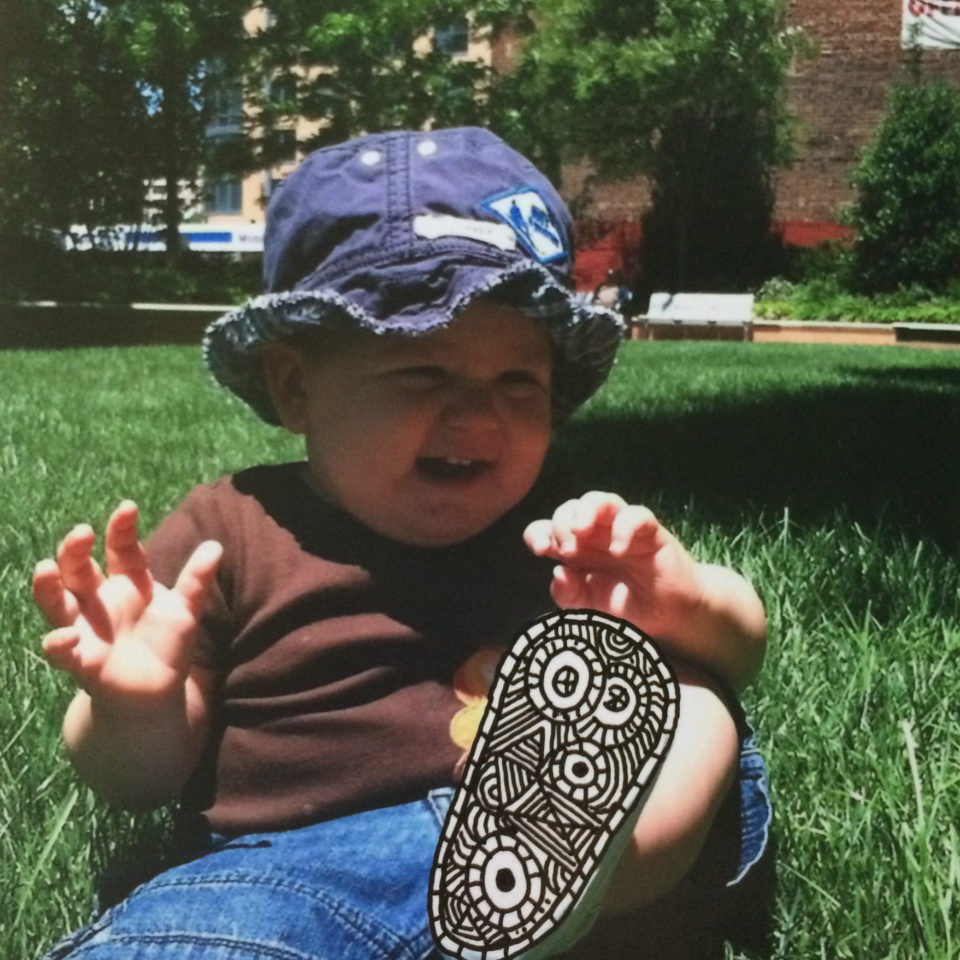
I did some super fun online classes with Lisa Congdon at Creative Bug and I used this pic for one of the activities that we had.

now reading: macanudo by liniers
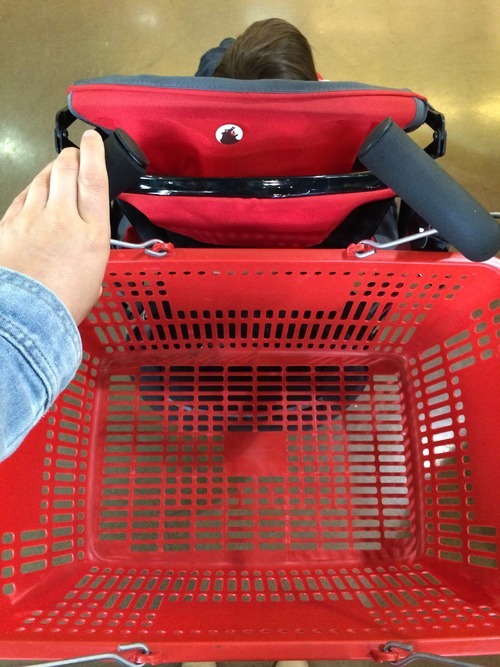
Some of my friends who have seen me doing my grocery shopping loved this so I want to share it with all of you, maybe it can help another mom/dad out there.
Since I don’t have a car neither a driving license yet, I do my grocery shopping within a walking distance from our apartment.
So, every time that I go to the grocery store, I grab a basket and attach it to the stroller.
After I pay and leave the store, I put the heavy stuff in the storage space of the stroller (juice, milk, cans, etc.) and hang my reusable bags from the hooks on each side of the stroller.
Pretty useful 😉
