baby crib sheets

I found this great fabric with the world map on sale at my local fabric store and I thought it would be nice to have it at home and teach Marco where some of our friends and family live.

I’m still a beginner at sewing but I discovered that I can actually sew anything… as long as it has a rectangular shape. That’s how I thought about using this fabric to make some sheets for Marco’s crib.

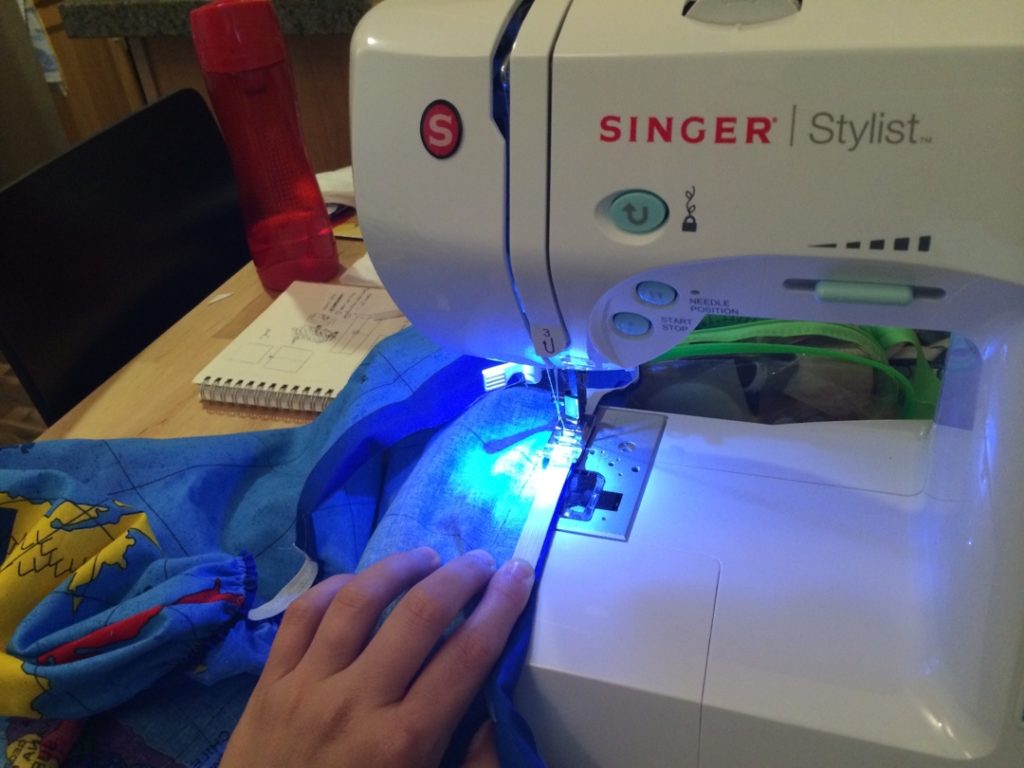
I followed this tutorial and I were amazed at how easy it actually was to sew sheets, even using an elastic band one the edges.

wpid-20140913-105330.jpg

It’s nice to wash the fabric before, in case it shrinks. Also, measure the crib mattress to customize the pattern. I used a 12″ square instead of the 9″ suggested by the tutorial.

This project took about 2 hours but it was a lot of fun and I felt so good after seeing it done!

wpid-20140913-105405.jpg

During  the weekend, when I put him to bed, I told him where some of our dear friends and family live. He didn’t get much yet because when I asked for his aunt Barbarita -who lives in Barcelona- he pointed to Moscow… but we’ll get closer with some more practice!.
wpid-20140913-105324.jpg

preschool blanket

On January 2013, I sewed these crib bumpers using regular cotton filled with an organic cotton batting from Warm Company. They looked very good and were very useful.

IMG_4717

IMG_4720

Now Marco doesn’t need the crib bumpers anymore. Also, he is starting preschool -yay! I can’t believe that little chubby baby from the picture above is already in preschool!- so he was in need of a preschool blanket.

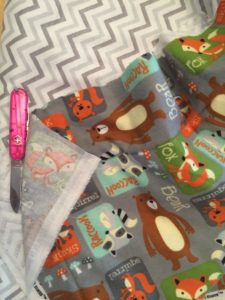
I decided to re-use the organic cotton. So, first I unstitched the crib bumpers using… my victorinox (I’m more a maintenance technician than a fashion designer lol).

IMG_7402

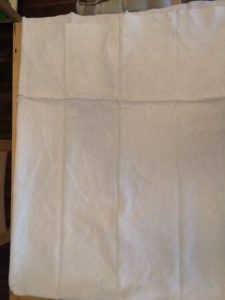
Afterwards, I sewed the parts creating a rectangle. This was going to become the blanket’s filling.

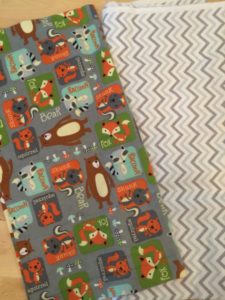
I got these lovely fabrics for the blanket at my local fabric store. I needed 1 yard of each.

IMG_7578

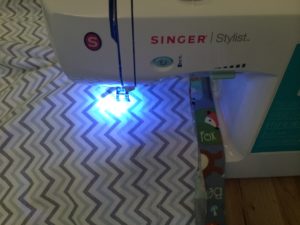
I put the filling in the middle and I sewed a rectangle leaving about 10 cm. over the edges.

IMG_7581

IMG_7584

Then, I unstitched some of the corners to sew correctly the edges.

IMG_7583

And after 3 hours, the project was done and it looked great!

IMG_7582

You can adjust even more the filling by adding some stitches to the middle part of the blanket, using a cross-stich like in a quilt.

IMG_7616

This project was so easy. I didn’t use patterns, I just took the measures properly and used a lot of pins! If you want to do this and need any help, let me know!

Happy first day of school!