mbeju recipe

Hi folks, I decided to start this new week sharing a new South American recipe on the blog: Mbeju.

Let’s say that it’s great for breakfast, dinner or as a snack. You’ll feel satisfied and won’t get hungry for several hours after eating this cheesy, gluten-free tortilla-like.

Actually it’s a recipe from Paraguay, but you guys now that I was born in Misiones, just a river separates us from our brothers in Paraguay. In both sides, we grow tapioca (mandioca) and its flour it’s a fundamental ingredient in the diet of these regions… or was 😛

More about this food here.

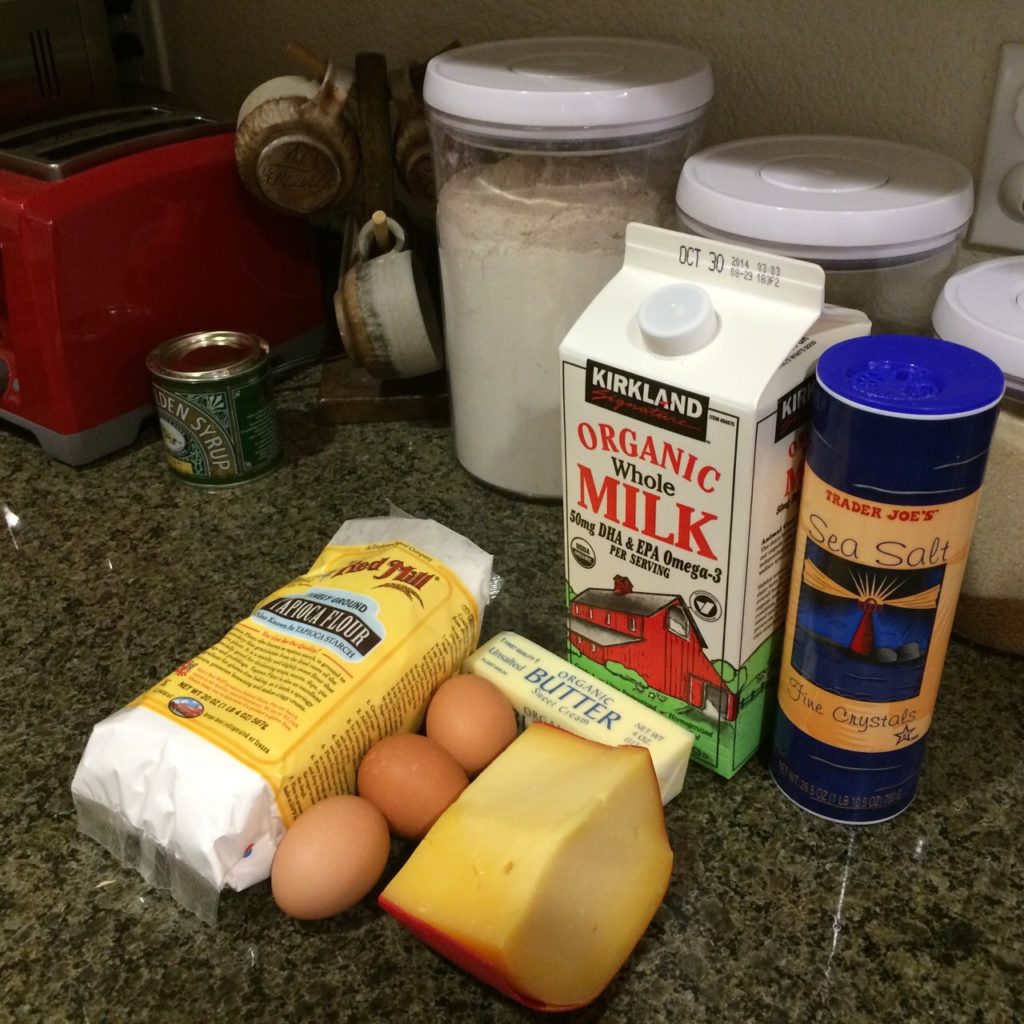
For one mbejĂș, you’ll need (did I mention that it’s actually shareable?)

  • 1 cup tapioca flour (available in Whole Foods, Latin Grocery Markets and guess what? Some Asian markets also carry tapioca starch or flour and it’s super cheap, something like $0.79 per pound).
  • 1/2 cup gouda cheese (curds or grated)
  • 1/8 cup organic milk
  • 1/8 cup water (room temperature)
  • 2 tbsp melted butter
  • 1/4 tsp salt

*****If you have a food processor: Put all ingredients in the food processor until it looks like coarse sand (about 1 minute or less). Then follow same steps to cook it.

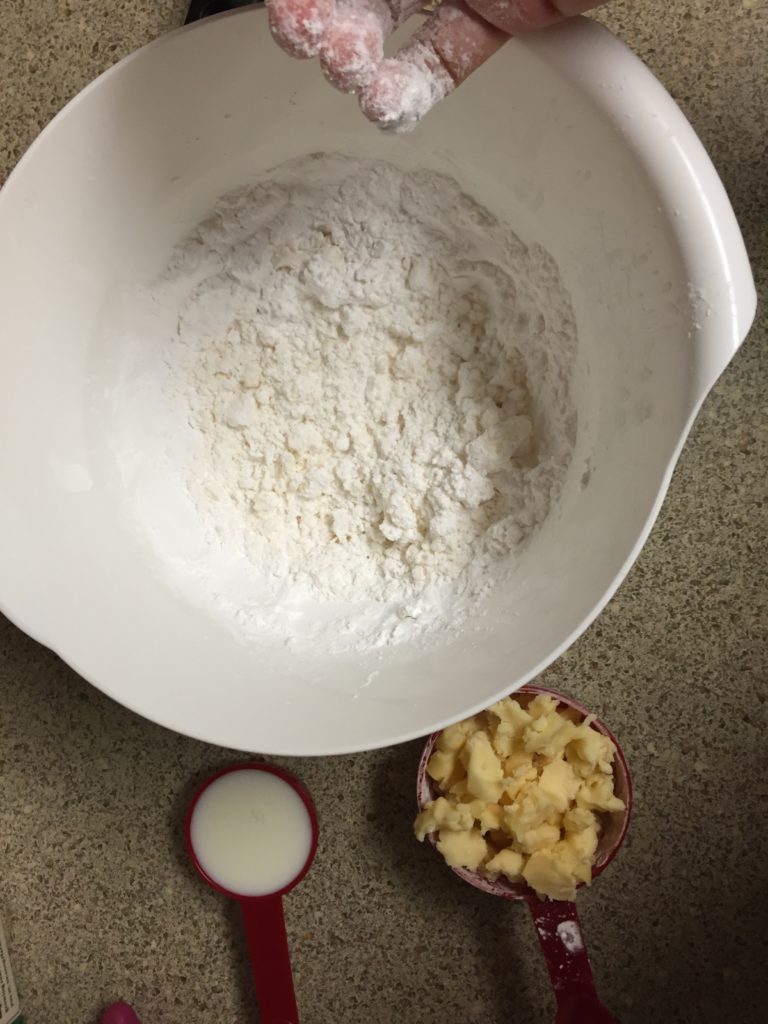
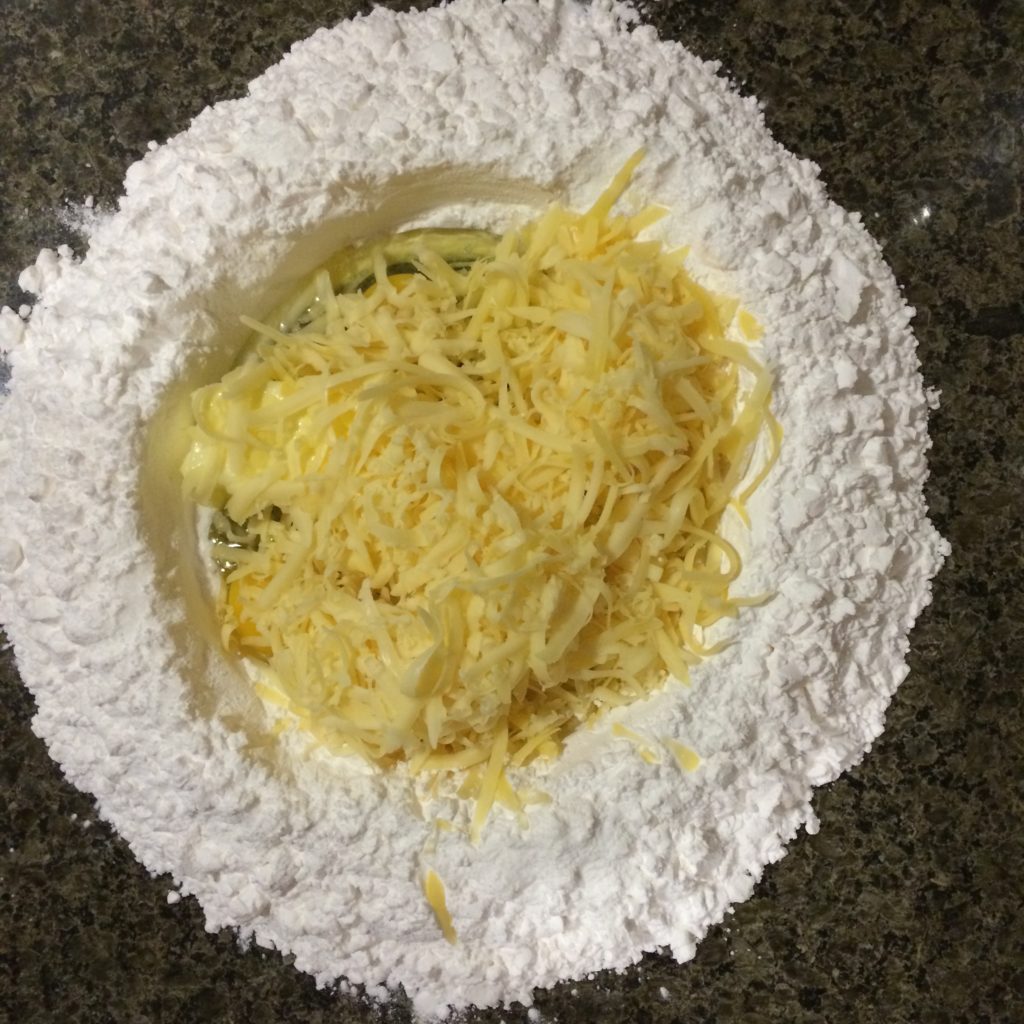
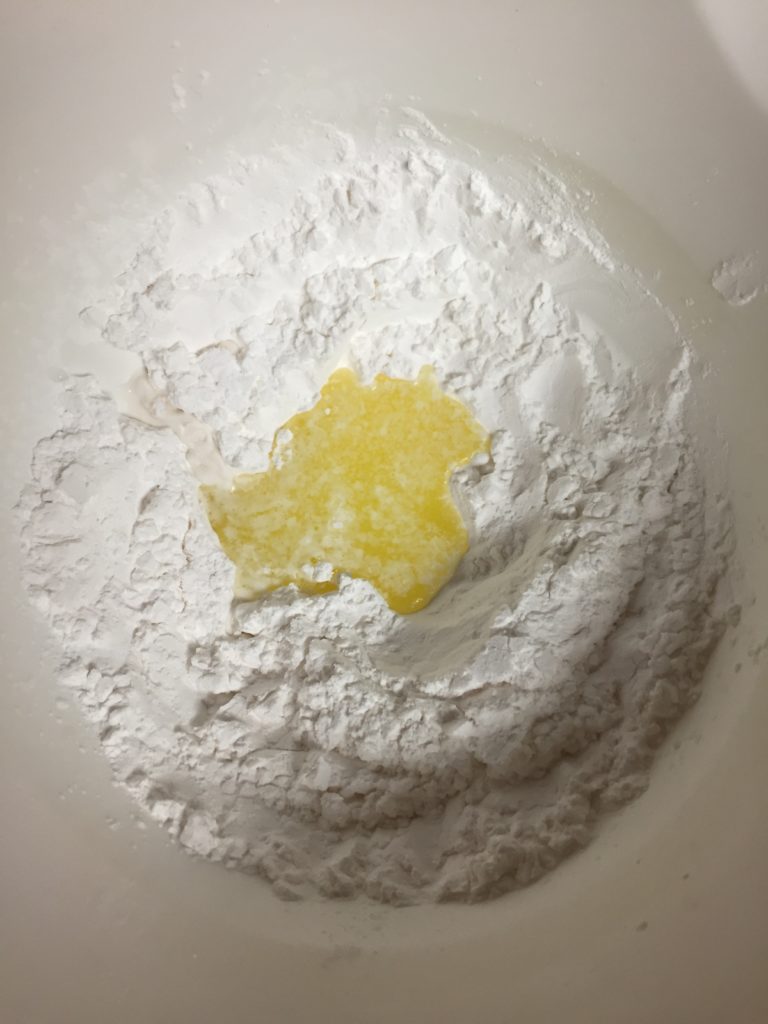
For the manual process: Begin by combining the dry ingredients in a bowl. Add the melted butter.

IMG_2007

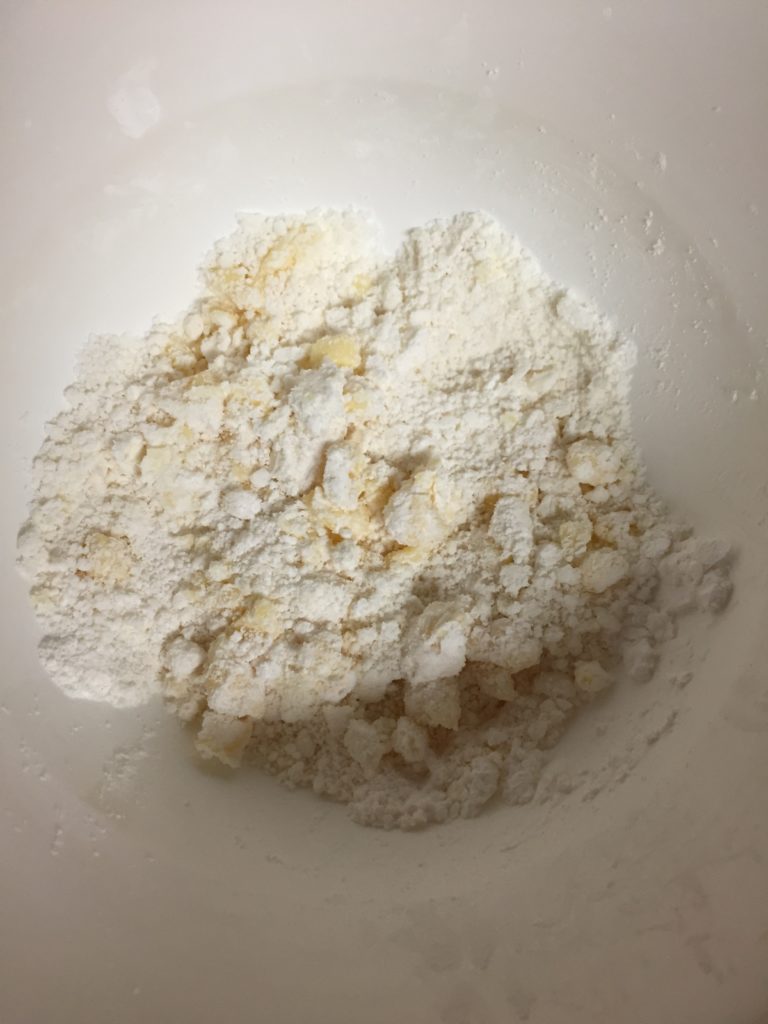
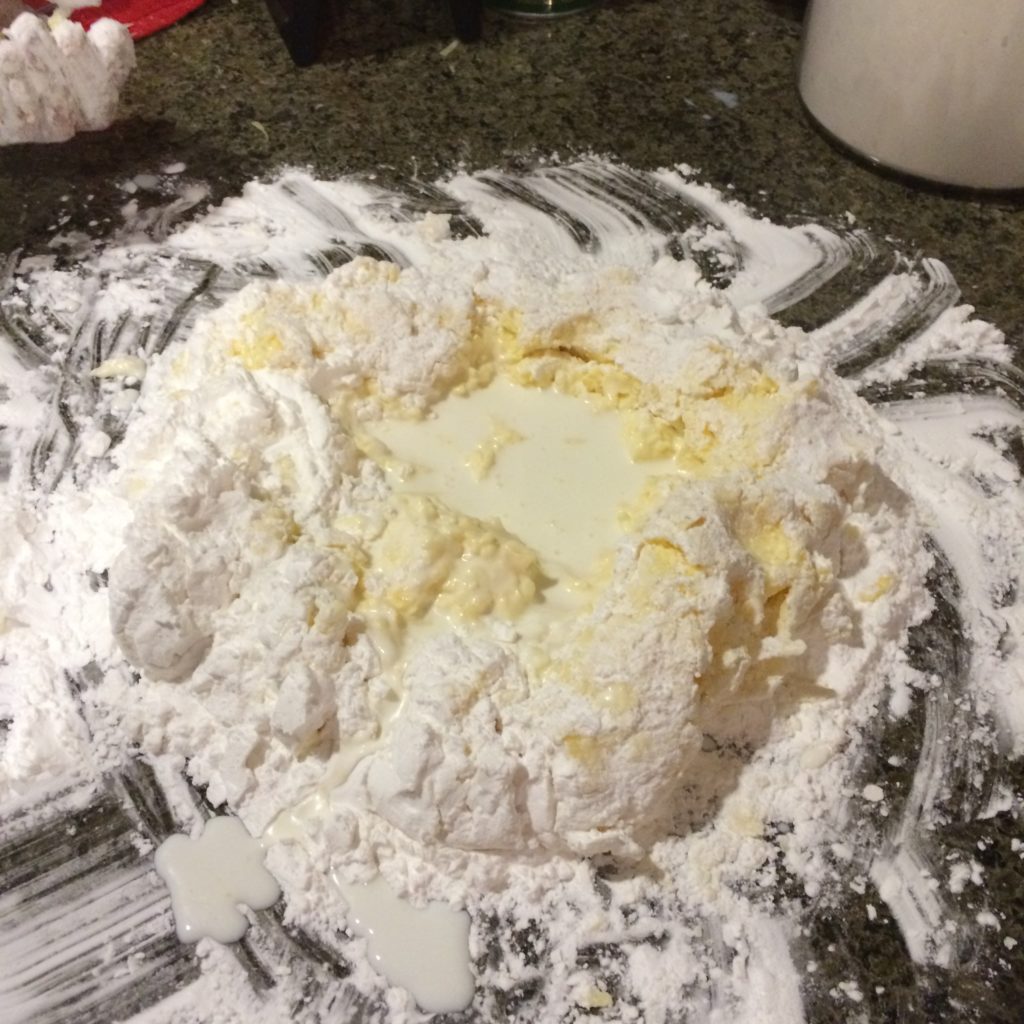
When it has a crumble consistency, add the milk, cheese and then the water. Use your hands to integrate them after each addition.

IMG_2008

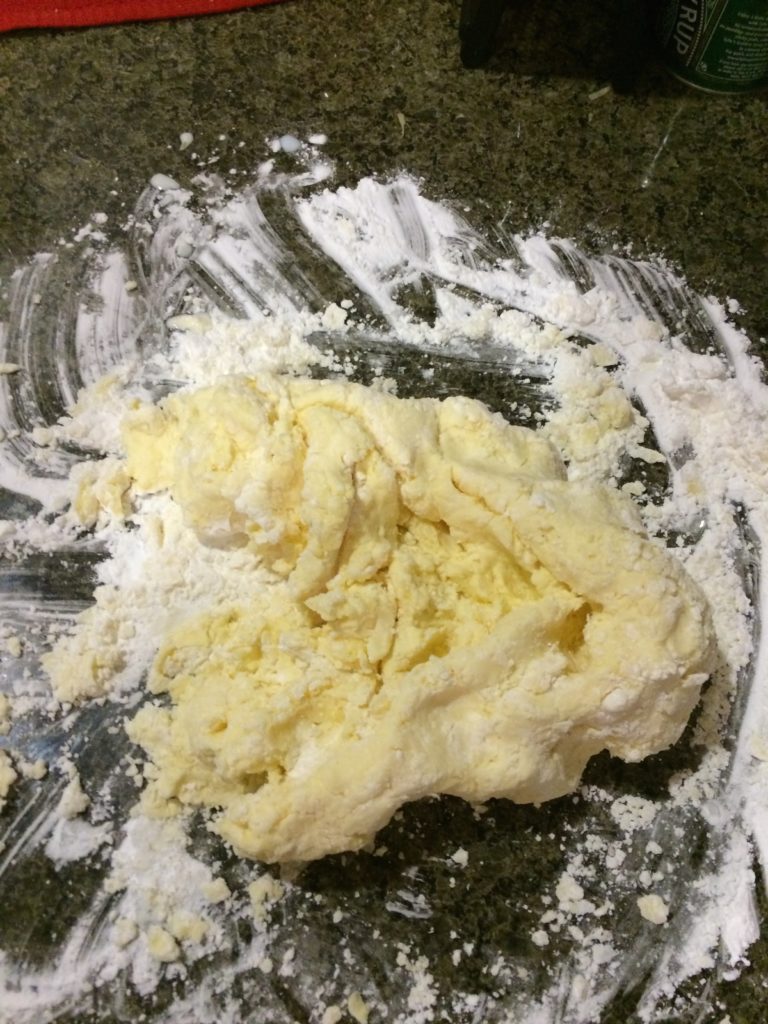
It will have this crumble look. Don’t worry, it’s going to become something in a few minutes.

IMG_2011

COOKING IT:

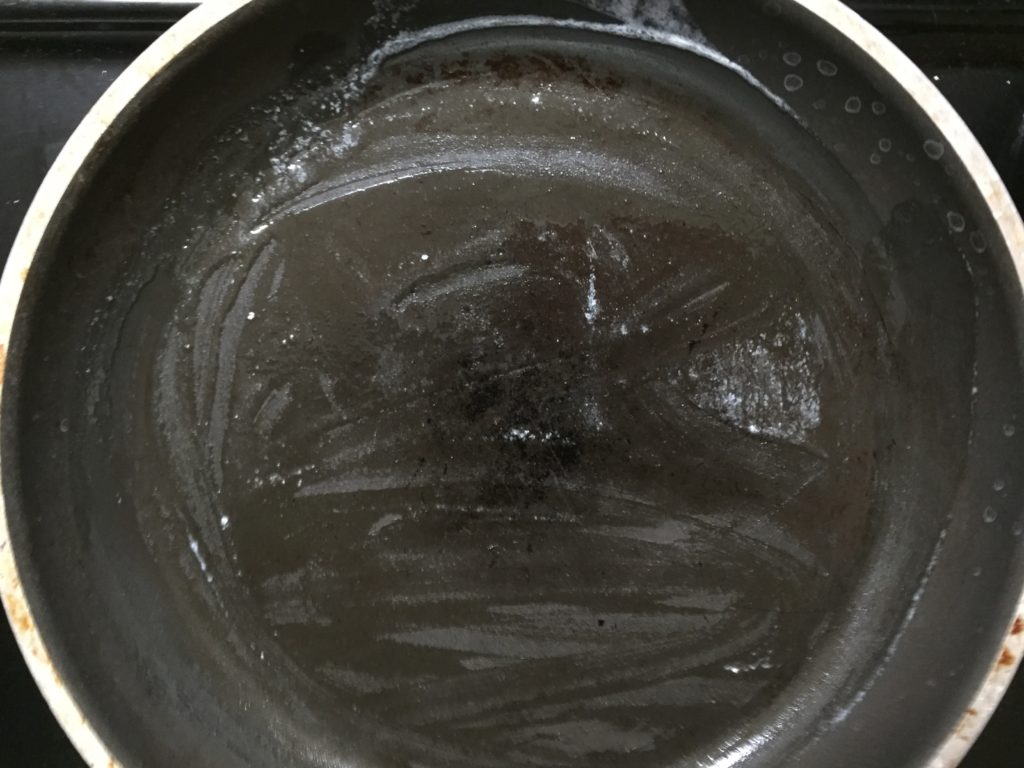
Add a little butter to a large pan and set it to medium heat.

IMG_2012

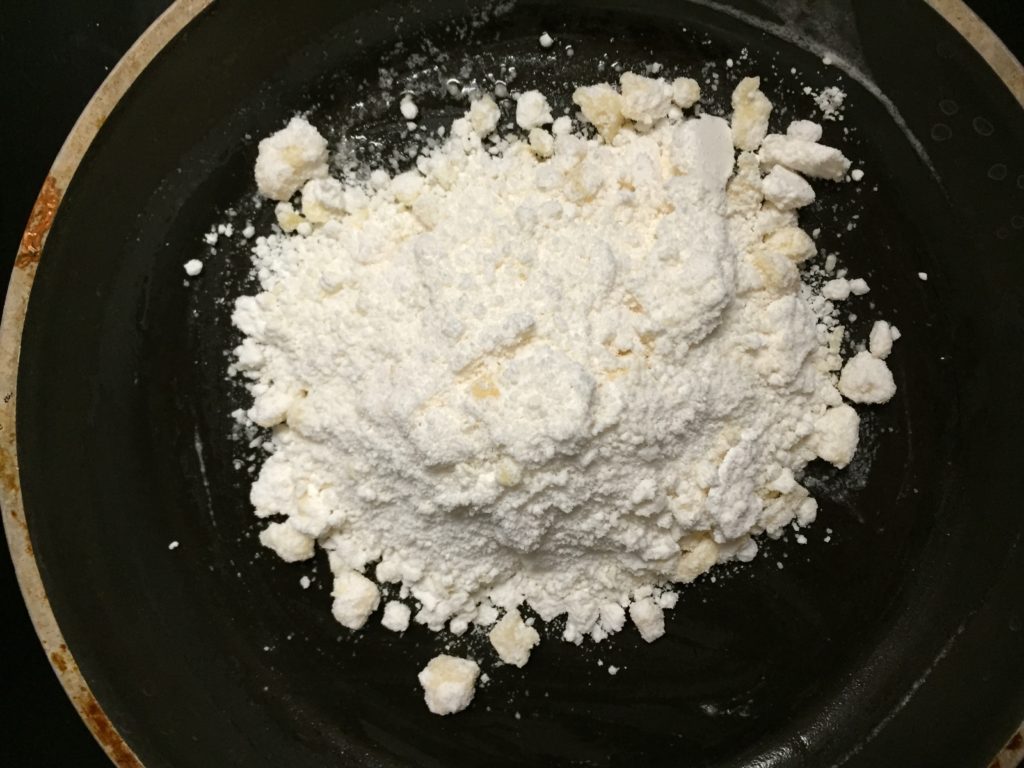
Add the mixture to the pan and set it to a lower heat.

IMG_2013

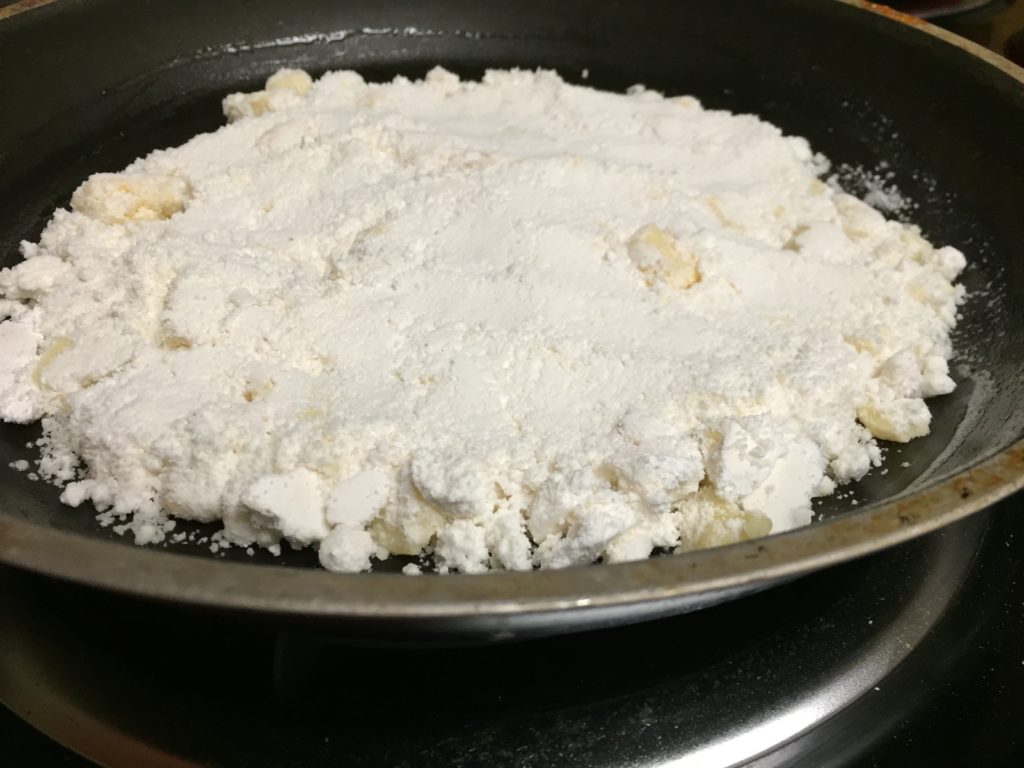
Use a spoon to give a more flatten look to this crumble mixture.

IMG_2014

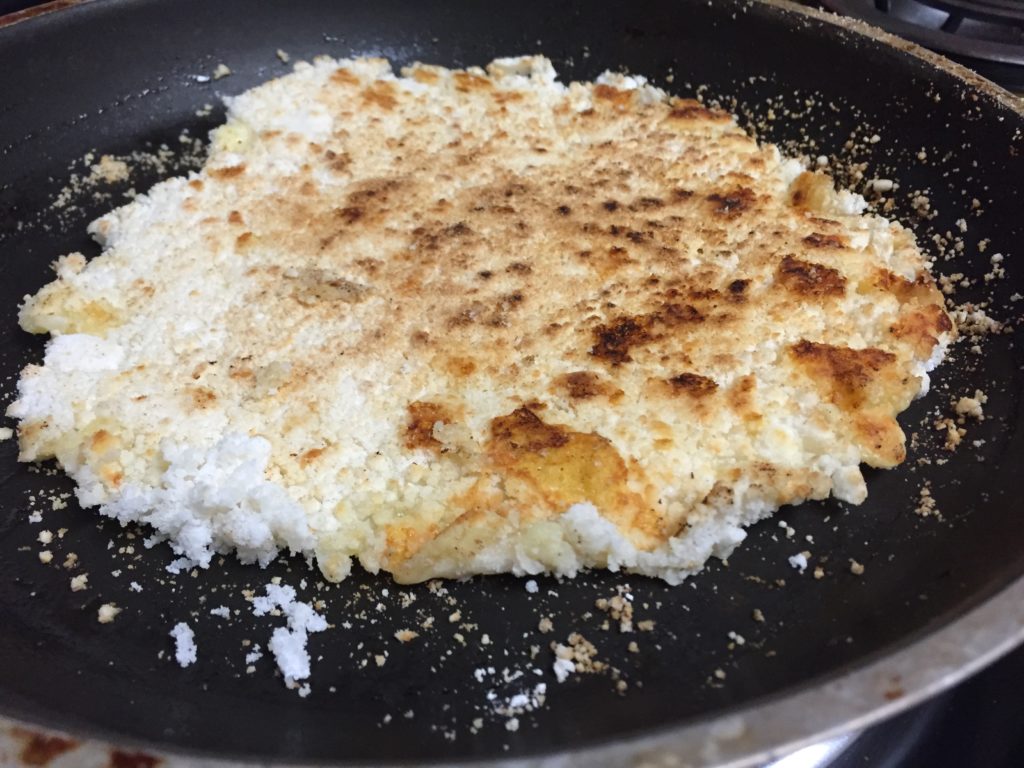
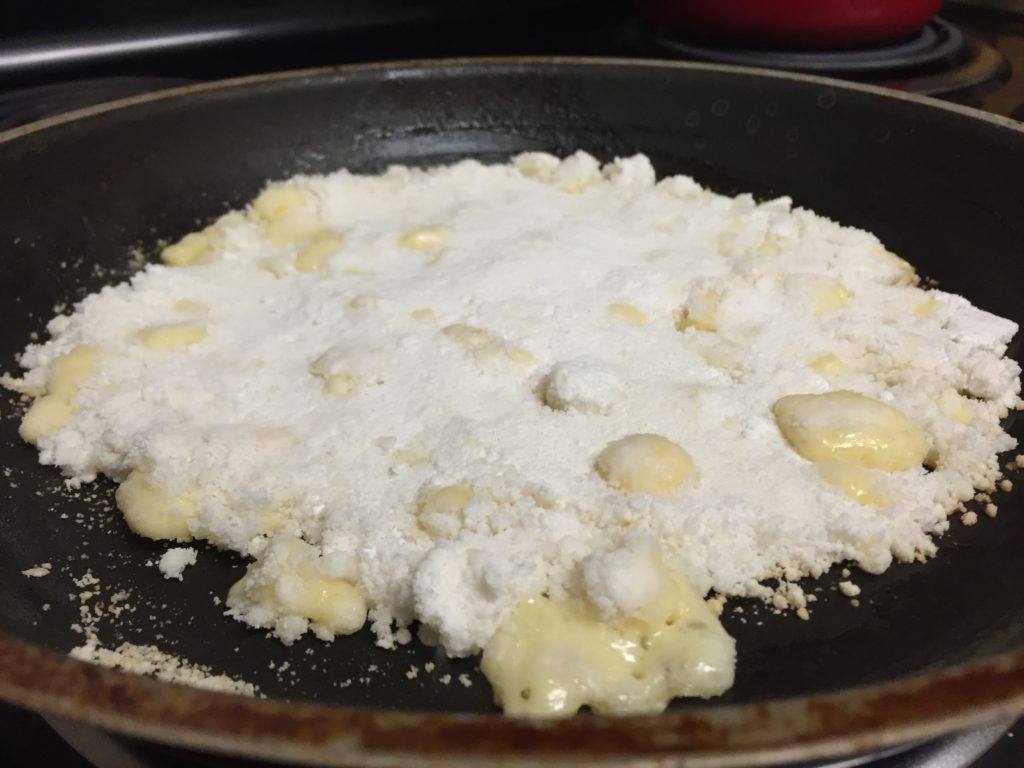
When the cheese starts melting it might be the moment to turn it over. You’ll see that’s it’s easy to unstick it from the pan using a spatula when it’s done.

IMG_2015

Usually, I slide the mbeju to a dish using a spatula and then flip it with the help of another dish.

IMG_2019

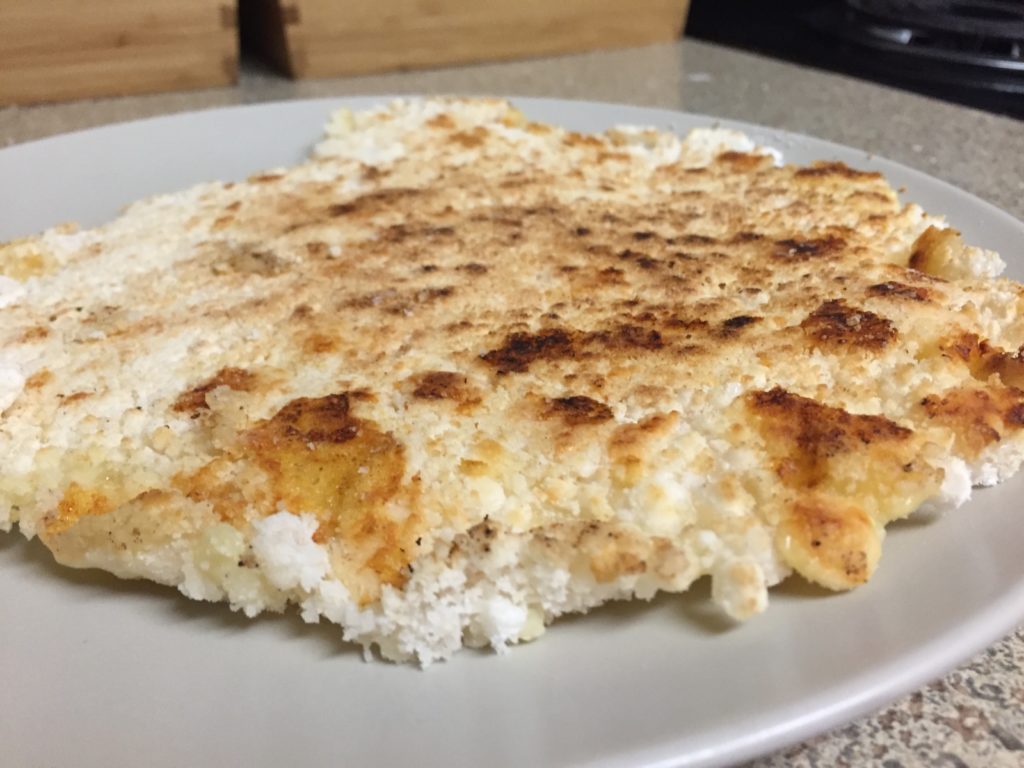
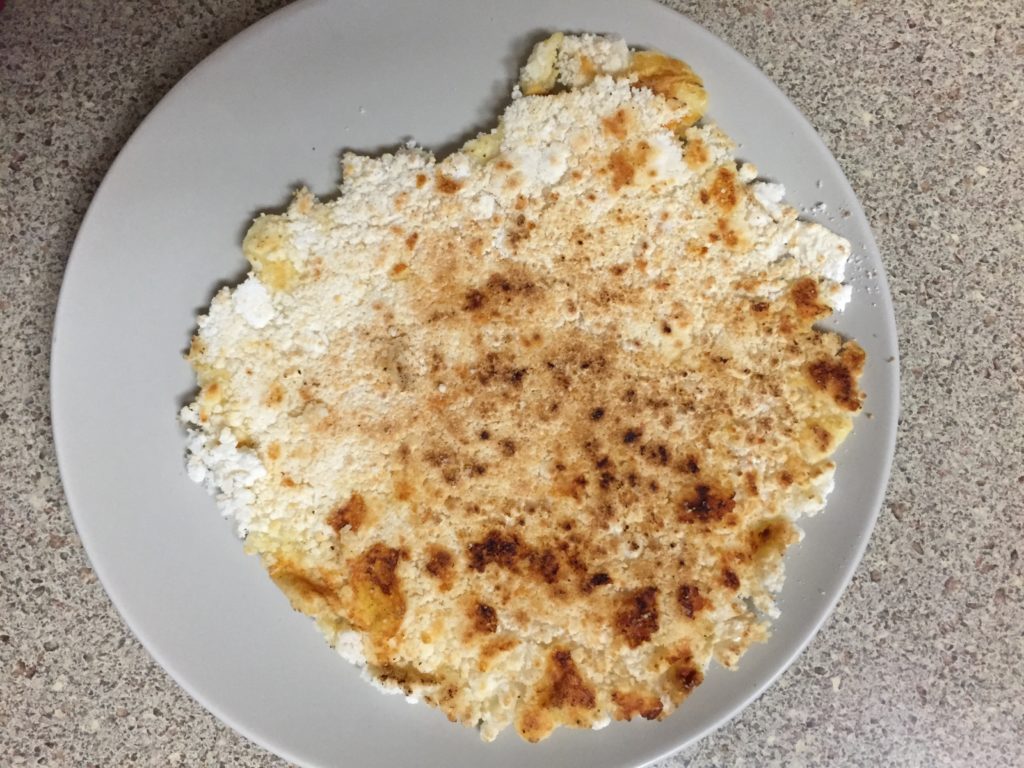
Use what’s easier for you to flip the mbeju and cook it on the other side for another 3-5 minutes. Serve warm.

IMG_2016

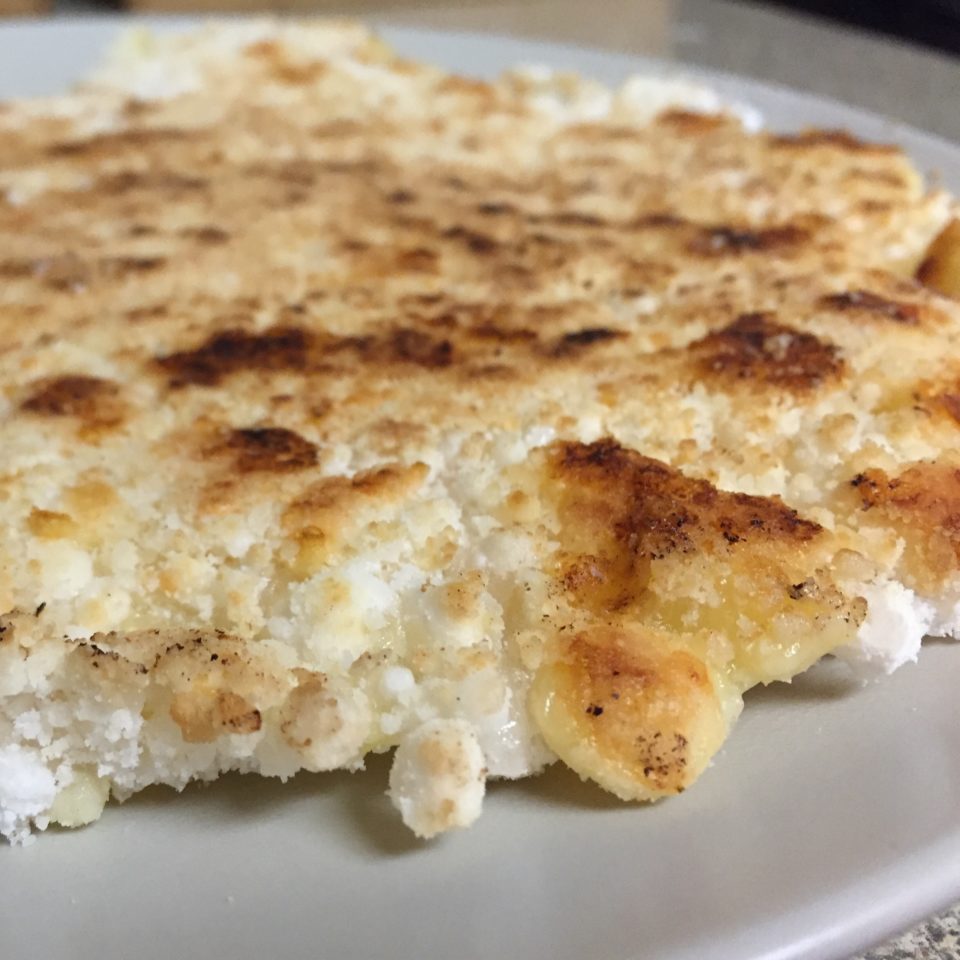
All those golden-brown pieces of deliciousness…

IMG_2018

Serve warm.

IMG_2020

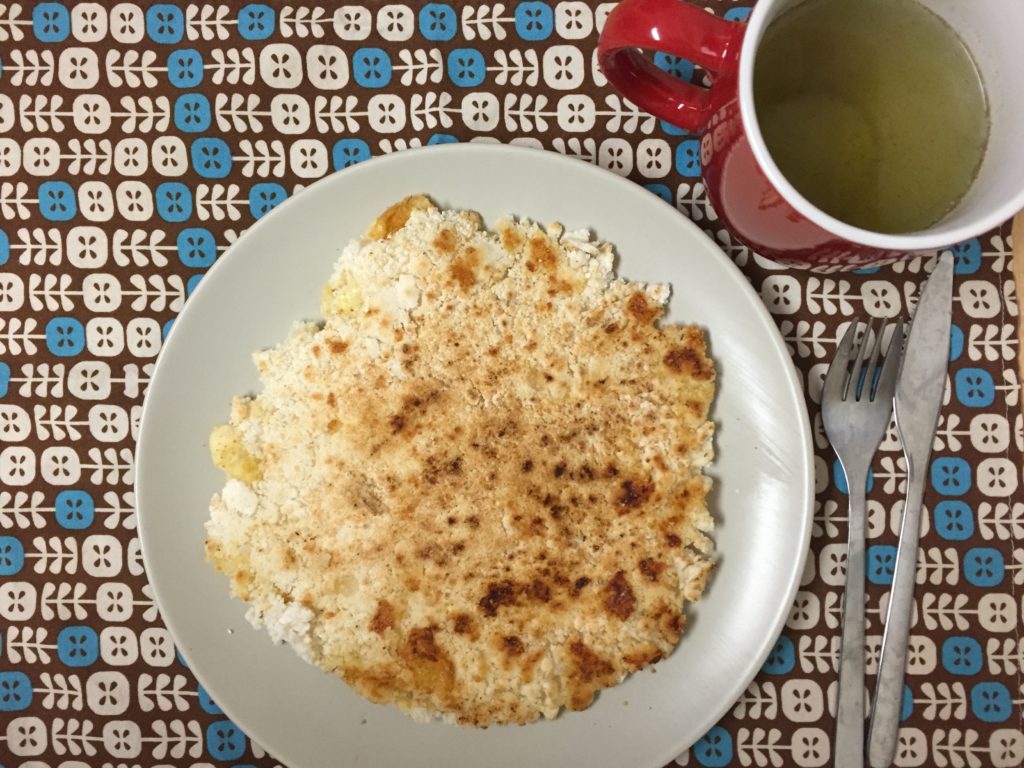
Enjoy it with a cup of mate cocido!

IMG_2023

Yum! 

homemade bagels

One of the things that one can surely miss from living in New York is, definitely, a fresh bagel.

Last Sunday, I woke up at 6am (that’s the latest that we get up ever since Marco was born hehe!) and started preparing the dough for the bagels. By 9 am we were enjoying some great bagels!

For this recipe, you’ll need:

  • 2 cups organic unbleached all purpose flour
  • 1 tbsp organic sugar
  • 1/2 tbsp salt
  • 2 tsp dry yeast
  • 3/4 cup warm water
  • 1 egg white
  • 1 tablespoon water

In a large mixing bowl add the sugar, salt, undissolved yeast and 1 cup of flour. Stir gently.

Attach the kneading hook to your kitchen aid and slowly add 1/2 cup of the warm water into the bowl while mixing on medium speed.

Add the rest of the flour and the rest of the water gradually. Scrape the bowl if necessary. Knead for about 10 minutes.

Cover the bowl with plastic wrap or a dry kitchen cloth and let it rest for 30 minutes. This dough will rise but it won’t double in bulk.

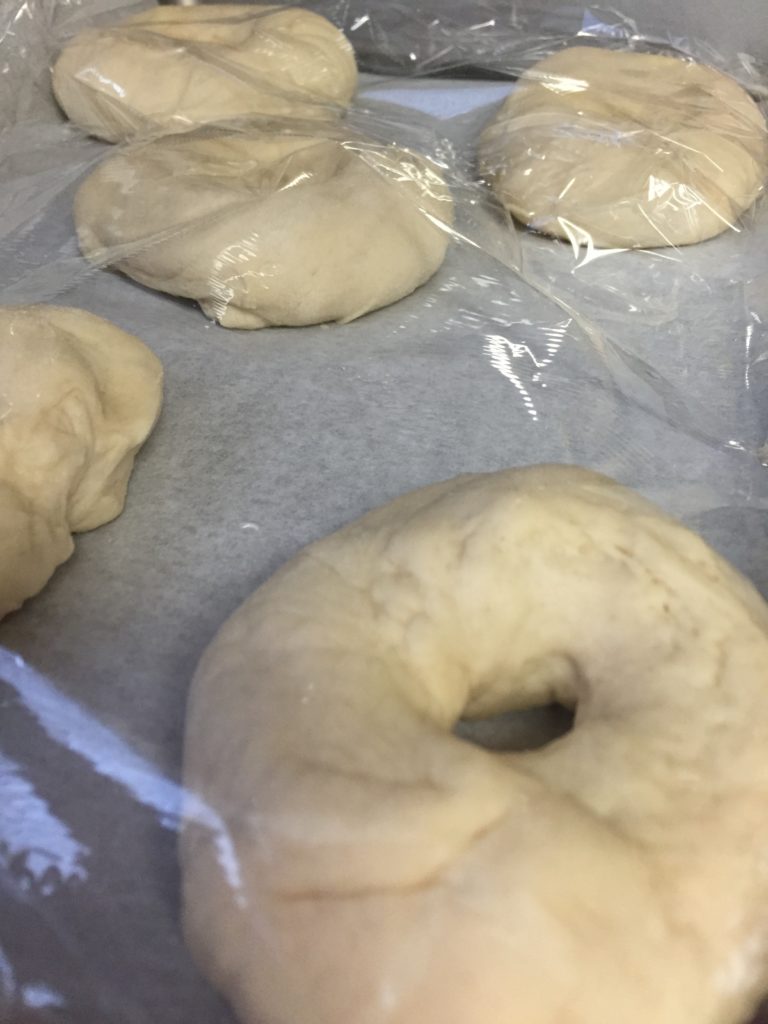
After that resting time, transfer the dough to a floured surface. Cut small balls of the dough and make the bagel shape by creating the whole in the middle of the ball using your thumb.

Place the bagels over a baking sheet using parchment paper below.

Cover with plastic wrap and let it rest for 30 more minutes.

IMG_8034

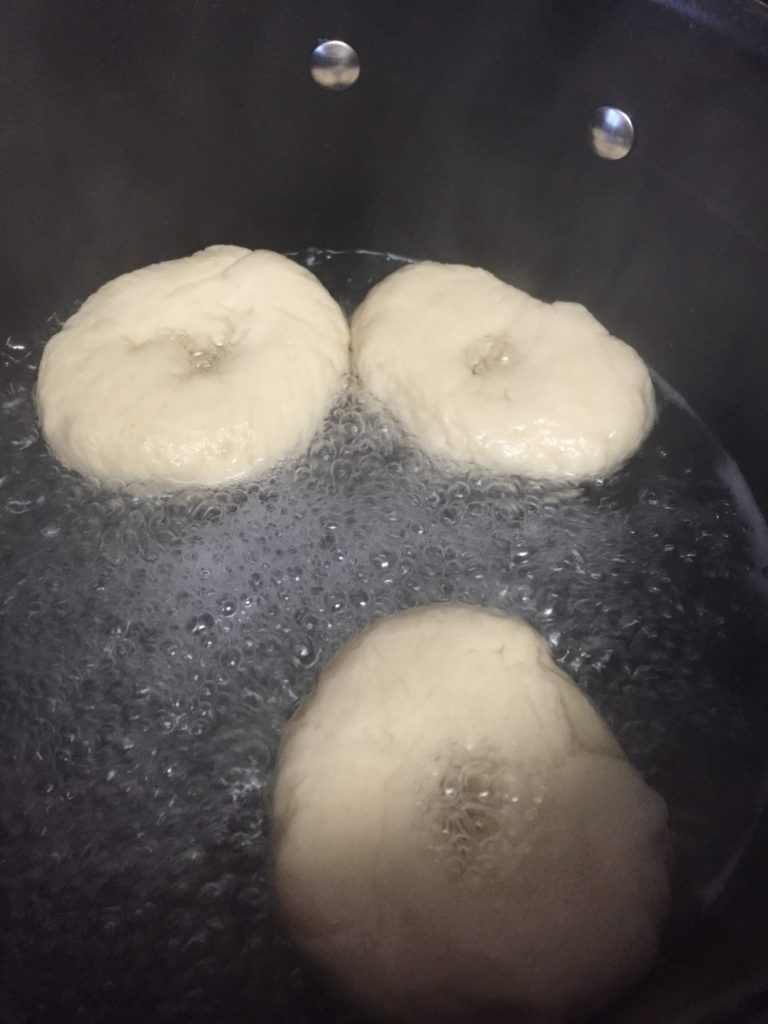
After the resting time, bring water to a boil in a big sauce pan. Simmer bagels for 3 minutes on each side and remove them.

IMG_8035

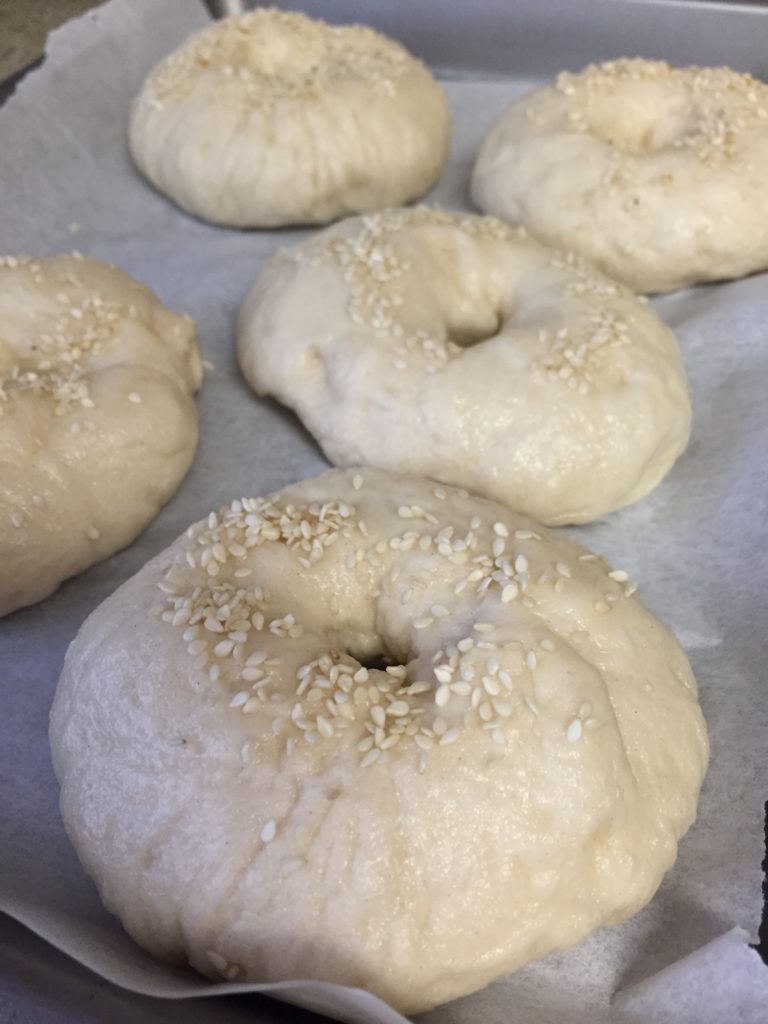
Place them on the parchment paper covered baking sheets. Let it cool for 5 minutes. If your want, this is the moment when you can sprinkle some sesame or poppy seeds to the bagels.

IMG_8036

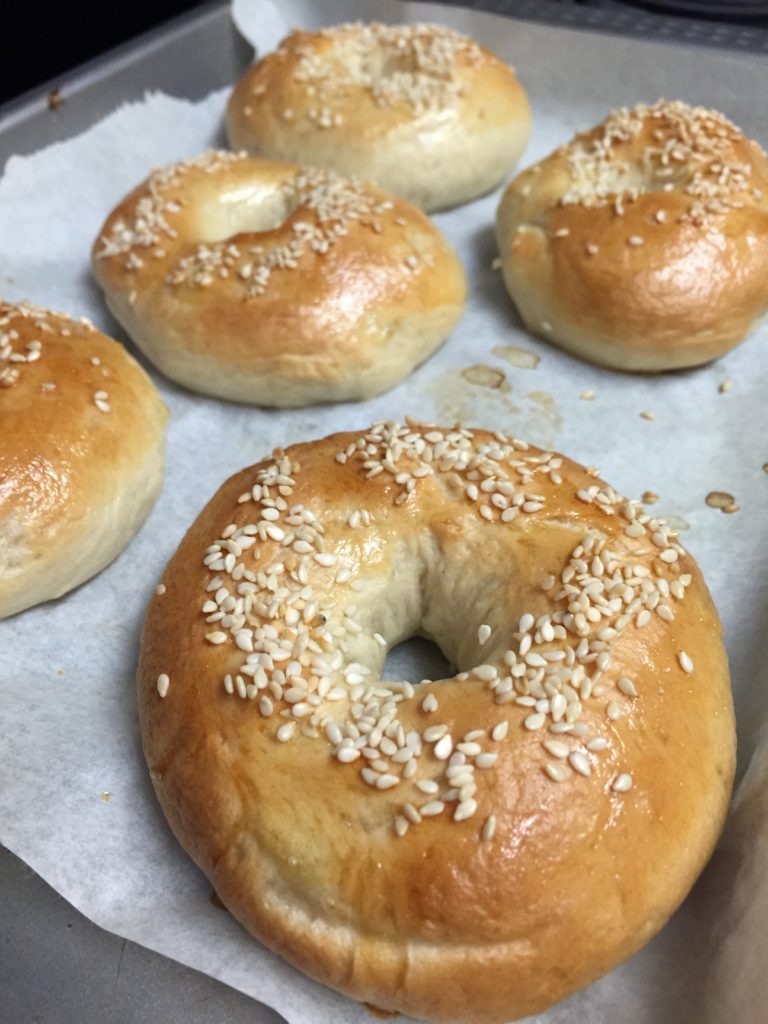
Bake at 375 for 10 minutes. Remove them and brush them with the slightly beaten egg white with the tablespoon of cold water. Return bagels to the oven and bake for 12-15 more minutes. Remove from oven and let it cool.

IMG_8037

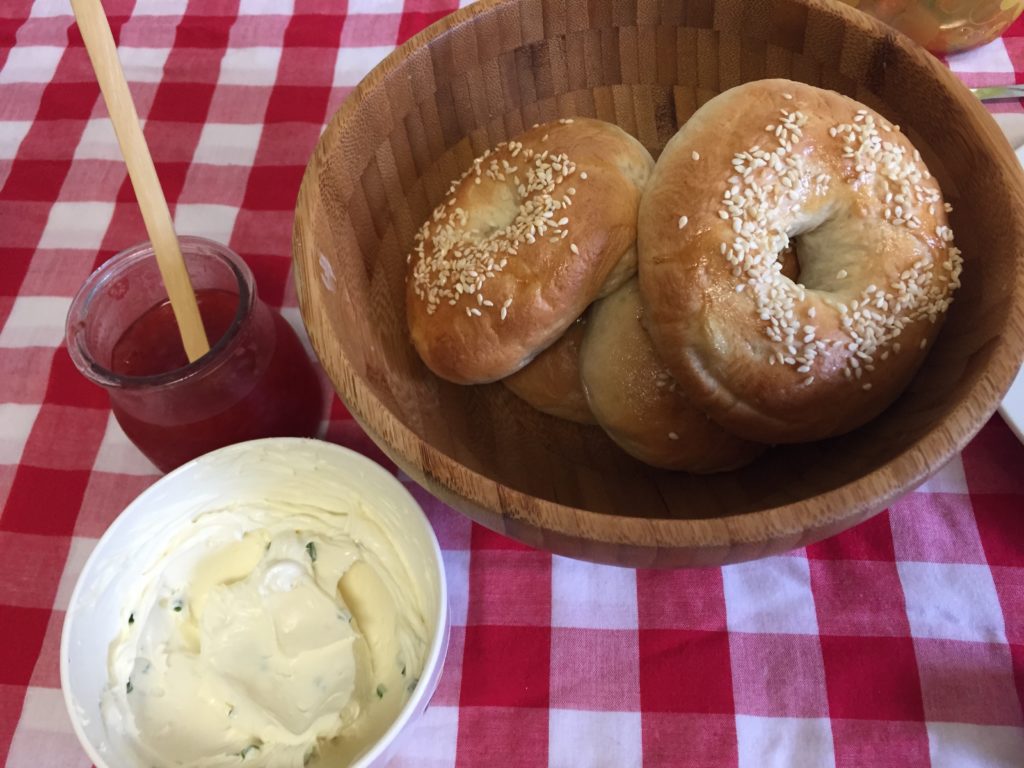
Enjoy with cream cheese and scallions!

IMG_8038

argentinian sweet ricotta cheese pie

This week, I’m baking another of my favorites argentinian pies!

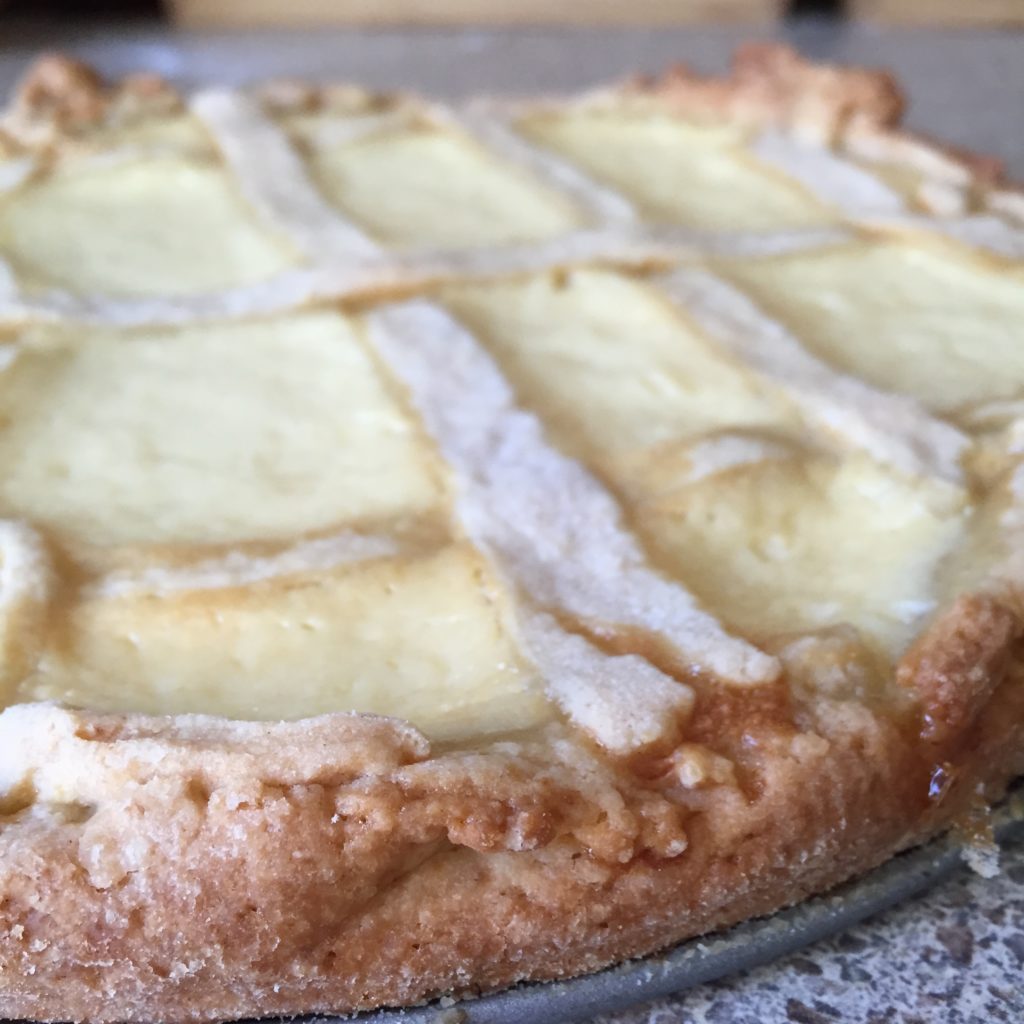
We’ll use the pastafrola pie crust but this time, we’ll filled it with ricotta cheese and honey. Delicious.

You’ll need:

  • 1 pastafrola pie crust
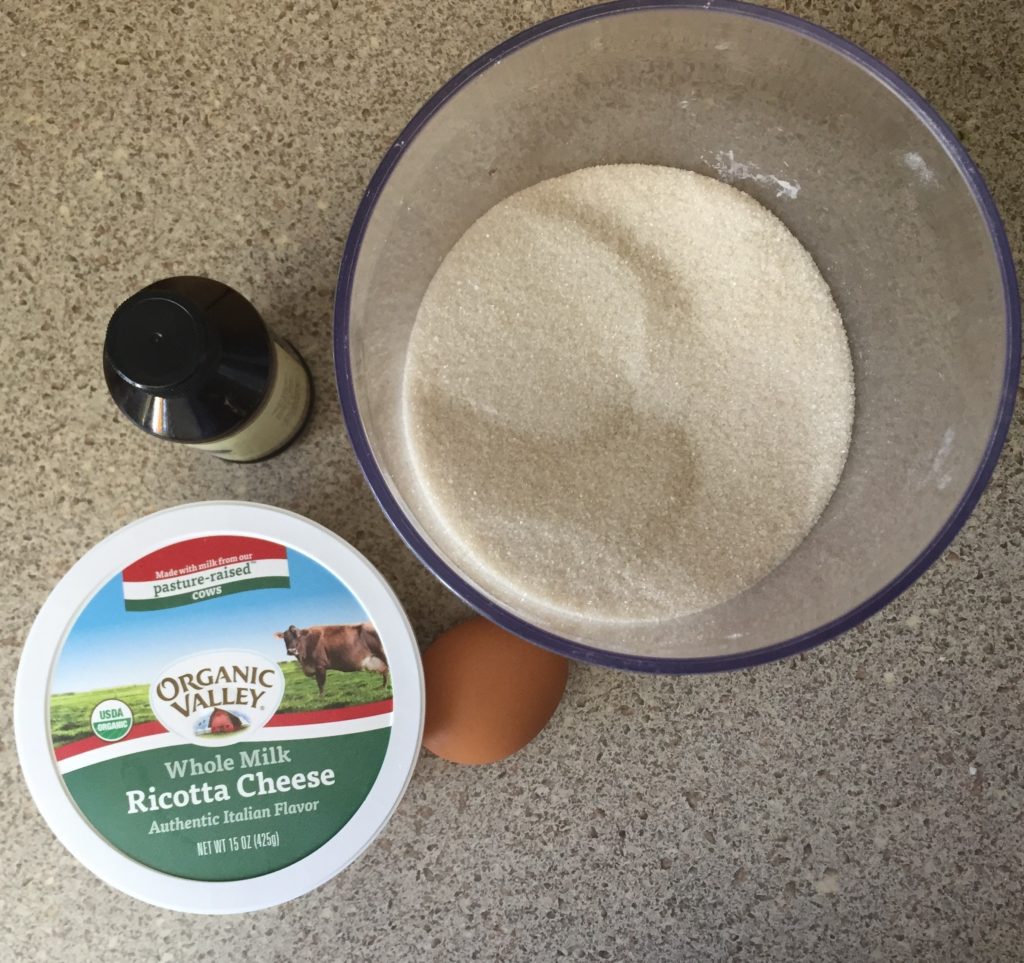
  • 1 1/2 cups organic ricotta cheese (if you find the Organic Valley made from pasture-raised cows, better. The taste it’s pretty similar to argentinian ricotta cheese).
  • 1/4 cup organic sugar
  • 1 egg yolk
  • about 1 tbsp honey

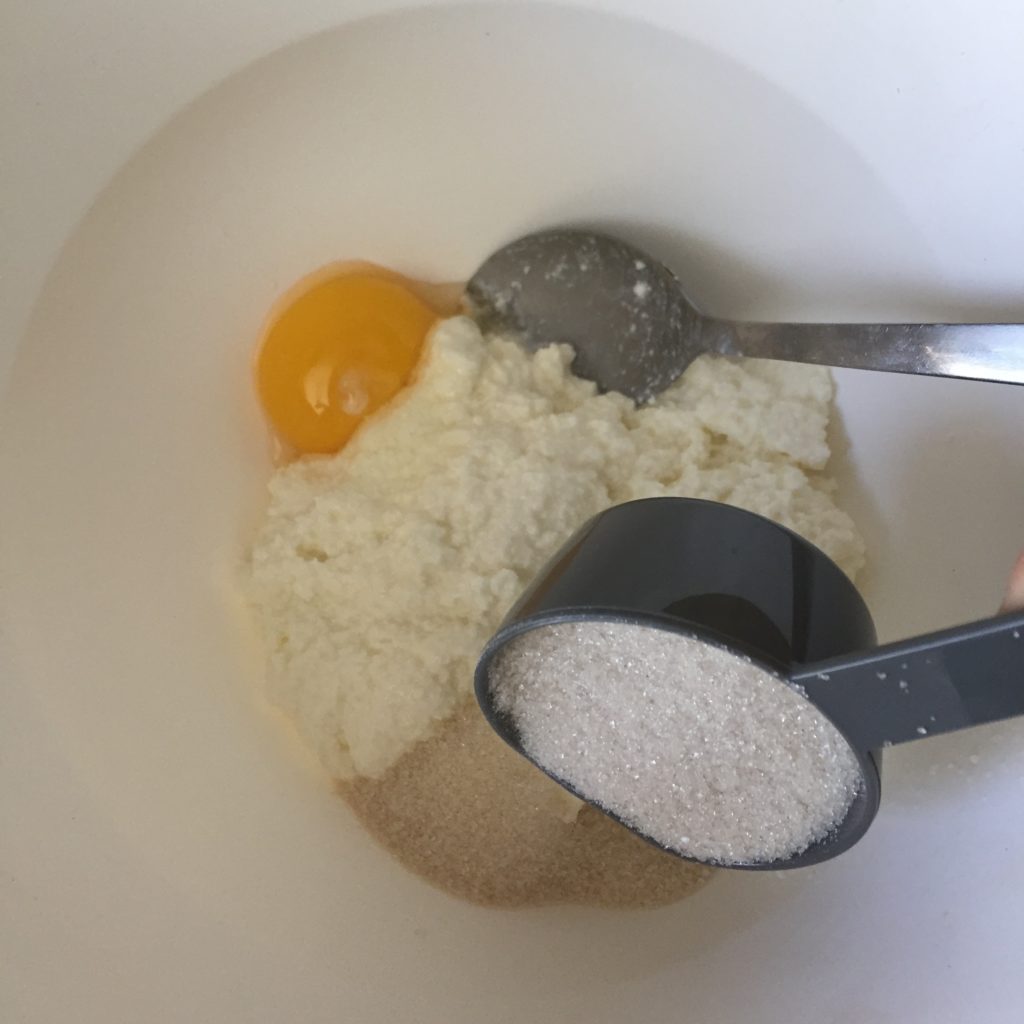
Put the yolk, the ricotta and the sugar into a medium bowl. Stir all the ingredients.

IMG_7080

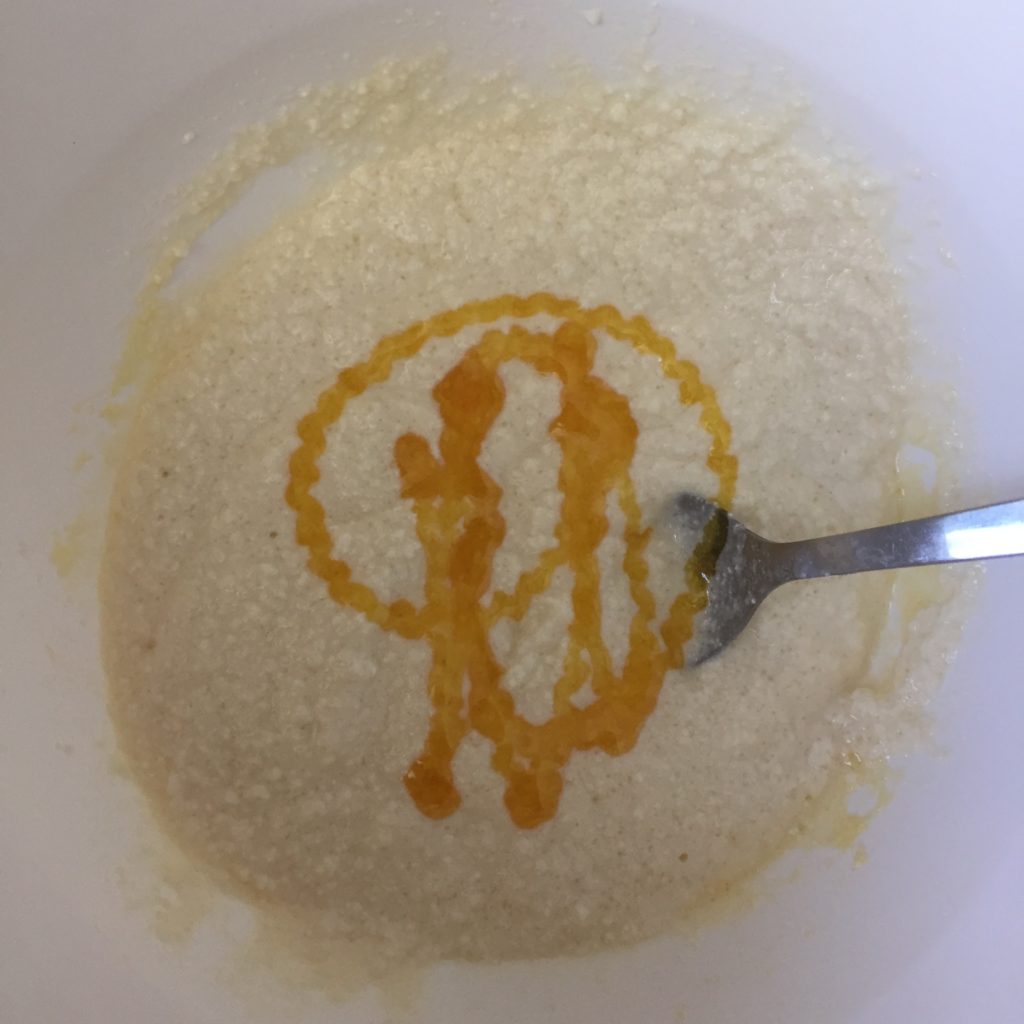
Add the honey and stir.

IMG_7081

Grease and flour a pie or cake baking pan.

IMG_7082

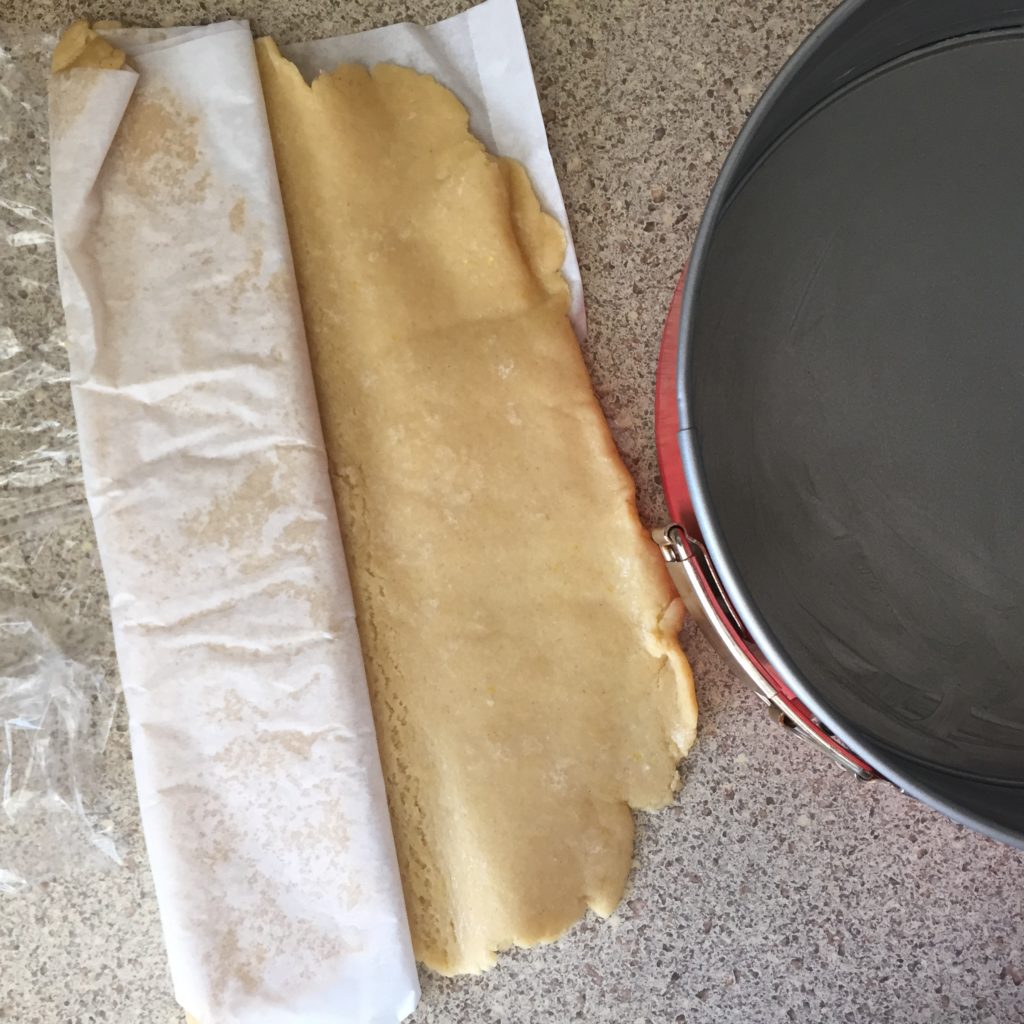
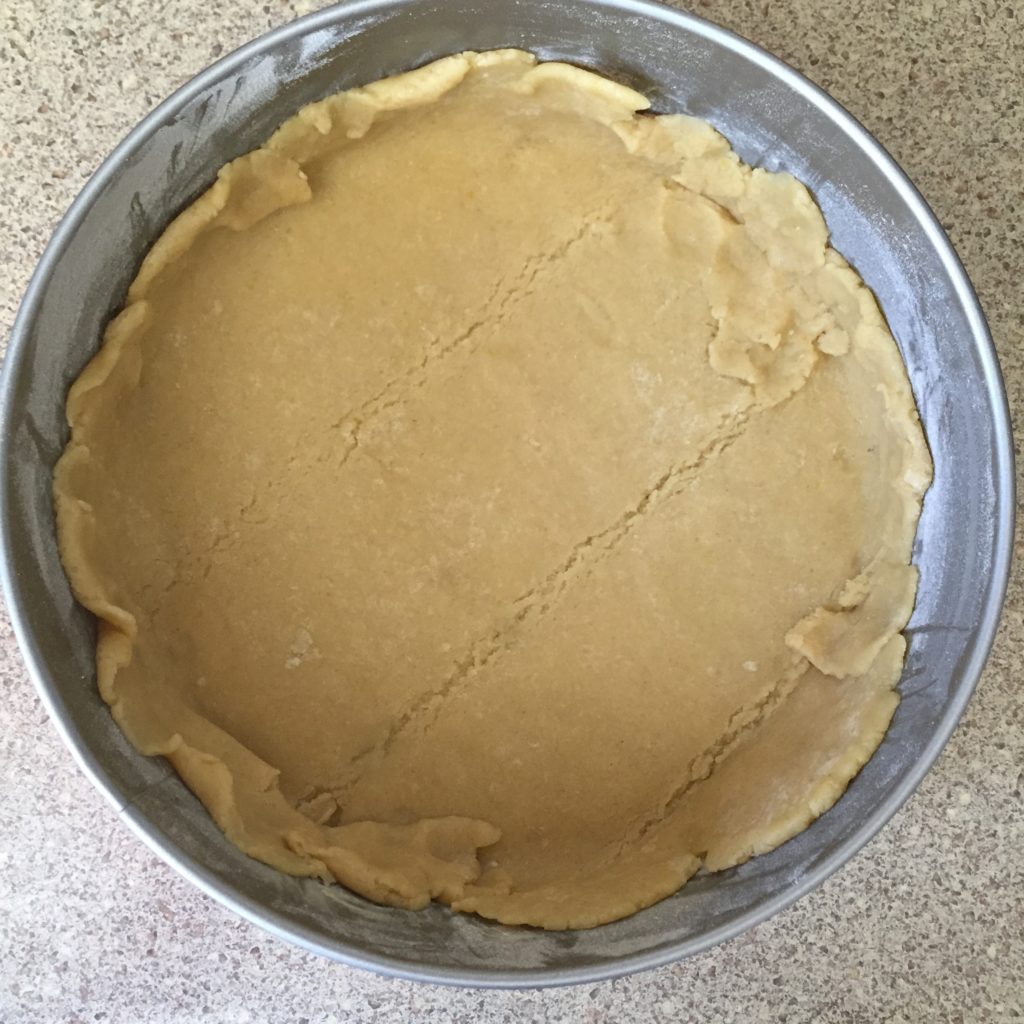
Put the pastafrola crust in the pie/cake pan; the pie dough must be at room temperature to use it.

IMG_7083

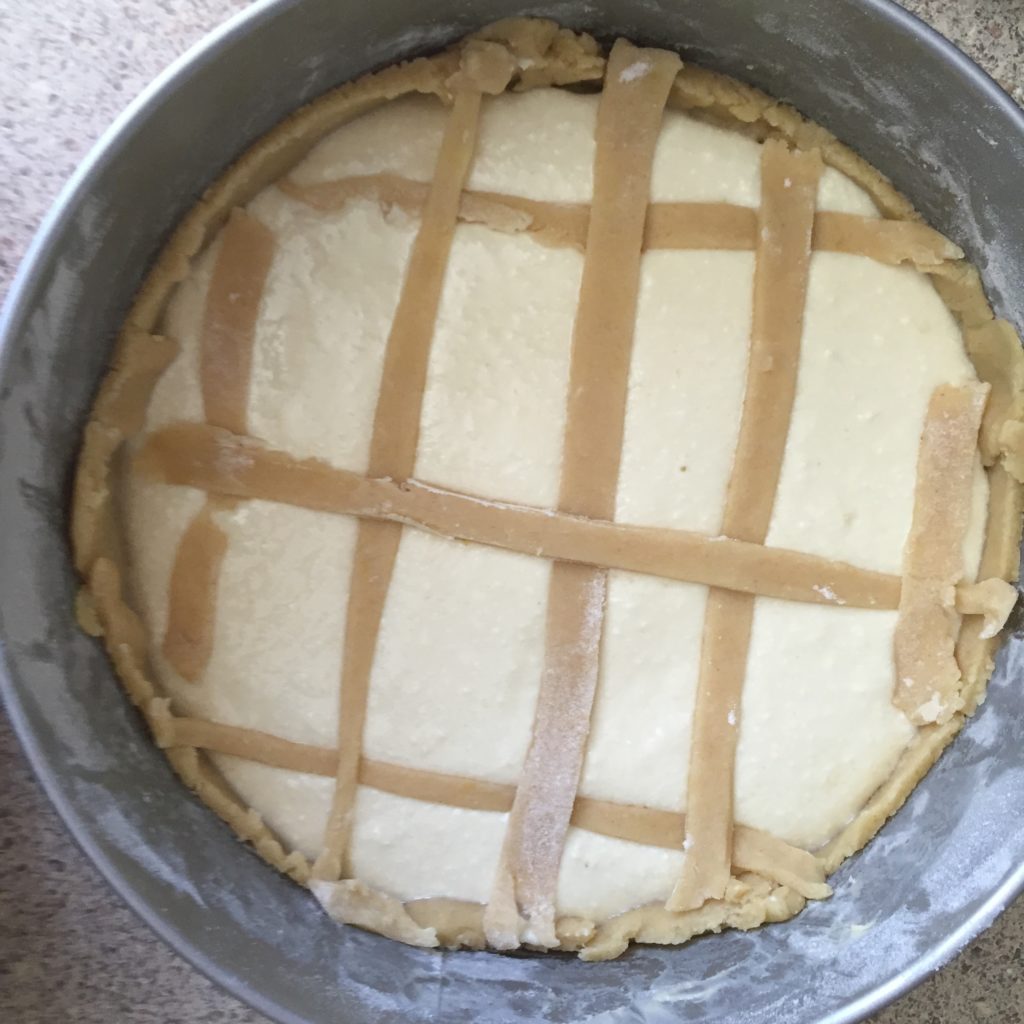
Use the leftovers of the dough to garnish the pie.

IMG_7084

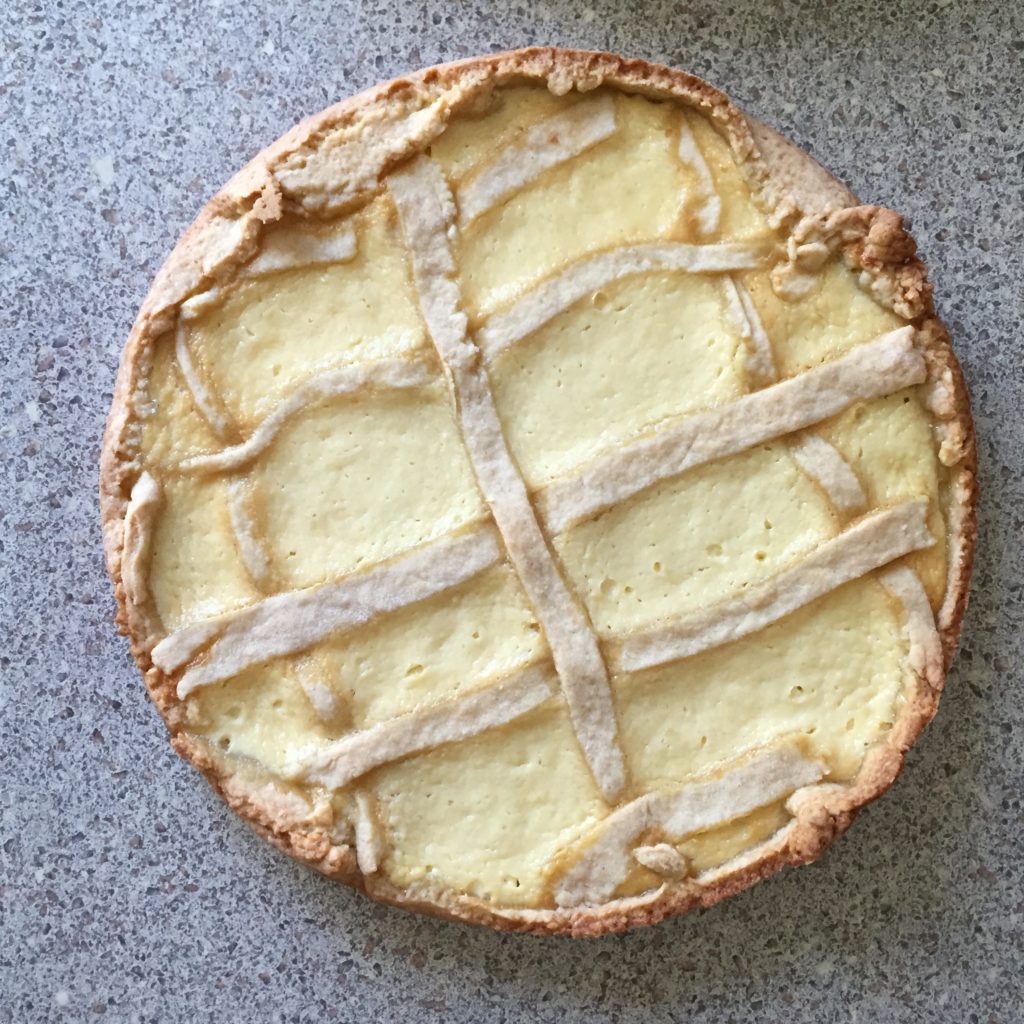
Bake the pie for 45 to 50 minutes at 350F.

IMG_7086

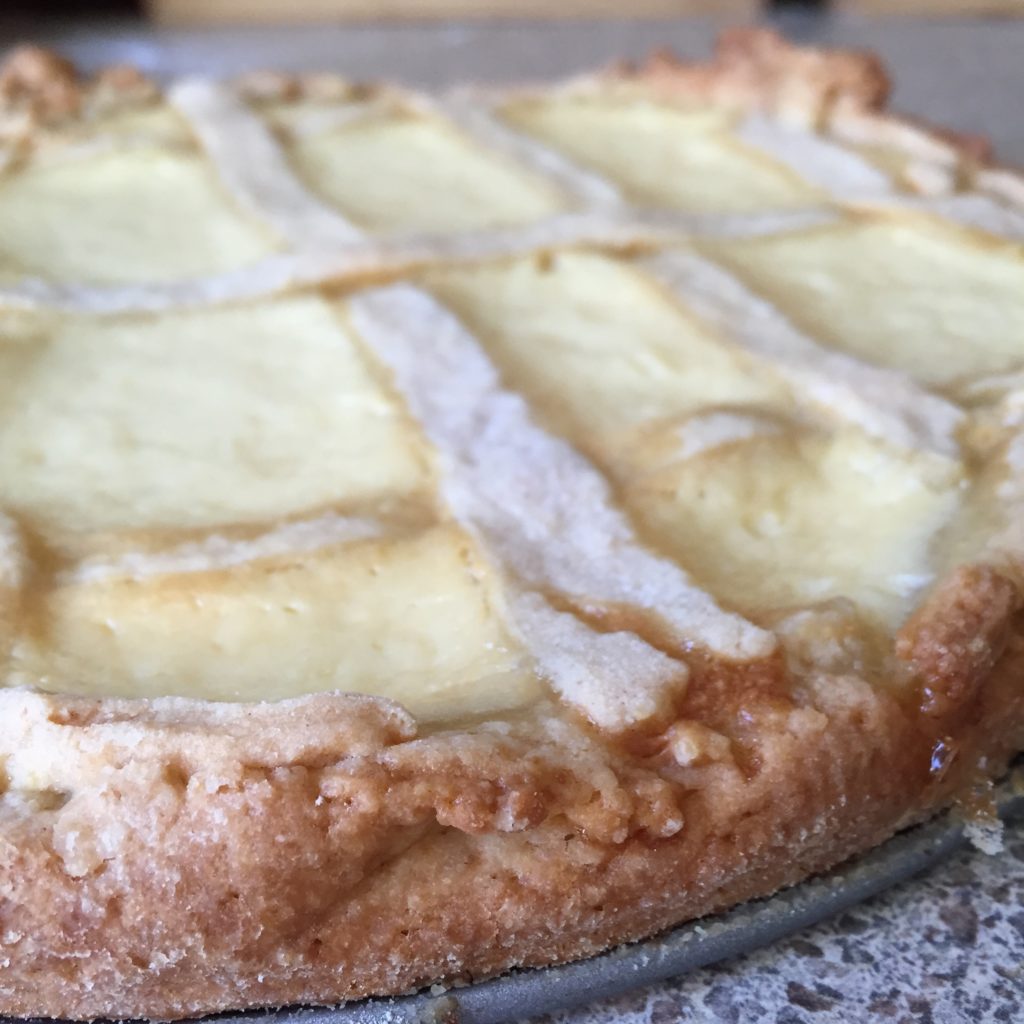
Let it rest at room temperature for about 30 minutes.

IMG_7087

Prepare some “cortado” (machiato) and imagine yourself in any CafĂ© Porteño (coffee shop from Buenos Aires).

IMG_7088

Enjoy!

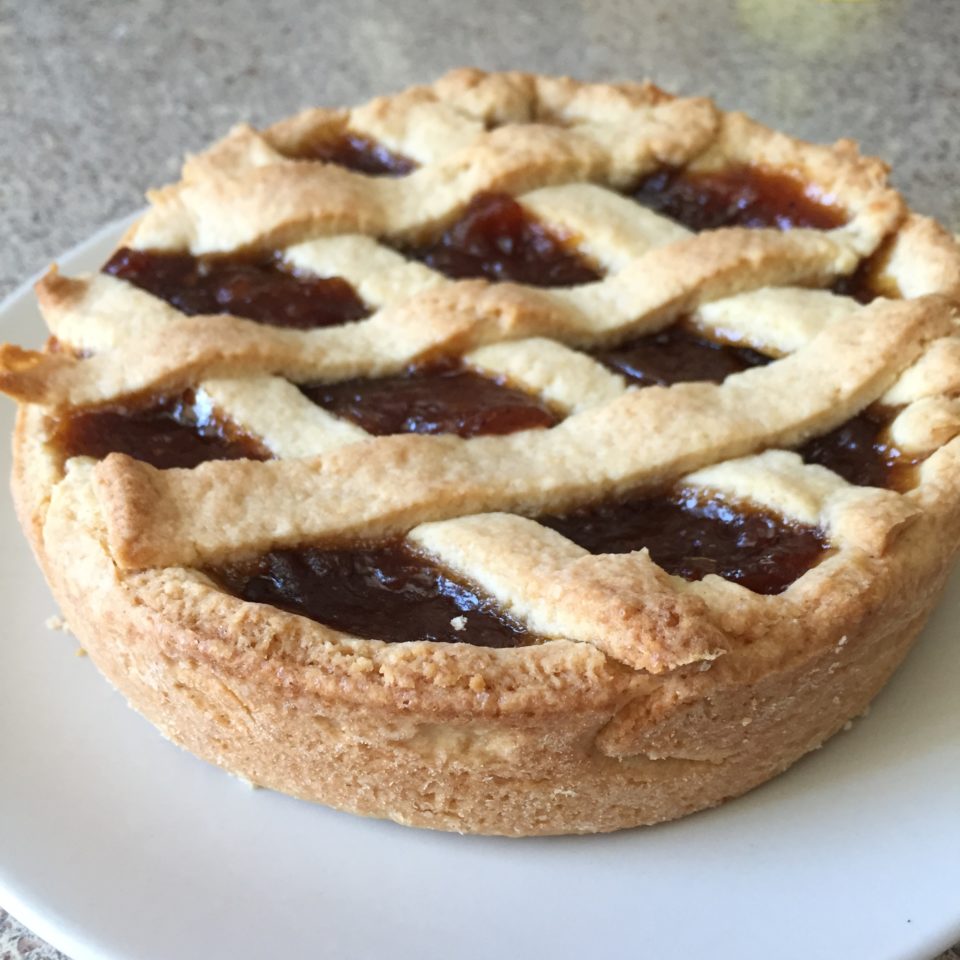
quince pastafrola

I LOVE pastafrola. It’s an italian dessert that it feels like argentinian to me because I have it all my life and it’s a pie that you’ll find in any bakery in Argentina.

The pie crust for this recipe was adapted from the “Baking with Julia: Sicilian Desserts” TV shows. I made some changes, of course.

The rest, it’s my family recipe, what my dear grandma taught me about pastafrola.

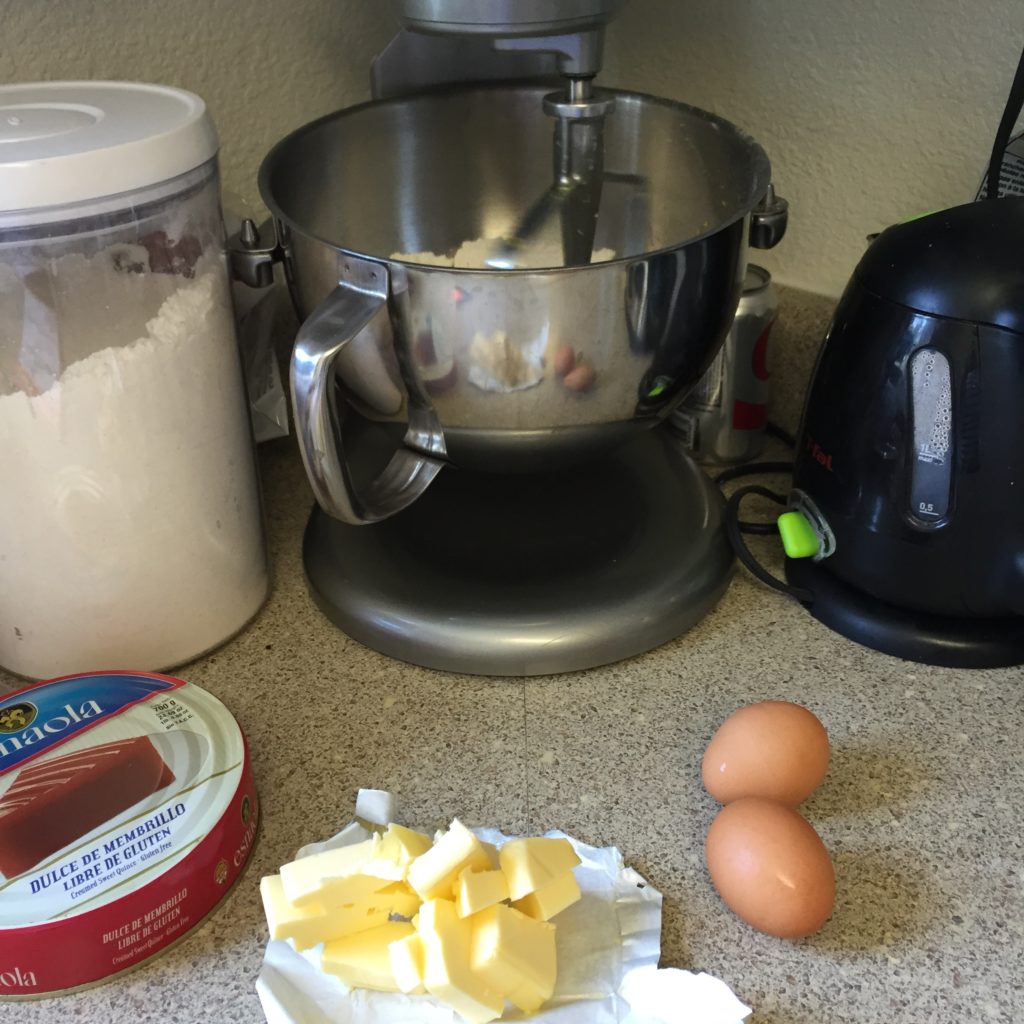
For this amazing pie, you’ll need:

  • 2 cups unbleached all purpose flour
  • 1/3 organic sugar
  • 1 stick organic unsalted butter
  • 1/4 tsp salt
  • 1/2 tsp baking powder
  • 2 organic large eggs
  • 1 tsp lemon zest
  • 1 lb quince sweet (dulce de membrillo, Trader Joe’s usually sells one but otherwise, the best argentinian membrillo is this one). Note* This time, I used the Esnaola brand but I didn’t know it has high fructose corn syrup until I got it on my door from Amazon. I won’t use it again, I rather stick to the Arcor brand which doesn’t have high fructose corn syrup.

IMG_6846

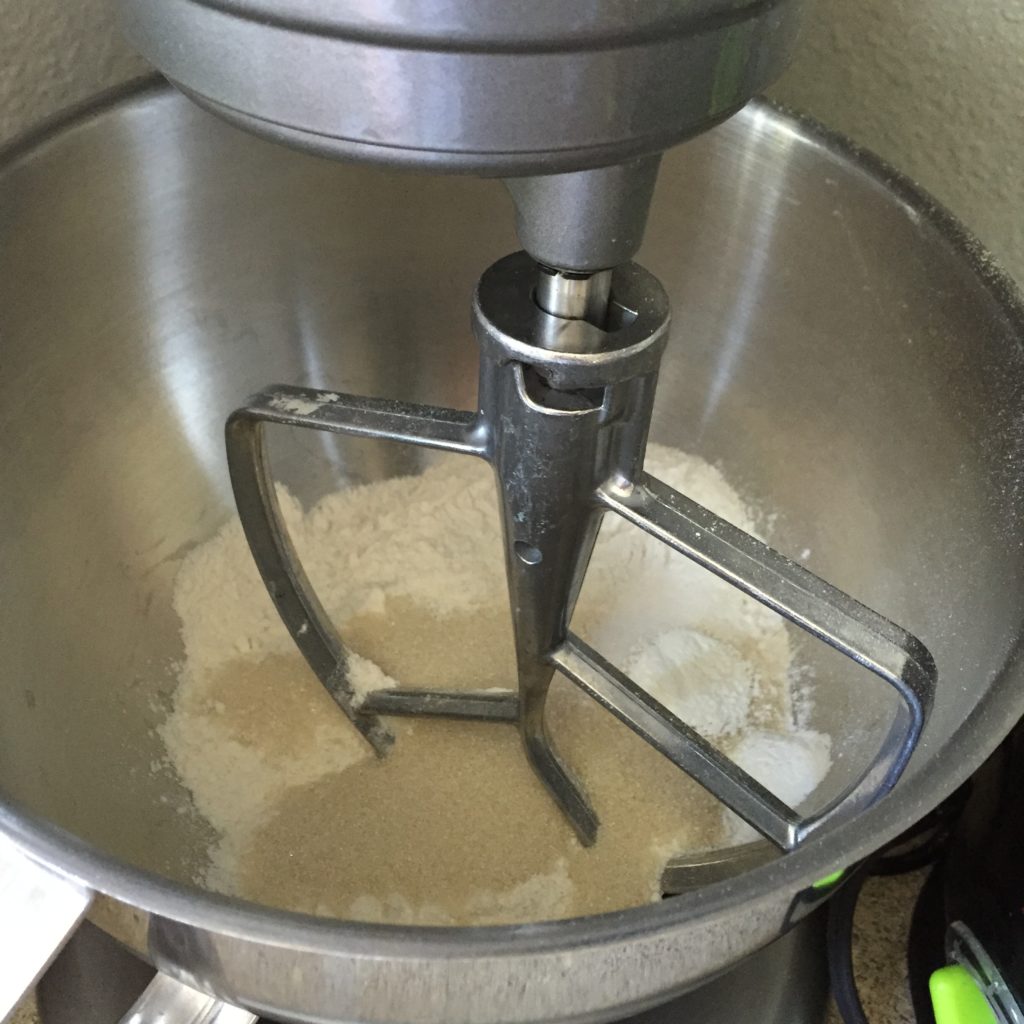
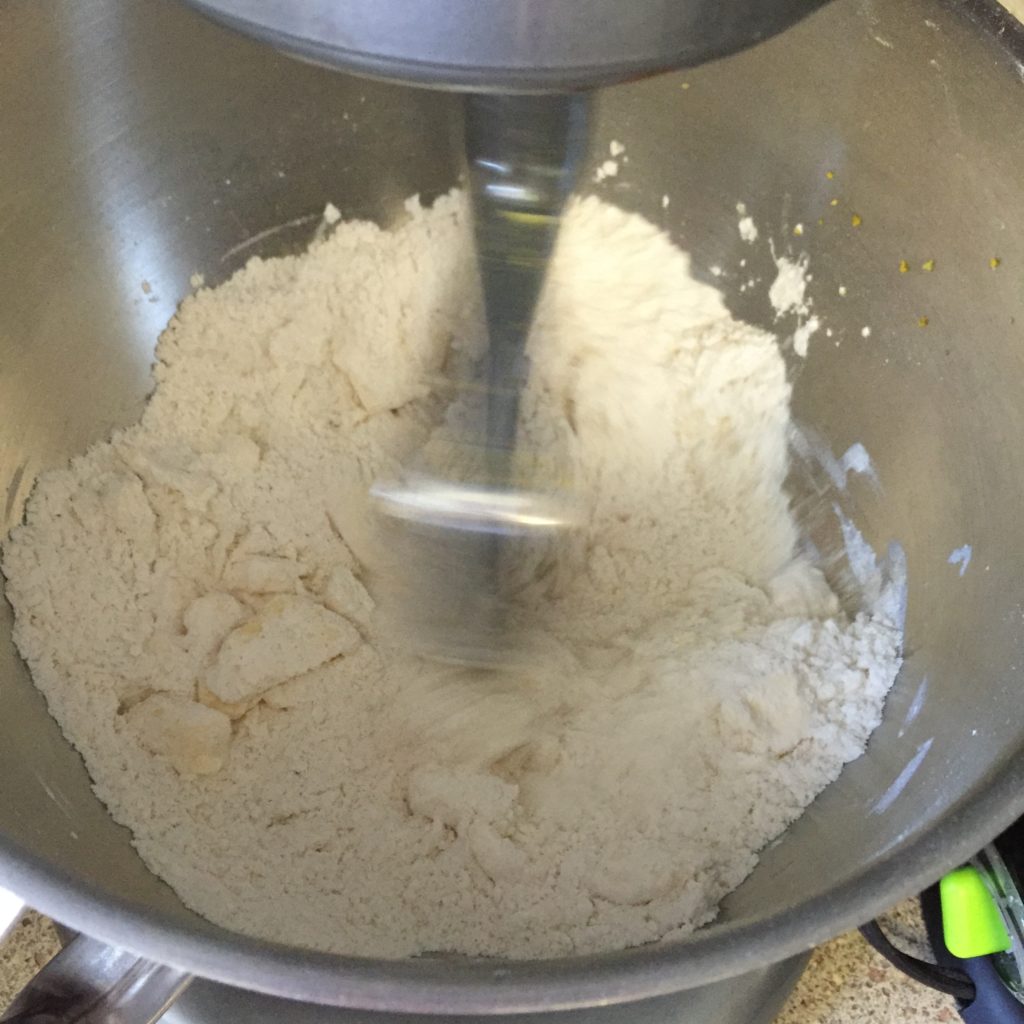
First, add the dry ingredients (flour, sugar, baking powder, salt) to a large mixing bowl and mix them together.

IMG_6845

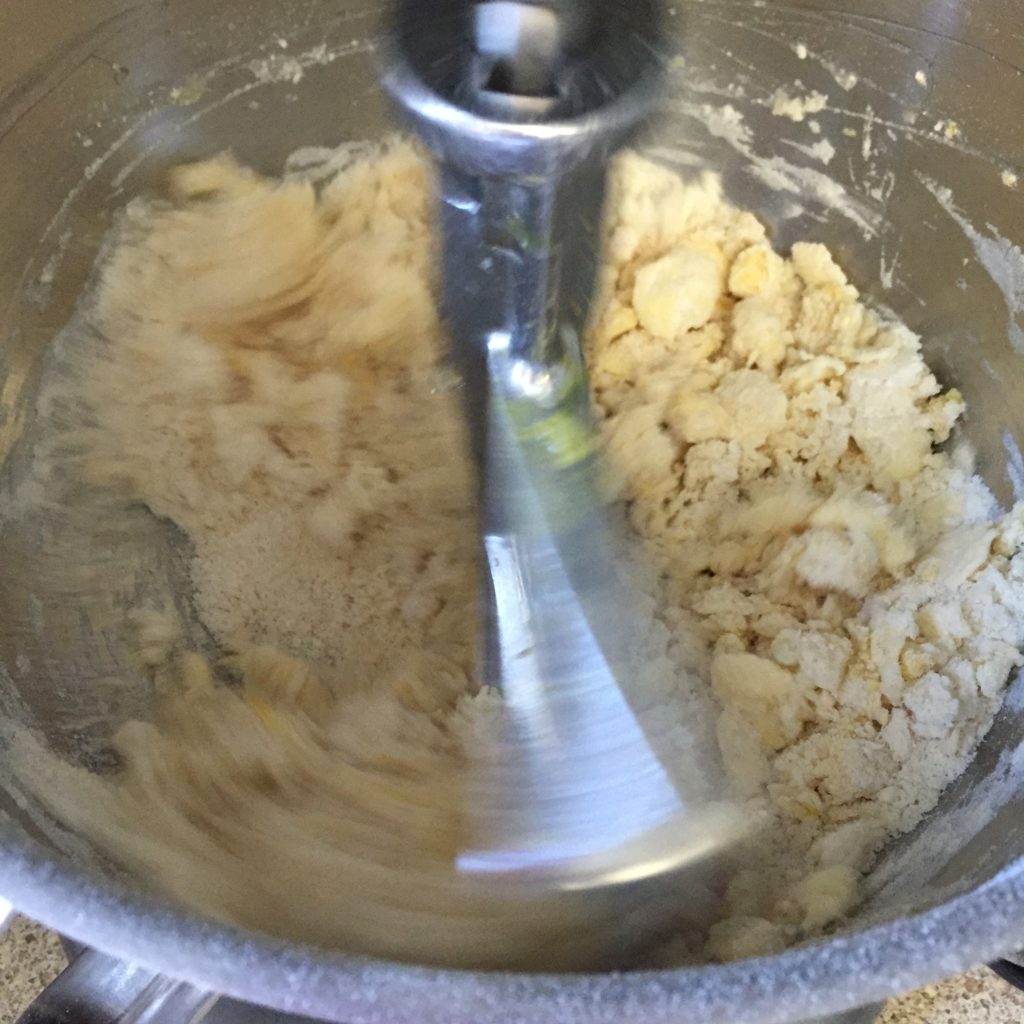
Ad the butter already cut in cubes and keep on mixing until it gets like a crumble.

IMG_6847

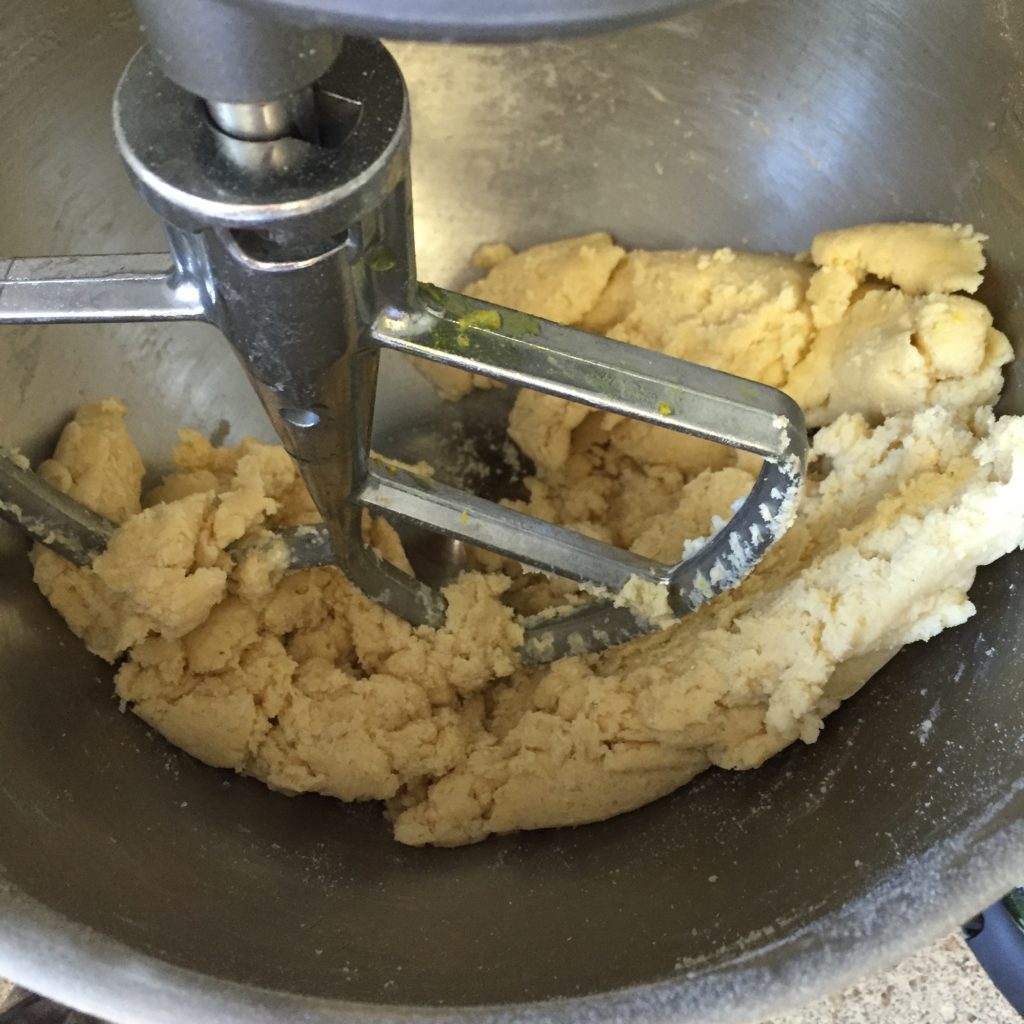
Add the eggs, one at a time.

IMG_6850

Keep mixing on low until the mixture become mostly one dough, something like the picture below.

IMG_6852

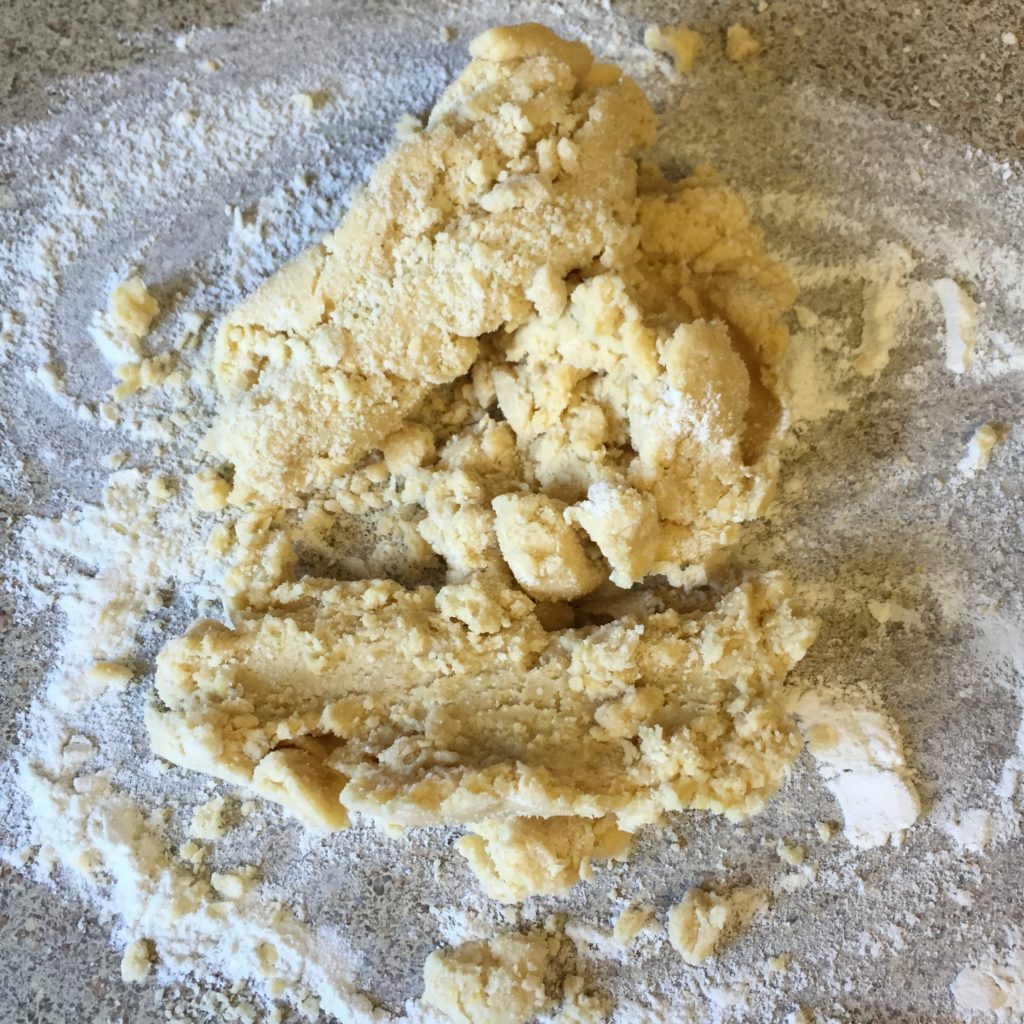
Transfer dough to a floured surface.

IMG_6853

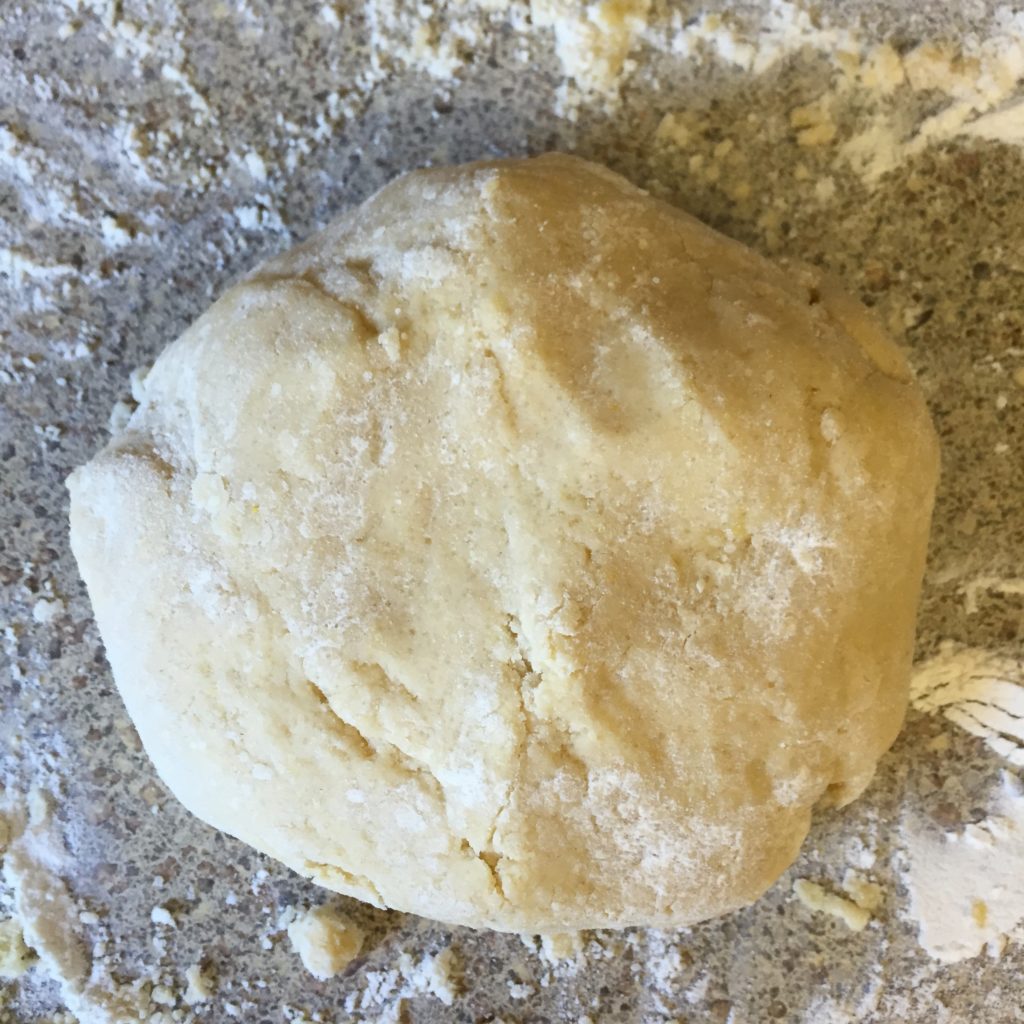
Knead just a little bit until it becomes one ball.

IMG_6854

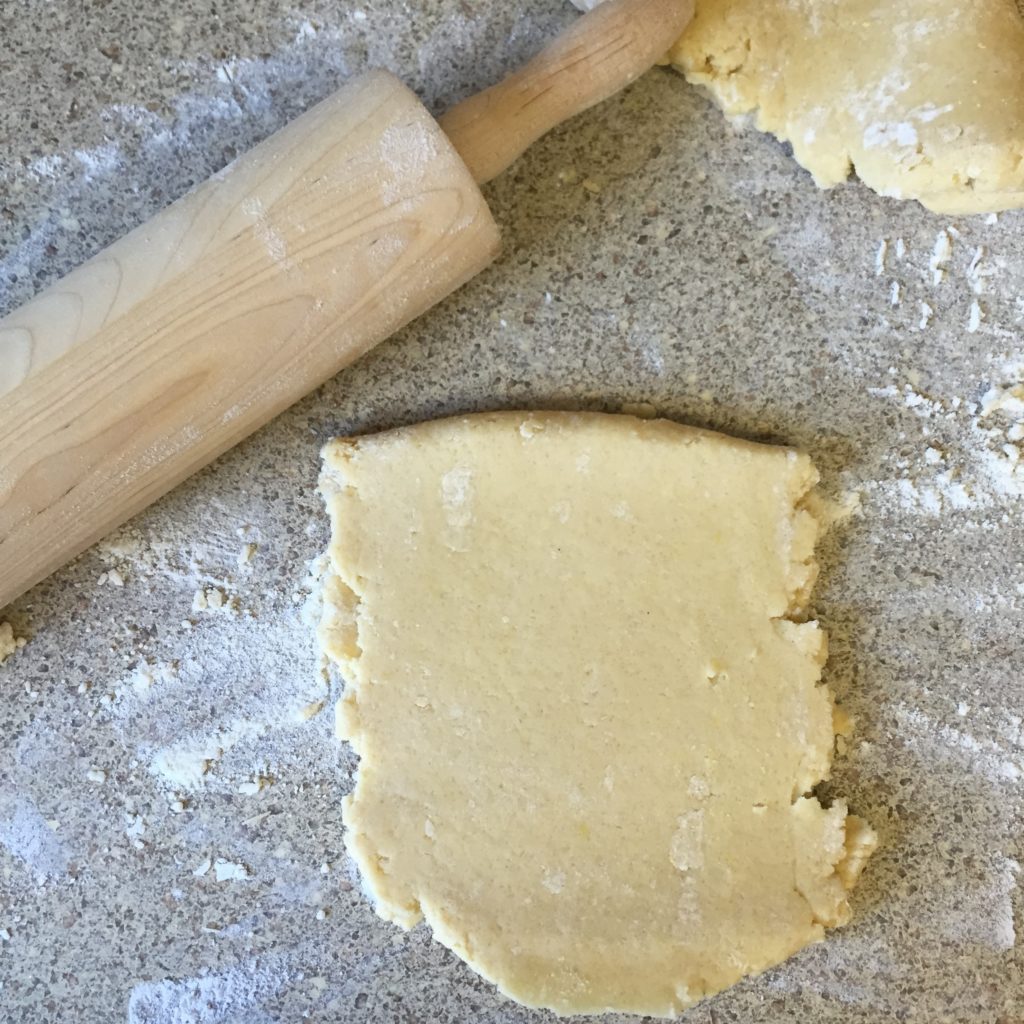
You’ll now need a a rolling pin and some flour.

IMG_6855

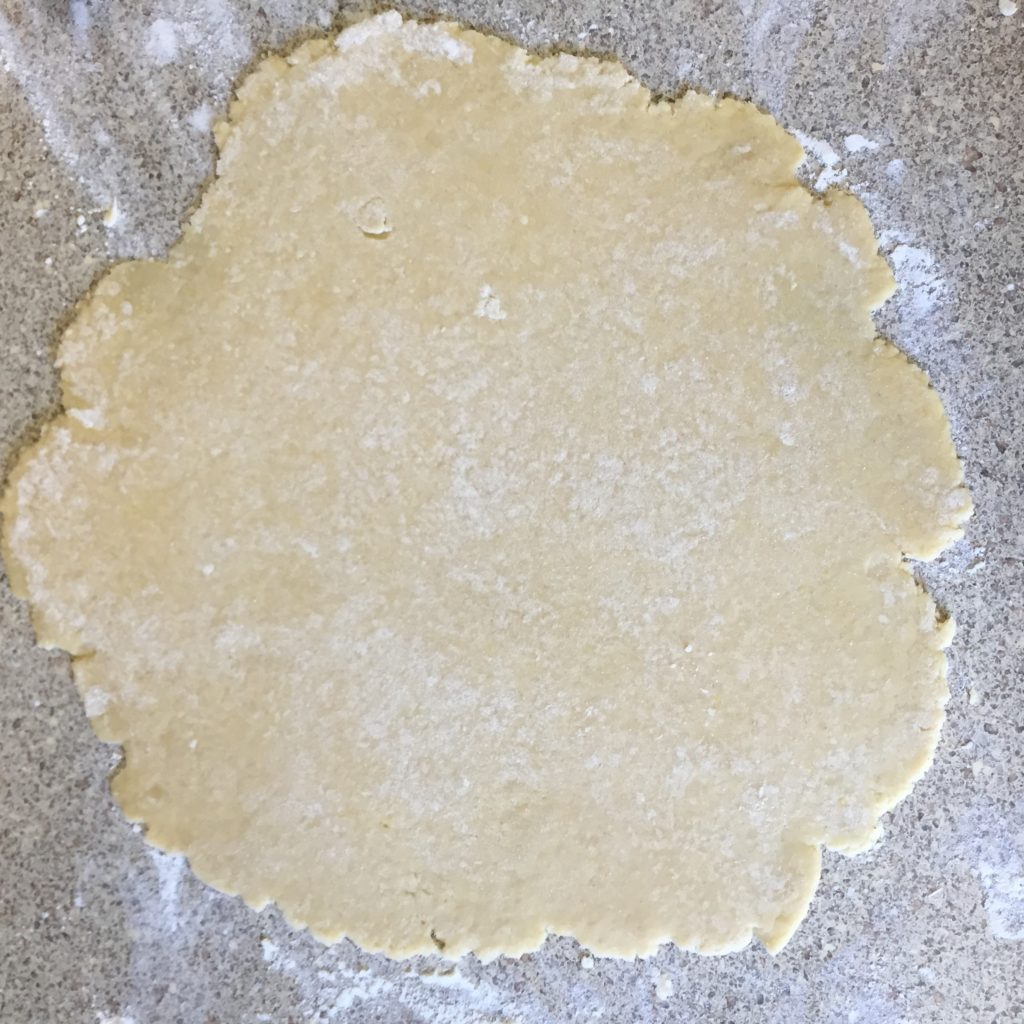
Give the dough a pie shape.

IMG_6868

Here there are 3 ways to do this. You choose was best for you.

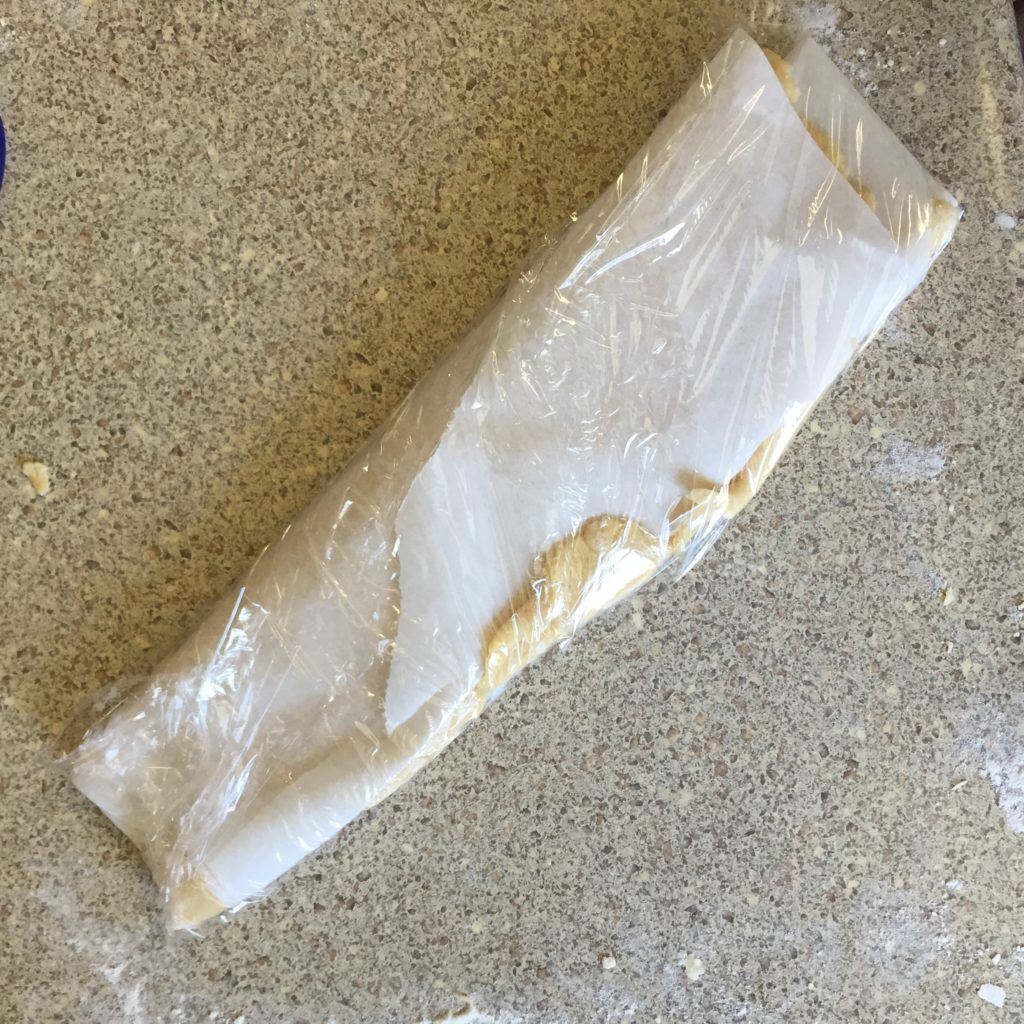
The first and most difficult one: wrap your dough in plastic wrapping paper, let it chill in the refrigerator for about two hours. Let it rest then at room temperature for 10 minutes before using it.

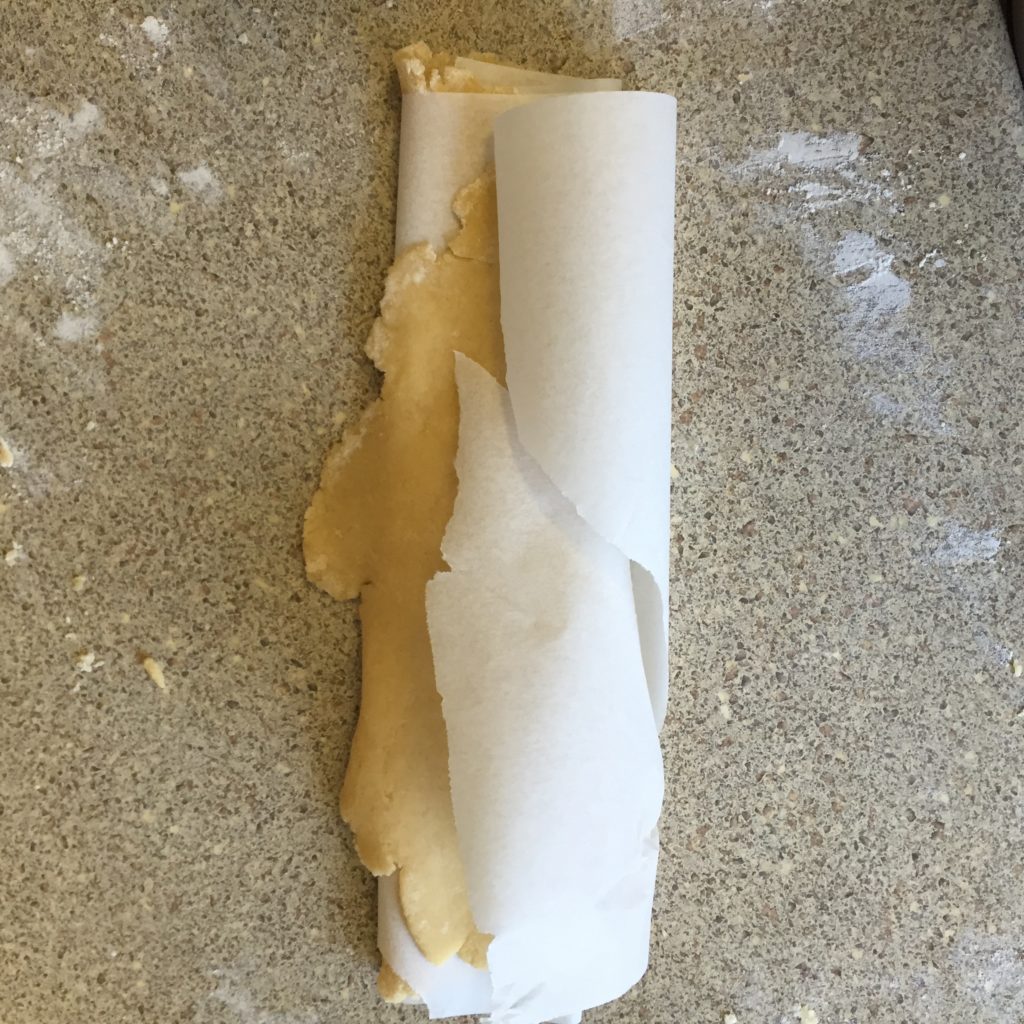
The second, since this dough will make 2 small pies, you can freeze one!

IMG_6869

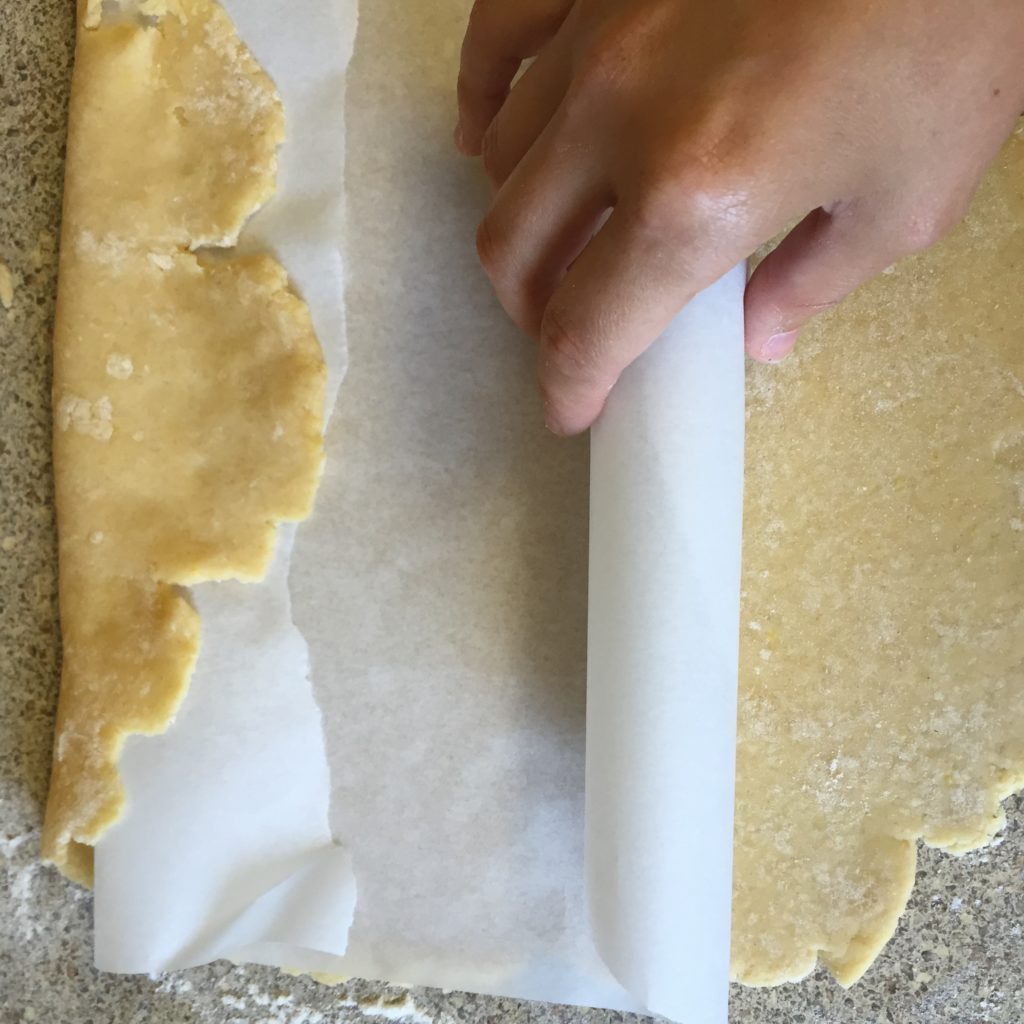
Just roll one of the pies dough using parchment paper in between, then cover it with plastic and put it in the freezer to use in some other time. IMG_6870

When you need to use it, just thaw overnight or let it at room temperature for about 3 hours.

IMG_6871

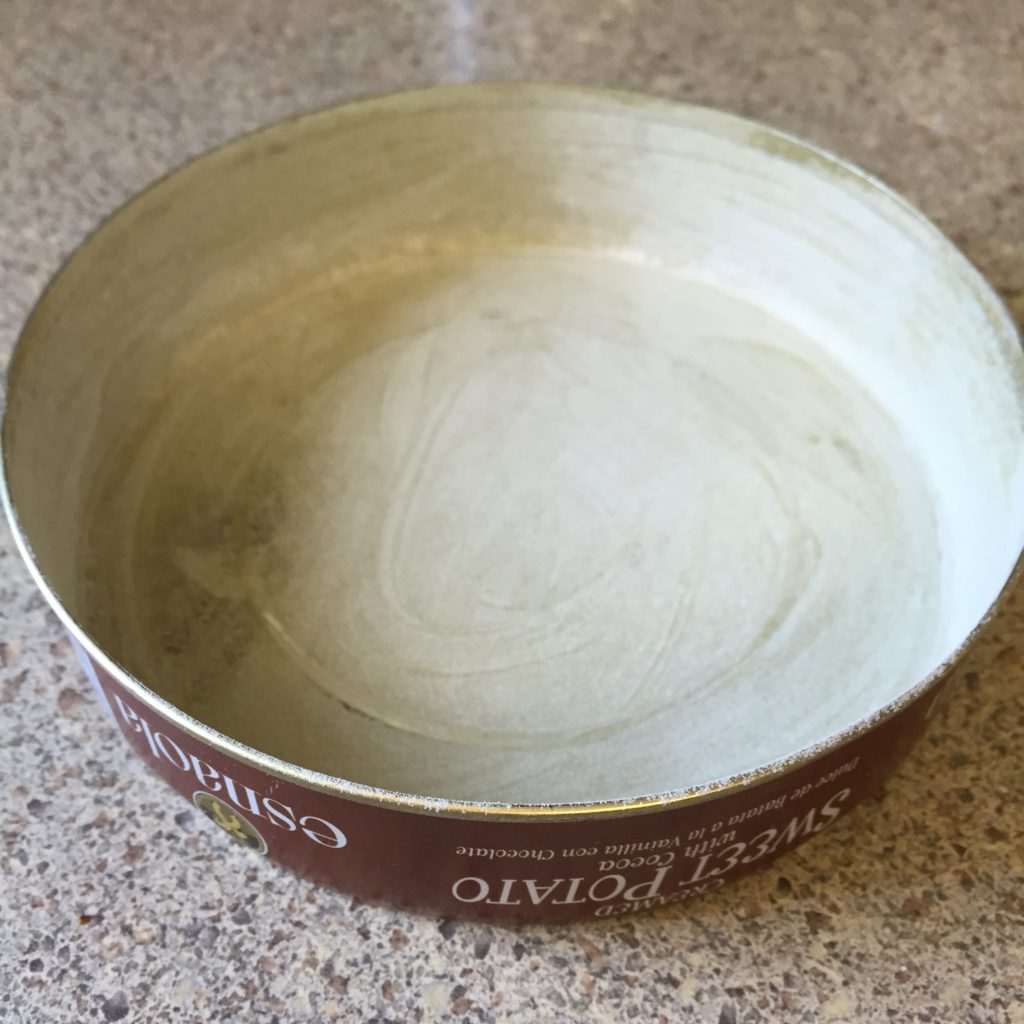
Now, the third way to do this. Let’s just use the pie crust right away! For this, you need the pie pan to be greased and floured.

IMG_6856

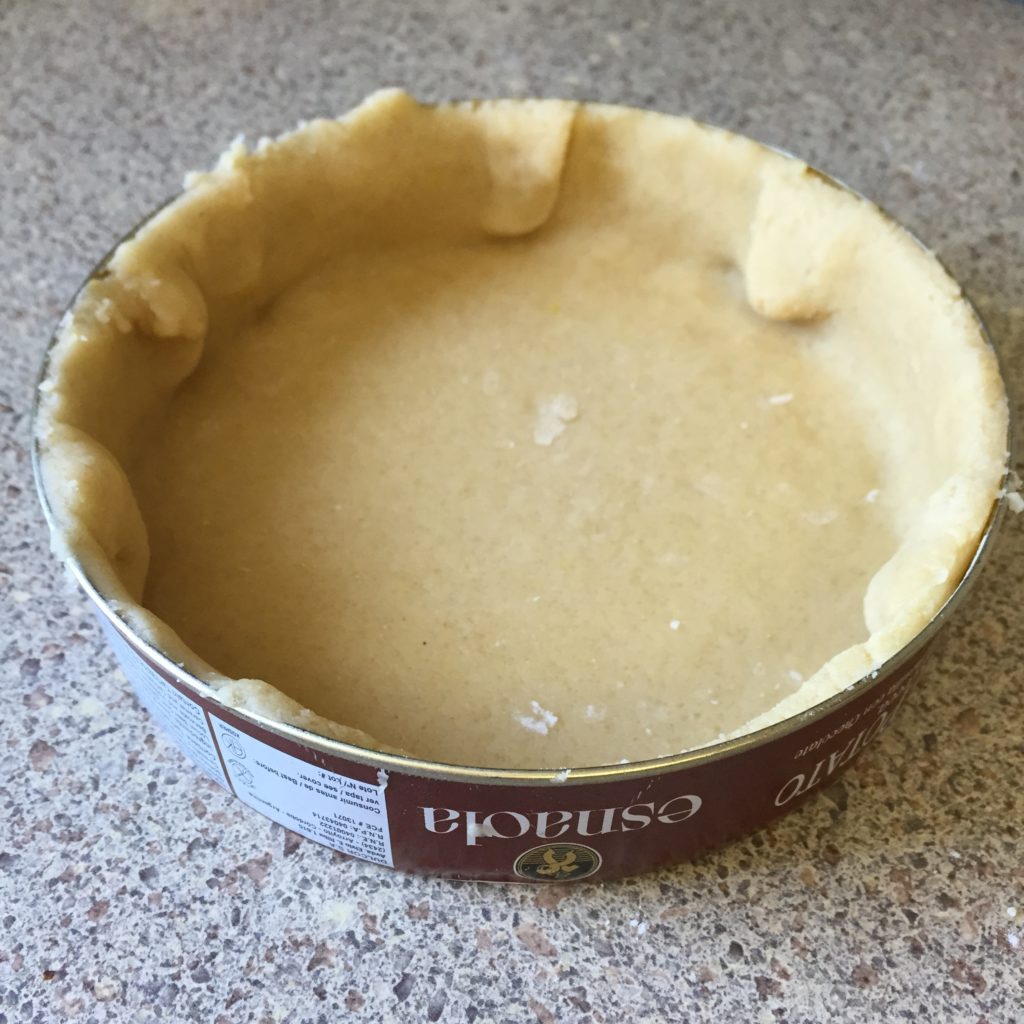
A friend of mine gave me this idea and it’s great! You can use the tin of the quince/sweet potato as a pie pan! (yes, you can do pastafrola filled with argentinian creamed sweet potato and the flavor it’s absolutely different from american canned sweet potato).

Now, put the pie crust on the pan and filled it with the membrillo/quince sweet.

IMG_6858

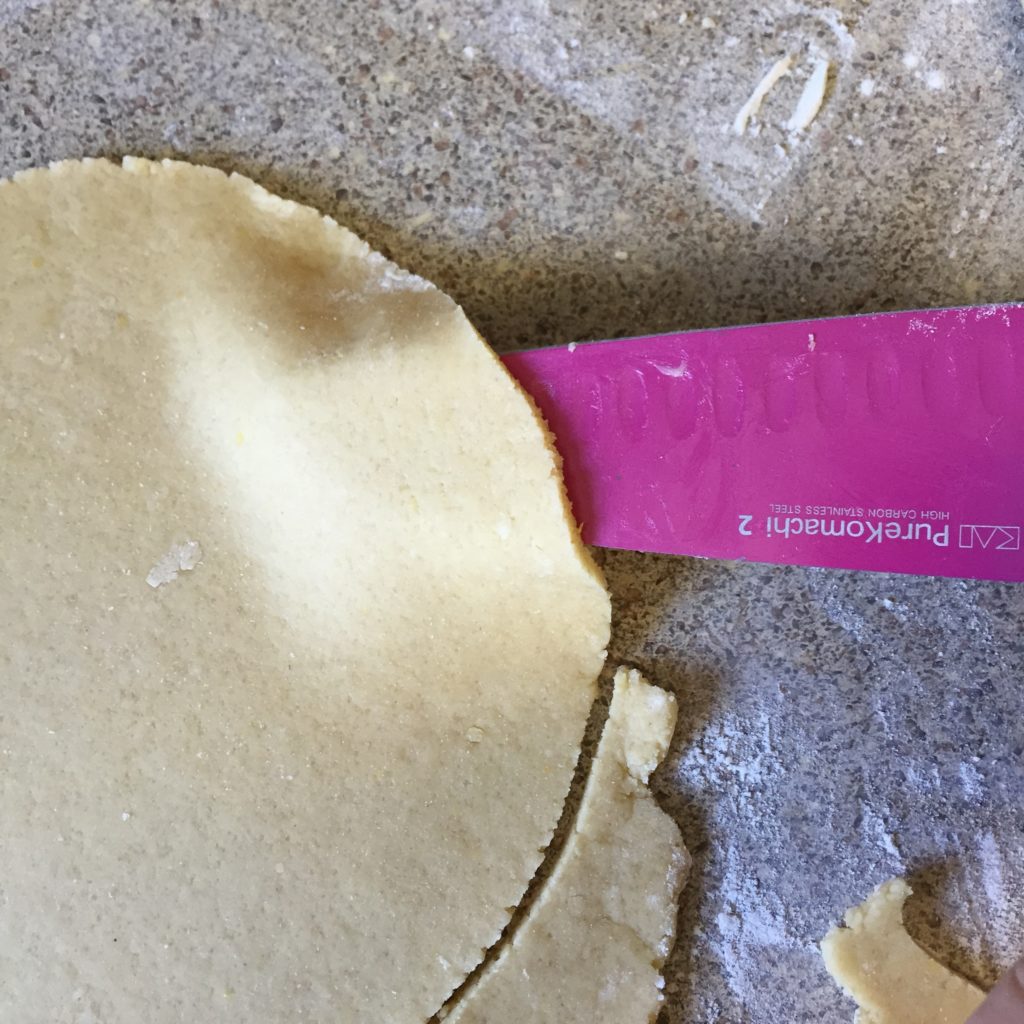
This is another useful idea. Sometimes the dough sticks to some parts of the surface where you were kneading it. Use a knife -if you don’t have a special spatula- to help you pick it up without breaking it.

IMG_6857

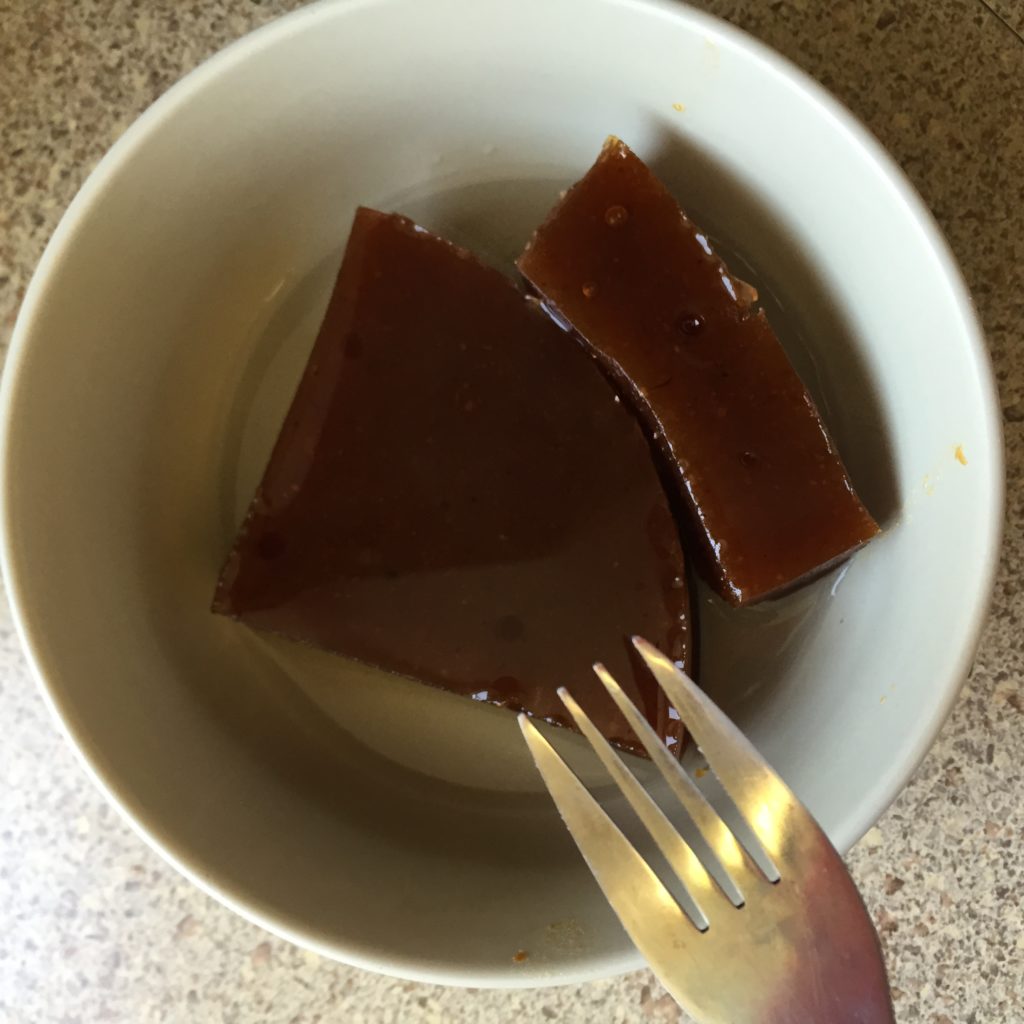
To prepare the quince for the filling, you’ll need a fork and about 1/8 cup of hot water.

IMG_6863

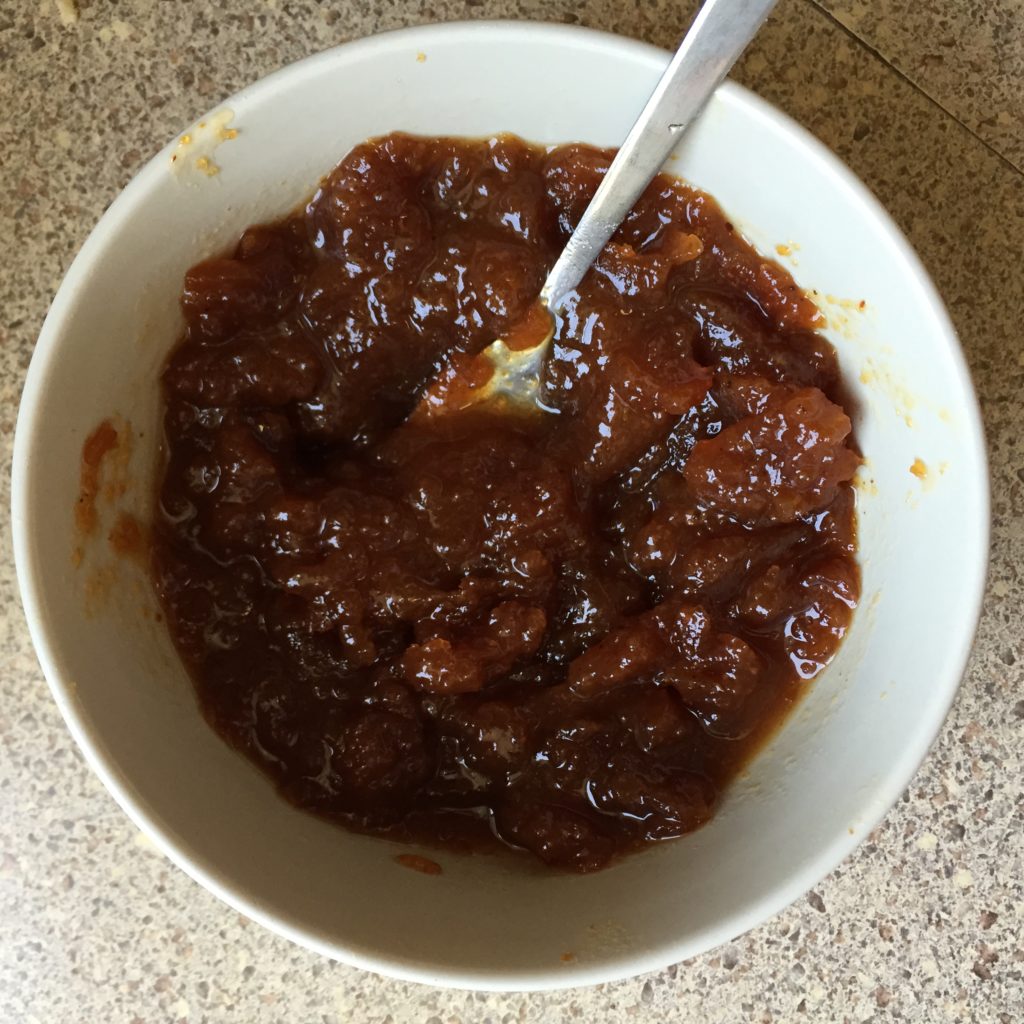
Just add the water and smash the quince until you get a texture similar to the picture below. Some people add a little bit of cognac to this part, others add lemon juice. For us plain hot water is perfectly fine.

IMG_6864

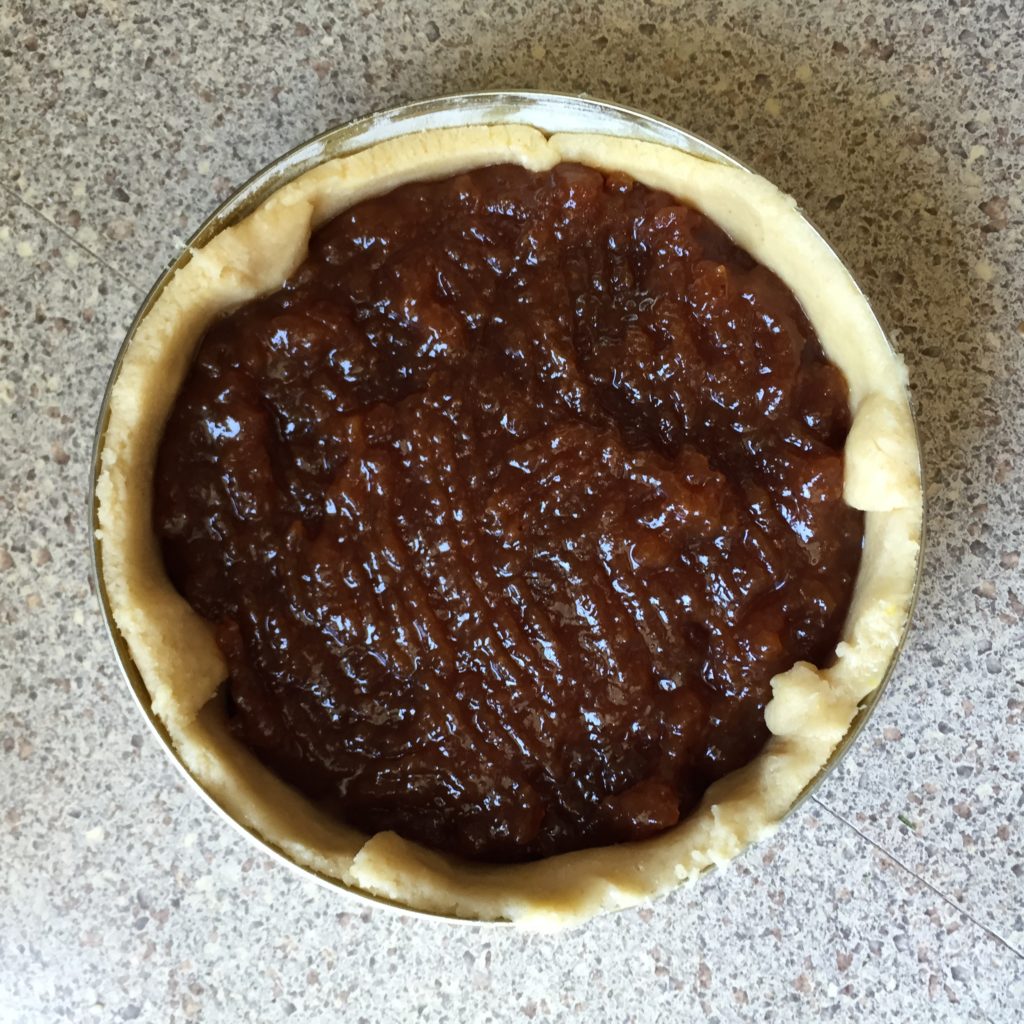
Fill the pie with the quince.

IMG_6865

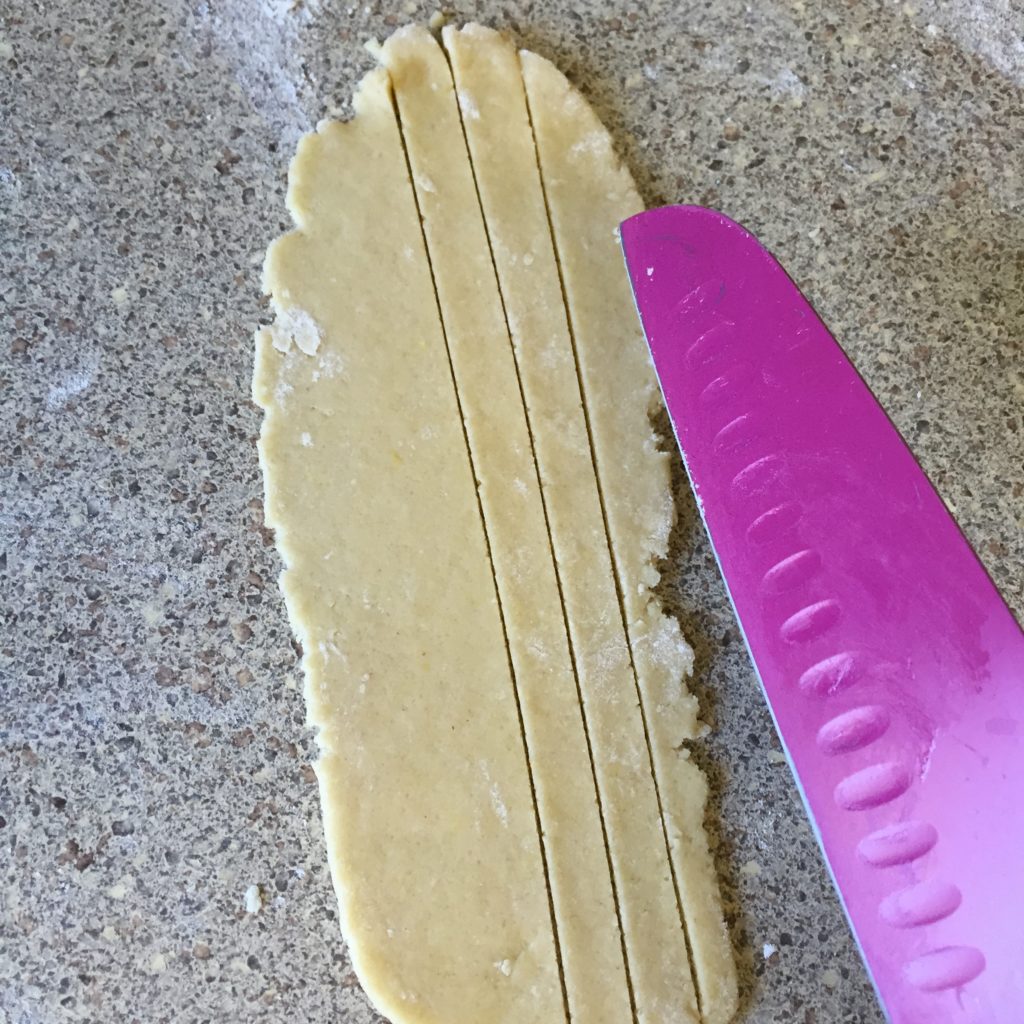
Us the leftovers of the dough to garnish the top of your pie.

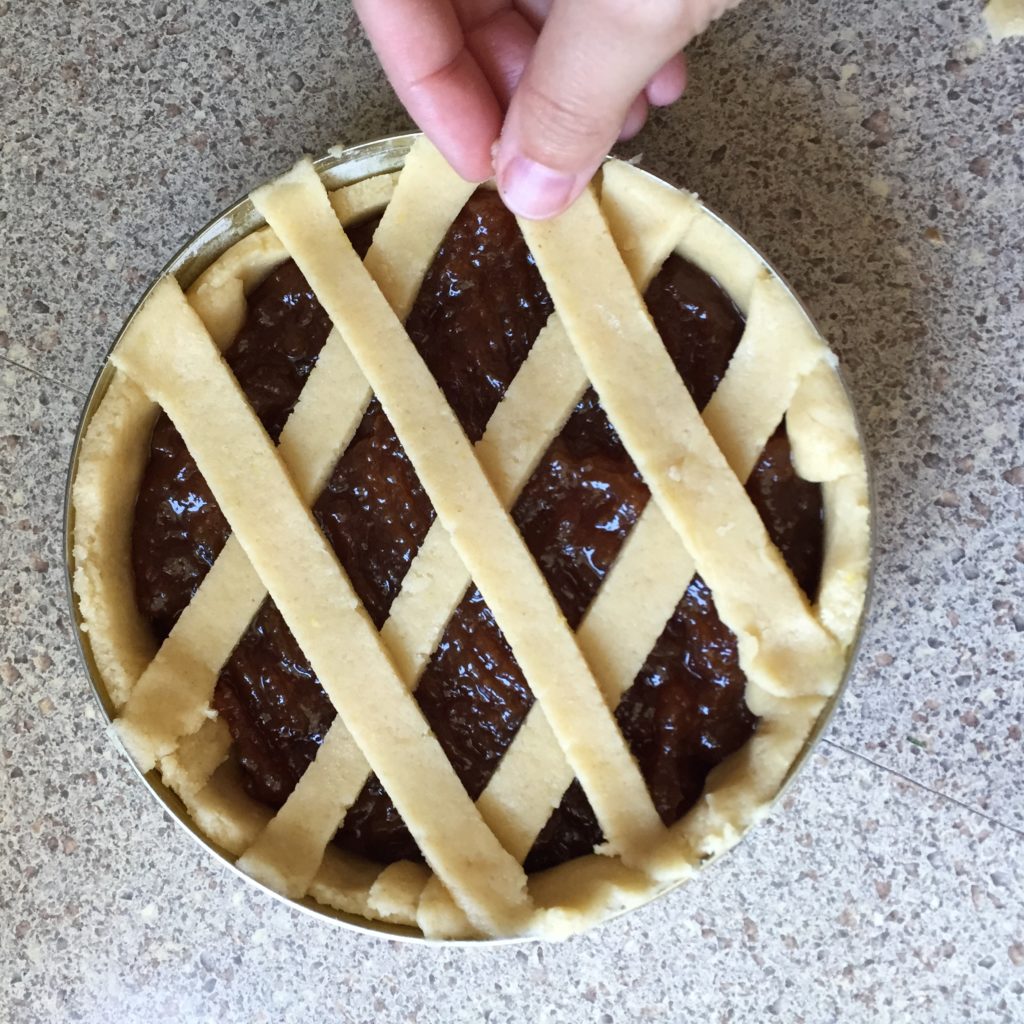
IMG_6859

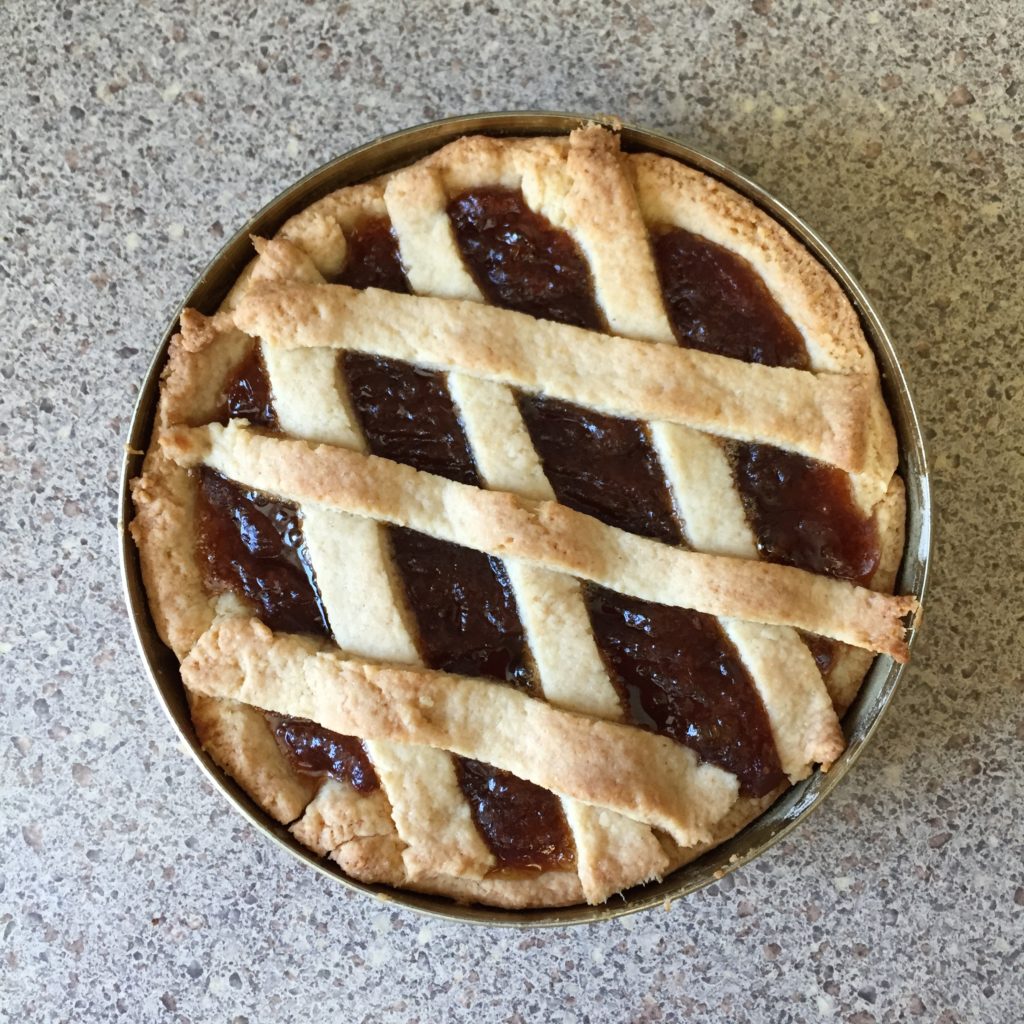
And voilĂĄ! This pie is ready to go to the oven at 350F for about 35 minutes.

IMG_6866

Now, brew some coffee and enjoy it as an afternoon snack.. or how we call it in Argentina: Merienda.

IMG_6872

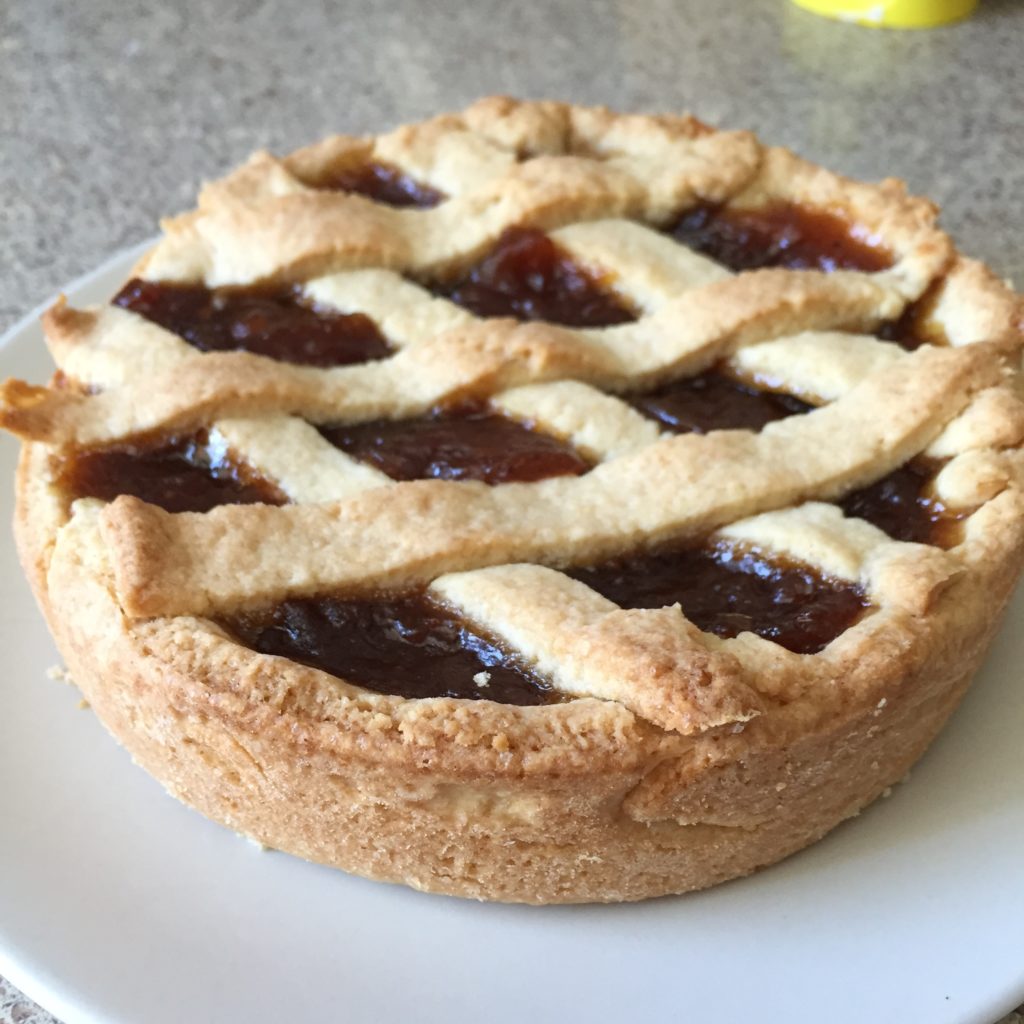
Quince Pastafrola it’s my favorite!

IMG_6873

Enjoy!

hallacas

Hallacas is a traditional venezuelan meal that is served during Christmas holiday. It’s a recipe that gathers the family on its preparation and it also transmits the multicultural heritage of Venezuela since it needs ingredients from different continents.

I’ve only tried this dish twice in my life before attempting cook it. Both times the same presentation was the same but the stew that was inside and also t he dough was different in taste. That’s because it has a lot of variations and of course, each family has kind of their own way of doing it.

Nevertheless, I like challenges. So, I searched and found a recipe that could be adapted to the ingredients that I could find in America and guide me a little. I also watched some videos on Youtube and of course, I had the best guide: Victor, who ate Hallacas  a million times in his life so he was kind of my guide thru this almost impossible task.

I bought everything I needed in the 16th and Mission (latin neighborhood in San Francisco) and at Mexicana Produce in Downtown San Bruno. I needed 24 hours to do everything BUT if you have more time, it’s absolutely better. All the flavors of the stew will arise with unless one more day.

I have to say that I’m very proud of myself on accomplishing this task and preparing a delicious meal that can also transmit part of my husband’s family cultural heritage.

So, today I’m proudly sharing with you the most difficult recipe that I’ve ever done: my own adapted recipe of Hallacas.

You’ll need:

For the Stew

  • 1 hen (about 2.5 lbs)
  • 8 cups water (enough to cover chicken)
  • 1/2 cup celery
  • 1/2 cup scallions
  • 2 tsp garlic salt
  • 1⁄2 cup vegetable oil
  • 2 lbs pork shoulder, with some fat remaining
  • 1 lb ground beef
  • 3 cloves garlic, minced
  • 2 cups white onion, diced (about 2 medium onions, I used the already sliced from Trader Joe’s)
  • 1 cup leeks, white and pale green portion only, thinly sliced (I used the frozen ones from Trader Joe’s)
  • 1/2 cup green onions, thinly sliced
  • 2 cups red bell, green and yellow peppers sliced (I used the frozen and sliced from Trader Joe’s)
  • 1 can organic diced tomatoes
  • 1⁄4 cup capers, finely diced
  • 1⁄2 cup pimiento-stuffed olives, sliced
  • 1⁄2 cup muscatel (Muscat) wine
  • 1⁄2 tsp freshly ground black pepper
  • 1/2 tsp lime juice
  • 1/2 cup organic raisins
  • 1 cup shredded papelon / piloncillo (sugar cane cones sold al Latin stores) dissolved in 1 cup water.
  • 1 tbs worcestershire sauce
  • 2 tsp salt

First, put the water and the hen in a large sauce pot. Bring it to a boil and add the celery, scallion and garlic salt. Cook for about 30 minutes at a medium heat.
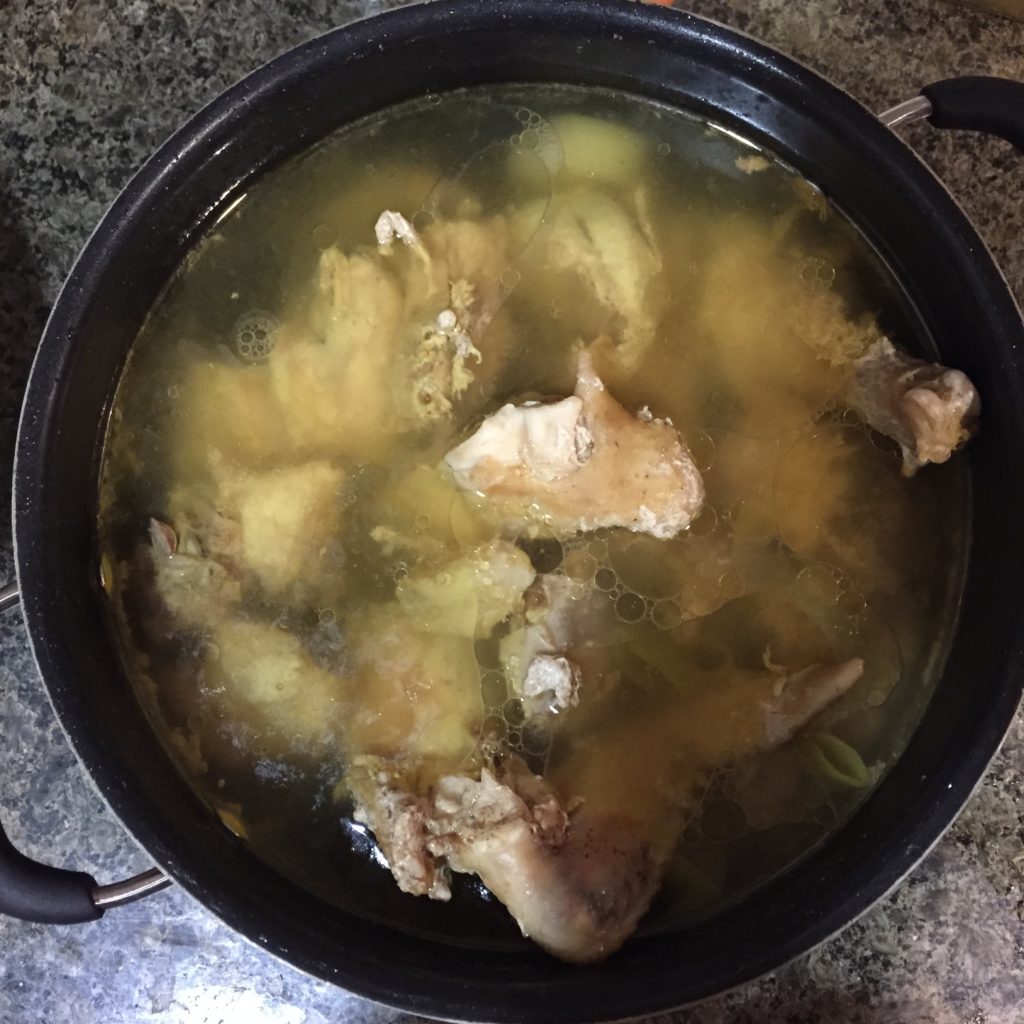
IMG_1358

Transfer the hen to a plate and save stock. When the hen is at room temperature, pull the meat from the bones and shred it using your hands.

In a large sauce pot, heat oil and add the pork and ground beef to cook. Stir frequently until the has brown a little.

Reduce heat to medium-minimun and add more vegetable oil. Then, add the leeks, green onions, onions and garlic. Add 1 cup of the saved hen stock and stir frequently. Don’t let the vegetables go brown.

Add peppers, diced tomatoes and 1 more cup of the stock. Let it cook for 10 minutes at low heat.

Add the diced capers, olives, the papelon already dissolved in warm water, the organic raisins, sliced olives, muscat wine, worcestershire sauce, salt, pepper, lime juice and one more cup of the stock.  Let it cook on low heat for 30 minutes stirring ocassionally.
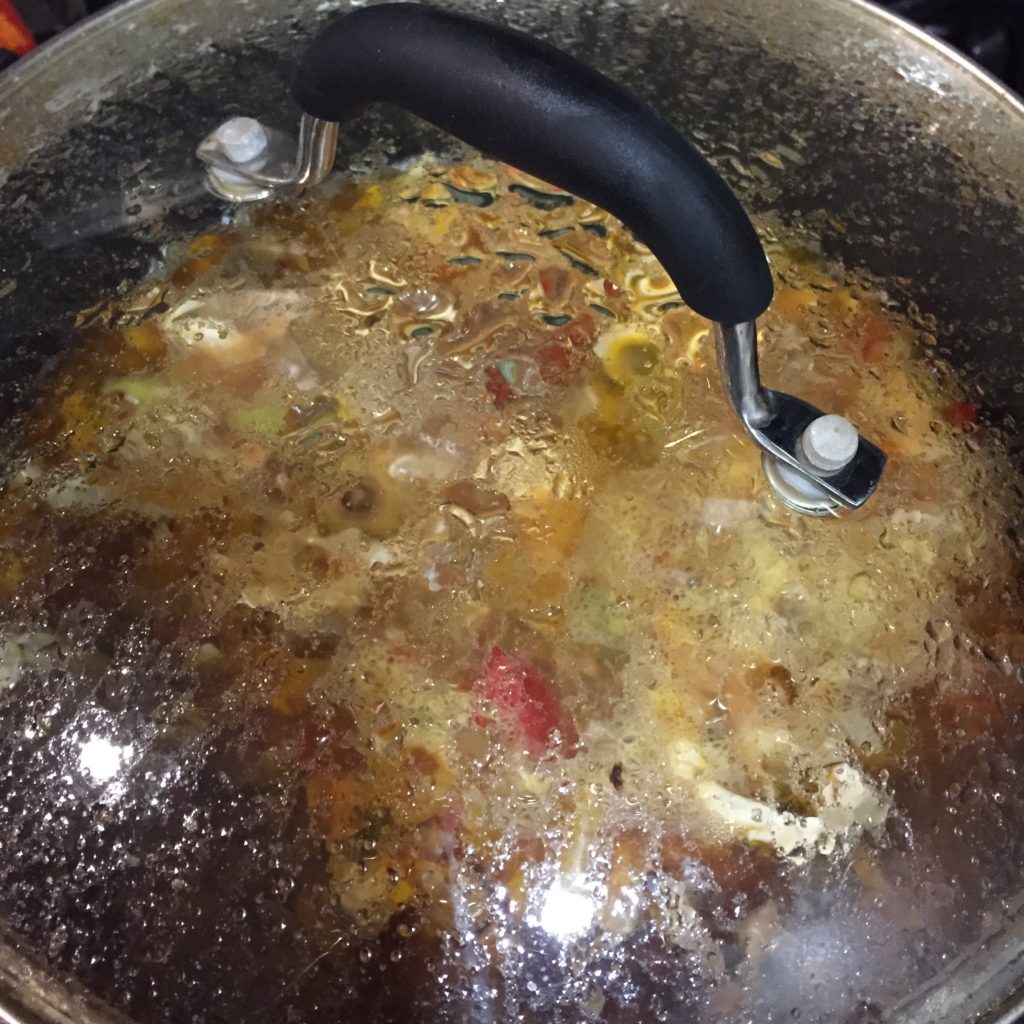
IMG_1362

Finally add the shredded hen. Let it cook for 30 more minutes, stirring occasionally.
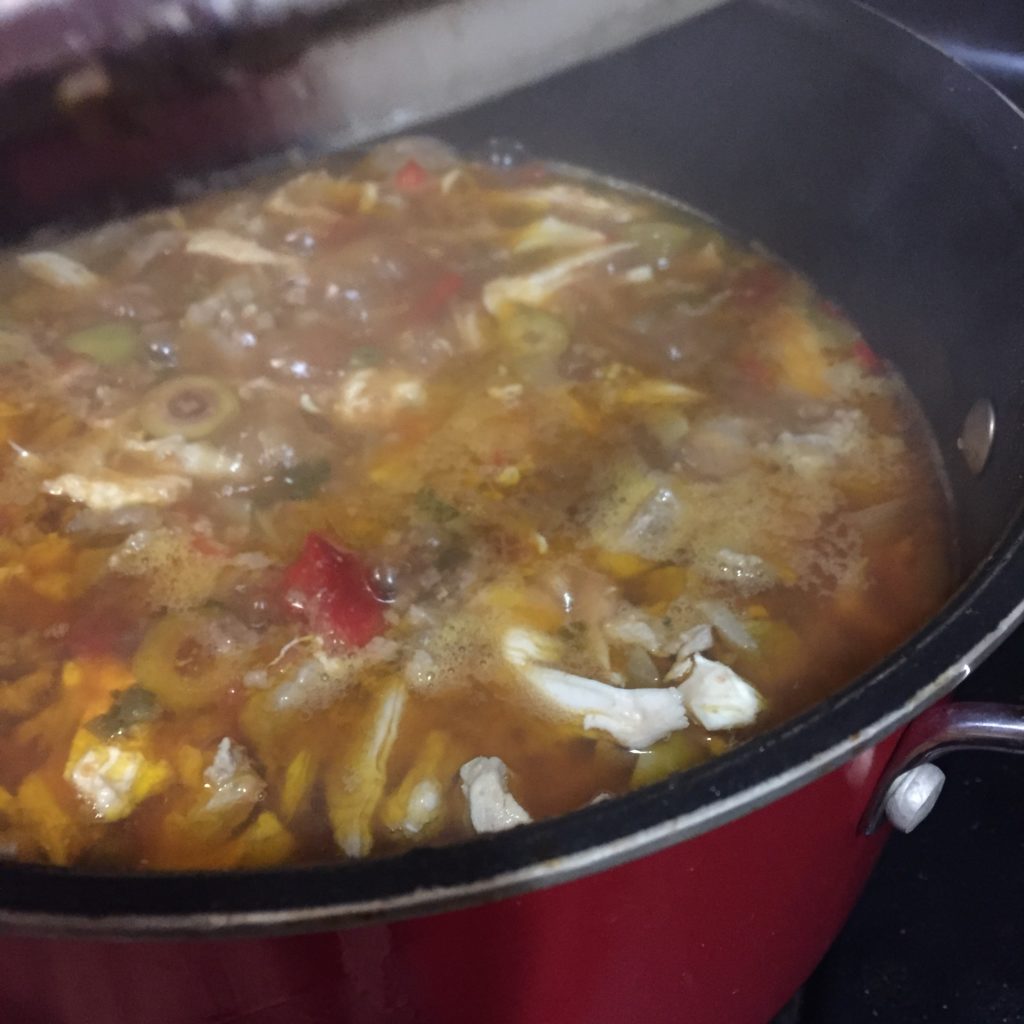
IMG_1364

Remove from heat and let it covered until it’s cool. Refrigerate overnight until 2 hours before using it.

For the Dough:

  • 1 package of Harina PAN (pre-cooked white corn flour, available at Latin grocery stores).
  • 3 cups of hen stock
  • 4 sticks of unsalted butter
  • 3 tsp of achiote paste (available at Latin grocery stores)
  • 1 tbsp salt

Place the achiote paste with the butter in a pan and warm it until they dissolve and create a reddish liquid. Set aside.

Using a large bowl, mix the flour and the salt. Slowly add 1 cup of the melted reddish butter to the flour and start mixing it. Then, add 1 cup of hen stock and continue kneading the dough. Repeat the steps adding fat and then the stock until you get a soft but firm consistency. The dough should be a dark yellow/orange color, smooth with no lumps.
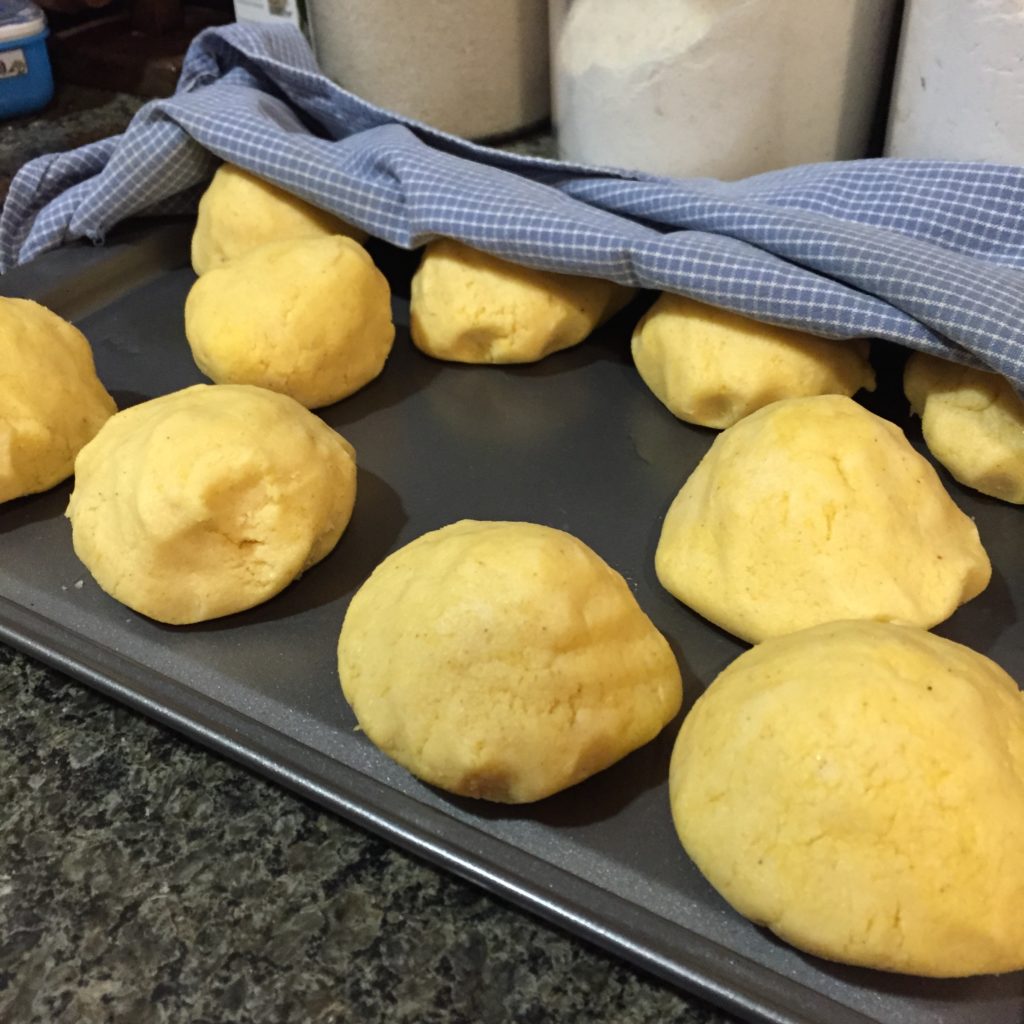
IMG_1379

Make medium balls of the dough using and your hands, set aside and cover with a humid cloth. By the way, your  hands should be very shiny from the fat used on the dough. If they are not, add more butter or shortening to the dough.

Wrapping:

  • 2 packages of frozen plantain leaves (available at Latin grocery stores).
  • 1/4 cup white vinegar
  • 1 cup water
  • 1 piece of clean kitchen cloth or papel towels
  • cooking twine

The day before using the leaves, thraw the frozen package in the refrigerator overnight and leave it at room temperature 2 hours before cleaning them.

Use the the cloth or paper towel damped in the vinegar dissolved water to rapidly clean the leaves over the two sides. Set aside for the hallaca assembly.
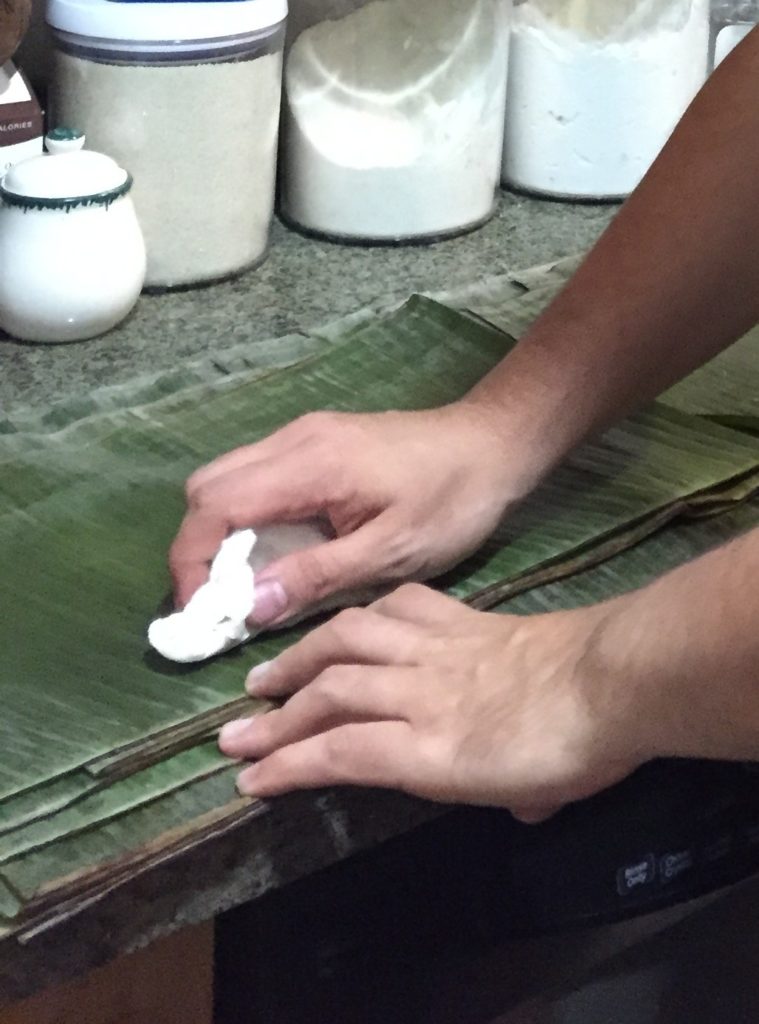
Each hallaca uses 3 leaves. You should cut them prior to its use.

The first leaf -the base- should be about 10 x 14 inches. The second, also called the “shirt”, should be about 8 x 10 and the last one, called “belt”, should be about 4 x 6 inches. I’m not completely sure about this meassures, but they can work as an approximetely. I suggest you watch some videos to learn how to properly wrap the hallaca since I’m not and expert AT ALL in that matter (Victor is!).

Cut about 1 yard of twine for each hallaca. For this recipe you’ll need about 20 yards.

Assembly 

You’ll need:

  • stew (room temperature)
  • 20 colored medium dough balls
  • plantain leaves already cut
  • 20 yards already cut cooking twine
  • 3/4 cup colored butter (made with achiote paste and regular organic butter, like the one for the dough)
  • garnish ingredients

Garnish Ingredients 

  • 1 cup roasted peppers (sold in jars at Trader Joe’s)
  • 2 medium sliced onions (in rings)
  • 1 cup sliced olives
  • 1/2 cup capers
  • 1/2 cup organic raisins
  • 1/2 whole or sliced raw almonds
  • 1/4 cauliflower pickled style (this is optional, I just had this in my fridge and thought of adding it)

Prepare your mise en place -prepare and organize everything you’ll need- for the assembly.
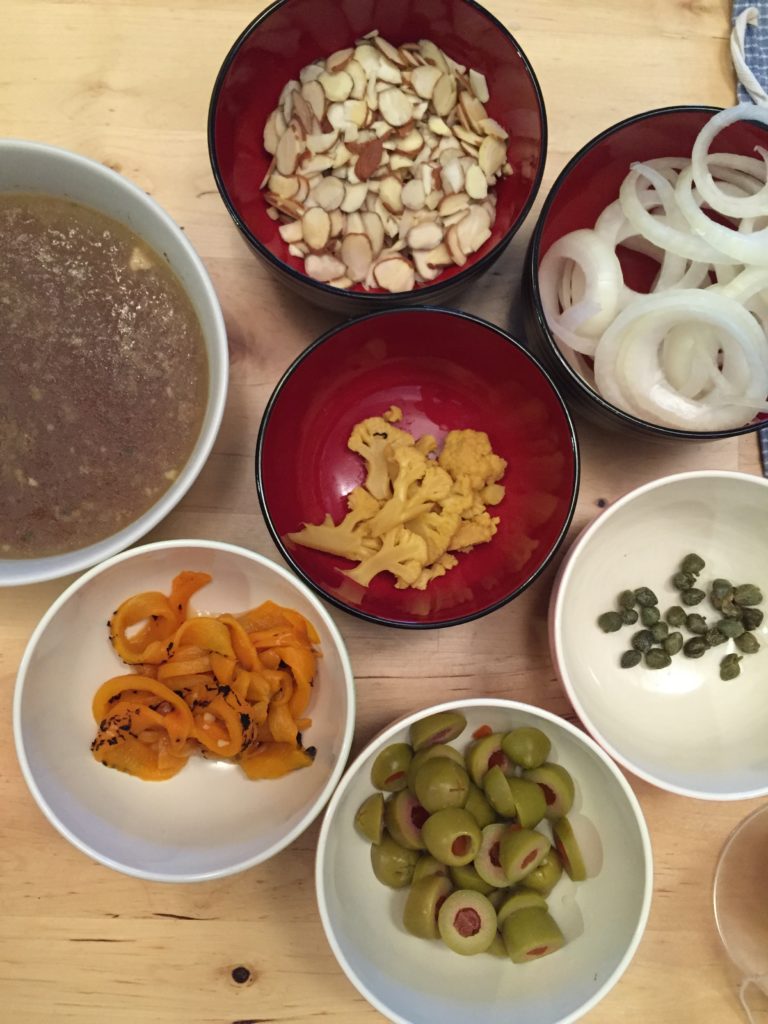
IMG_1387

Arrange the base leaf and add 1/2 tsp of red-colored butter. Use your fingers or a cooking brush to spread it through the leaf.

Put a medium dough ball in the center of the leaf. Flatten the dough, we used a plastic cutting board for this process, covered with a piece of plastic bag so the dough doesn’t stick to the board.
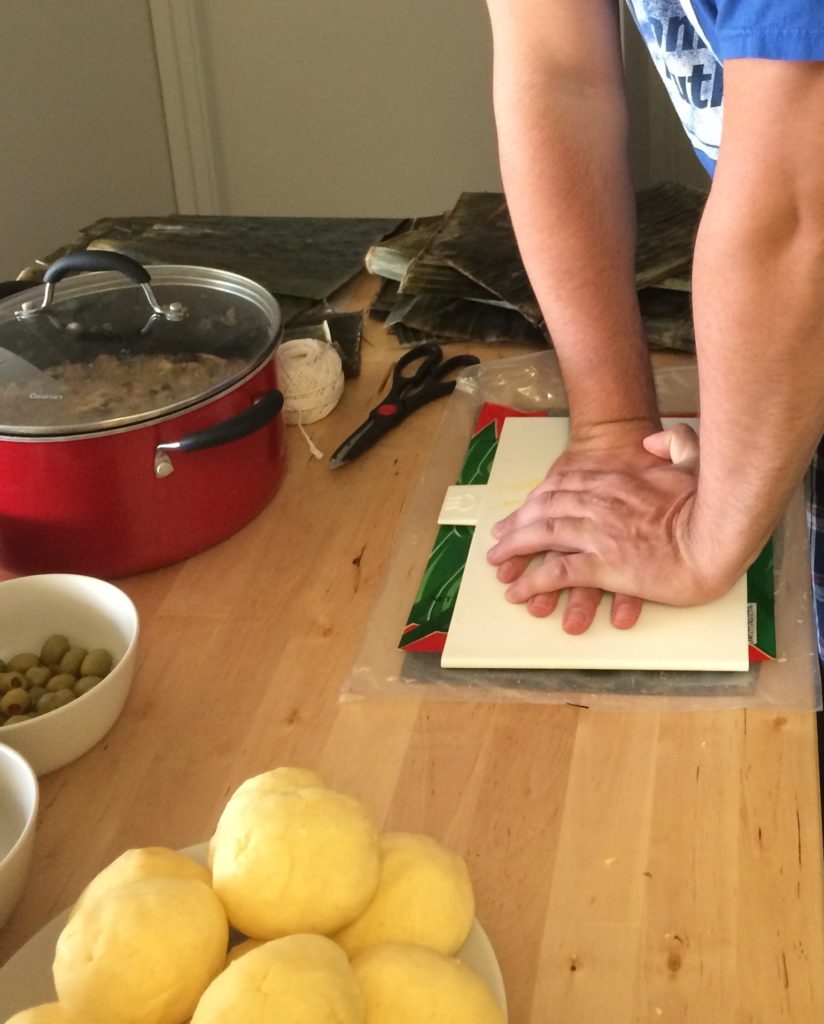
IMG_0184

Add 1/4 cup of the stew in the middle of the dough. Add the garnish ingredients.
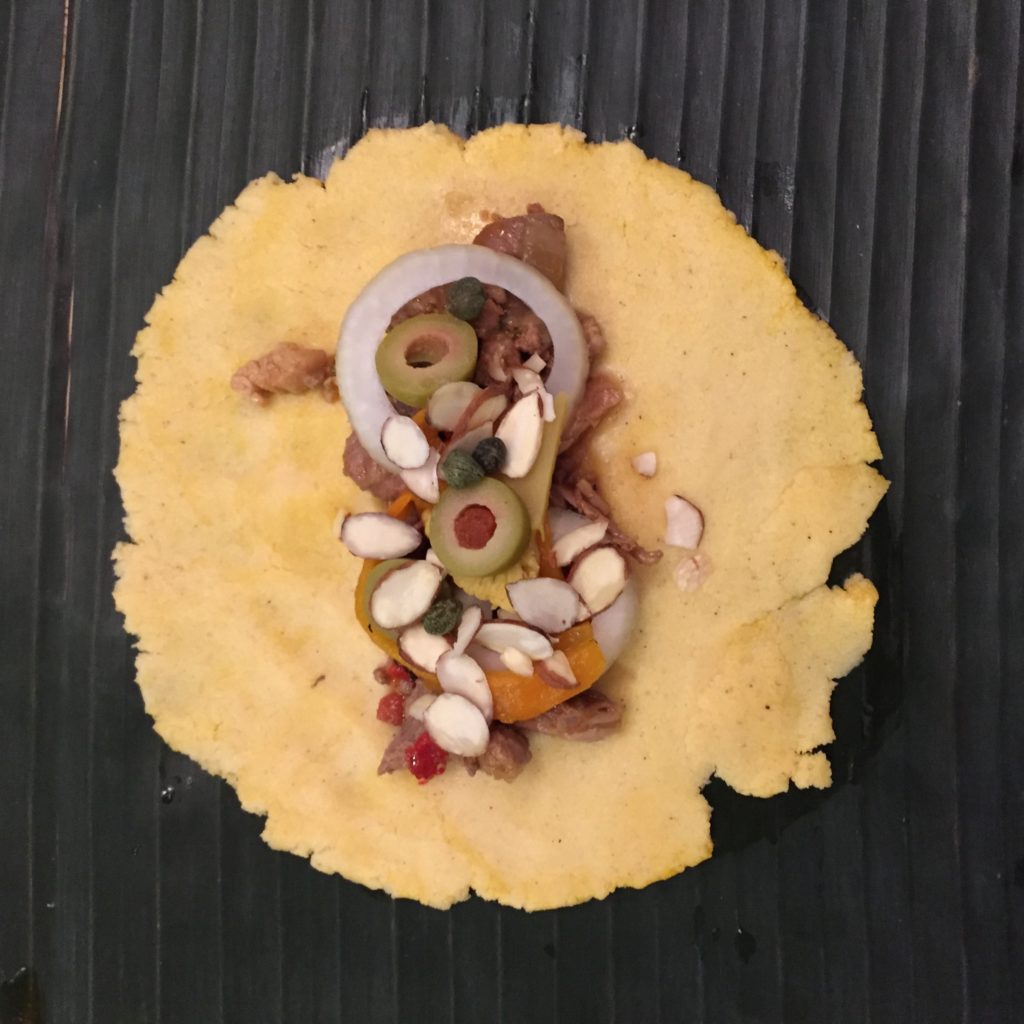
Fold over the plantain leaf carefully so it doesn’t break, first one side, then the opposite. Finally bring the ends of the leaf up covering the filling.
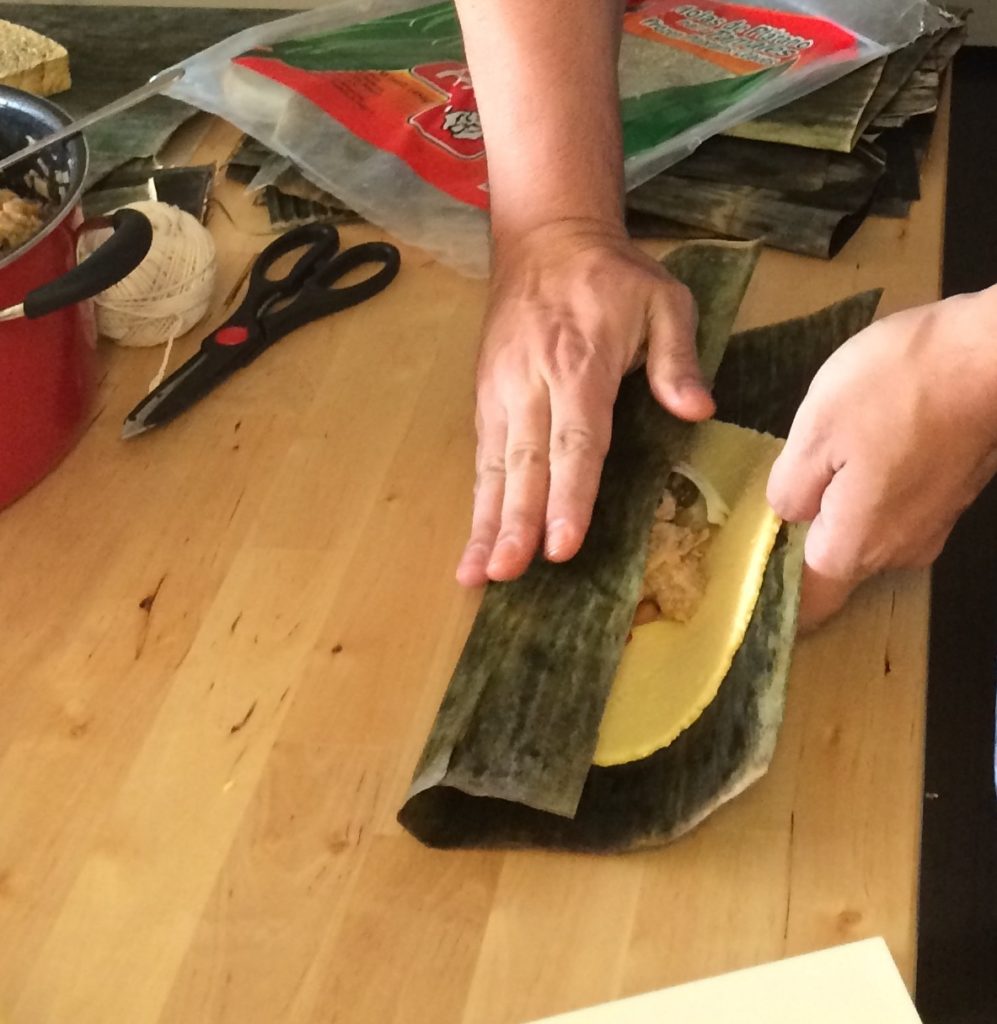
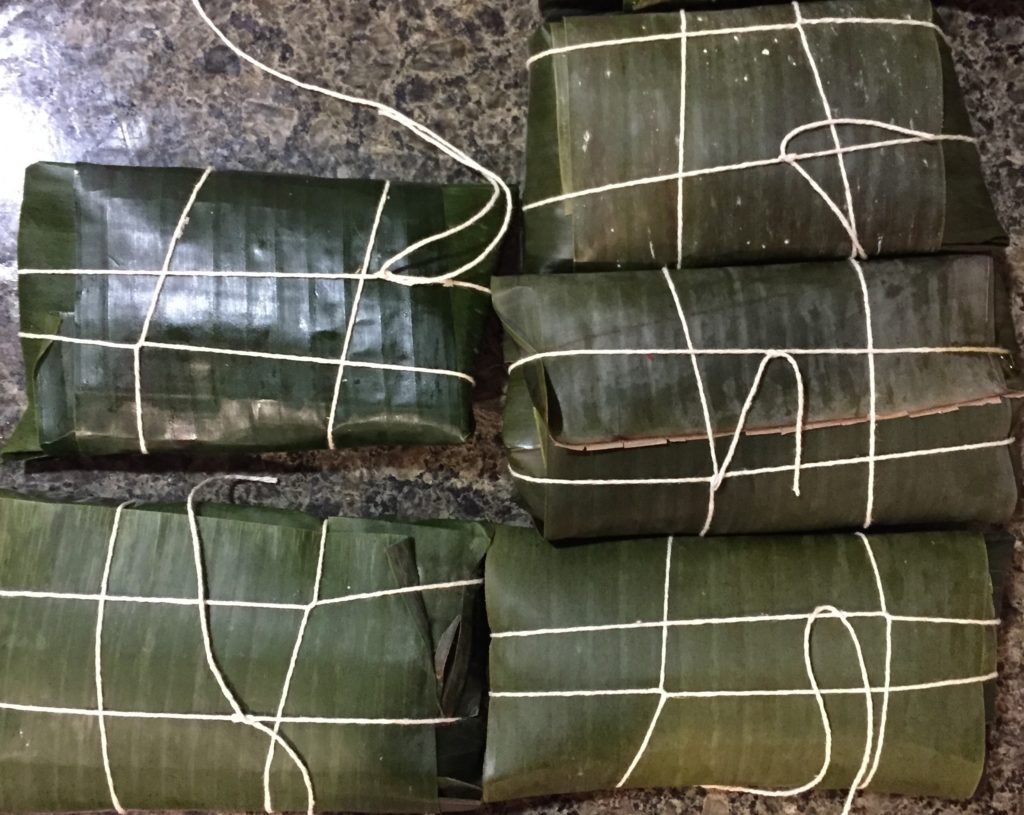
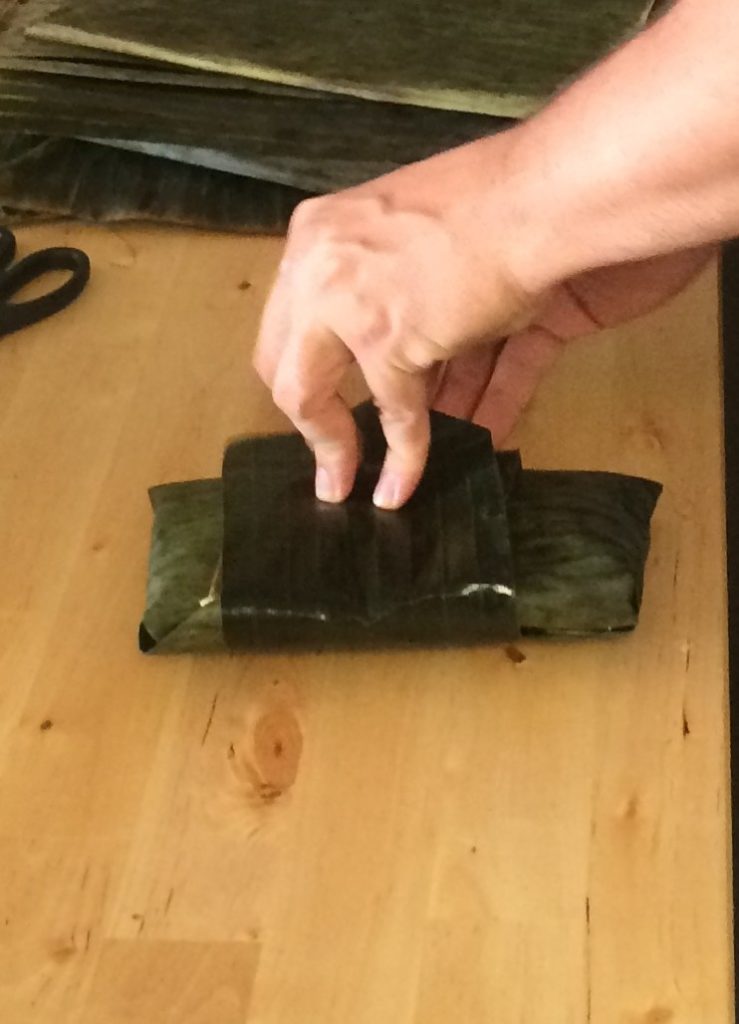
Place the hallaca over the second square of the plantain leaf and fold it again. Finally use the third leaf (belt) to hold the two pieces of leaf under it, wrapping the hallaca around with it.
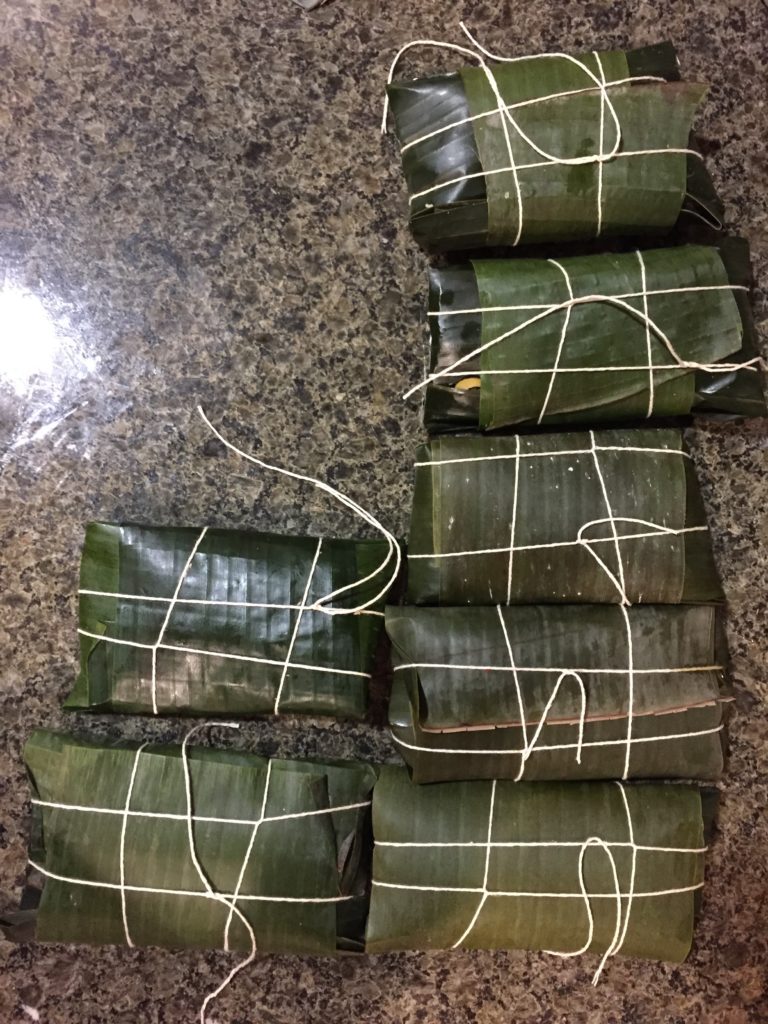
Tie the hallaca using the cooking twine to keep it secure during the cooking process.
IMG_1392

Final process!

Bring water to a boil in large sauce pot. Place the hallacas in the pot, they must be covered by the water. Cook for 1.30h to low heat but keeping the water boiling, add more water if it needs it.

Remove it from the water and allow them to drain for 5 minutes standing on one of its sides over a plate.

If you want to freeze them, only cook them for 1 hour and then remove them from the water and let them cool down to freeze them. When you’d like to eat the hallacas, you’ll just need to cook them (frozen) for 30 more minutes. You cannot reheat them in the microwave.

Serving

Use kitchen scissors to remove the twine and the plantain leaves, remove them carefully. Serve immediately.
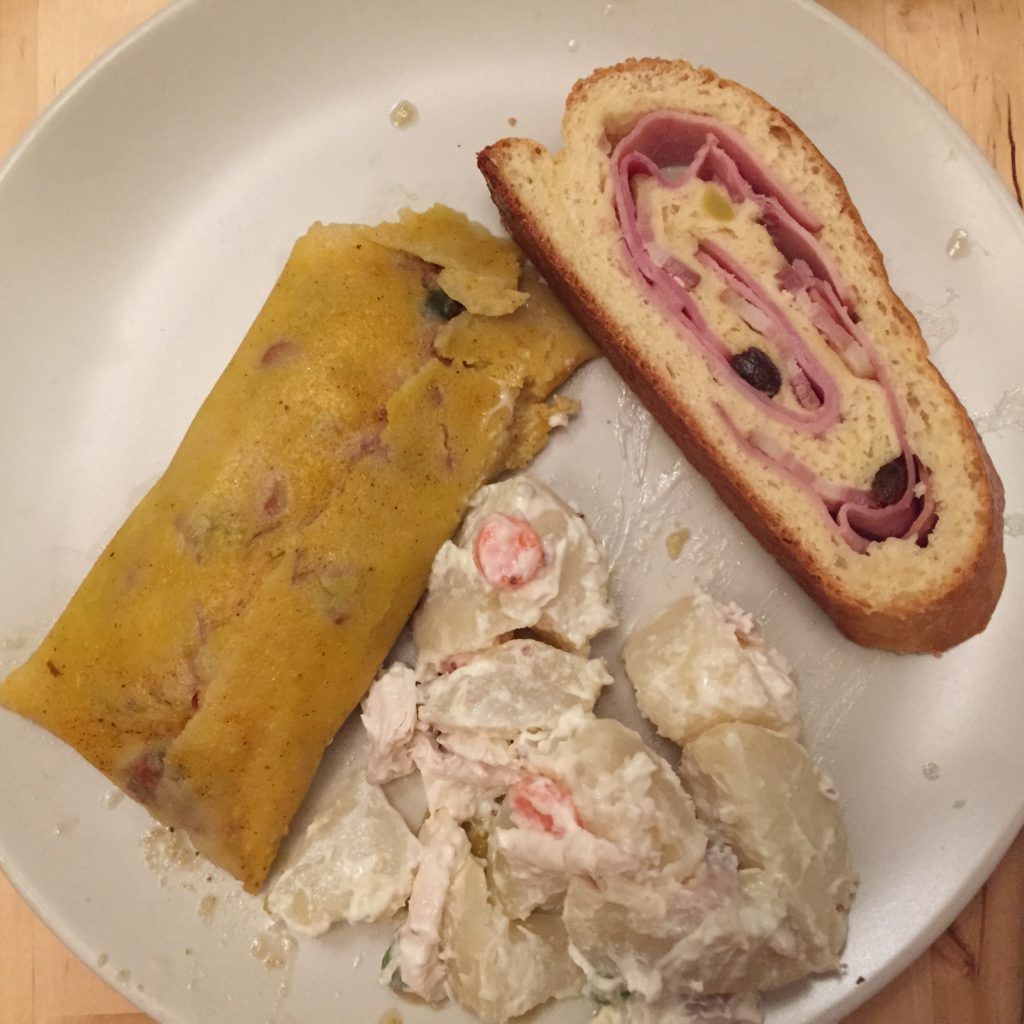
IMG_1426

Our Christmas dinner: hallacas, pan de jamon (ham bread), and ensalada de gallina (hen salad).

Enjoy it!
chipas recipe

As many of you know, I was born in Posadas, the capital of Misiones, in the north east of Argentina.

The most traditional snack from my homeland is “Chipa“. This is a little cheese-roll made with tapioca flour and it’s also a traditional snack in Paraguay and in the south of Brazil (with some differences).

Today, I’m super happy to share with you my family recipe for this yummy gluten-free delicacy.

You’ll need:

  • 1 lb tapioca starch 
  • 3 eggs
  • 1 1/2 cups gouda cheese shredded or crumbles
  • 6 tbsp unsalted organic butter
  • 1/2 cup organic milk
  • 1 Teaspoon Baking Powder
  • 1 tsp salt
  • 1/2 tsp aniseed (Optional)

37565fcff386d8d949b23c79d048232e

Make a crown with the flour.

IMG_8653

Add the eggs, cheese, salt, baking powder, butter (which should be at room temperature), milk in the middle of the crown and the aniseed (optional).

IMG_8655

Start making a dough.

Tapioca flour/starch doesn’t have gluten so it will resemble to corn meal in the beginning because it’ll be crumbly and it will be a little bit difficult to create an homogeneous dough. But keep going, it’ ll be good at the end.

IMG_8667

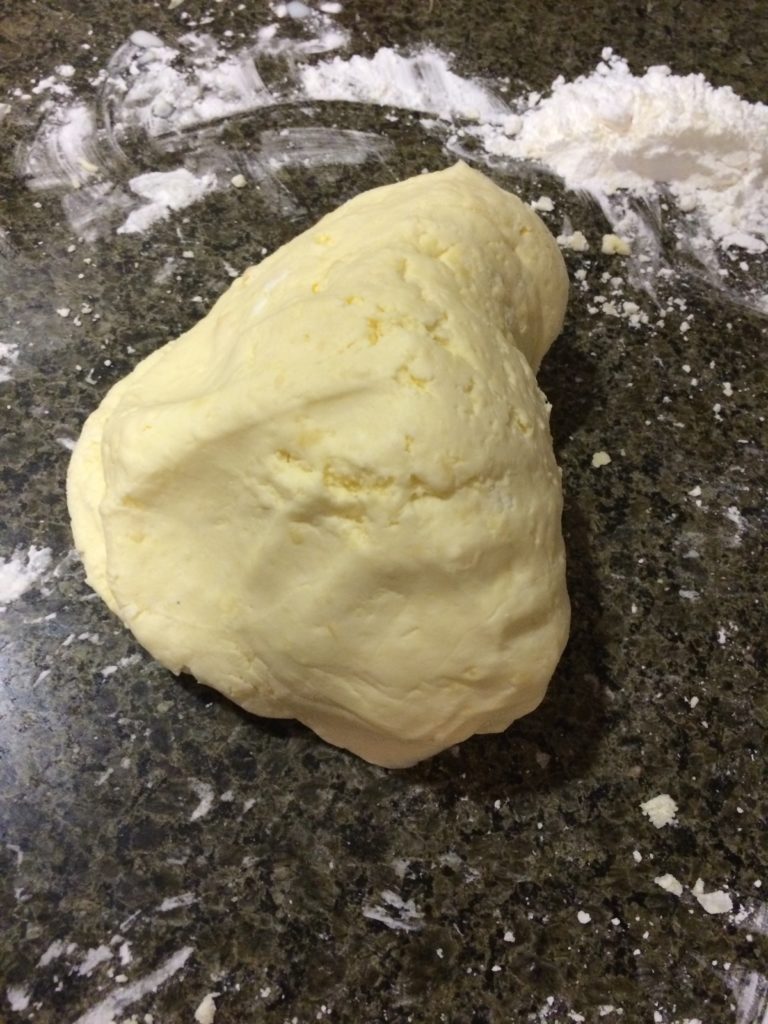
After 5 to 8 minutes you’ll have a dough like this. If it’s still too crumbly, add a little more milk. Try adding 1/2 tablespoon first.

IMG_8668

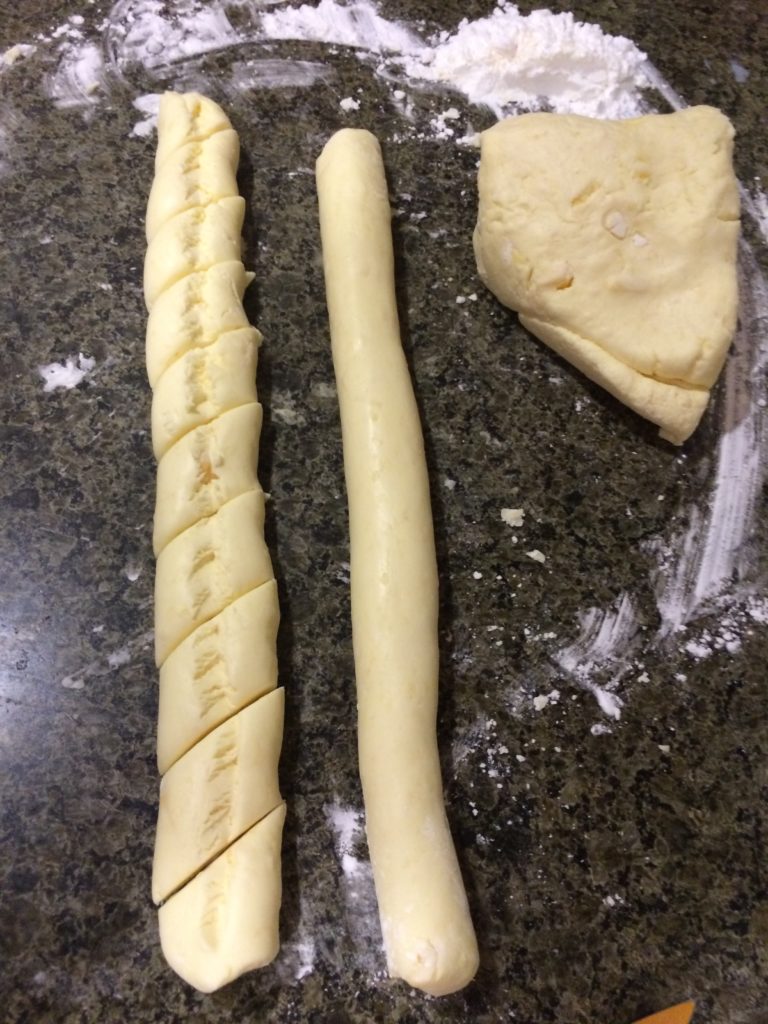
Once you have an uniform dough, separate the dough and create 4 rolls. Use a knife to create a thin line thru the roll (it will help to cook the inside).

IMG_8669

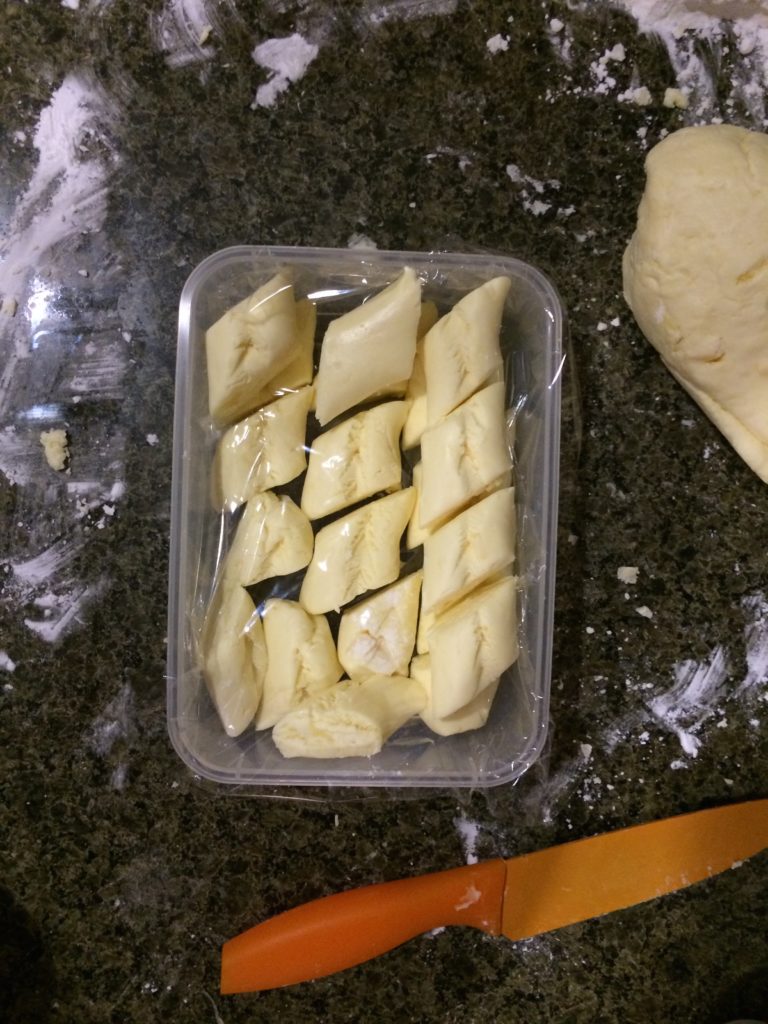
Chipas can be storage raw in your freezer for up to 3 months. You don’t need to defrost the dough before baking; just put them straight to the oven at 375F for 25 minutes… Isn’t that great?

IMG_8671

If you’re going to bake them without freezing them, then set your oven at  350F  and bake them for 30-40 minutes. Serve them warm!
IMG_8677

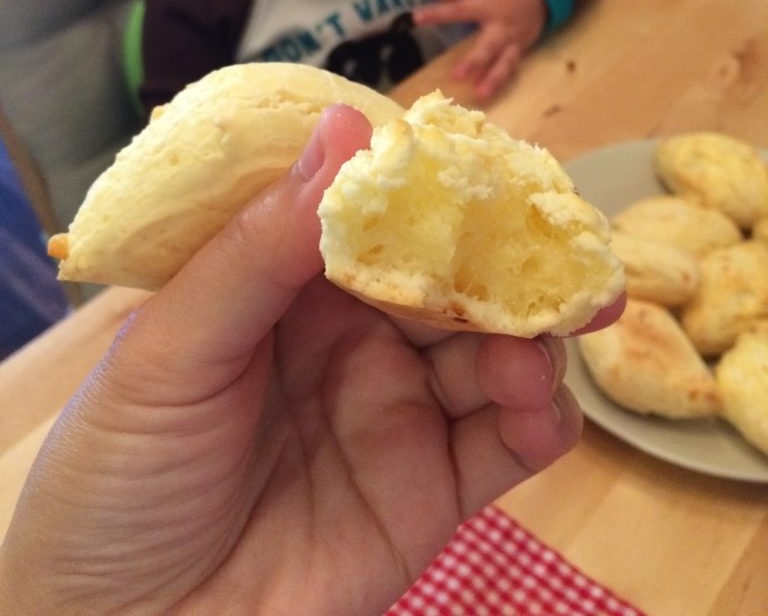
… And enjoy!

***If using a Kitchen aid:

1. Add dry ingredients (flour, baking powder, salt) to the bowl and stir.

2. Add cheese crumbles, soft butter, eggs slighted beaten and milk. Mix until it becomes a homogenous dough.  Then follow steps to create rolls and cut the little pieces.