DIY gift wrapping paper

For this DIY gift-wrapping paper, you just need some markers -I use microns from Sakura and a calligraphy pen- and plain paper.

I had to prepare two very special gifts so for the first one, I chose a Beatles song lyric.

I started writing a phrase in the center of the paper and after that, I completed the empty spaces using different hand-styles and sizes of the lettering.

IMG_4270_2
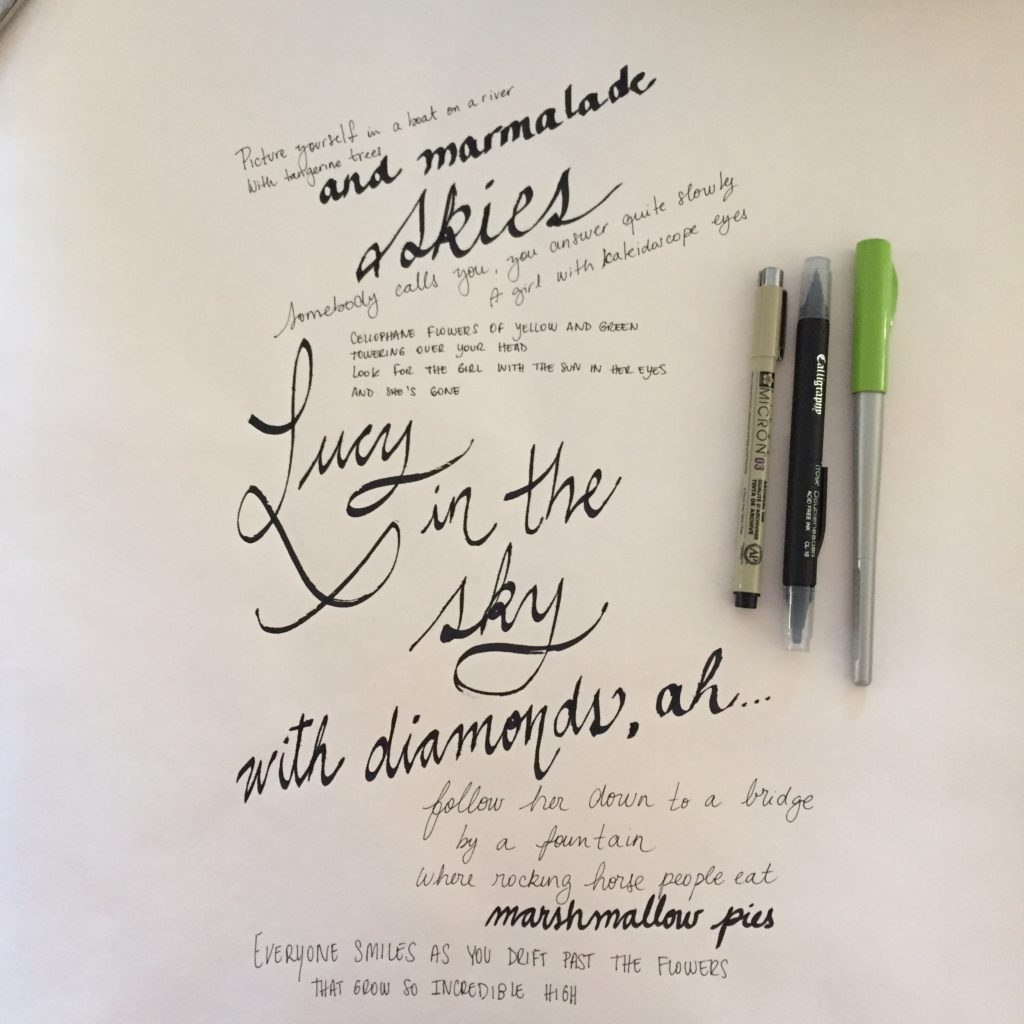
“Lucy in the Sky with Diamonds”

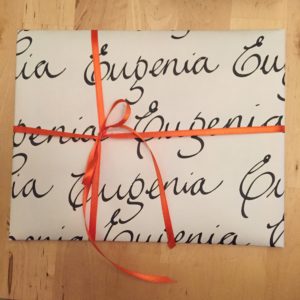
Then, I just used it as a regular gift-wrapping paper.

IMG_4271

Another option that I like to create a special paper from a plain white paper is to draw botanicals on it.

IMG_4277

Finally, I added the name of the person who was going to receive the gift using a calligraphy pen.

IMG_4281_2
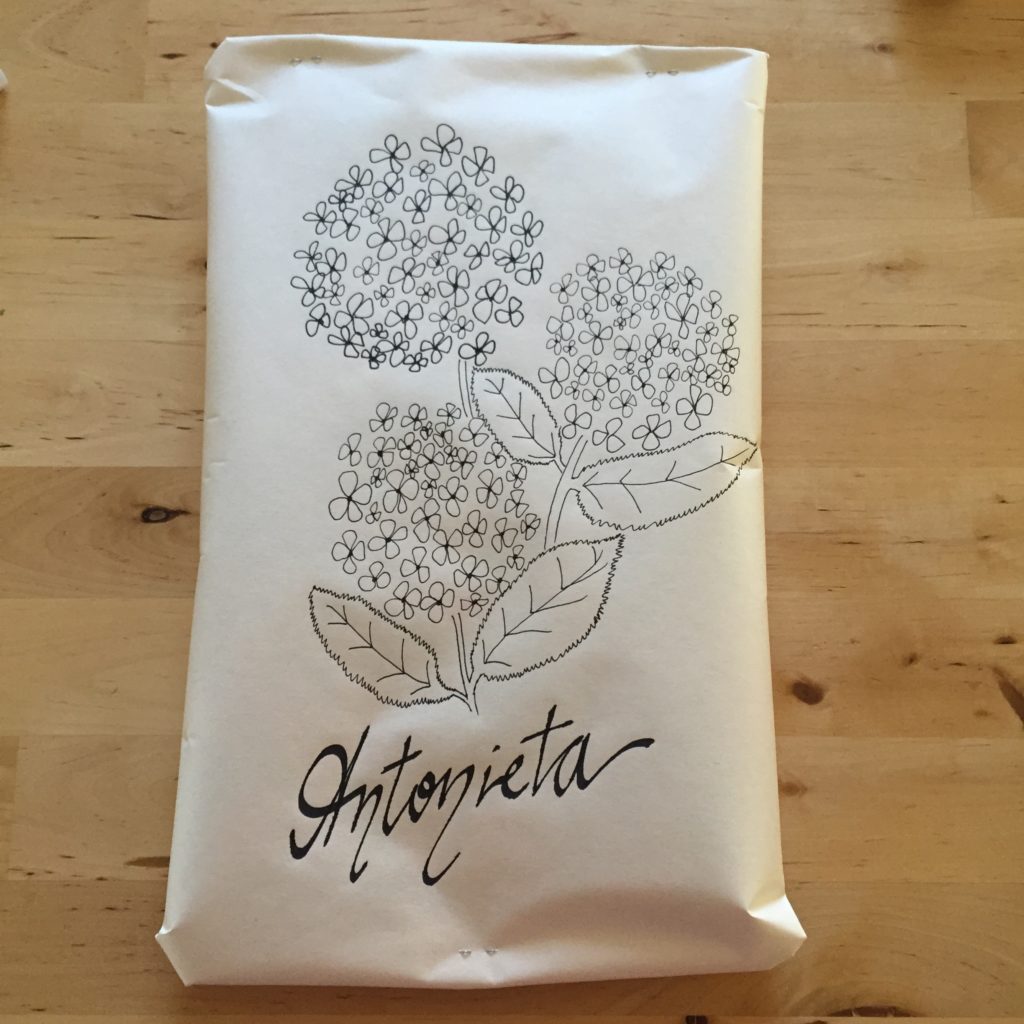
Hydrangeas are one of my favorite flowers.

Calligraphy pens and markers are always a good idea. They add a special touch to your everyday lettering even when you don’t know much about calligraphy. I encourage you to try it!

Here’s another DIY gift wrapping paper idea. 

DIY: wrapping presents idea

A calligraphy pen, some blank paper and a piece of ribbon can add some magic when you need to wrap a present.

Write the name of the person you’re giving the gift to all over the paper, then wrap the present as you would normally do it.

IMG_1075

You don’t need to know how to make beautiful lettering, the calligraphy pen will help your letters to look lovely just by writing with it.

IMG_1077

You can even add a finish touch with a colorful ribbon.

*What do you think of this idea?

christmas in a jar

Maybe I went too far using the same jars for decorations in my home this year but I just can’t get enough of how lovely they look!

You’ve already seen how I used it for Halloween and for Thanksgiving… But this time, I decided to try using the jar in a craft project with Marco.

We used, of course… a jar, sea salt, a small  plastic pine branch that I cut it from our plastic christmas tree with some play dough on the base, a snowman candle that I had from previous years and one of the chalkboard tags with a new message: Be Merry! * (This time I used a white Sakura Gelly Roll to write the message).

IMG_0521

This jar project was fun, cute and easy to do. You just put all the elements inside and close the lid.

The only issue is that I don’t know how much time it will last on our coffee table since this little toddler grabs it anytime he goes by the table and start shaking it constantly! Anyway, it was fun!

PS: I’d love to know about your DIY christmas decorations! The season is just starting!

baby crib sheets

I found this great fabric with the world map on sale at my local fabric store and I thought it would be nice to have it at home and teach Marco where some of our friends and family live.

I’m still a beginner at sewing but I discovered that I can actually sew anything… as long as it has a rectangular shape. That’s how I thought about using this fabric to make some sheets for Marco’s crib.

I followed this tutorial and I were amazed at how easy it actually was to sew sheets, even using an elastic band one the edges.

wpid-20140913-105330.jpg

It’s nice to wash the fabric before, in case it shrinks. Also, measure the crib mattress to customize the pattern. I used a 12″ square instead of the 9″ suggested by the tutorial.

This project took about 2 hours but it was a lot of fun and I felt so good after seeing it done!

wpid-20140913-105405.jpg

During  the weekend, when I put him to bed, I told him where some of our dear friends and family live. He didn’t get much yet because when I asked for his aunt Barbarita -who lives in Barcelona- he pointed to Moscow… but we’ll get closer with some more practice!.